Please note that this extension was retired in February 2017, as WePay no longer allows individual merchants to register for payment processing. This documentation is still available as not all merchants have migrated away from WePay, but new merchants can no longer use this solution.
Accept credit cards and bank accounts on your WooCommerce website with WePay. This extension supports the regular and iFrame checkout. This document will show you how to setup and configure the extension to work with your WePay account.
Installation
↑ Back to top- Download the extension from your dashboard
- Goto Plugins > Add New > Upload and select the ZIP file you just downloaded
- Click Install Now, and then Activate
- Click the Configure link and read the next section to learn how to setup and configure the plugin.
Setup and Configuration
↑ Back to top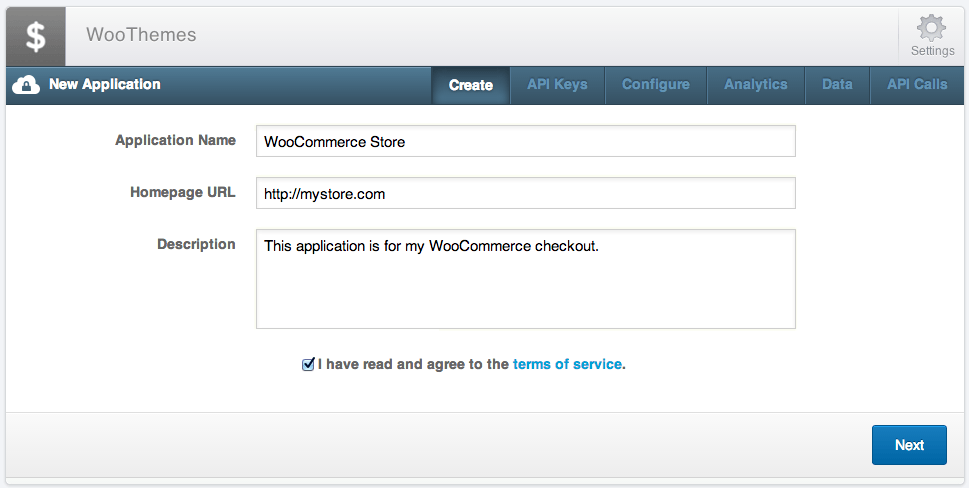
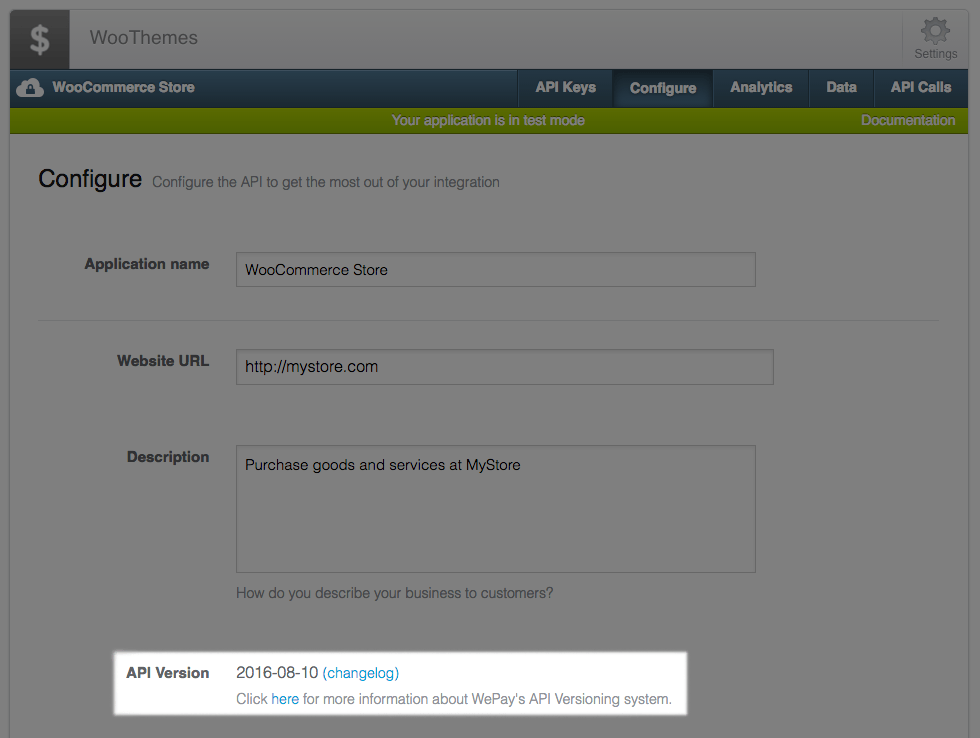
API Version Unmatched
↑ Back to top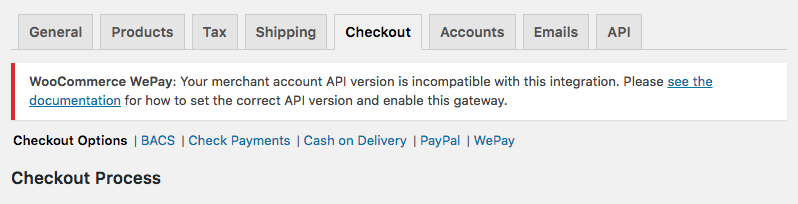
2016-08-10
You’ll be able to use the plugin when this version is the API version listed in your account, under your app > Configure:
Extension Settings
↑ Back to top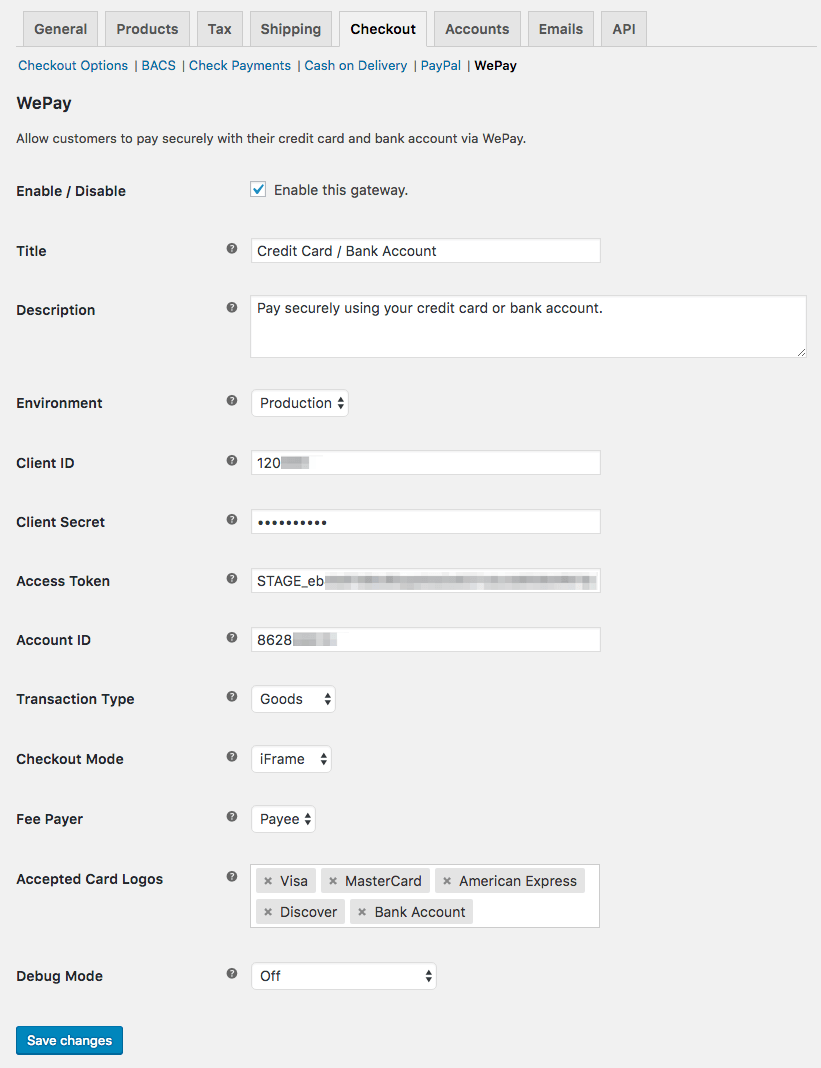
- Enabled – This will enable the gateway to be used by customers to checkout.
- Title – This is the text shown for the payment during checkout and on the Order Received page.
- Description – This is the text shown under the title during checkout. Limited HTML is allowed.
- Environment – This controls what environment transactions are posted to — use production unless you have signed up for a WePay staging account.
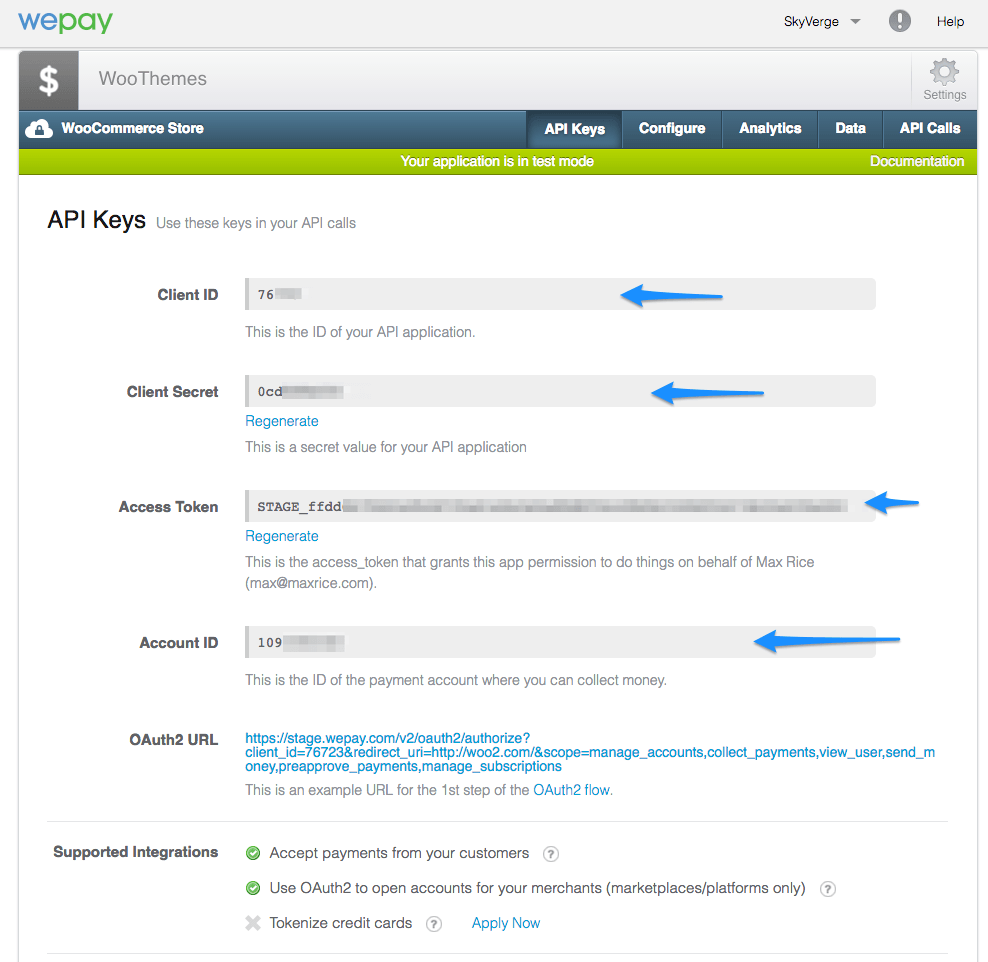
- Client ID – This is the Client ID for your WePay account. Follow the steps above to get this.
- Client Secret – This is the Client Secret for your WePay account. Follow the steps above to get this.
- Access Token – This is the Access Token for your WePay account. Follow the steps above to get this.
- Account ID – This is the Account ID for the WePay account where payments will be deposited. Follow the steps above to get this.
- Staging Client ID – This is the Client ID for your WePay Staging account. Follow the steps above to get this.
- Staging Client Secret – This is the Client Secret for your WePay Staging account. Follow the steps above to get this.
- Staging Access Token – This is the Access Token for your WePay Staging account. Follow the steps above to get this.
- Staging Account ID – This is the Account ID for the WePay Staging account where payments will be deposited. Follow the steps above to get this.
- Transaction Type – Choose the primary type of transaction your store will process. This defaults to “Goods”. If you are unsure about what to choose here, ask your WePay account rep.
- Checkout Mode – This controls how the checkout process works. Choose “Redirect” to redirect customers to the WePay website to complete their payment. Chose “iFrame” to keep customers on your website to complete payment. This defaults to “Redirect”.
- Fee Payer – Select who should pay the fee charged by WePay for processing the payment. Set to “Payer” to charge fees to the person paying (Payer will pay amount + fees, payee will receive amount). Set to “Payee” to charge fees to the person receiving money (Payer will pay amount, Payee will receive amount – fees). Defaults to “Payer”.
- Accepted Card Logos – This controls the card logos that display during checkout. This is purely cosmetic and has no affect on the cards actually accepted by your merchant account.
- Debug Mode – Enable this if you are having issues correctly processing transactions. You can either log API requests / responses directly to the checkout / thank you page, save them to the WooCommerce Error Log (found under WooCommerce > System Status > Logs) or both. All debugging messages are cleaned of sensitive information before display, but as a best practice, please do not enable this unless you are having issues with the plugin.
Checkout Experience
↑ Back to topiFrame Checkout
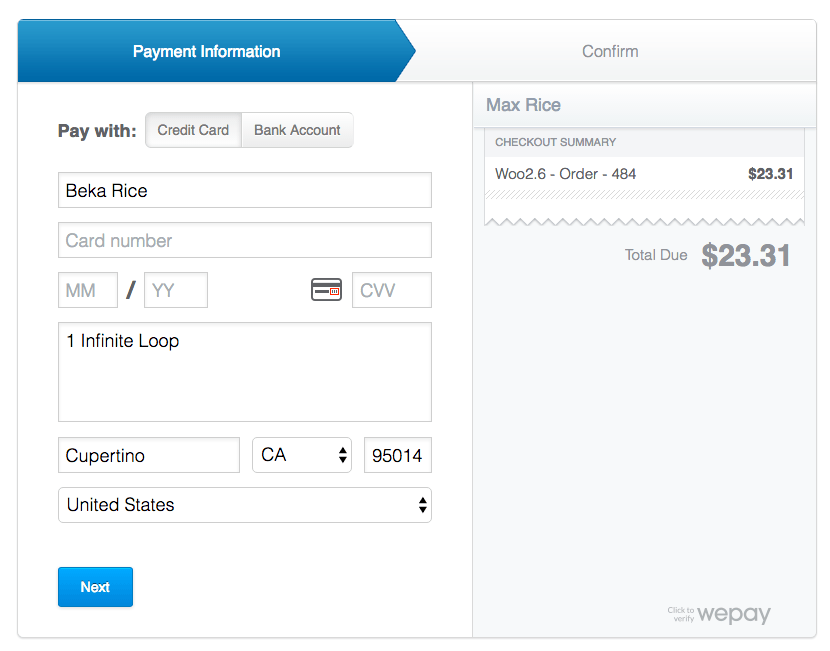
↑ Back to top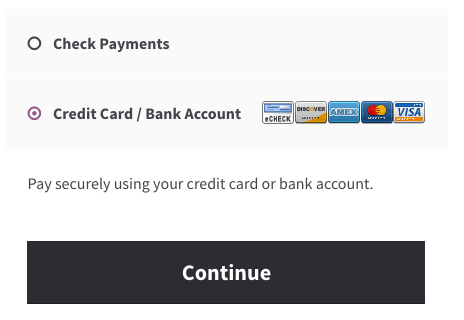 Customers will see an iframed payment form hosted on the “Pay for Order” page from WooCommerce.
 Once the customer enters payment information and places the order, the customer is directed to the “Order Received” page in WooCommerce.
Redirect Checkout
↑ Back to top
Customers will be taken the the hosted payment page at WePay, which contains only the payment form.
 Once the customer enters payment information then confirms the order, the customer is redirected to the “Order Received” page in WooCommerce.
Troubleshooting
↑ Back to top- Check that your Client ID, Client Secret, Access Token, and Account ID are correct.
- Double-check that your Client ID, Client Secret, Access Token, and Account ID are correct 😉
- Enable debug mode to the checkout page and review the errors messages that WePay is providing.
- Enable debug both to the logs and submit a support ticket, with the log found under WooCommerce > System Status > Logs as an attachment.