Introduction
↑ Back to topHaving a customizable eCommerce platform means that there are a lot of available settings to tweak. The Onboarding Wizard and Setup Checklist take you through all the necessary initial steps to set up your store and get it ready to start selling!
Immediately after activating the plugin, you are taken to the Onboarding Wizard. The store profiler will allow you to provide the most important details about your store: where is it based, what industry, which products, etc.
Once you’ve gone through the onboarding wizard, the setup checklist helps make sure that all aspects of your online store are ready to start selling.
Onboarding Wizard
↑ Back to topWelcome to Woo!
↑ Back to topIt’s wonderful to have you! We are excited to guide you through the setup process, which will help us customize your experience and ensure that it aligns perfectly with your needs and preferences.
Your input is invaluable, and we appreciate your time and collaboration as we embark on this exciting process together. Click on “Set up my Store” to go to the next step.

Which one of these best describes you?
↑ Back to topLet us know where you are in your commerce journey so we can tailor your experience. Are you just starting out in your commerce journey, selling online, selling offline, or both? Or you are setting up a store for your client?
In this step, please let us know where you stand in your commerce journey so that we can personalize your experience accordingly.

Tell us a bit about your store
↑ Back to topIn this step, please provide some information about your store. This information will be utilized to assist in setting up payments, shipping, and taxes for your store.

If the store location you specified does not match your current geolocation, a warning message may appear. This warning is designed to ensure accuracy and alignment between the store’s physical location and the setup process.
However, if you are indeed located elsewhere at the moment or if you are setting up a store for a client who is in a different location, you can safely ignore the warning and proceed by clicking on the “Continue” button to complete the setup process.

In this step, you can provide your email address and opt-in to receive tips, discounts, and recommendations from the Woo team.
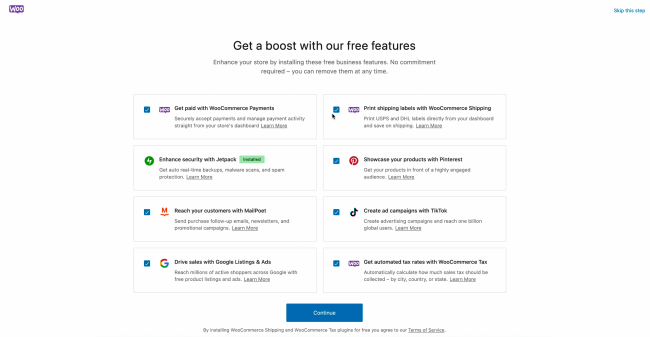
Get a boost with our Free Features
↑ Back to topBased on the information you provided in the previous steps, we will now recommend free business features that can be beneficial for your store. These features are designed to enhance your commerce journey, and the best part is that there is no commitment required.
You have the flexibility to remove any of these features at any time throughout your journey, ensuring that you have complete control over your store’s setup and customization.
Jetpack Connection
↑ Back to topIn this step, please connect your WordPress.com account so you can take advantage of the benefits offered by Jetpack.

Let’s Roll!
↑ Back to topOnce you completed the above steps, we will start rolling out your site with features. So sit back and relax and enjoy the fun facts about WooCommerce!


Skip Setup
↑ Back to topIf you skip the initial setup steps, please enter the location to set up your store.

Customize Your Store
↑ Back to topOnce you’ve finished the onboarding, you’ll have the option to customize your store. Using the WordPress Site Editing tools and patterns this helps you quickly design your store from the logo all the way down to the footer.
The first time you select Customize Your Store, you’ll see a screen where you can select an existing theme or create your design by selecting Start designing. Once you select Start designing, two things may happen;
- If your active theme is already Twenty Twenty-four, selecting Start designing will lead you directly to the new Pattern Assembler.
- If you’re on another theme, a prompt will guide you to switch to Twenty Twenty-Four and then on to the Pattern Assembler.
Once you’re in, you can first take a tour of the customization process and let it lead you through its features.
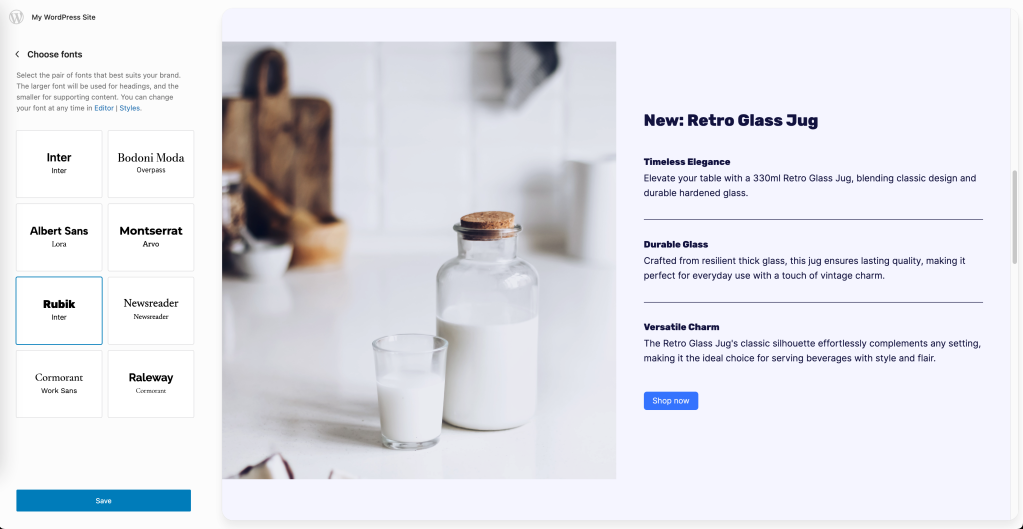
Style
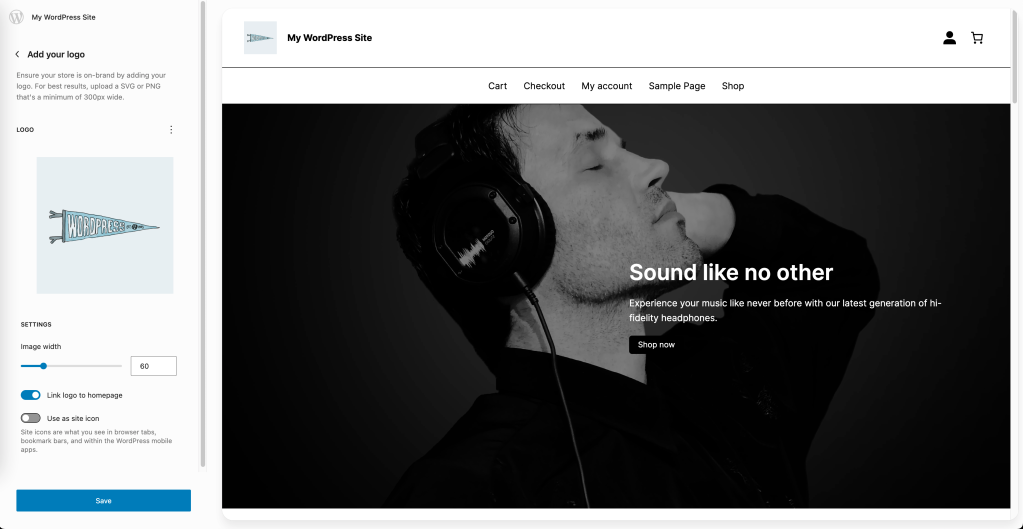
↑ Back to topAdd your logo
Add, delete, or replace your site’s logo to ensure it resonates with your brand.
Choose your color palette
Use one of the 18 predefined color pairings, or create your own to customize your site your way.

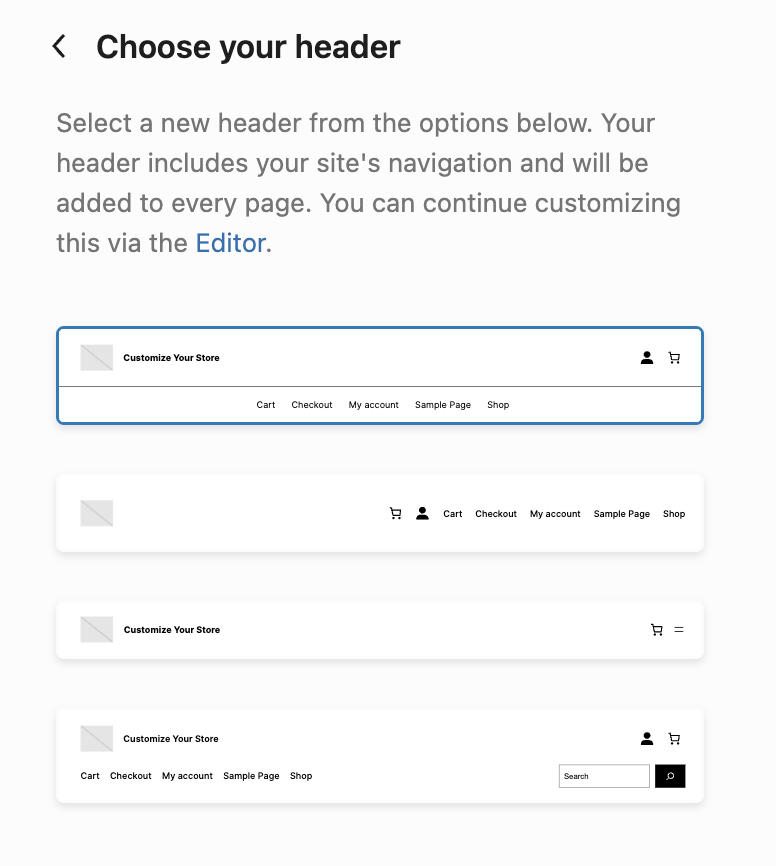
Layout
↑ Back to topIn the Layout section you can start by choosing a header pattern you’d like for your site. We include four ready made header patterns. These include common elemts like site logo, site title, customer account, and mini-cart blocks alongide a navigation menu.
Next you can design your homepage and choose a pattern that will best showcase your store and products. These blocks and patterns are easily edited to replaced with your own images and link to your own products once ready.
Finally you are able to choose from 3 footer patterns for your site. These often help include additional links, social icons, etc… Again the footer is easily edited and further customized if needed.
Once you’ve made all your choices you can select Save to publish your customizations. We’d love to hear from you so select the Share feedback button to do so. Otherwise view your store, add products, and continue to fine tune your design.


Store Setup Checklist
↑ Back to topAfter you finish or skip the Store Profiler stage you’ll have access to a list of the most important tasks that you need to complete to get your store up and running: products, payments, shipping, taxes, marketing and store personalization. You can skip the checklist whenever you want.
Add your first product
↑ Back to topIn this step we’ll guide you through the process of adding your first products using WooCommerce manually:
- Add manually. See the documentation on Adding and Managing Products in order to know what to expect during the steps of creating a product.
- Start with a template. You can choose to start with a pre-filled template of different product types: physical, digital, and variable products.
- Import. See the documentation on the built-in Product CSV Importer and Exporter in order to know what to expect when importing products. You can use this sample CSV file for products import testing.
- Migrate. See the documentation about the Cart2Cart extension to know more about using a product migration service.
- Import Sample Data. Not ready to commit to a product, but want to test out the store? Add in sample data to see what a store full of products might look like. See the documentation on the Importing WooCommerce Sample Data for instructions.

Choose your theme
↑ Back to topHere, we will help you get started with customizing your store’s look and feel.
The Add Themes page displays a variety of themes available from the WordPress.org theme repository. Select a theme from any shown, or you can of course always add another theme you’ve found and like. We have many premium themes available on the Woo Marketplace
Add shipping costs
↑ Back to topYou can confirm your store location or add it if you haven’t done it before. You can also set the shipping costs for your country and for the rest of the world as well. Shipping costs for the rest of the world are disabled by default, but can be enabled in this step.
If your store location is in the US, you can install WooCommerce Shipping and connect your store to wordpress.com to enable label printing at home.

Set up tax
↑ Back to topYou have three options available in this step: use WooCommerce Tax, use Avalara, set up taxes manually or not charging sales tax.

You can confirm your store location or add it if you haven’t done it before.

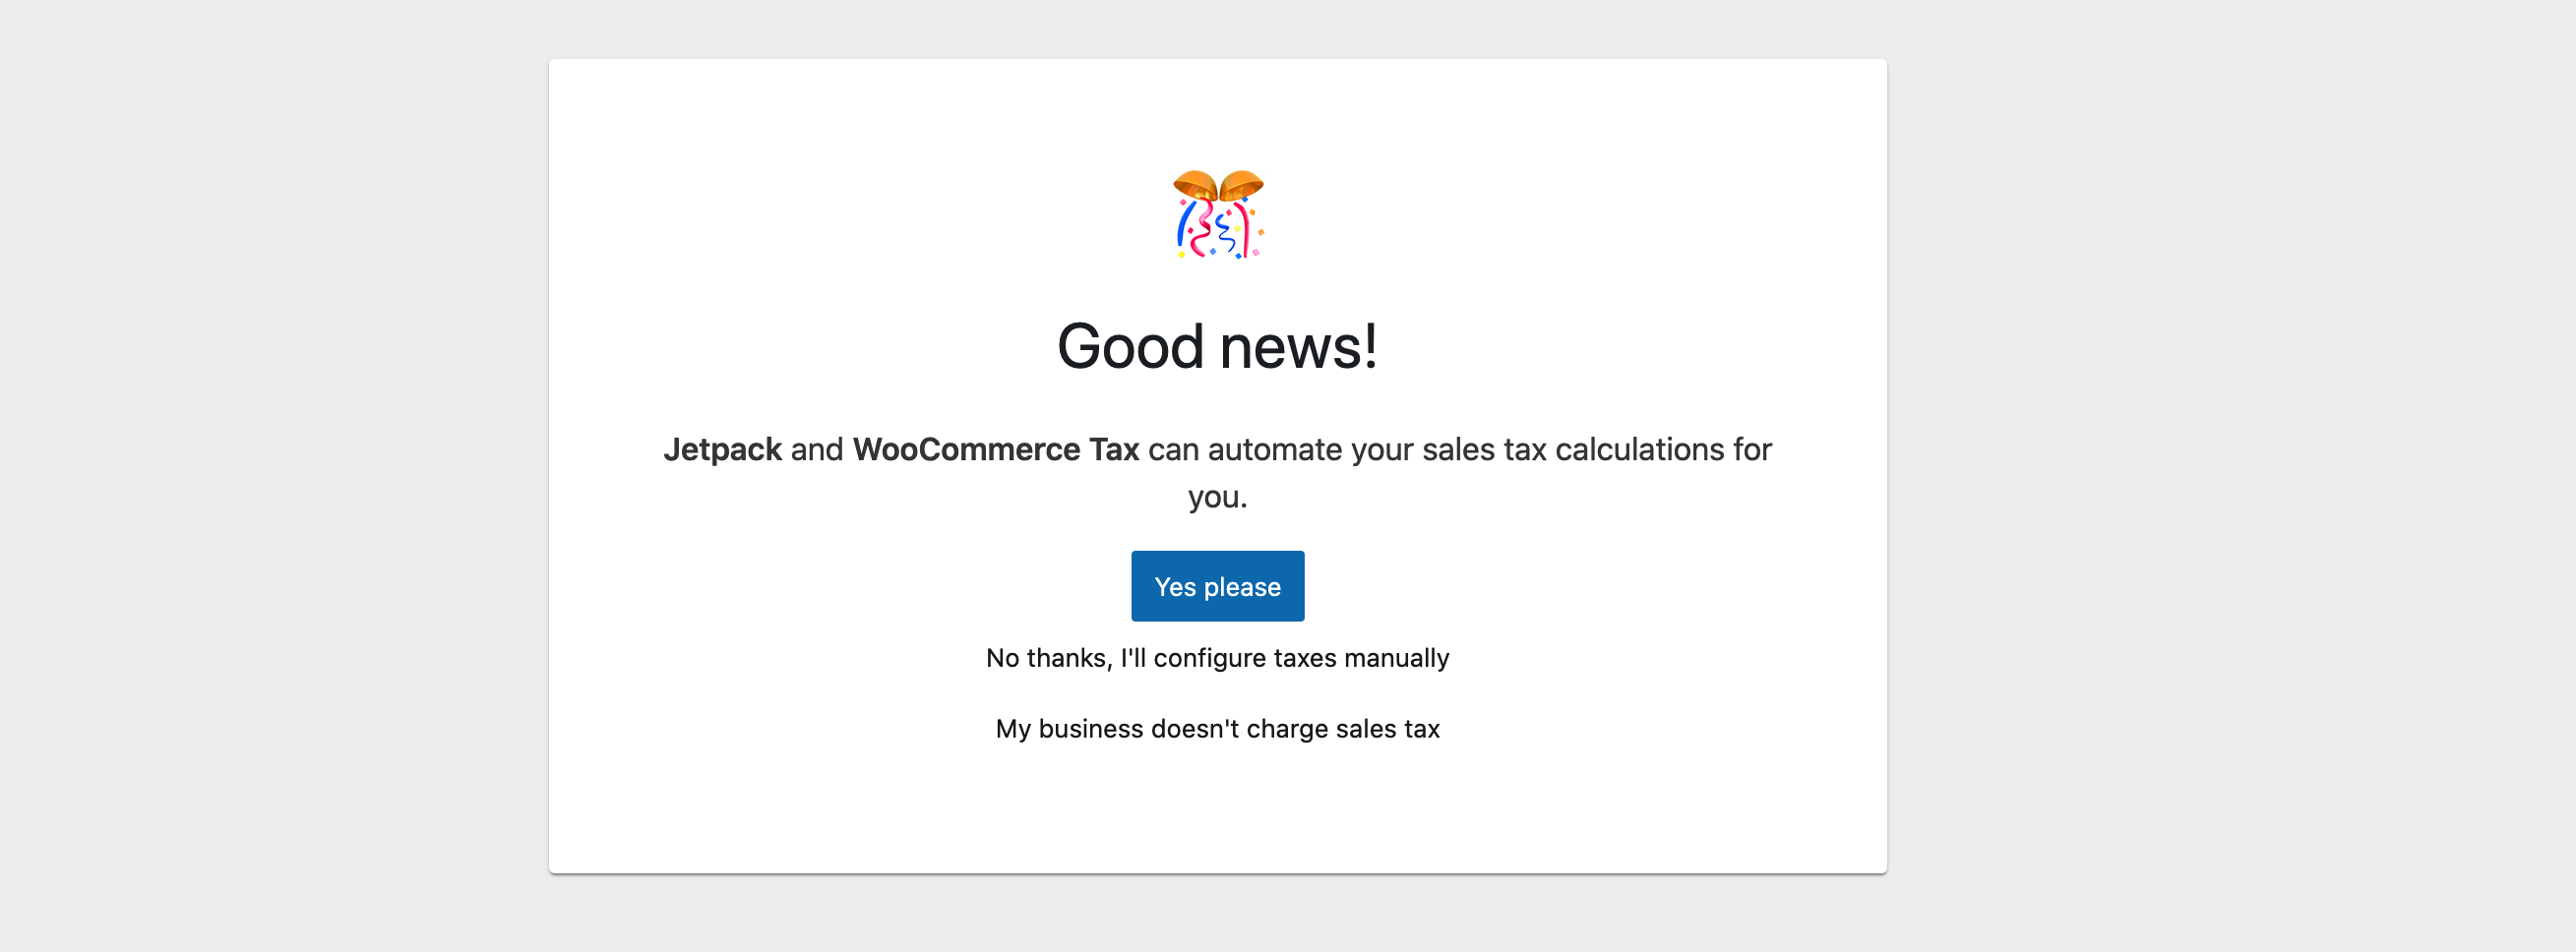
If you selected WooCommerce Tax and have Jetpack installed, you can start automatically calculating taxes by connecting your store to WordPress.com. Visit this page if you want to learn more automated taxes and the countries where it’s available.
If you select to connect your store, you’ll be redirected to the WordPress.com flow, so you can create an account or login to an existing account.

After you finish that process, you’ll be redirected to the tax task, where you can enable the automated taxes calculation by selecting “Yes please.”
If you choose to set up tax rates manually you will be redirected to the WooCommerce Settings. See the documentation on setting up taxes in WooCommerce to learn more about how to set them up manually.
Set up payments
↑ Back to topIn this step, you can select and activate one or more options to accept online payments and offline payments. All payments extensions are free and we automatically install and activate them upon selection.
In some payment gateways, such as WooPayments, Stripe, and PayPal, we help you create an account in the payment provider, go through the authentication flow and complete the process within this step, so you can start accepting payments right away.
There are a few possible scenarios, depending on where your store is located and the information you provided during the store profiler.
WooPayments is currently available in 15+ countries. You can see the availability here. If you have WooPayments pre-installed or if you install it during the Store profiler flow, we’ll display a specific task to finish the WooPayments setup.

If you live in another country than the United States you’ll have Stripe and PayPal at your disposal if these providers are available in your country. We also show other options, depending on your store country, such as: Square, Klarna, Mollie, PayFast, PayU, Razorpay, Mercado Pago, PayFast and Eway.
Through the Payments task, you can also easily set up offline payments, such as Cash on Delivery and Direct Bank Transfer.
Set up marketing tools
↑ Back to topThrough this step you can easily install and finish the set-up of our recommended marketing extensions: MailPoet, Google Listings & Ads, Mailchimp for WooCommerce and Creative Mail for WooCommerce.

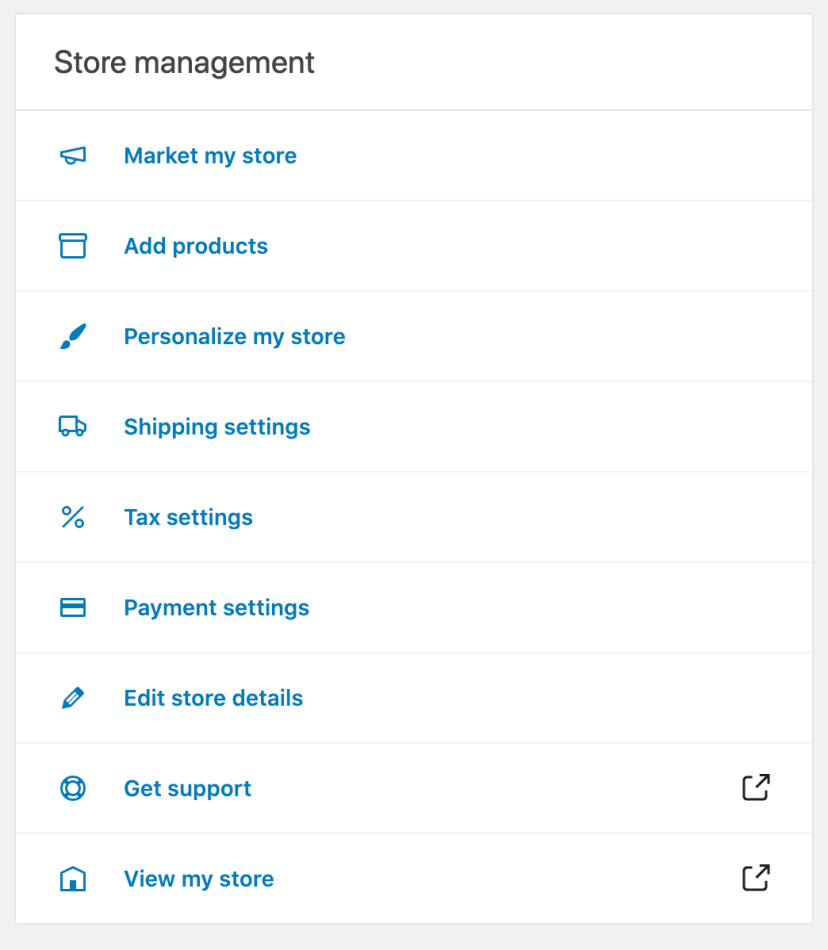
Store Management
↑ Back to topOnce you complete the Store Setup Checklist (or choose to hide it), it will be replaced by the Store Management widget, which contains useful links to most of the most used WooCommerce pages for managing your store.
Accessing the Onboarding Wizard and Setup Checklist
↑ Back to topIf at any point you’d like to return to the onboarding wizard or the setup checklist. For example, if you dismissed the Setup Checklist by accident. You can find them again by:
- Navigating to either the WooCommerce > Settings page or WooCommerce > Status page.
- In the top right corner of the screen, select the Help menu to toggle it open.
- In that Help menu select Setup wizard in the options on the left.
- Selecting said button to re-enter the Setup Wizard or Enable either the Task list or the Extended task list.
- After selecting one of the buttons, you’ll be taken to the relevant task list or to the beginning of the guided setup of the Onboarding Wizard.

Questions and Support
↑ Back to topDo you still have questions and need assistance?
This documentation is about the free, core WooCommerce plugin for which support is provided in our community forums on WordPress.org. Searching there you’ll often find that your question has been asked and answered before.
If you haven’t created a WordPress.org account to use the forums, here’s how.
- If you’re looking to extend the core functionality shown here, we recommend reviewing available extensions in the Woo Marketplace.
- Need ongoing advanced support, or a customization built for WooCommerce? Hire a WooExpert agency.
- Are you a developer building your own WooCommerce integration or extension? Check our Developer Resources.
If you weren’t able to find the information you need, please use the feedback thumbs below to let us know! 🙏