Legacy Widget
↑ Back to topAs of WordPress 5.8, the Block Widgets Editor replaces the previous widgets administration. The widget described here is available as a Legacy Widget when using the new Block Widgets Editor. However, to maintain full widget settings functionality, you must install the Classic Widgets plugin which restores the previous (“classic”) WordPress widgets settings screens.
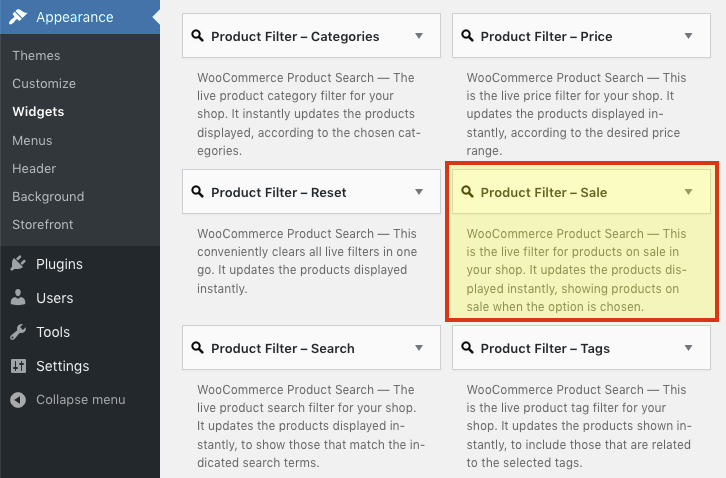
This page describes a Legacy Widget. With the Block Widgets Editor, we recommend to use the corresponding Product Filter – Sale block instead. See the Blocks page for an overview of all available blocks with the extension.
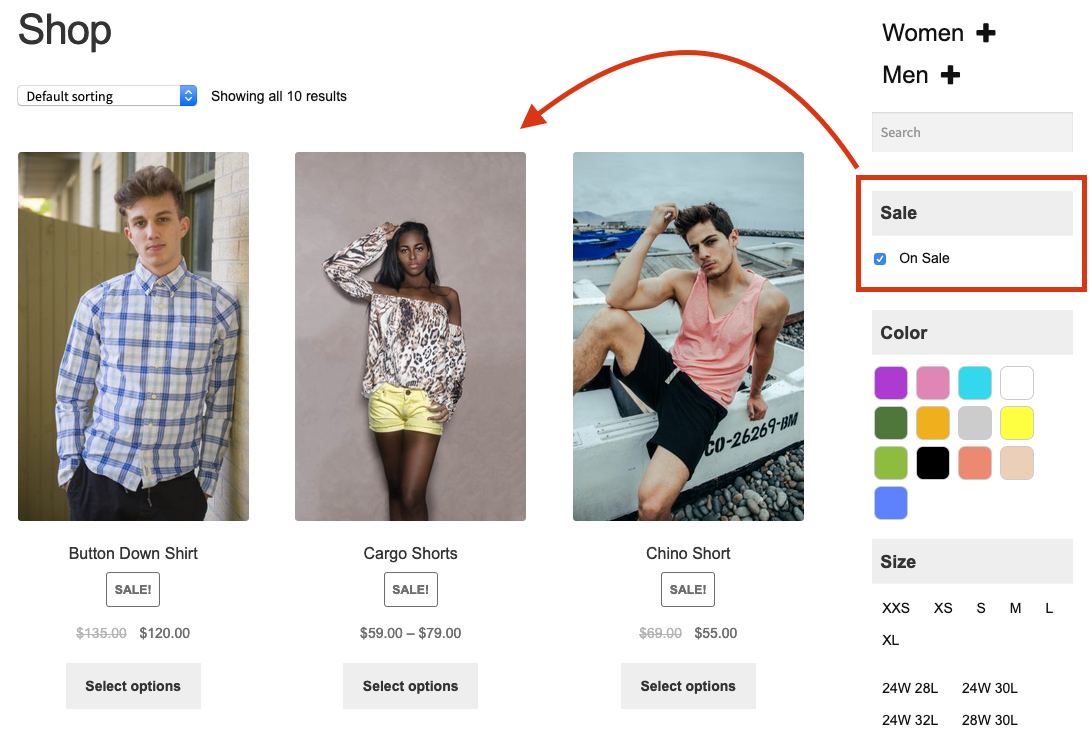
The WooCommerce Product Search extension features a great way for customers to find products which are on sale. Its Product Filter – Sale widget provides a live product filter, which allows to restrict the products that are displayed to those which are on sale.
 For this purpose, the filter displays a convenient option which visitors can simply click and then the shop page is updated to include only those products which are currently on sale. This also works in combination with any of the other live filters that come with the extension.
Settings
↑ Back to topHeading
↑ Back to top- Show heading – This option will display the heading.
- Heading – You can use a customized heading or leave it empty to use the default. The heading is displayed if there are eligible products on sale.
Display
↑ Back to top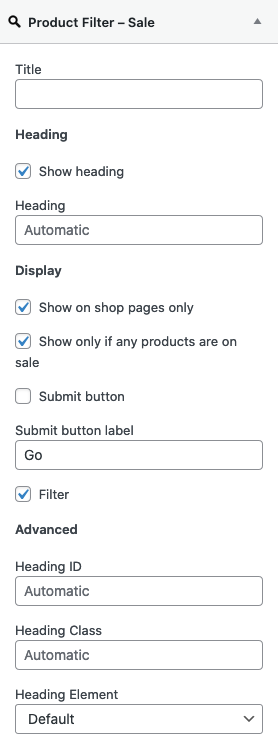
- Show on shop pages only – Use this option to display the widget on relevant shop pages only. That includes the shop page, product tag and product category pages etc. This is enabled by default.
- Show only if any products are on sale – This option is enabled by default.
- Submit button – Whether to show a submit button. This is disabled by default. It can make sense to enable the submit button when you choose to disable live filtering.
- Submit button label – Here you can input a customized label shown on the submit button.
- Filter – Whether to use live filtering. With this option enabled, clicking the checkbox or the link will take immediate effect and update the products displayed on the page without the need to reload it. With the option disabled, the visitor would have to either click the link or click the checkbox and hit the submit button. This option is enabled by default.
Advanced
↑ Back to top- Heading ID – The ID used for the HTML element of the heading.
- Heading Class – The class used for the HTML element of the heading.
- Heading Element – The HTML heading element.
Linking directly to Products on Sale
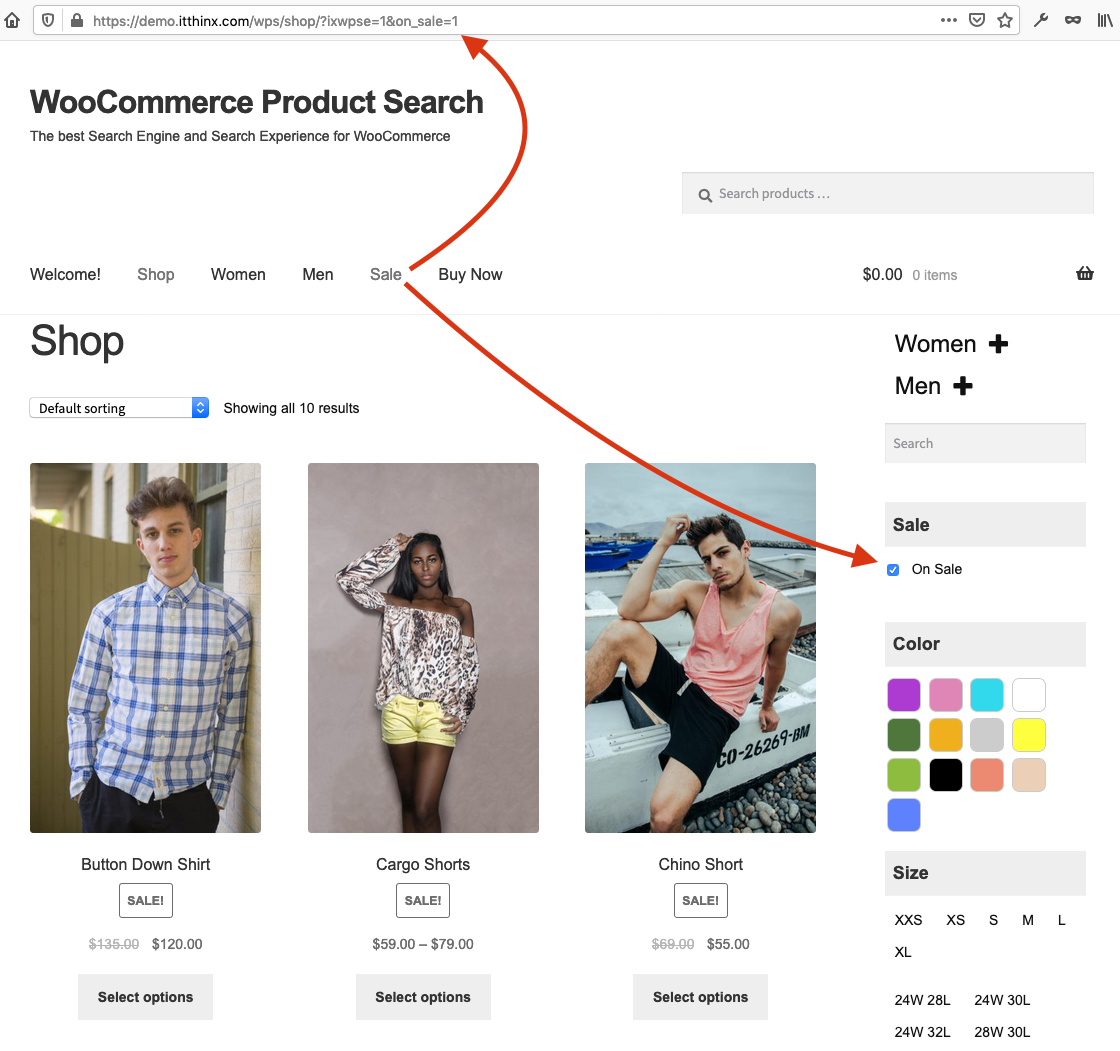
↑ Back to topixwpse=1 and on_sale=1 to the desired URL.
For example, if your shop’s URL is at …
https://www.example.com/shop/
https://www.example.com/shop/?ixwpse=1&on_sale=1
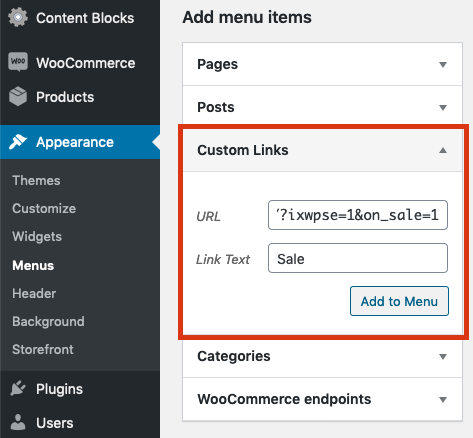 Once the link has been added to the menu, your customers have a convenient way to get directly to the current deals in your shop:
 You can still allow your customers to switch back to include any products, i.e. also those that are not on sale, just make sure that you have added the Product Filter – Sale widget to your shop’s sidebar, or alternatively, you can add it with the [woocommerce_product_filter_sale] shortcode so that they are offered the choice.
Notes
↑ Back to tophttp://www.example.com/shop/?orderby=price-desc#highlight
http://www.example.com/shop/?orderby=price-desc&ixwpse=1&on_sale=1#highlight