Installation
↑ Back to top- Download the .zip file from your WooCommerce account.
- Go to: WordPress Admin > Plugins > Add New and Upload Plugin with the file you downloaded with Choose File.
- Install Now and Activate the extension.
More information at: Install and Activate Plugins/Extensions.
Setup & Configuration
↑ Back to topThe next step is to connect the plugin to your Google Merchant Center account.
- Open your WordPress dashboard and then go to: WooCommerce > Settings. The General Settings page displays.

- At the top of the General Settings page, click the Integration tab and then click the Google Merchant Center Integration link. The Integration page displays.

Merchant Settings
↑ Back to top- Log in to your Google Merchant Center account and copy your merchant ID. (It’s in the top right corner of the screen after you log in.)
- Return to the Integration page on your WordPress site and paste the merchant ID into the field.

- Click the drop-down menu to select a language. We recommend Auto-detect unless you have a specific language need.
Survey opt-in settings
↑ Back to topThe survey popup box appears on the user’s screen after they have completed the checkout process. It asks the user to participate in a short survey that rates their purchase experience.
You can customize the location of the survey popup box on the user’s screen and the timing of the request.
- Important: The default survey asks users to rate the transaction and website experience. It does not ask for a product review. If you want the survey to include a product review, see below (Optional: Request Product Reviews – GTIN Integration).
- Click the Popup Position drop-down menu and then select a position.

- Use the Up-Down arrows to select the message delivery date.

Estimated Delivery is the number of days after the user completes the checkout process. In most cases the review request should be timed with the delivery of the physical product to the customer.
Optional: Request Product Reviews – GTIN Integration
↑ Back to topIf you want the user survey sent to customers by Google to include product reviews, then check the Enable GTIN Integration box Learn more about GTINs here.
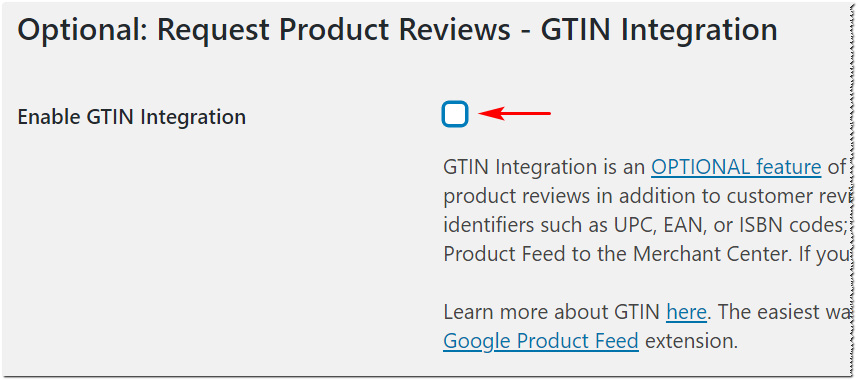
If you don’t have a product GTIN, we suggest you uncheck the Enable GTIN Integration box
- Important: Having a product GTIN doesn’t mean Google automatically collects reviews for you. You need to set up and upload a Google Product Feed for this feature to work. We recommend the Google Product Feed extension. It’s the easiest way to create a product feed for your WooCommerce store.
Adding GTINs
↑ Back to topTo enable the survey to collect product reviews, your products must have a unique product identifier called a GTIN (Global Trade Item Number). Most products have a GTIN, but not all. There are various kinds of GTINs; UPCs and ISBNs are two common examples.
- Learn how to find the GTIN for your product here.
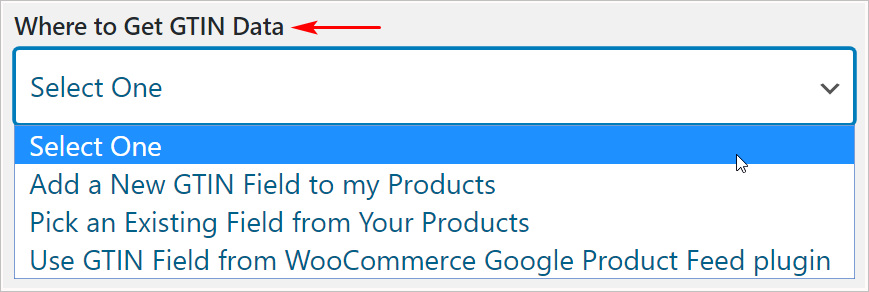
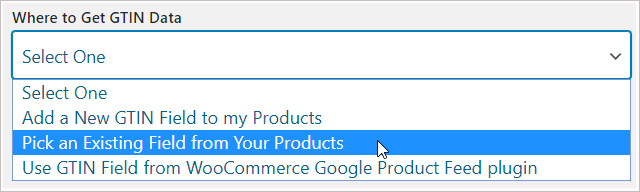
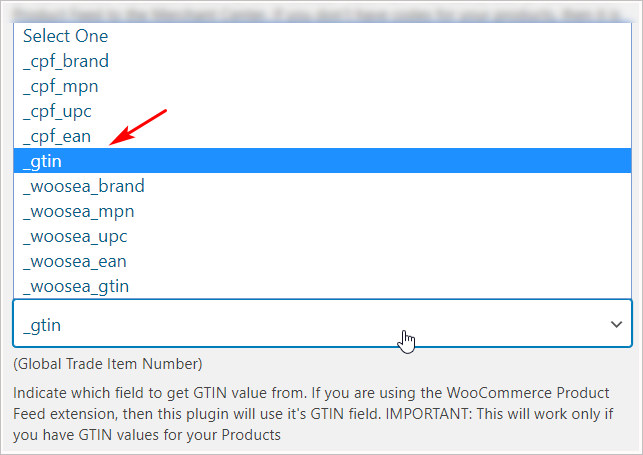
If you checked the “Enable GTIN Integration” box, you will be prompted to indicate where to get the GTIN from. Click the Where to Get GTIN data drop-down menu and then select the appropriate option. Each option is described below.
- Add a New GTIN Field to my Products
1. Have this Plugin Add a New GTIN Field to my Products
↑ Back to topThis option is ideal for users who are submitting a Google Product Feed to the Merchant Center using Google Sheets.
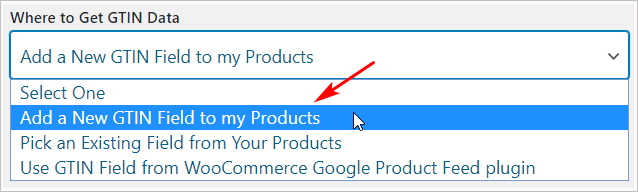
- Select Add a New GTIN Field to my Products in the drop-down menu.
- Scroll down to the bottom of the page and then click Save Changes.
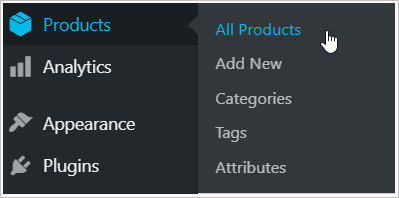
- On the dashboard menu, select Products>All Products. The Products page displays.
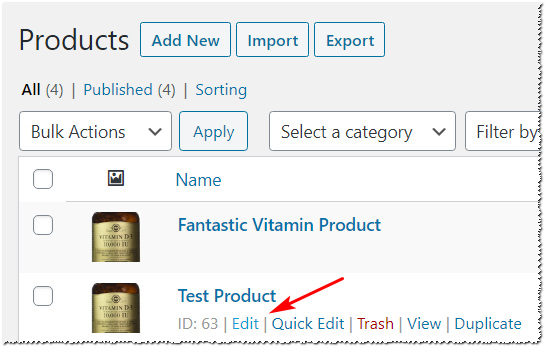
- On the Products page, hover the mouse pointer on the product that needs a GTIN and then click Edit. The Edit Product page displays.
- Scroll down the Edit Product page to the Product data section and locate the product type.
1.1 Understanding product types
This extension automatically adds GTIN fields for Simple and Variable products.
- Simple product means there is only one option for sale.
- Variable product means the product comes in different options (e.g. color, size, flavor, etc). Each option is a different product and has a unique GTIN.
Simple Products
- The GTIN field for a Simple product will be added under the “Inventory” tab.
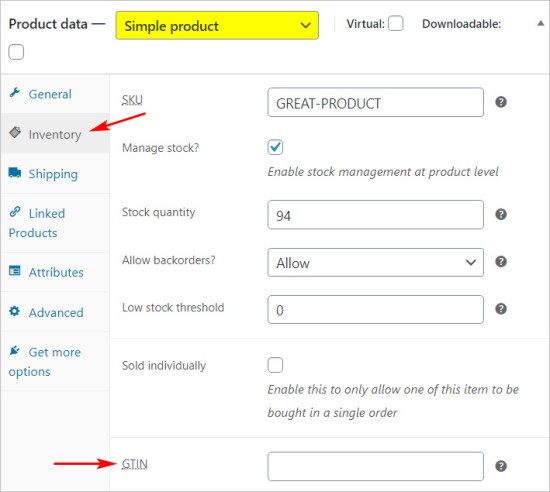
- Enter a GTIN in the field (e.g. ISBN, UPC, etc).
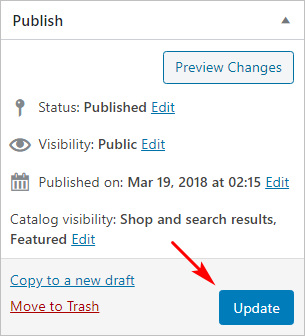
- Click the Update button on the right side of the screen.
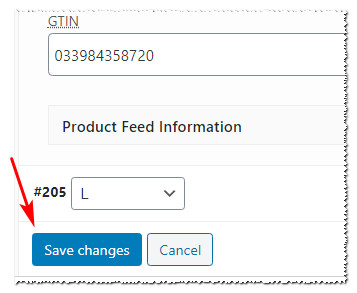
Variable Products
GTIN for variable products will be added under each variation of your product.

- Choose one product option by clicking the space beside its drop-down menu. A new inventory panel displays.

- In the new inventory panel, enter the GTIN number in the field.
- Click the Save Changes button.
- Repeat process for each product option.
- When complete, click the Update button on the right side of the screen.

2. Pick an GTIN Existing Field Generated by Another Plugin
↑ Back to topThis option may be suitable if your store uses another plugin to add GTIN fields to your products.
- Click the drop-down menu and then select Pick an Existing field from Your Products. A new drop-down menu displays.
- On the drop-down menu, select the custom field that holds GTIN data.
- Then select the field where your existing GTIN data is found.
- Click Save changes at the bottom of the page.
- Click the Update button on the right side of the screen.
3. Use GTIN Field from the WooCommerce Google Product Feed plugin
↑ Back to topThis option gets the GTIN data from the WooCommerce Google Product Feed extension. To learn more about this plugin, click here.

- Important: If you did not purchase or activate this plugin, this option does not appear in the drop-down menu. If you purchased and activated this plugin, this option appears in the drop-down menu (as shown in the above image).
No other work is required. The GTIN number for each simple and variable product is automatically selected from your products.
Optional: Google Reviews Desktop Badge Settings
↑ Back to topThis feature places the Google Customer Reviews badge on your website. Once your store has reviews as well as a rating, it will look like this:

Before you can display a badge on your website, you need an approved Google Merchant Center account and Google Customer Reviews account.
Your Google Customer Reviews badge will state “Rating not available” in lieu of a rating (i.e. the numerical value and star rating).

A minimum of 100 unique customer reviews is required to establish a seller rating.
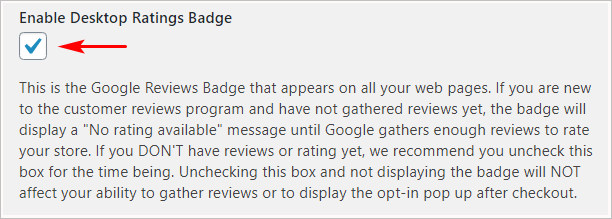
If you DON’T have reviews and/or haven’t been assigned a rating yet, we recommend you uncheck this box for the time being. Unchecking this box and not displaying the badge will NOT affect your ability to gather reviews or to display the opt-in pop up after checkout.
Has Google Rated Your Store?
↑ Back to topImportant: This drop-down menu has no effect on your customers’ ability to create or submit reviews. When the menu is set to NO, three links appear under the menu. These links provide access to Google account information.
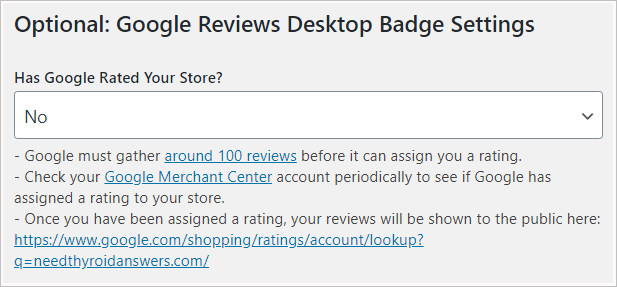
The third link below the drop-down menu directs you to a page that shows any published reviews. This is useful because it allows you to check if your site has been rated yet.
Once your site receives a rating and your customers’ reviews are displayed on the public link, you should change the dropdown selection to “Yes”,
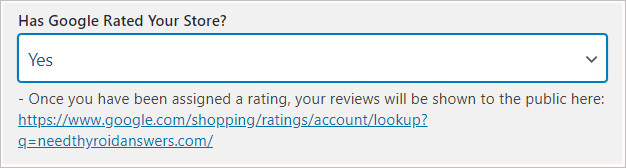
When set to Yes, your Mobile badge and your Google Reviews shortcode will link to your reviews page on Google shopping.
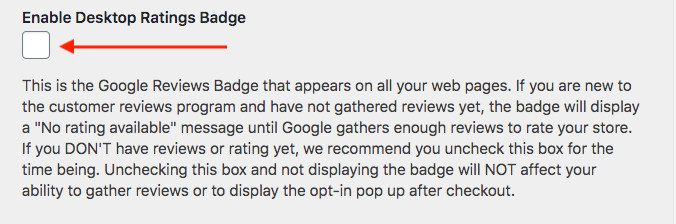
Enabling the desktop ratings badge
↑ Back to topThis check box controls the Google Ratings badge display on desktop computers. This feature does not display a badge on mobile devices; see below for a mobile device solution.
- Check the box to display the Google Ratings badge.
- Uncheck the box to remove the badge from public display.
- Important: Unchecking the box will not affect the Survey Opt-In pop-up nor your ability to collect reviews.
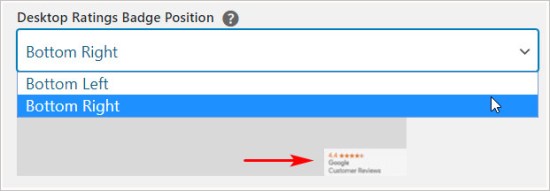
Positioning the desktop ratings badge
Use this setting to change the location of the Google Ratings badge on desktop computers.
There are two placement options: the bottom right or bottom left corner of a desktop computer monitor.
- Important: This feature is available only when the Enable Desktop Ratings Badge box is checked.
- Click the drop-down menu.
- Select either Bottom Left or Bottom Right.
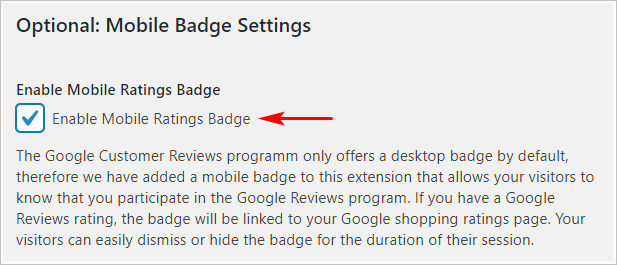
Optional: Mobile Badge Settings
↑ Back to topThe Google Ratings program doesn’t display badges on mobile devices. This extension features a unique mobile badge that lets the user know that your site is participating in the Google Reviews program. When your store has a rating, this mobile badge is linked to your reviews page on Google Shopping.
Enabling a mobile ratings badge
↑ Back to top- Check “Enable Mobile Ratings Badge”
- Uncheck the box to hide the badge.
- Important: The mobile badge enable/disable settings do not affect the desktop site badge.
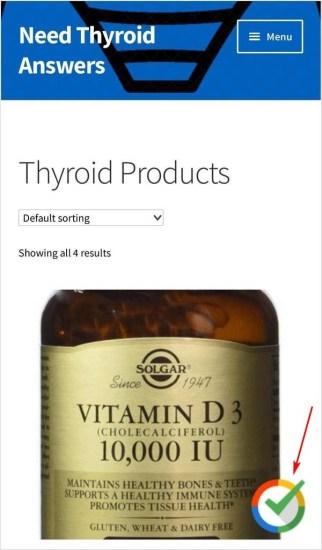
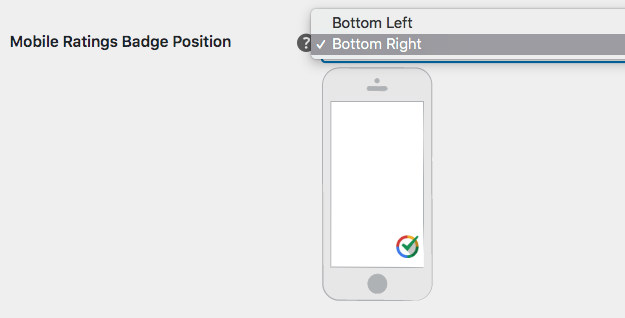
When the box is checked, a small icon with a check mark appears at the bottom of the user’s mobile device screen, as shown in the image below.
Mobile Ratings Badge Position
↑ Back to topIndicate whether you want to display the mobile badge on the left or right of the screen.
What happens when a customer taps the mobile badge?
↑ Back to topThe behavior of the mobile badge depends on a previously discussed checkbox. That checkbox is under the heading: Optional: Google Reviews Desktop Badge Settings.

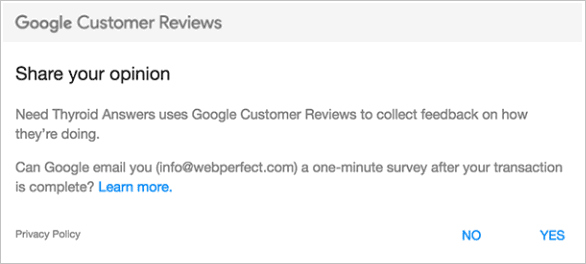
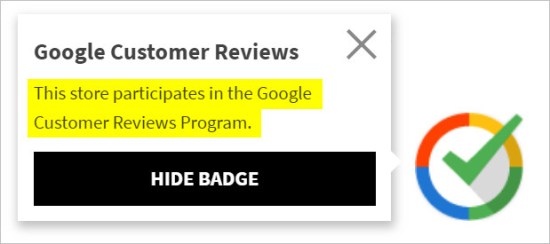
When the drop-down menu is set to No, a tap on the mobile badge activates a simple message with no link to the customer ratings page. The image below shows that message.
When the drop-down menu is set to Yes, a tap on the badge displays a message informing the user how to view the site’s customer ratings. The image below shows that message.

Google Reviews badge shortcode
This feature is unique to this extension. It uses shortcodes to let you place a Google Customer Reviews custom badge anywhere on your site. Many store owners place this image in their site’s footer. This feature is also available as a widget. These images are visible on desktop computers and mobile devices.
There are two badge options. Each option has a unique shortcode:
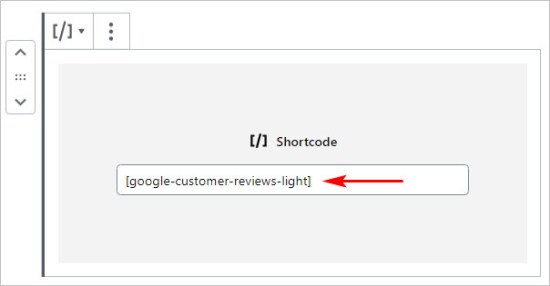
- light background: [google-customer-reviews-light]

- dark background: [google-customer-reviews-dark]

Placing shortcode on a page or post
↑ Back to top- Copy the shortcode, including the square brackets, for a badge (as shown above).
- Open a WordPress page.
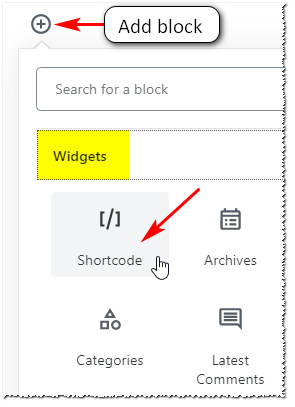
- On a WordPress page, click the Add block button. A menu displays.
- Scroll down the menu and open the Widget tab.
- Select Shortcode. A shortcode block displays on the page.
- With the shortcode block selected, paste the shortcode into the field.
- Click Save draft and then Preview to see your work.
Using a Widget to add the Google Reviews Logo
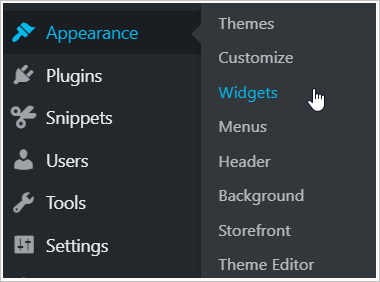
↑ Back to top- On the WordPress dashboard, select Appearance > Widgets. The Widgets page displays.
- On the Widgets page, locate the Google Merchant Center Customer Reviews widget.

- Drag the widget to a box on the right side of the page. In the image below, we place the widget inside Footer Column 1 or any other widgetized area of your choice.

- Click the arrow to expand the widget.
- Click the drop-down menu to select a background option: Light or Dark.
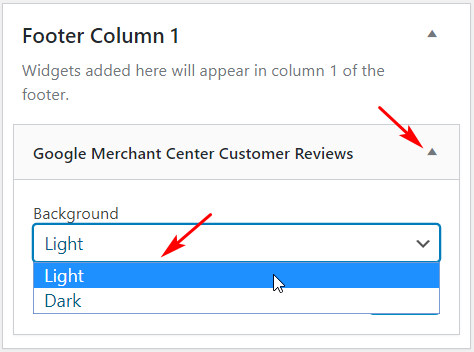
- Click the Save button.
What happens if a customer clicks the badge?
↑ Back to topThe behavior of the badge depends on a previously discussed checkbox. That checkbox is under the heading: Optional: Google Reviews Desktop Badge Settings.
When the drop-down menu is set to No, the badge doesn’t have an active link.

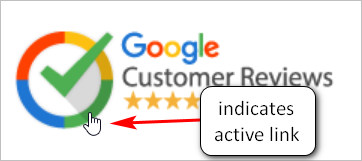
When the drop-down menu is set to Yes, the badge has an active link. When clicked, the customer ratings page opens in a new browser tab.
FAQ
↑ Back to topMy badge and survey opt-in pop-up are not displaying.
↑ Back to topMake sure you have enabled the Customer Reviews program in your Google Merchant account.
To verify that you have enabled Customer Reviews:
- Log in to your Google Merchant Center account.
- On the left dashboard menu click Growth > Manage programs. The Manage programs page displays.
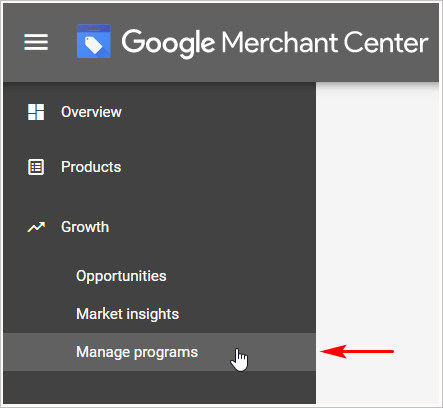
- Scroll down to the Customer Reviews panel and then click Enable. A new page displays.
- Read the text on the Google Customer Reviews program agreement.
- At the bottom of the page, check the agreement box and then click the Save & Continue button.
- Also make sure your business information is accurate and complete.

- Important: You might need to wait up to 24 hours for the program to be enabled and your badge and survey to start displaying.
How do I get a Google merchant account?
↑ Back to topVisit the Google Merchant Center page and sign up for a free account.
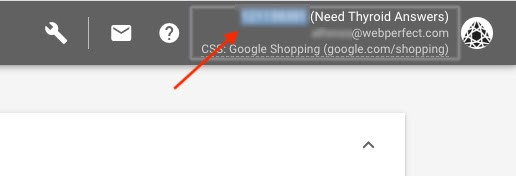
Where can I find my Google merchant ID?
↑ Back to top- Log in to your Google Merchant Center account.
- Look at the top right corner of the screen.
- Your account ID number is near the wrench.

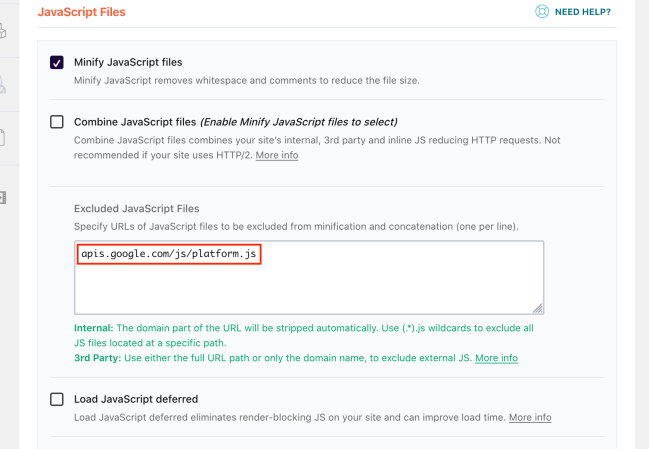
The Reviews Opt-In Pop Up does not Show Up
↑ Back to topThe Google Customer Reviews program loads apis.google.com/js/platform.js on the order confirmation page.
If you are using performance plugins like WP-Rocket, it is possible that JS is being blocked. Try adding apis.google.com/js/platform.js to the exclusions in your performance plugin. The screenshot below if from WP-Rocket and it shows how to exclude the file from getting blocked.