This product has been retired and is no longer for sale. Please use the free plugin from Constant Contact as a replacement.
Overview
↑ Back to topInstallation
↑ Back to top- Download the extension from your WooCommerce dashboard
- Goto Plugins > Add New > Upload and select the ZIP file you just downloaded
- Click Install Now, and then Activate
- Click the Configure link and read the next section to learn how to setup and configure the plugin.
This extension requires a Constant Contact account, WooCommerce 2.3 or newer, and cURL installed on your server (don’t worry, most servers have this by default)
Setup and Configuration
↑ Back to topThis plugin uses the Constant Contact v1 API, so v2 API keys should not be used until you see a notice about upgrading in the changelog.
These instructions on obtaining API keys are for the v1 API.
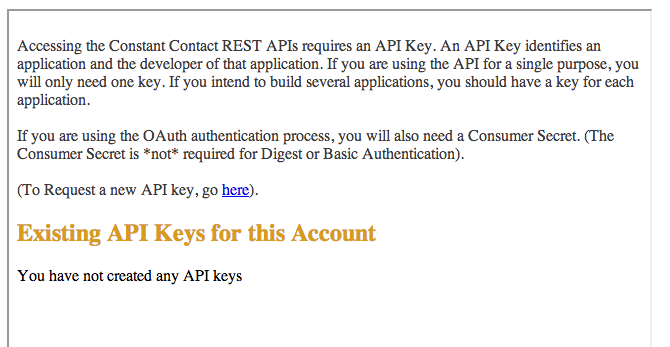
To get started, go here and login with your Constant Contact username and password:
 Next, click the link to request a new API key:
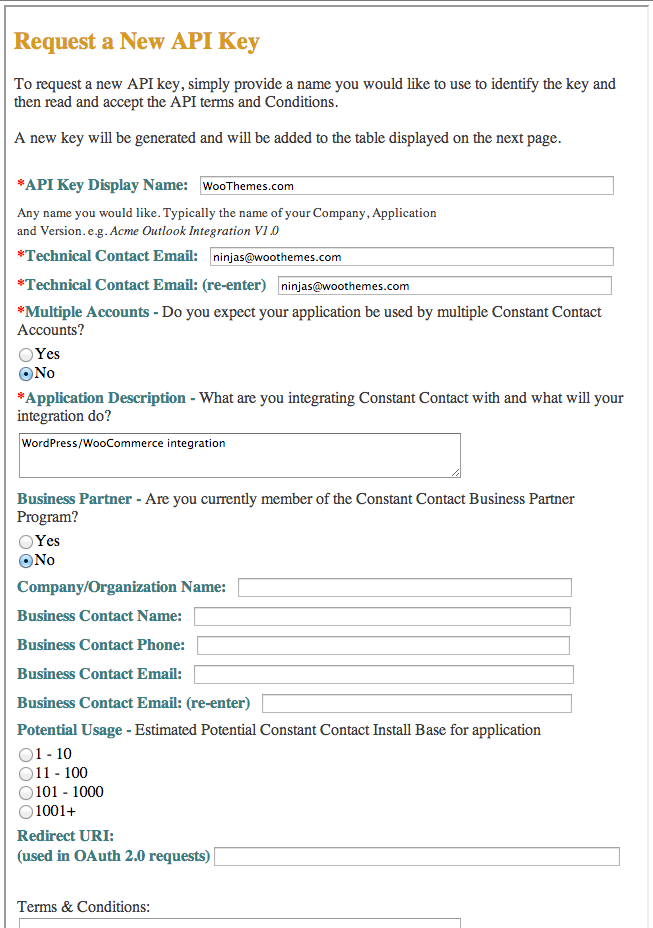
 Now, enter your website address for the display name, your email for the technical contact, and enter “WordPress/WooCommerce Integration” for the Application Description. You may leave the rest of the fields blank.
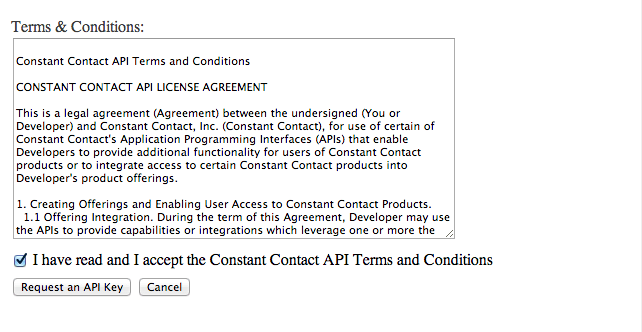
 Submit the form, and check the box on the next page to agree to the terms, then hit “Request an API Key”:
 Now, copy the Key listed on the next page:
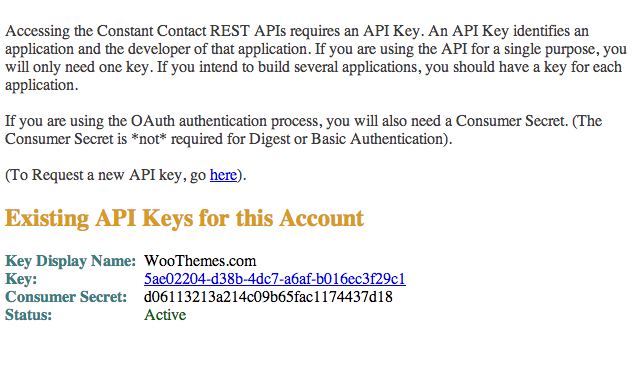 Then paste it into the API Key text box under WooCommerce > Settings > Constant Contact:
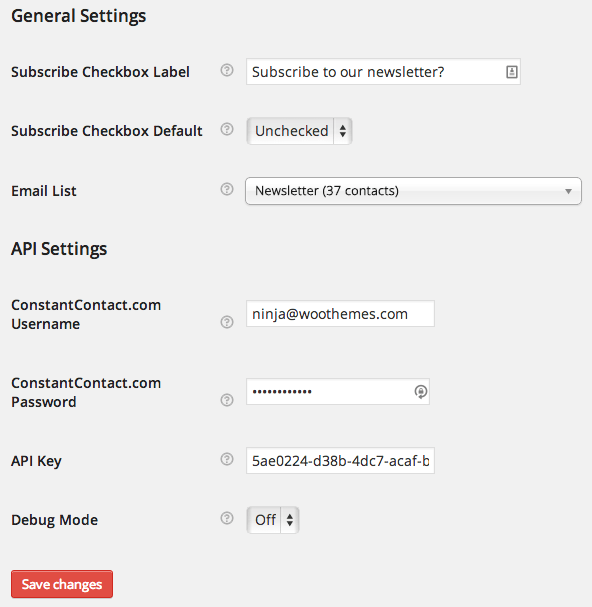
Extension Settings
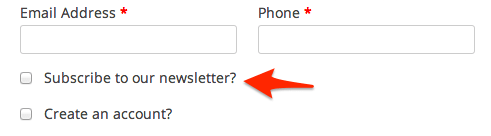
↑ Back to top- Subscribe Checkbox Label – This is the text that appears to the signup checkbox on checkout, which by default looks like:
- Subscribe Checkbox Default – Choose whether the signup checkbox is checked or unchecked by default.
- Email List – Choose the Constant Contact email list that email addresses will be added to when a customer has opted in during checkout.
- ConstantContact.com Username – This is the username that you use to log into constantcontact.com.
- ConstantContact.com Password – This is the password that you use to log into constantcontact.com.
- API Key – This is the API key obtained by following the process detailed above.
- Debug Mode – Turn this on if you are having issues. Any errors will be logged to the WooCommerce error log, which you can submit along with a support ticket.
Functionality
↑ Back to topCheckout Signup
↑ Back to top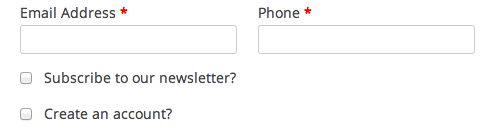
Order Received Signup
↑ Back to top

Widget Signup Form
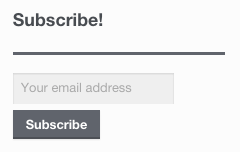
↑ Back to top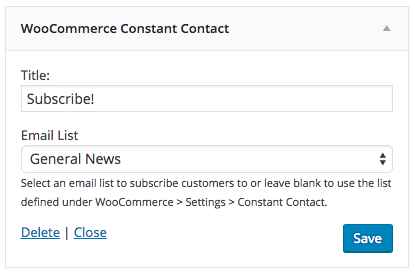 Remember that you must have entered your username/password/API key on the settings page first before using this widget. You can change the title and the list that email signups are added to. Once you’ve set this up and hit “Save”, your widget will appear like this:
Troubleshooting
↑ Back to top- Check that your Constant Contact Username, Password, and API Key are correct.
- Double-check that your Constant Contact Username, Password, and API Key are correct. 😉
- Enable debug mode and check the WooCommerce error logs (under
/wp-content/woocommerce/logs/constant-contact.txt) for any obvious error messages. - Submit a support ticket, with the constant-contact.txt log as an attachment.
For Developers
↑ Back to topActions/Filters
↑ Back to topapply_filters( 'wc_constant_contact_order_received_button_text', __( 'Subscribe Now', WC_Constant_Contact::TEXT_DOMAIN ) )
Use this filter to change the button text for the signup message on the order received page.
apply_filters( 'wc_constant_contact_order_received_subscribe_message', $message, $order_id )
Use this filter to completely change the HTML of the signup message on the order received page. Do not change the button anchor ID or the AJAX signup will not work.
apply_filters( 'wc_constant_contact_order_received_subscribe_success_message', __( 'Thanks for subscribing!', WC_Constant_Contact::TEXT_DOMAIN ) )
Use this filter to change the message that is displayed when a customer signs up on the order received page.