Heads up! We’ve retired this plugin in favor of a new Authorize.Net plugin with the latest features.
- If you are a new customer, please check out our WooCommerce Authorize.Net plugin.
- If you are a current Authorize.Net Accept Hosted / SIM user, please click here for instructions on upgrading to the new plugin.
Overview
↑ Back to topRequirements
↑ Back to top- WooCommerce 2.6+
- PHP 5.3+ (You can view this under WooCommerce > Status)
- An SSL certificate (if using Accept Hosted)
Gateway Comparison
↑ Back to top
| Legacy SIM | Accept Hosted | |
|---|---|---|
| PCI Compliance level | SAQ A | SAQ A |
| Requires SSL certificate? | No | Yes |
| Supported API1 | No | Yes |
| Payment type | Off-site | iFrame (pay page) |
| Keep customers on your site? | No | Yes |
| Supports eChecks? | Yes | Yes |
| Supports captures, refunds, voids in WooCommerce | Yes | Yes |
| Supports detailed decline messages | Yes | Yes |
Installation
↑ Back to top- Download the extension from your WooCommerce dashboard
- Go to Plugins > Add New > Upload and select the ZIP file you just downloaded
- Click Install Now, and then Activate
- Go to WooCommerce > Settings > Checkout > Authorize.Net and read the next section to learn how to setup and configure the plugin.
Setup & Configuration
↑ Back to topGet API Credentials
↑ Back to topThis process will be very similar regardless of which gateway mode you use.
-
- Go to Authorize.Net
- Click on “Sign In” and “Merchants” on the top-right
- Enter your Login ID and Password then press Log In
- From your home page, click on the Account Menu

-
- In the left hand menu Account section click on “Settings”

-
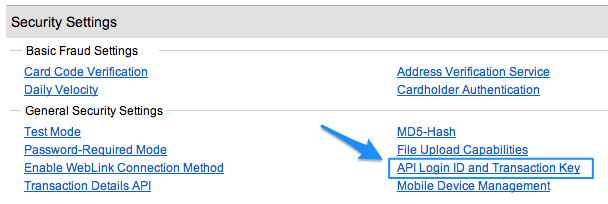
- In the Security Settings section click on “API Login and Transaction Key”
-
- Your API Login ID will be displayed on this page, which will be copied and entered in the extension settings:
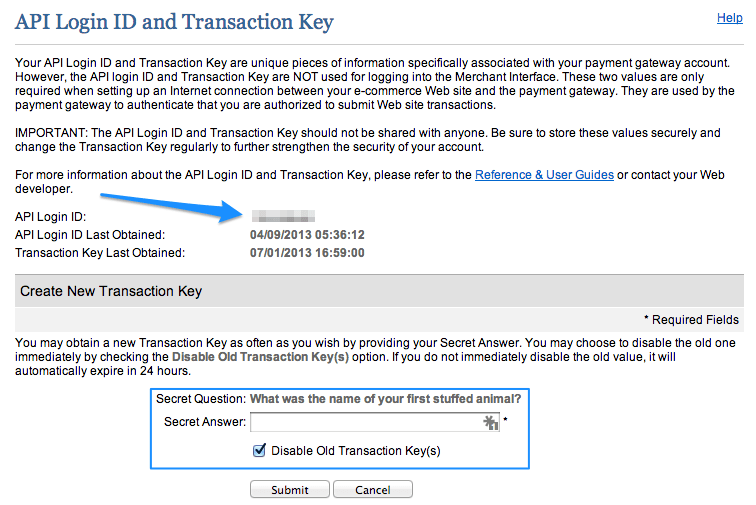
- To create a new Transaction Key, answer the security question at the bottom of the page, check the “Disable Old transaction Key(s)” checkbox and press Submit.
- Your new Transaction Key will be displayed on the next page – copy this transaction key, and enter it along with the API Login on the extension settings page.
- If you’re using Accept Hosted, you’re done!
- If using Legacy SIM, you have one more step — you need to create an MD5-hash. This is not optional.
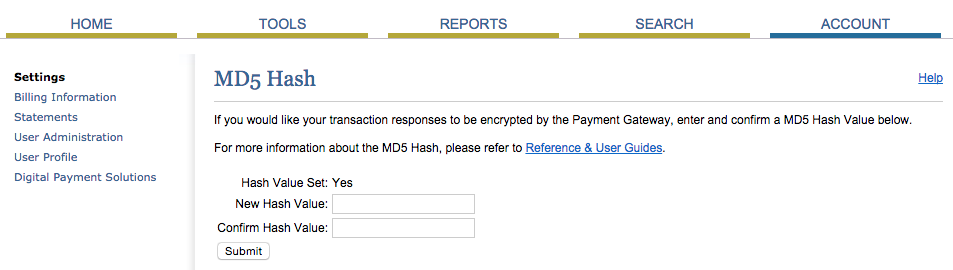
Go back to Accounts > Settings and click on the “MD5-Hash” item:

- If you already have an MD5-Hash, it will not be shown again. You can enter the existing hash in the plugin settings if you’ve saved it. If not, you’ll need to generate a new hash, and save it anywhere you’ve used your MD5-Hash (such as another store).On the MD5-Hash page, enter a word or string of numbers (basically, a password) for your MD5-Hash. We recommend using a strong, random password. You can generate one with something like LastPass or a password generator.
- Save this MD5-Hash in the plugin settings as well to complete the credentials needed.
Credit Card Settings
↑ Back to topGeneral Settings
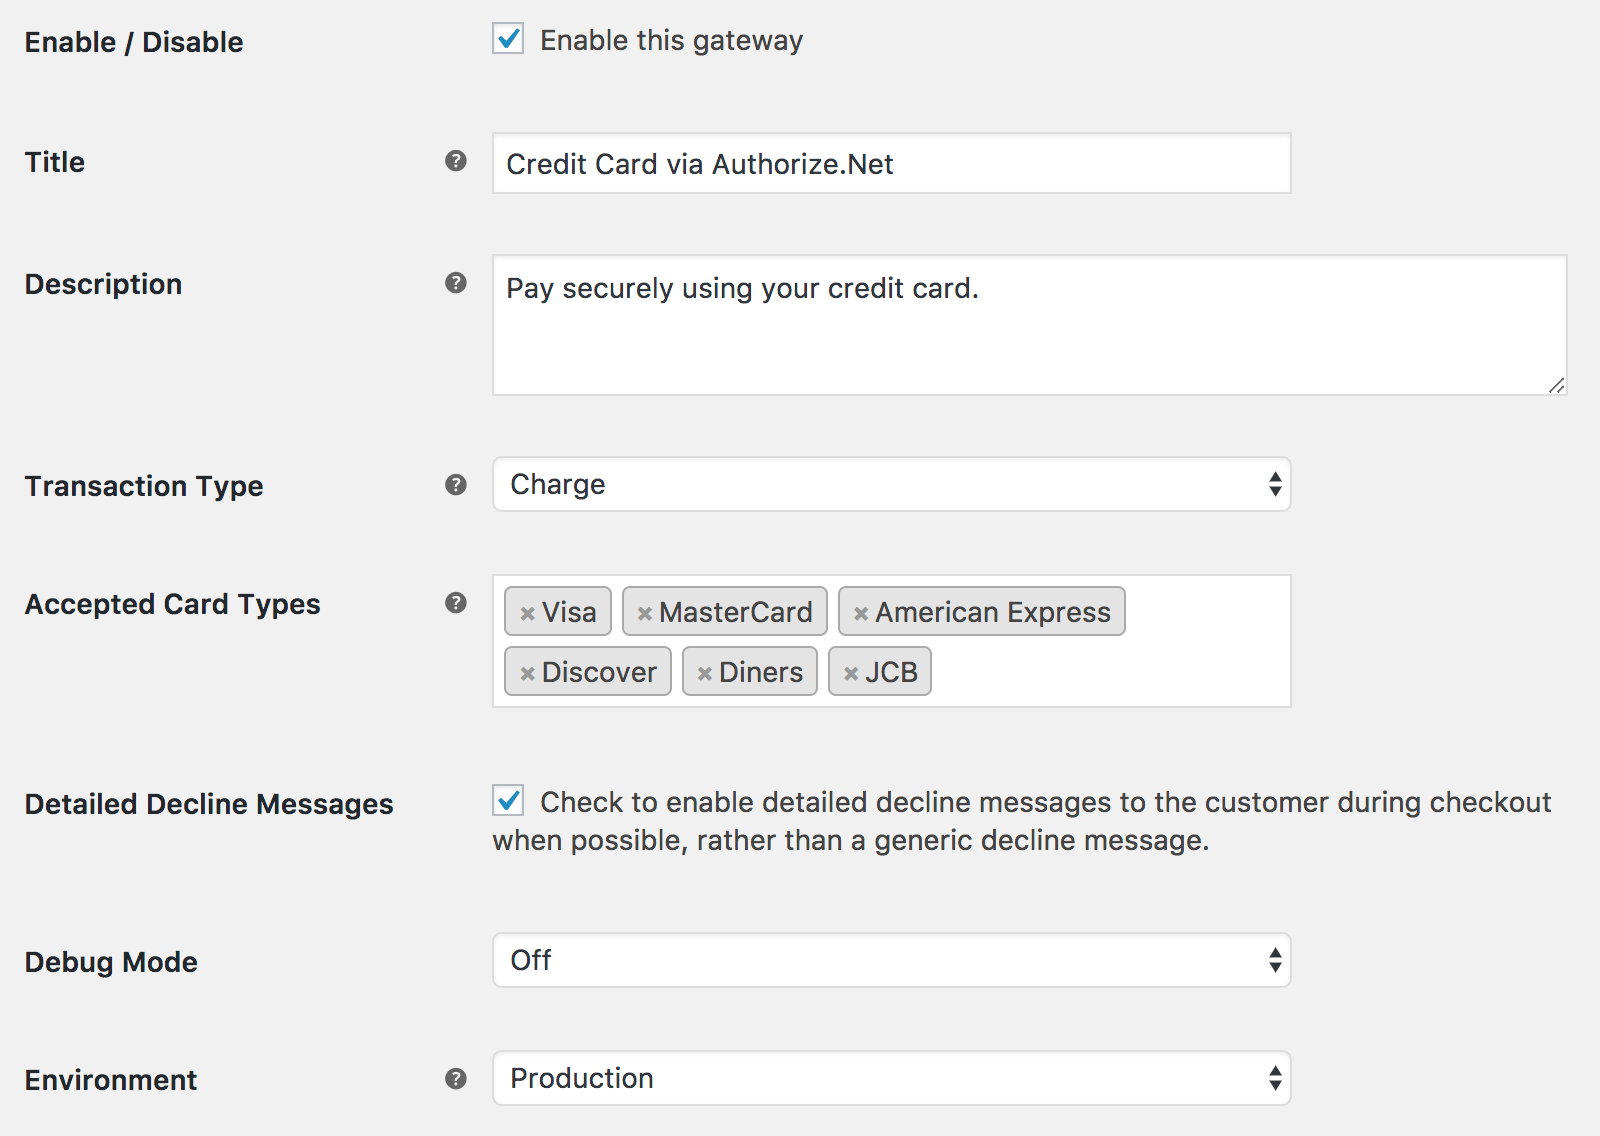
- Enable / Disable – This will enable the gateway to be used by customers to checkout.
- Title – This is the text shown for the payment during checkout and on the Order Received page.
- Description – This is the text shown under the title during checkout. Limited HTML is allowed. If you enable test mode, this section will also display a notice along with test credit card numbers.
- Card Verification (CSC) – Enable this to require customers to enter their CVV / CV2 (Card Security Code) when checking out. This can be useful if you have requirements in your Authorize.Net account for CV2 verification.
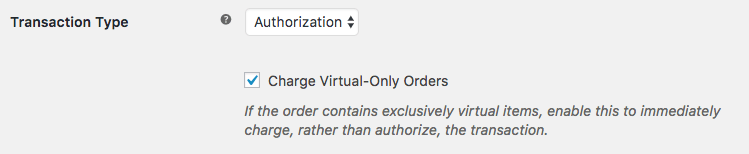
- Transaction Type – This controls how transactions are submitted to Authorize.Net. You may choose either “Charge” or “Authorization”. If you select “Authorization”, you must manually capture and settle payments in your Authorize.Net control panel after the transaction has been submitted. This defaults to “Charge”.
- Charge Virtual-Only Orders – (Shown if Transaction Type is set to “Authorization”) Enable this to force charges on order containing only virtual items so they’re captured immediately instead of authorized (for example, to grant download access right away)
- Accepted Cards – This controls the card logos that display during checkout. This is purely cosmetic and has no affect on the cards actually accepted by your merchant account. You may select multiple card types.
- Detailed Decline Messages – (Only shown for Legacy SIM – see below) Enable to display detailed messages to customers to provide reasoning for declines when possible instead of a generic error message.
- Debug Mode – Enable this is you are having issues correctly processing transactions. You can either log API requests / responses directly to the checkout / thank you page, save them to the WooCommerce Error Log (found under WooCommerce > System Status > Logs) or both. All debugging messages are cleaned of sensitive information before display, but as a best practice, please do not enable this unless you are having issues with the plugin.
- Environment – Switch between “Test” and “Production” credentials. Enable “Test” to send transactions to your Authorize.Net Test Account. Note: This is not the “test mode” that is listed under your account. This is an entirely separate sandbox environment that requires a separate login. You can sign up for a test account here. Once you have done this, you can enter a separate API Login ID and API Transaction Key for your test account. Do not place your Test Account (or regular account) into “Test Mode” within the Authorize.Net control panel as transactions will not process at all if that mode is set.

Connection Settings
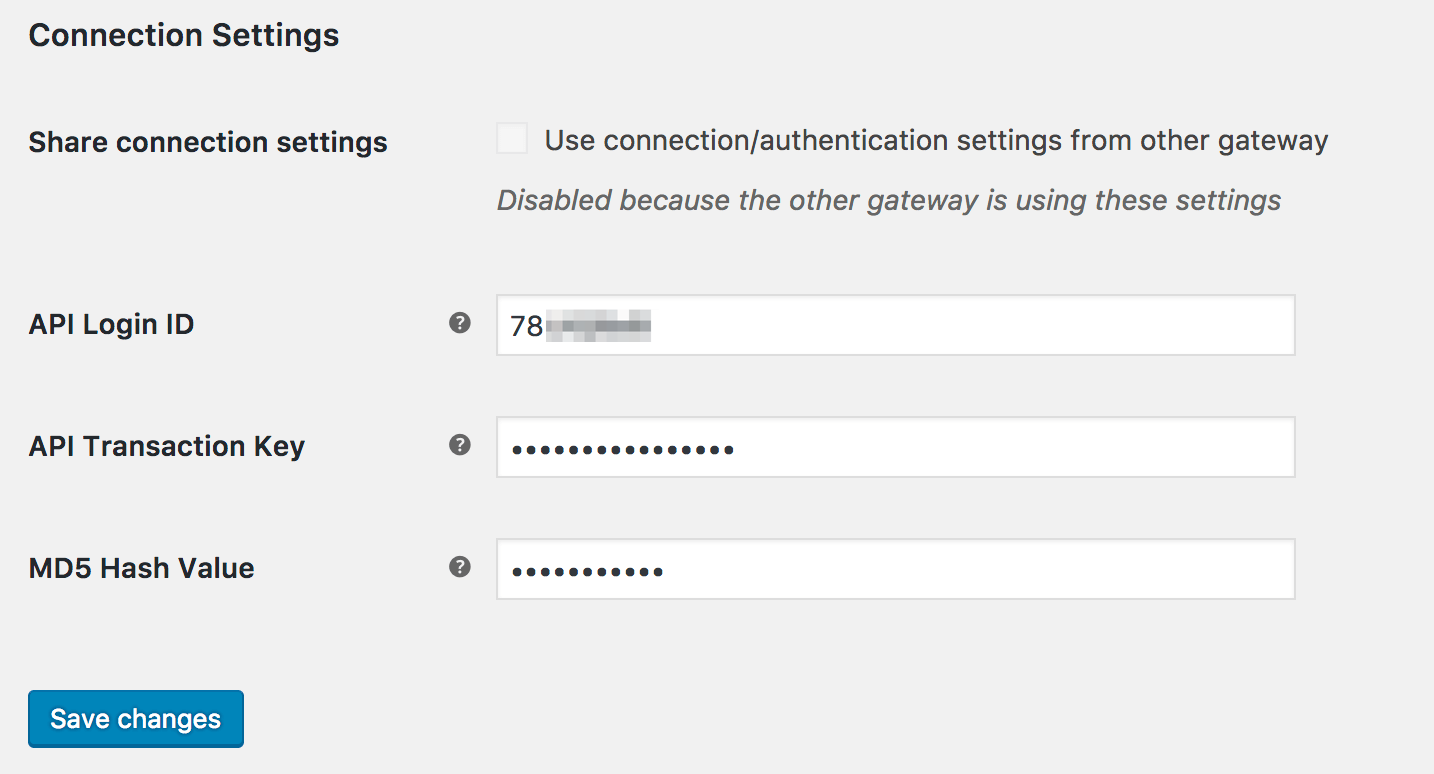
- Share connection settings – Enabling this will allow you to use connection/authentication settings between the credit card and eCheck gateways. If this is disabled, you’ll have to enter a new Authorize.Net API Login ID and API Transaction Key for eCheck transactions.
- API Login ID – This is the API Login ID for your Authorize.Net account (Test or Production). Follow the steps above to get this.
- API Transaction Key – This is the API Transaction Key for your Authorize.Net account (Test or Production). Follow the steps above to get this.
- MD5 Hash Value – (Only shown for Legacy SIM) This is the MD5 Hash value for your Authorize.Net account (Test or Production). Follow the steps above to get this.
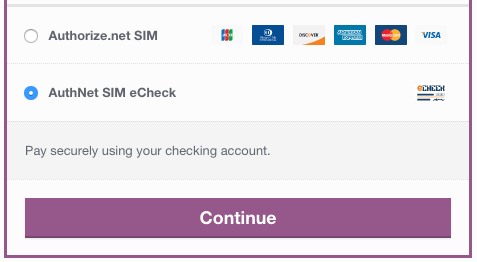
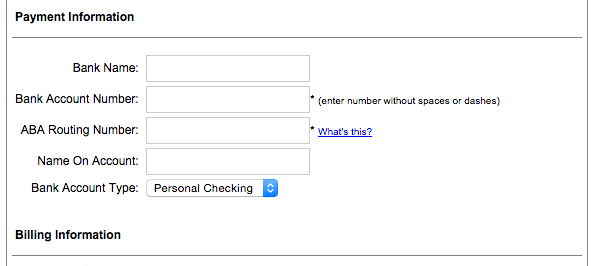
eCheck Settings
↑ Back to top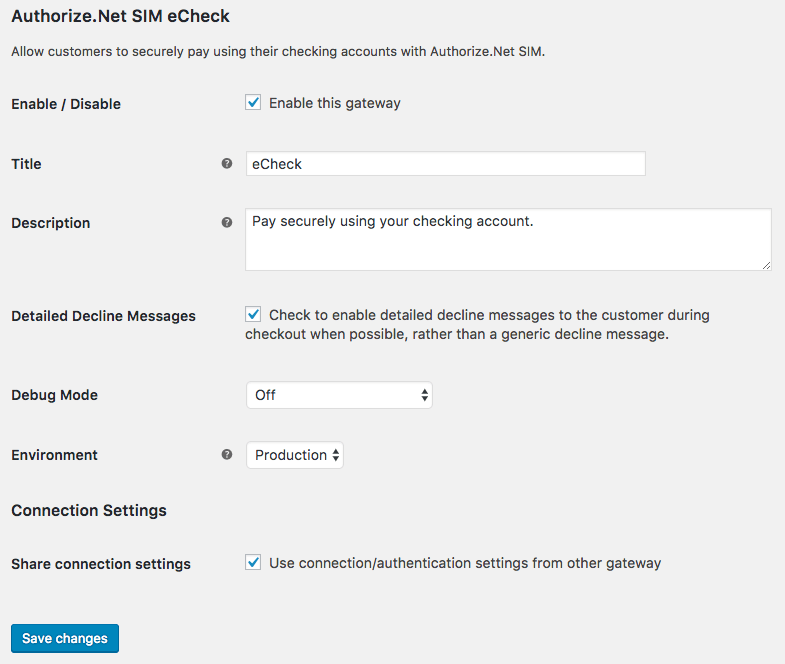
- Enabled – This will enable the eCheck gateway to be used by customers to checkout. IMPORTANT – You must have eChecks enabled on your Authorize.Net account for this to function correctly. Follow the process below under eCheck Issues to get eChecks setup and enabled.
- Title – This is the text shown for the eCheck gateway during checkout and on the Order Received page. This defaults to “eCheck”.
- Description – This is the text shown under the title during checkout. Limited HTML is allowed. If you enable test mode, this section will also display a notice along with a test bank account number.
- Detailed Decline Messages – (Only shown for Legacy SIM – see below) Enable to display detailed messages to customers to provide reasoning for declines when possible instead of a generic error message.
- Environment – Switch between “Test” and “Production” credentials. Enable “Test” to send transactions to your Authorize.Net Test Account. Note: This is not the “test mode” that is listed under your account. This is an entirely separate sandbox environment that requires a separate login. You can sign up for a test account here. Once you have done this, you can enter a separate API Login ID and API Transaction Key for your test account. Do not place your Test Account (or regular account) into “Test Mode” within the Authorize.Net control panel as transactions will not process at all if that mode is set.
- Share connection settings – Enabling this will allow you to use connection/authentication settings between the credit card and eCheck gateways. If this is disabled, you’ll have to enter a new Authorize.Net API Login ID, API Transaction Key, and MD5-Hash for eCheck transactions.
- Debug Mode – Enable this is you are having issues correctly processing transactions. You can either log API requests / responses directly to the checkout / thank you page, save them to the WooCommerce Error Log, or both. All debugging messages are cleaned of sensitive information before display, but as a best practice, please do not enable this unless you are having issues with the plugin..
Merchant Usage
↑ Back to topCapture Charges from WooCommerce Order Admin
↑ Back to topAutomatic Refund Support
↑ Back to topVoid Transaction Support
↑ Back to topCheckout Experience
↑ Back to topAccept Hosted
↑ Back to top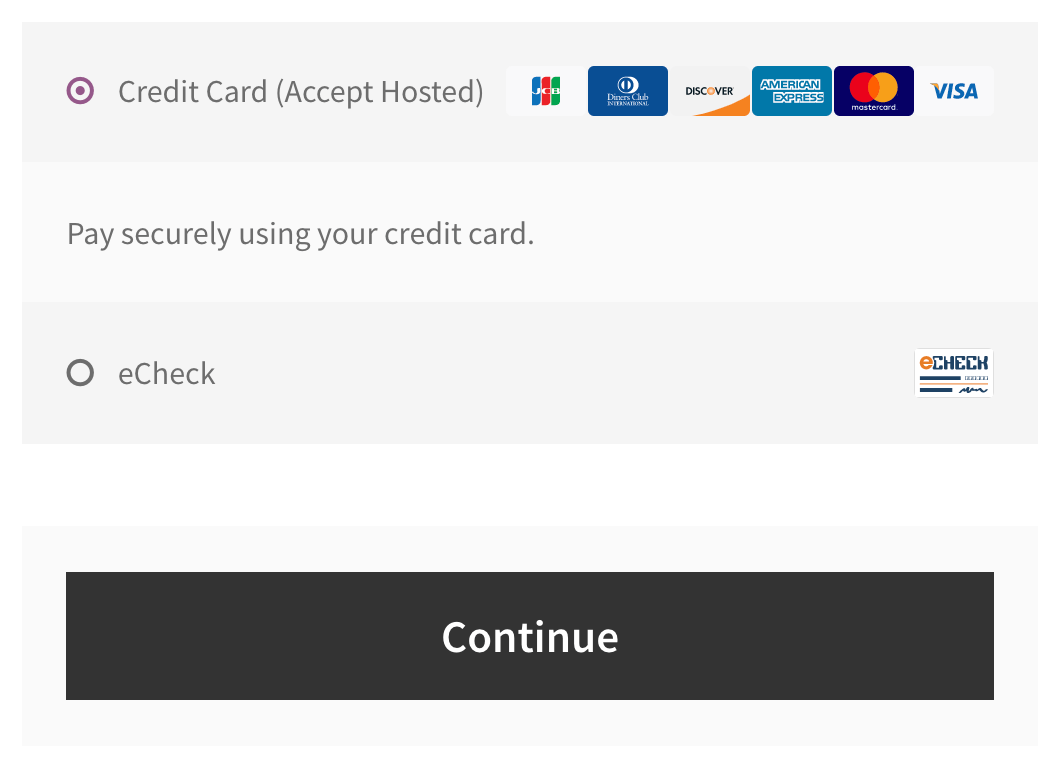 The credit card pay page will show all card fields and dynamically format customer input.


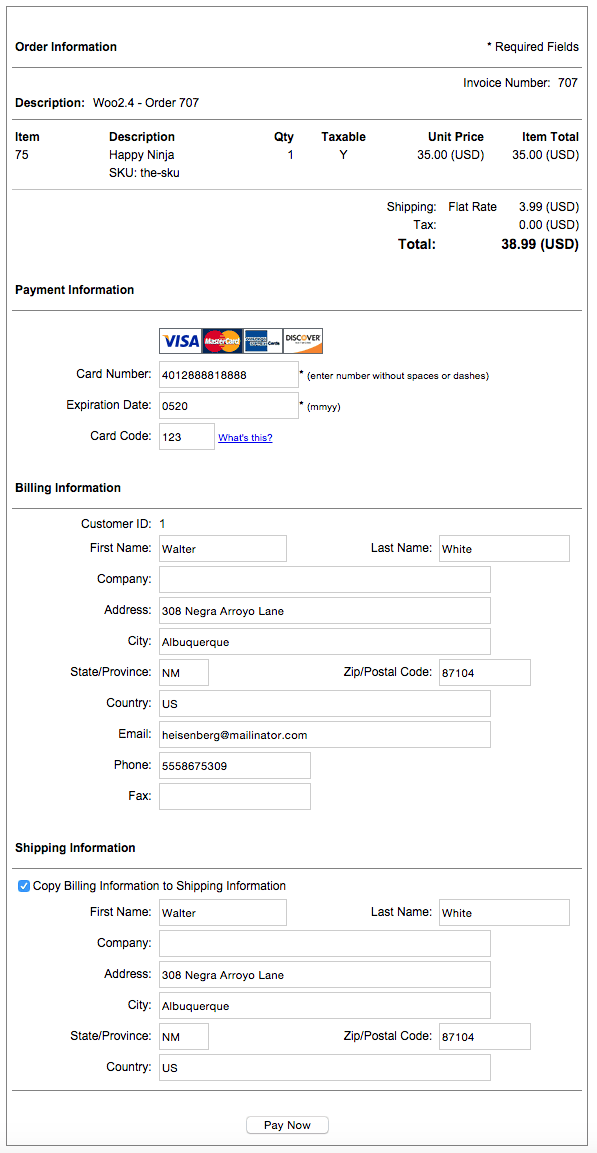
Legacy SIM
↑ Back to top
Troubleshooting
↑ Back to topeCheck Issues
↑ Back to top[Code 246] - This eCheck.Net type is not allowed. To get this setup, follow these steps:
- Set up an eTicket and ask for the ‘WEB’ eCheck type to be enabled (be sure you are an account owner and know your gateway ID).
- WEB transactions are usually enabled within 2 business days, but there is a funding hold automatically placed on your account — you can take funds in, but not get them out, until you pass another security check with the underwriting department.
- To expedite the process, call them on the phone and they will check out your website while on the line with you. They will look to make sure you have a valid SSL on cart/checkout, and prominently placed terms of use and privacy policy pages.
- Once you meet those requirements, the funding hold should be removed.
Required Field Errors
↑ Back to top(E00027) - The transaction was unsuccessful. Error Code: 33 - [Field Name] is required., your Authorize.Net account is likely setup to require a field that our plugin cannot send. These errors can occur on orders, refunds, and void transactions.
 To resolve this issue, you should remove all field requirements from your Authorize.Net account by following the steps below:
- Login to your Authorize.Net Account.
- Go to Account > Payment Form > Form Fields.
- Uncheck the Required boxes for all fields.
- Click Submit.
Other Troubleshooting
↑ Back to top- Check that your API Login ID and API Transaction Key are correct.
- Double-check that your API Login ID and API Transaction Key are correct 😉
- Enable debug mode to the checkout page and review the errors messages that Authorize.Net is providing.
- If the error code indicates an issue with the plugin, enable debug to the logs and submit a support ticket, with the log found under WooCommerce > System Status > Logs as an attachment.
Other Information
↑ Back to topeCheck Support
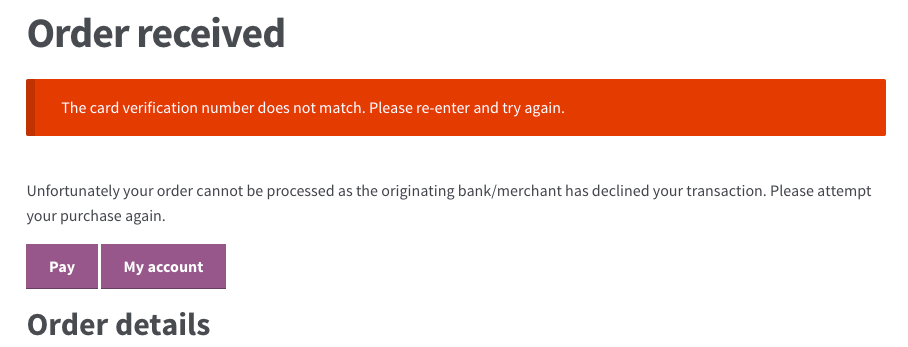
↑ Back to topDetailed Decline Messages
↑ Back to topDetailed decline messages settings are currently only shown with the Legacy SIM gateway mode. Accept Hosted has its own detailed decline messages built into the hosted payment form, so it does not use messages dictated by the plugin itself.
When detailed decline messages are enabled, they will provide informative error messages to the customer at checkout when Authorize.Net returns a useful response.
 You can read more about detailed decline messages here.
Authorize.Net Test Credentials
↑ Back to topFrequently Asked Questions
↑ Back to topQ: My customers get email receipts from WooCommerce and Authorize.Net. How do I get rid of Authorize.Net receipts? A: The plugin cannot disable these for you, but you can disable these emails in your Authorize.Net account — click here for instructions.