360º Image for WooCommerce by Kestrel provides you with a way to add a dynamic, controllable 360º image rotation to your WooCommerce site. By adding a group of images to a product’s gallery, you’ll have an image rotation that replaces the product’s featured image.
Installation
↑ Back to top- Download the extension from your WooCommerce.com dashboard
- Go to Plugins > Add New > Upload and select the ZIP file you just downloaded
- Click Install Now, and then click Activate
For more information on installing and managing plugins see here
Usage
↑ Back to topAfter activating the plugin, you’ll find a new meta box on the edit screen for single products, directly above the gallery meta box on the right side.
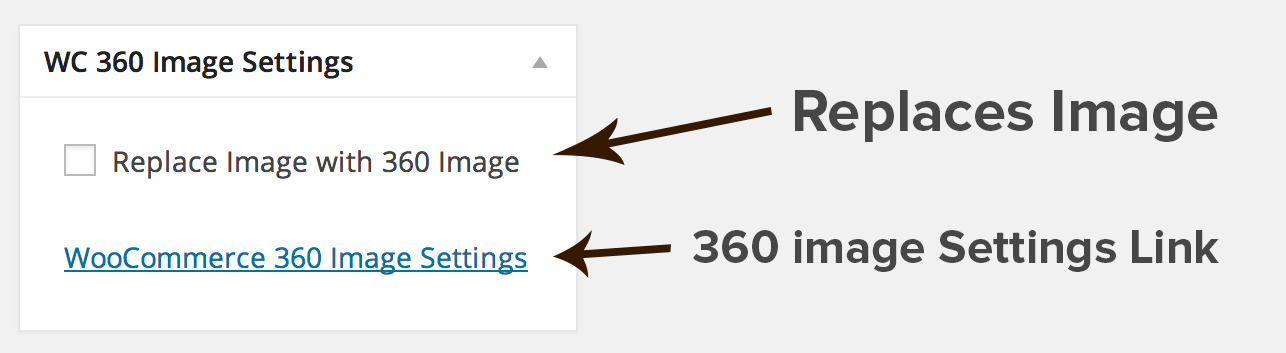
This is the first step in getting your image rotation set up! Let’s take a look at the available option:
- Replace Image with 360 Image: You’ll definitely want to check this if you want the normal single product featured image replaced with your new 360 Image one.
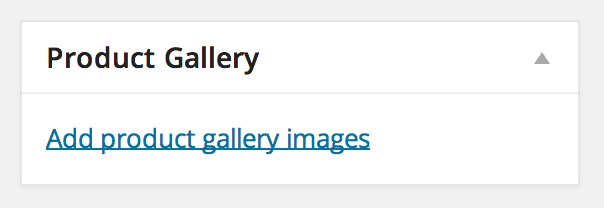
Now that the boring part has been taken care of, let’s add some images! Directly below the meta box, you’ll want to add some Gallery Images, just like you would normally for a product.
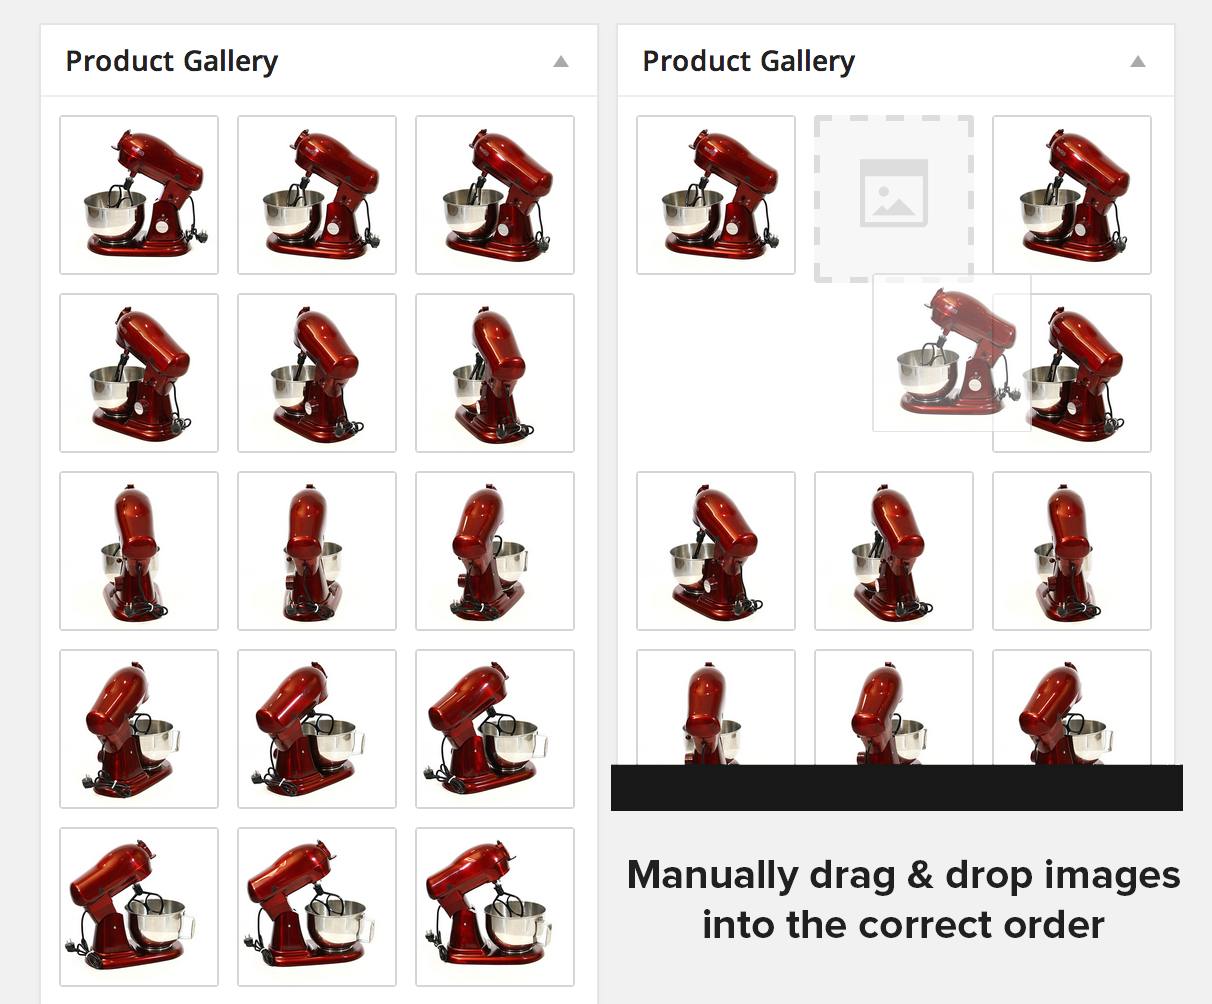
You’ll then need to add your product’s images. When you’re viewing them within your computers file explorer/finder window, try to have them in the correct order you want them to be displayed (normally this would be alphabetically like product-1.jpg, product-2.jpg, etc. so just keep in the right order) and then upload them in the Media Upload window.

However, don’t worry! It’s always very easy to manually change the order afterward or remove a few images if need be.
Save the product and voilà – your image rotator will be displayed!
Shortcode
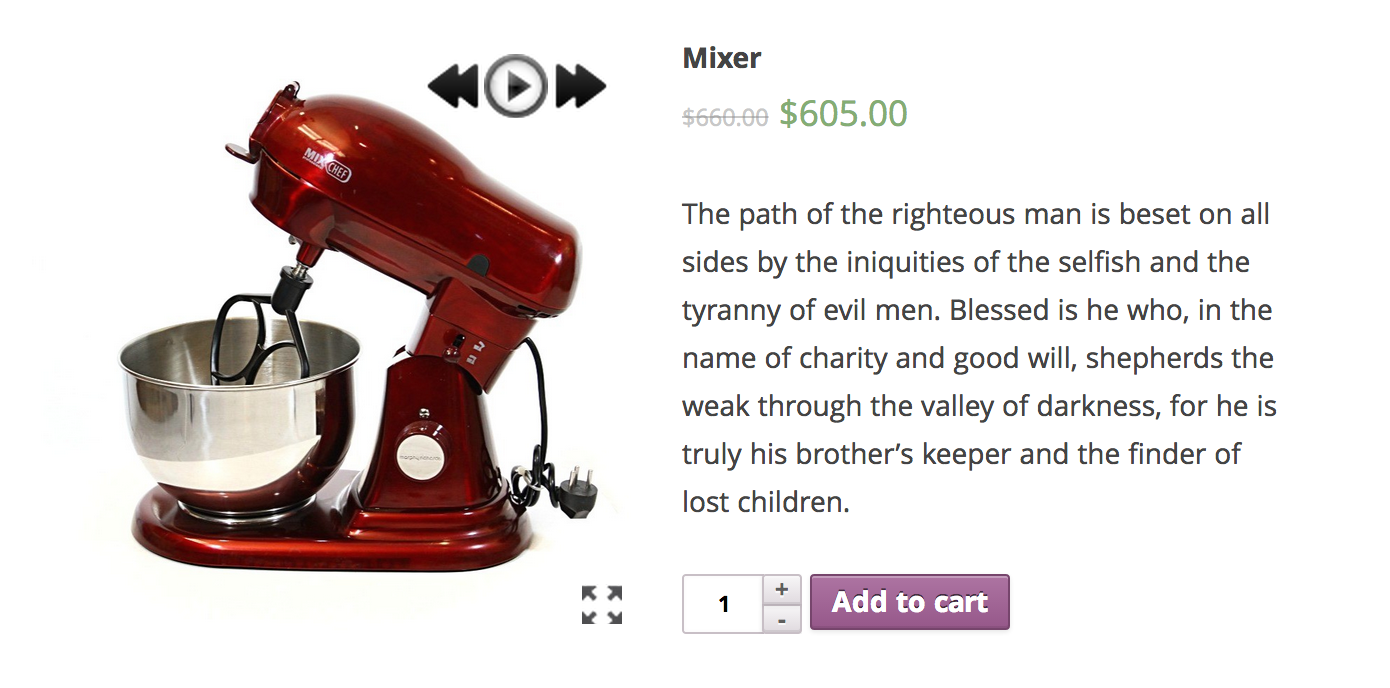
↑ Back to topThere is also an extra shortcode you can use – [wc360], to display the image rotator wherever you’d like – be it on the same page as a product or somewhere else like in a blog post! There is one limitation though and it’s an important one – you can only have one rotator per page.
Here’s what it looks like with all its attributes:
[wc360 id="" width="" height=""]
If you are using it on a single product page and want the rotator for that product, you don’t need to include the ID. So just [wc360] would work, optionally with some dimensions.
However, if you pass in the Product ID, it will display the rotator for that product. Again, dimensions are optional but can be helpful.
Settings
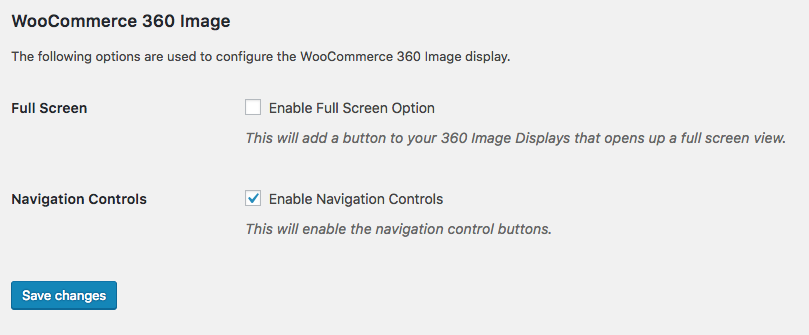
↑ Back to topThere are a couple of settings for WooCommerce 360 Image that you may want to take a look at. By default, the navigation control is on but the full-screen option is off. They can be found under WooCommerce > Settings > Products > 360 Image:
- Enable Full-Screen Option – This will add a button to your 360 Image Displays that opens up a full-screen view.
- Enable Navigation Controls – This will enable the navigation control buttons.
There are also a few other ‘settings’ that can be controlled by adding in a couple of filters. Long story short, for each of these you can add the attached code to the ‘custom functions’ area of your functions.php file (or use a plugin like Functionality).
Responsiveness
↑ Back to topTo disable responsiveness, use the following:
add_filter( 'wc360_js_responsive', '__return_false' );
Drag / Touch Control
↑ Back to topTo disable the ability to use a cursor/touch to control the rotation, use the following:
add_filter( 'wc360_js_drag', '__return_false' );
Initial Spin
↑ Back to topTo disable the initial spin animation on page load, use the following:
add_filter( 'wc360_js_spin', '__return_true' );
Speed
↑ Back to topChange the play speed of the animation, specifically the interval between one image and the next in the sequence. The value is in milliseconds (there are 1000 milliseconds in a second). The default value is 100, or 10 images per second. A lower number increases the speed, while a higher number would decrease the speed.
/* Adjust the speed in ms before next image in rotation is shown */
function adjust_play_speed_for_wc360( $speed ) {
	return 750;
}
add_filter( 'wc360_js_playspeed', 'adjust_play_speed_for_wc360' );Custom Rotation
↑ Back to topWhat if you sell a product that needs to be rotated vertically, not horizontally? Or even on a 45-degree angle? No problem!
Try adding the following to your custom.css file or with a plugin like Simple Custom CSS:
/* Rotate 360 Image 90 Degrees */
.threesixty .threesixty_images img {
    -ms-transform: rotate(90deg); /* IE 9 */
    -webkit-transform: rotate(90deg); /* Chrome, Safari, Opera */
    transform: rotate(90deg);
}If you wanted it to be rotated 90 degrees the other way, try this:
/* Rotate 360 Image -90 Degrees */
.threesixty .threesixty_images img {
    -ms-transform: rotate(-90deg); /* IE 9 */
    -webkit-transform: rotate(-90deg); /* Chrome, Safari, Opera */
    transform: rotate(-90deg);
}And how about a full 180 degrees (upside down)? Sure:
/* Rotate 360 Image 180 Degrees (upside down) */
.threesixty .threesixty_images img {
    -ms-transform: rotate(180deg); /* IE 9 */
    -webkit-transform: rotate(180deg); /* Chrome, Safari, Opera */
    transform: rotate(180deg);
}You can easily change the numbers in the code above to whatever degree you’d like.
Best Images to Use
↑ Back to topIt’s important to be smart about the images you use in order to get the most out of WooCommerce 360 Image. Things like image order, quality, and compression all matter, so unless you’re an experienced 360-degree image photographer, the following may help you out.
How to Take 360º Photos
↑ Back to topThe following guides may help you in taking your photos. Basically, you want to take between 12-36 photos all from even angles. It’s useful to put your product on a platform/disc that can easily be rotated so you don’t have to move the product or the camera for each photo.
- Guide by 3DBin
- Simple 360 Product Photography by shoogleit
- Mastering 360 Product Photography by PhotoGear 360
- YouTube Video Guide
- Another great YouTube Video Guide
Image Compression
↑ Back to topAs you’ll normally be loading in over 15 photos to your rotator, if not more, it’s crucial to get the size of each image down to a minimum. Some tips:
- Small Dimensions: Don’t make the images bigger than you need. If you’re aren’t using the Full Screen mode, definitely keep them at the size you’ll be displaying them at.
- Lower Quality: This is the most important step. You can normally do this using Photoshop or any other photo-editing software, but make sure you use a slightly lower quality. It just isn’t needed to use perfect high-res photos unless you are loading your images from a CDN of very fast server.
- Use a CDN: There are plenty of CDNs (Content Delivery Networks) around that can help you load images from faster servers positioned in locations closer to your users. Did you know that Automattic’s Jetpack even provides free use of the WordPress.com CDN?
- Image Compression / Optimization: Use a tool or plugin like EWWW Image Optimizer to help reduce the size of the images without hurting the quality. Read more about image optimization for web.
360º Examples
↑ Back to topIt may be helpful to see some examples of images used in a 360 image rotation (these are not examples of the plugins). Here are a couple:
The following is a zip file you can download containing a few groups of photos to see as an example and use during testing (credit to Rotary View) – Download Sample Images ZIP
Action and Filter Reference
↑ Back to topImage Size Name
↑ Back to topBy default, it uses the image size shop_single‘s size, that you can set under WooCommerce > Settings > Products in the Product Image Size section. You can filter the image size itself that you’ve added by using the following filter:
add_filter( 'wc360_image_size', 'wcs_360_image_name' );
function wcs_360_image_name() {
    return 'shop_thumbnail';
}Image Size Output
↑ Back to topThe image size that is actually output is by default the full size. This is so the fullscreen output looks best. However, you may not use the fullscreen option! If so, you may want to change this to something else. You can use a filter like this to do that:
add_filter( 'wc360_output_image_size', 'wcs_360_image_size_output' );
function wcs_360_image_size_output() {
    return 'shop_single';
}Image Content Output
↑ Back to topThere is also a filter for the output of the content itself. This is a basic example of filtering it (but won’t actually do anything new):
add_filter( 'wc360_image_output', 'wcs_360_image_output' );
function wcs_360_image_output( $content ) {
    return $content;
}Image Shortcode Content Output
↑ Back to topYou may also want to filter the content of the [wc360] shortcode itself. Again, a basic example here:
add_filter( 'wc360_shortcode_image_output', 'wcs_360_shortcode_image_output' );
function wcs_360_shortcode_image_output( $content ) {
    return $content;
}Before / After Image Content
↑ Back to top- This action is for adding something before the normal output: wc360_before_image
- This action is for adding something after the normal output: wc360_after_image
Before / After Shortcode Image Content
↑ Back to top- This action is for adding something before the shortcode output: wc360_shortcode_before_image
- This action is for adding something after the shortcode output: wc360_shortcode_after_image
FAQ
↑ Back to topMy ‘Sale’ icon isn’t displaying over the image anymore! How do I get it back?
↑ Back to topAdd the following to your custom.css file or with a plugin like Simple Custom CSS):
span.onsale { z-index: 999 !important; }
The image isn’t covering the full width of the column. How do I make it fill the column width?
↑ Back to topAdd the following to your custom.css file or with a plugin like Simple Custom CSS):
#container.wc360-container { width: 100% }
Note: Depending on your theme you might need to use a different width.
What about the featured image?
↑ Back to topThis should just be a clear image of the product you want to display on archive pages and in Google search results, etc. The 360 Image Rotator only displays on the product’s single page.
Troubleshooting
↑ Back to topIt’s not displaying for me at all.. what did I do wrong?
↑ Back to topTry switching to the default Twenty Twenty Four theme (or another WordPress core theme). If it works then, it’s a theme-related issue where the theme developer doesn’t display the WooCommerce product image correctly. If it still isn’t showing, it may be a plugin conflict. Try deactivating all other plugins and see if it works. If so, activate each one by one until you find the culprit.
Questions and Feedback
↑ Back to topHave a question before you buy? Please fill out this pre-sales form.
Already purchased and need some assistance? Get in touch with a Happiness Engineer via the Help Desk.