WooCommerce Brands allows you to create brands for your shop, with a name, description and image assigned to each.
Installation
↑ Back to top- Download the .zip file from your WooCommerce.com account.
- Go to: WordPress Admin > Plugins > Add New and Upload Plugin with the file you downloaded with Choose File.
- Install Now and Activate the extension.
More information at: Install and Activate Plugins/Extensions.
Setup and configuration
↑ Back to topCreating brands
↑ Back to topTo start adding brands:
- Go to: WooCommerce > Products > Brands. The interface looks and works similar to adding categories and tags — the form on the left lets you add a brand, which are then displayed on the right.

- Enter a Name and Description. Image is optional. Brands can be hierarchical, specifying a ‘parent’ with ‘child’ brands under it.
- Select Add New Brand to save.
Editing and deleting brands
↑ Back to topModify Brands by hovering over the Name and click Edit or Delete. Brands may also be re-ordered by dragging and dropping.

Assigning a brand to a product
↑ Back to topDid you know? Assigning a brand to a product also adds Brand name Schema to the product page which is helpful in SEO!
That being said, assigning brands to products is the same process as adding categories and tags.
- Go to: WooCommerce > Products.
- Select a product to assign a brand.
- Find the Brands box in the right sidebar.
- Tick the box of brands you wish to assign to the product.
- Update or Publish to save changes.

Shortcode reference
↑ Back to topTo display the brands, you can use Shortcodes. Shortcodes are ways to call in complicated code, giving you many options with only a few keystrokes.
To use a shortcode, copy the text starting with “[” and ending with “]”, then paste into your editor. As an example, [product_brand] shows a brand’s image on the single product page.
Available shortcodes
↑ Back to topProduct brand
Shows a single brand’s image with a link to its archive page. This only works on single product pages, not on posts or other WordPress pages. Note that showing brands on the single page with this shortcode will only pull 1 brand and not all.
array(
      'width' => '64px',
      'height' => '64px',
      'class' => 'aligncenter'
 )
Example Shortcode:
[product_brand class="alignright"]
Brand products
Show all products in a certain brand.
array(
      'per_page' => '12',
      'columns' => '4',
      'orderby' => 'title',
      'order' => 'asc',
      'category' => 'boots,sandals',
 )
Example Shortcode:
[brand_products brand="hiro-shoes" per_page="12" columns="4"]
Product brand list
Shows an A-Z index of all brands with links to their archive pages.
array(
      'show_top_links' => 'true',
      'show_empty_brands' => 'false'
 )
Example Shortcode:
[product_brand_list show_empty_brands="true"]
Product brand thumbnails
Shows a list of all product brand thumbnails with links to their archives.
array(
      'columns' => '12',
      'show_empty' => 'true',
      'orderby' => 'name',
      'exclude' => '2,5,8', // Category IDs to exclude
      'number' => '' // Number of brands to show.
 )
Example Shortcode:
[product_brand_thumbnails number="12" show_empty="false"]
Product brand thumbnails description
Shows a list of all product brand thumbnails with brand descriptions and links to their archives.
array(
      'columns' => '12',
      'show_empty' => 'true',
      'orderby' => 'name',
      'exclude' => '2,5,8', // Category IDs to exclude
      'number' => '' // Number of brands to show.
 )
Example Shortcode:
[product_brand_thumbnails_description number="12" show_empty="false"]
Advanced usage
↑ Back to topTo get the shortcode to display on multiple product pages, you would want to add it into a template or onto a hook using the do_shortcode function, as seen here:
echo do_shortcode('[product_brand width="64px" height="64px" class="alignright"]')
Adding a brand image to the product page
↑ Back to topIn some situations, you may want to display the brand image associated with the product in your product page, as shown below:
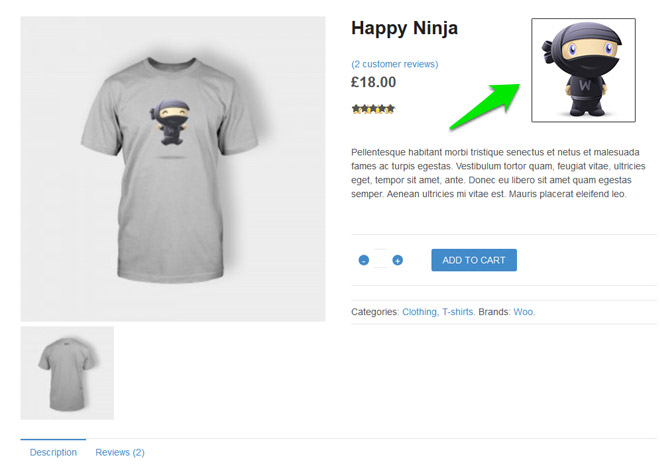
There are two ways to implement this, either on a single product basis or applying to all products.
To apply to a Single Product
In the product’s body area, you can add the shortcode
[product_brand width="64px" height="64px" class="alignright"]
In that example, it would link to the brand of the product, establish the width and height in pixels (each 64), and align it to the right side. The ‘class’ field isn’t required – it’s by default set to ‘aligncenter’, but you can do left or right as well.
To apply to All Products
First, ensure that you’re making edits in a child theme.
This allows you to customize content without the risk of an update removing your work. To learn more about how to customize a child theme, visit our child theme tutorial, or read more about how child themes at the WordPress Codex.
In your child theme, go to the functions.php file and add the following snippet:
You can also add in this snippet using a plugin like Code Snippets.
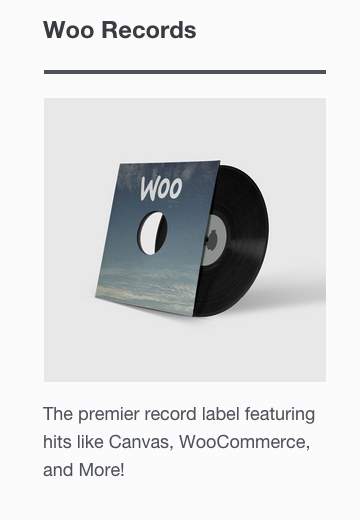
This gives us the following logo positioning, which is displayed on all product pages and changes dynamically to fit the brand:

Adding a brand name to the product page
↑ Back to topBy default, adding a brand’s name to the product page isn’t possible without custom code. The snippet below can be used to display the brand name, but falls outside our scope of support.
First, ensure that you’re making edits in a child theme.
This allows you to customize content without the risk of an update removing your work. To learn more about how to customize a child theme, visit our child theme tutorial, or read more about how child themes at the WordPress Codex.
In your child theme, go to the functions.php file and add the following snippet:
<?php

/*
 * Increase `1` on line 7 to move position of brand name
 */

add_action( 'woocommerce_single_product_summary', 'wc_brands_add_brand_name', 1 );

function wc_brands_add_brand_name() {
	global $product;
	$brands =  implode(', ', wp_get_post_terms($product->get_id(), 'product_brand', ['fields' => 'names']));
	echo "<p>Brand: " . $brands . "</p>";
}You can also add in this snippet using a plugin like Code Snippets.
Widgets
↑ Back to topTo learn more about how to add the Brands Widgets listed below to your site, you can refer Widgets included with WooCommerce.
Brand description
↑ Back to topThis widget shows the description for the currently viewed brand archive.
Brand nav
↑ Back to topThis widget provides layered navigation for products based on brand. This widget works together with other layered-navigation WooCommerce widgets and can be used accordingly.
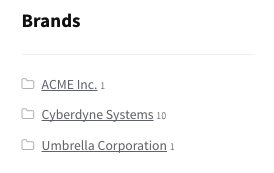
Brand thumbnails
↑ Back to topThis widget lists brands with thumbnails.

REST API support
↑ Back to topVersion 1.5+ supports the REST API
Frequently Asked Questions
↑ Back to topHow do I display product brands in my product page URLs?
↑ Back to topTo display a product’s brand in the product’s URL, visit Settings > Permalinks and add %product_brand%, as desired, to your Product Permalink setting. Note: %product_brand% requires shop as a base: /shop/%product_brand%
How do I import brand information from a CSV file?
↑ Back to topThe product import/export feature built into WooCommerce does not yet have feature parity with the Product CSV Import Suite extension as it currently only handles default fields + meta fields while brands are stored in taxonomies.
As such, the Product CSV Import Suite is the tool for the job. You’ll need to add a column with the heading tax:product_brand to the CSV file with the brand names in that column so that the brand information is tied to your products.
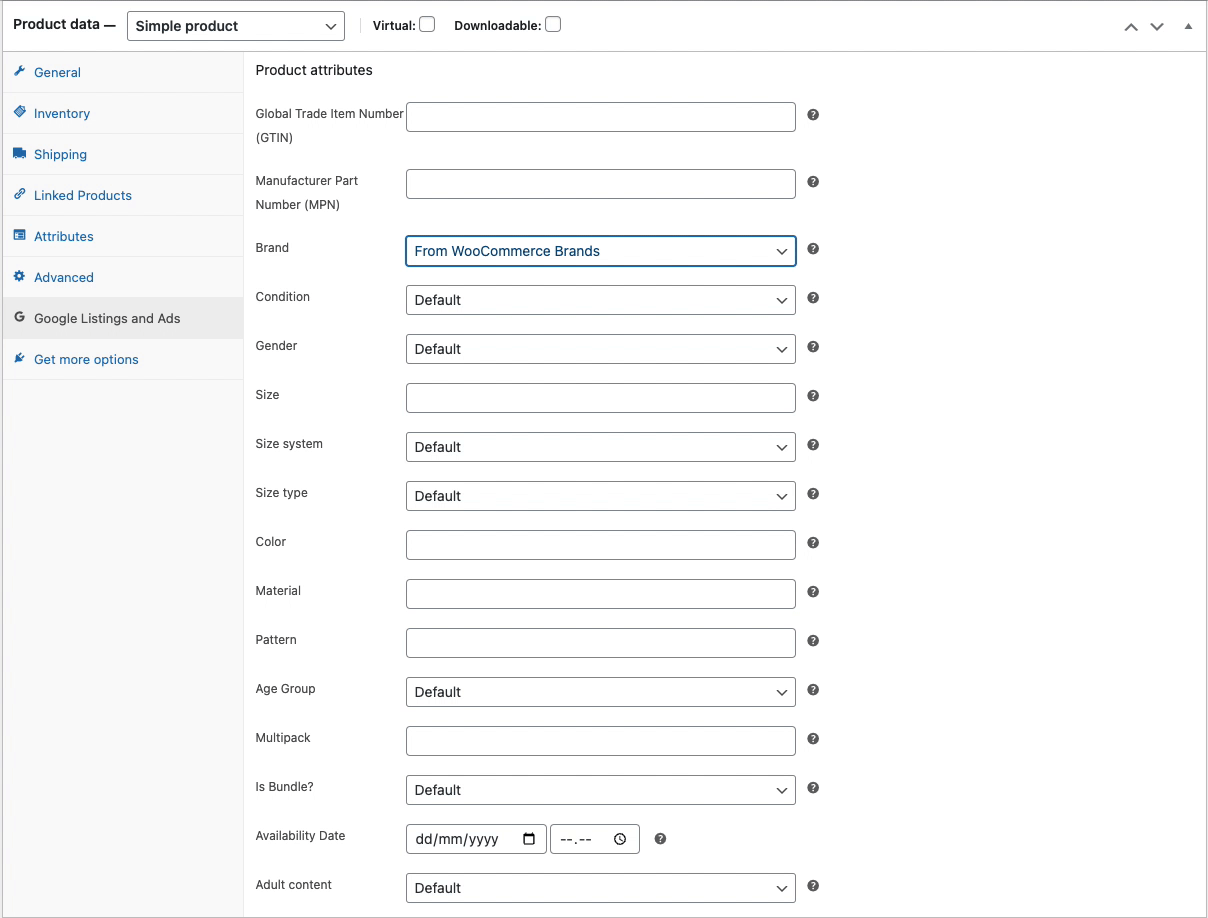
Does WooCommerce Brands work with Google Listing & Ads?
↑ Back to topYes. When you have WooCommerce Brands installed, a new option will display for the brand attribute under the Google Listings and Ads tab on the product edit page. Each product can then be edited and have its brand attribute set to “From WooCommerce Brands”:
Code Snippets
↑ Back to topHow do I order the brands on the front end as showcased on the Admin Panel?
↑ Back to topIn your theme’s functions.php file, add:
Brand thumbnails will then be organized in the same order that they appear in the backend.
How do I change the slug for brand archives?
↑ Back to topEach brand has its own archive, viewable at http://domain.com/brand/brand-slug/. The brand section of the above URL structure can be adjusted by adding the following snippet to your theme’s functions.php file, or to your custom functionality plugin:
Go to Settings > Permalinks and re-save after adding the above code snippet. This ensures your permalinks are refreshed and ready to go, using the new brand slug.
How do I make the Brands breadcrumb into links?
↑ Back to topWith the following code snippet you’ll want to find the page ID of your own Brands parent page and replace it with the appropriate page ID. In our example we used a page with the ID of 14, but change it to your own. Add this to your child theme’s functions.php file, or to your custom functionality plugin:
function wc_custom_brands_breadcrumb( $crumbs, $breadcrumb ){

   // The ID for the page that you want to act as the brands top archive
   $page_url = get_the_permalink(14);

   foreach( $crumbs as $key => $crumb ){
      if( $crumb[0] === __('Brands') ) {
         // If you have changed the slug with the snippet above
         // The breadcrumb will still say Brand, so you will want to
         // Replace 'Name' below with your desired breadcrumb text
         // Otherwise, you'll want to remove the next line of code entirely
         $crumbs[$key][0] = __( 'Name', 'woocommerce' );
         $crumbs[$key][1] = $page_url;
      }
   }

   return $crumbs;
}
add_filter( 'woocommerce_get_breadcrumb', 'wc_custom_brands_breadcrumb', 20, 2 );
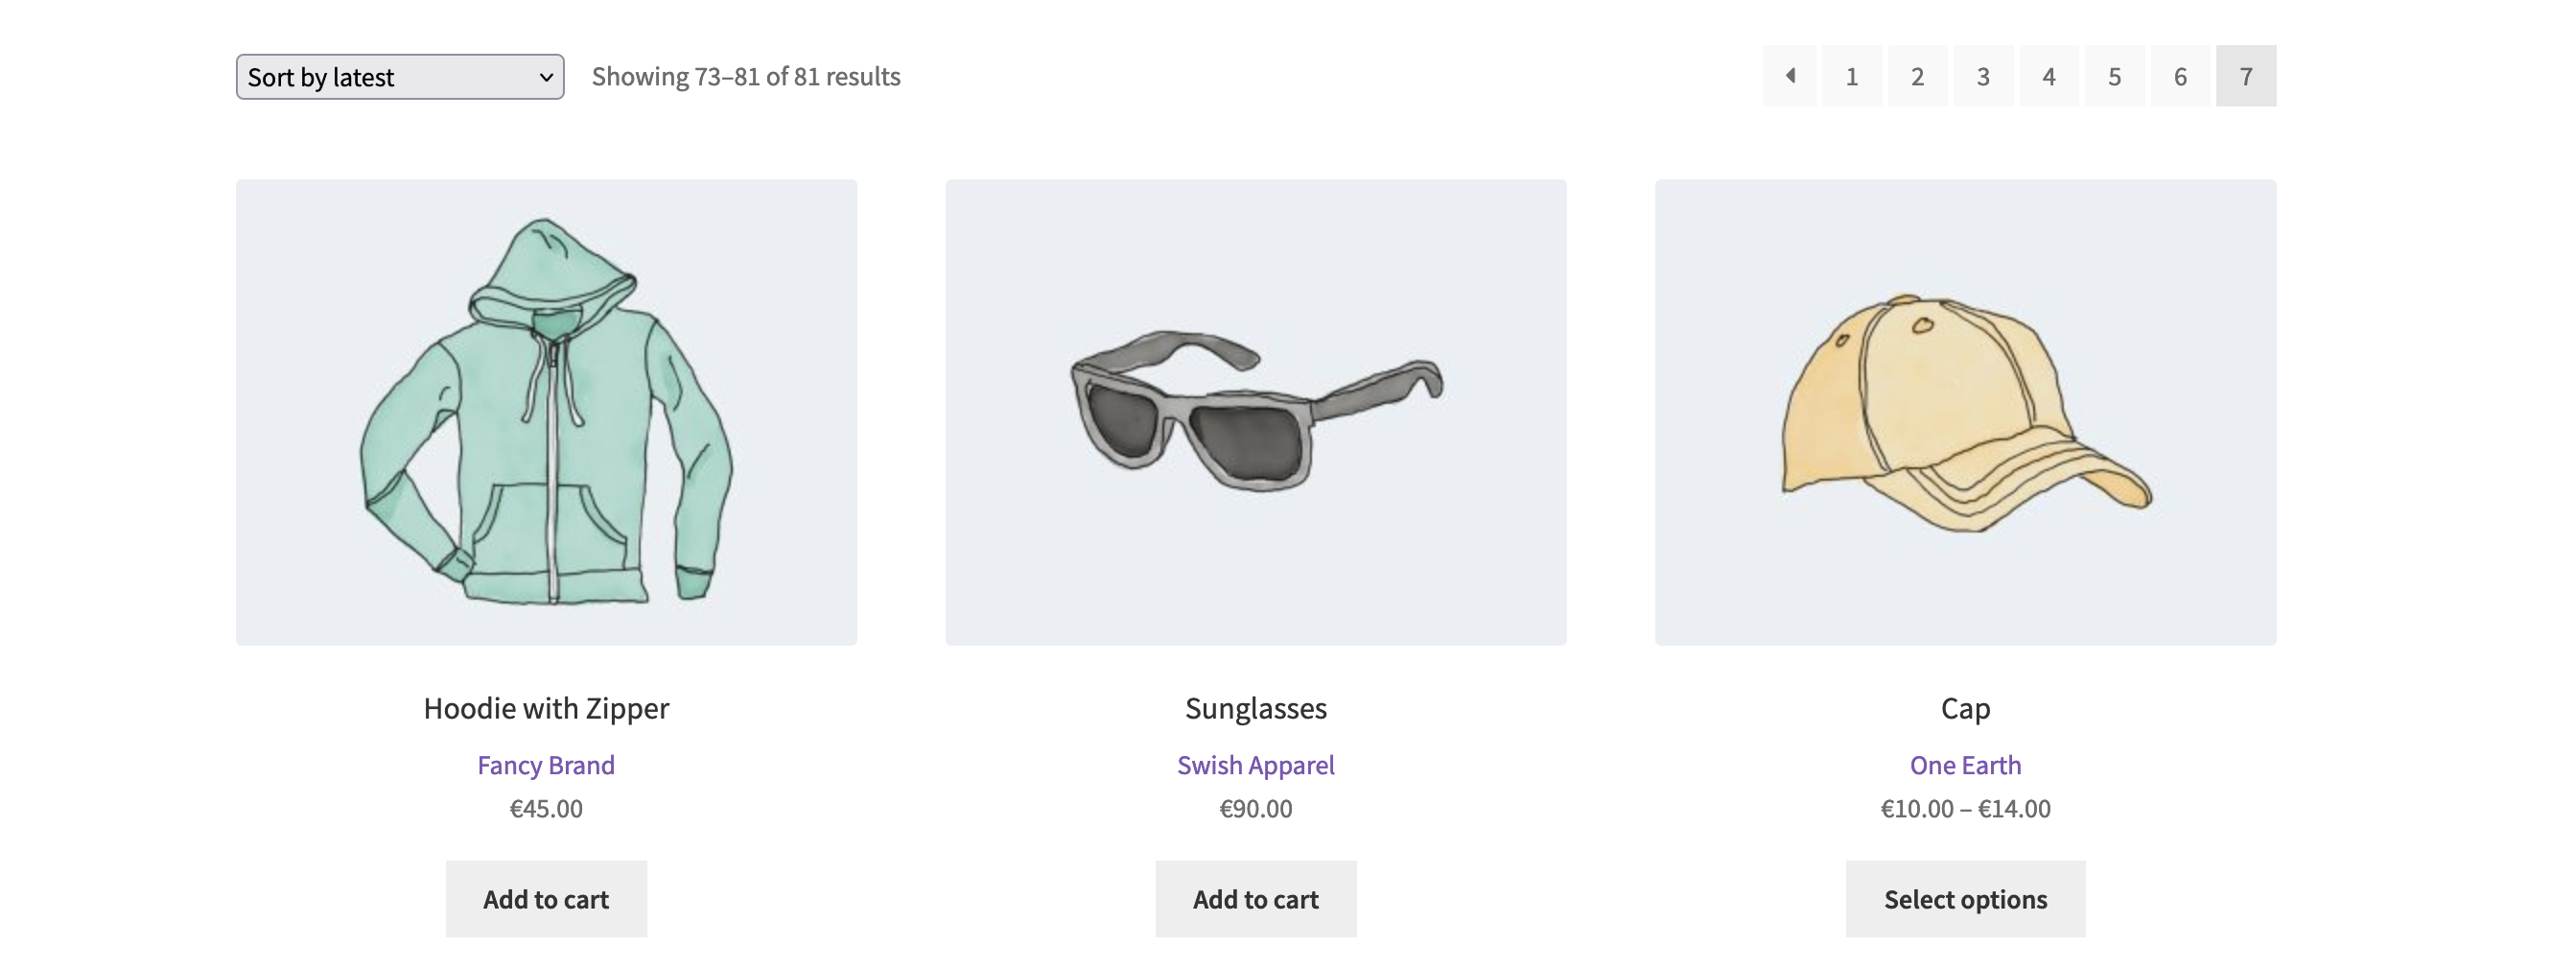
Add Brands to Product Loop on Shop page and Product Archives
↑ Back to topwc_brands_add_to_product_loop.php content:
<?php
/**
* Check if WooCommerce Brands is active.
*/
if ( is_plugin_active( 'woocommerce-brands/woocommerce-brands.php' ) ) {
add_action( 'woocommerce_shop_loop_item_title', 'add_brands_to_product_loop' );
/**
* Add brands to product loop.
*/
function add_brands_to_product_loop() {
$terms = get_the_terms( get_the_ID(), 'product_brand' );
if ( ! empty( $terms ) && ! is_wp_error( $terms ) ) {
$term = join( ', ', wp_list_pluck( $terms, 'name' ) );
echo esc_html( $term );
}
}
}
Questions and Feedback
↑ Back to topHave a question before you buy? Please fill out this pre-sales form.
Already purchased and need some assistance? Get in touch with a Happiness Engineer via the Help Desk.