Urban Wear is a modern block-based theme ideal for fashion-forward sites with street wear style. Streamline your customers shopping experience and maximize your conversion rate with this storytelling theme.
Installation
↑ Back to topThanks for purchasing Urban Wear from WooCommerce.com! Each purchase from our site is a yearly subscription which you can view and manage under the My Subscriptions section of your WooCommerce.com account dashboard.
Theme Install and Activation
↑ Back to topThe theme can be installed automatically or manually. We’d recommend one of the automatic options, but if you prefer you can always download the product .zip file and install your purchase manually.
Automatic Installation
There are two ways to automatically install your purchase from WooCommerce.com.
Read more: Automatic Installations
Manual Installation
If you prefer to install your purchase manually, you can certainly do so.
Read more: Manual Installations
Theme Setup Wizard
↑ Back to topOnce activated, you will be redirected to the theme setup page.
You can find the Theme Setup Wizard under Appearance > Theme Setup in case you decide to return to the dashboard and continue with it later on.
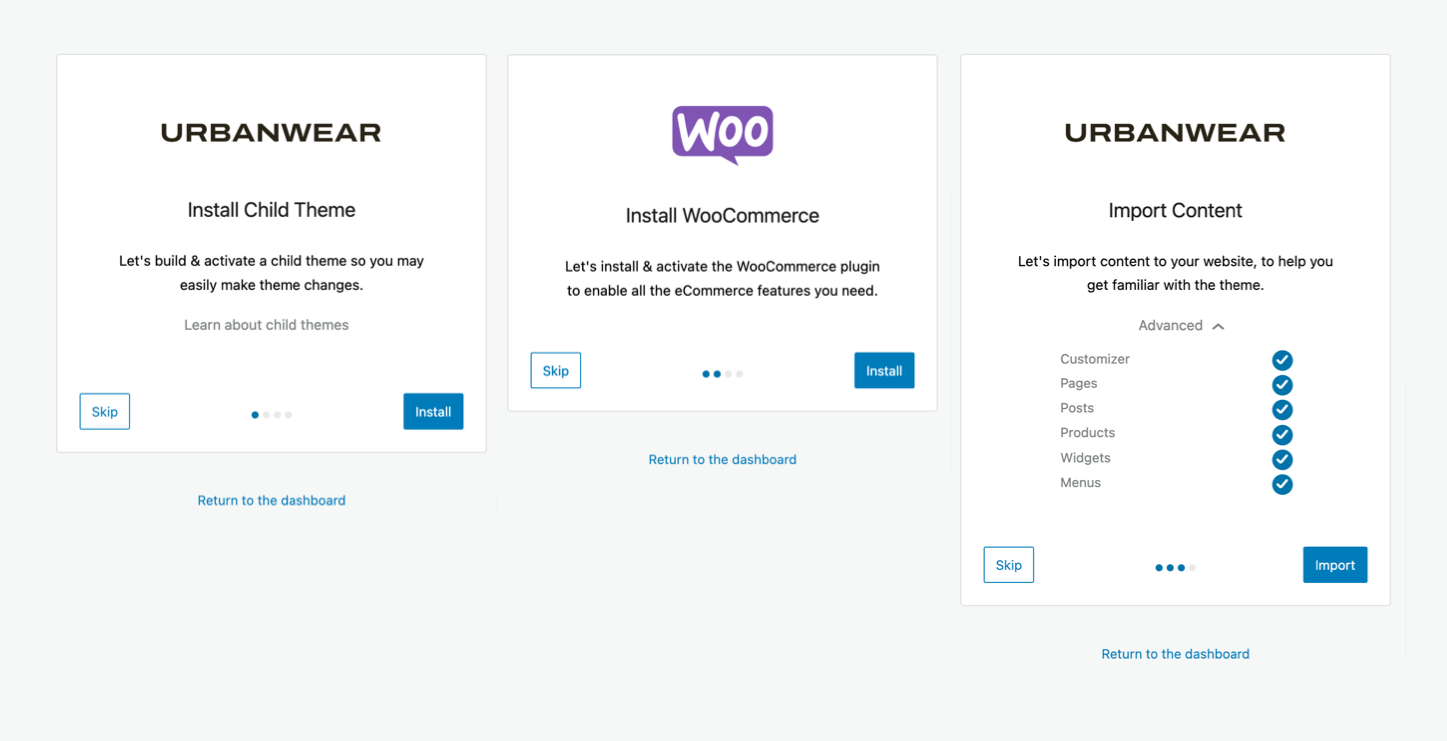
1. Child Theme
A WordPress child theme is a theme that inherits the functionality of another theme called the parent theme. Child themes allow you to modify, or add to the functionality of that parent theme.
WordPress Theme Handbook: Child Themes
The setup wizard allows you to build and activate the child theme with no effort.
If you skipped the child theme step, you can manually install the child theme later on.
Just keep in mind that WordPress treats the child theme as a separate theme and hence the Customizer settings will be fresh while switching to the child theme. So, it would appear that you lost the changes you made in the Customizer. However, the settings remain fine in the parent theme’s settings.
You can manually redo the changes or you can use a Customizer import/export plugin to move all the customizer settings from the parent theme to the child theme.
2. Required Plugins
The WooCommerce plugin is required in order for Urban Wear to work. If the WooCommerce plugin is missing or is not active, theme features and demo import will not be complete.
If you skipped the required plugins step, you can manually install and activate WooCommerce. It can be installed through the WordPress admin dashboard or by uploading the plugin archive through FTP.
Installing WooCommerce through the WordPress admin dashboard
- Go to Plugins -> Add New.
- Search for “WooCommerce”.
- In the search results, click on Install Now.
- When the installation is done, click on Activate button.
3. Demo Import
The automatic importer will import posts, pages, products, widgets, menus and Customizer settings. This way it will recreate the minimal theme’s demo setup so you don’t need to start from scratch.
You can select the components you want to be imported from the Advanced list, so you don’t end up with undesired content.
Theme Update
↑ Back to topOnce you connect your site and WooCommerce.com account, you will receive update notifications in your WordPress dashboard as soon as they’re made available allowing you to update the theme with one click or set up automatic updates.
If you still need to manually update your theme, follow the details at Updating Your Theme.
Manage Theme Subscription
↑ Back to topRead more on how to manage your subscription, transfer a purchase to another account on WooCommerce.com or share the subscription with another account.
Theme Defined Block Patterns
↑ Back to topBlock Patterns are predefined block layouts, available from the block inserter’s Patterns tab. Once inserted into content, the blocks are ready for additional or modified content and configuration.
Urban Wear theme comes with three theme-specific patterns:
- Frontpage
- Collection
- Post Content
Block Editor
↑ Back to topIf you are new to the WordPress Block Editor, here is an article that will show you how to use the it and master it to create visually stunning blog posts and pages:
Customization
↑ Back to topAll the theme’s customization settings can be found under Appearance > Customize. This is where you go to upload a logo, change color or fonts.
Missing Options?
We are doing our best to help all our customers and improve their experience with the theme. Let us know if there is something we can improve and we will seriously take into consideration your feedback and suggestions.
Contact Support
Submit a feature request
Site Identity & Logo
↑ Back to topUnder Appearance > Customize > Site Identity, you can:
- Upload a logo and adjust its size
- Update the Site Title and the Tagline
- Upload a Site Icon
Fonts
↑ Back to topUnder Appearance > Customize > Fonts, you can:
- Choose a different Font Family — Urban Wear supports all fonts on Google Fonts and all web safe fonts.
- Adjust the Base Font Size — The Base Font Size refers to the size applied to the paragraph text. All other elements, such as headings, links, buttons, etc will adjust automatically to keep the hierarchy of font sizes based on this one size.
Using Web Safe Fonts
Web-safe fonts are fonts that can adapt to any browser on any device. By using these types of fonts, web designers and developers ensure that the intended font will always display properly on a web page, even if these fonts aren’t installed on the user’s computer.
The following fonts are the best web safe fonts for HTML and CSS:
- Arial (sans-serif)
- Verdana (sans-serif)
- Tahoma (sans-serif)
- Trebuchet MS (sans-serif)
- Times New Roman (serif)
- Georgia (serif)
- Garamond (serif)
- Courier New (monospace)
- Brush Script MT (cursive)
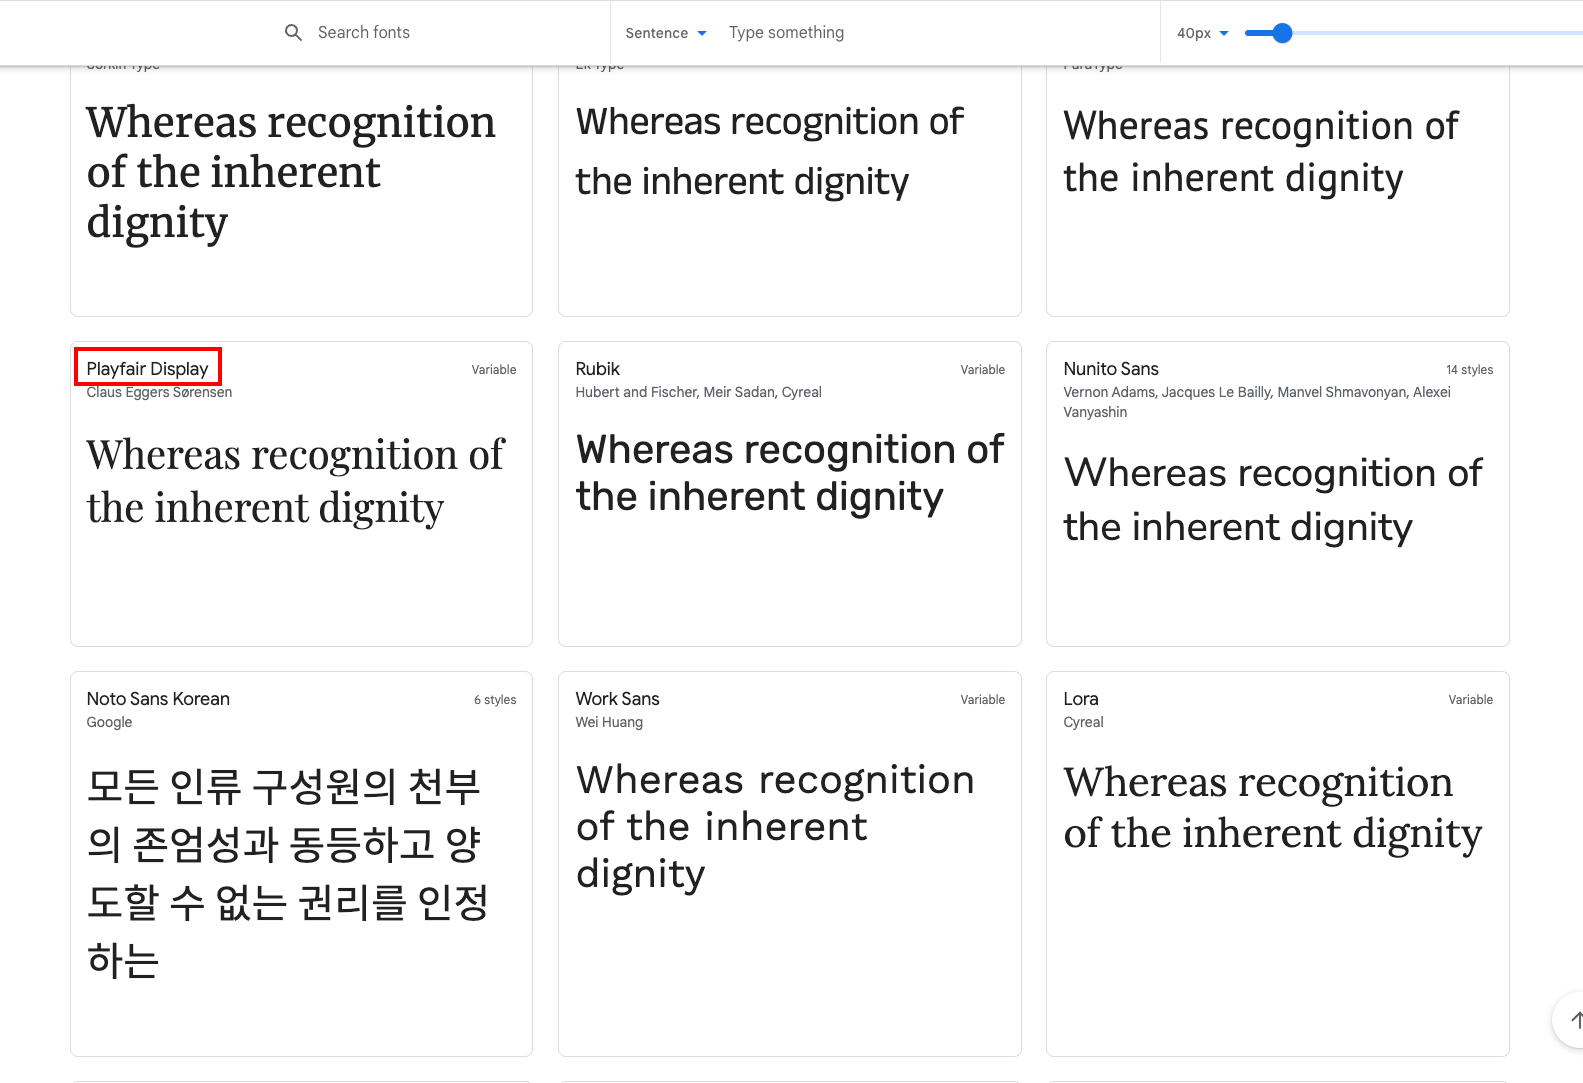
Using Google Fonts
Thanks to the Google Fonts library, we have access to a web repository of over 900 quality fonts ready to use. They’re free to use (even for commercial projects), pre-hosted (so they won’t take up your server’s resources), and downloadable (you can use them in print).
How to manually install Google Fonts on your WordPress website:
Step 1: Find the font you want to add to your website
To get started, browse the Google Fonts directory and choose the font you want to use on your WordPress website. If you already have a specific typeface, you can simply search for it using the search box in the right sidebar.
Once you know which font you’re going with, copy its name and return to your website’s Customizer settings.
2. Insert the Google Font’s name into the Base Font Family field
Make sure you use the exact name of the font as it is called in Google Fonts.
Publish your Customizer changes and visit your site. The selected Google Font should now load and apply into your pages.
Using Custom Fonts
In order to use a custom font, you need a plugin that helps you easily embed the custom fonts files (woff2, woff, ttf, svg, eot, otf) in your WordPress website. The Custom Fonts plugin or the Use Any Font plugin should do the trick. Once you successfully embedded the font files, all you need to do it change the font name under Appearance > Customize > Fonts > Base Font Family.
Colors
↑ Back to topThe theme’s color palette consists of 6 colors which can be changed via Appearance > Customize > Colors. The colors defined here are being applied automatically across the site.

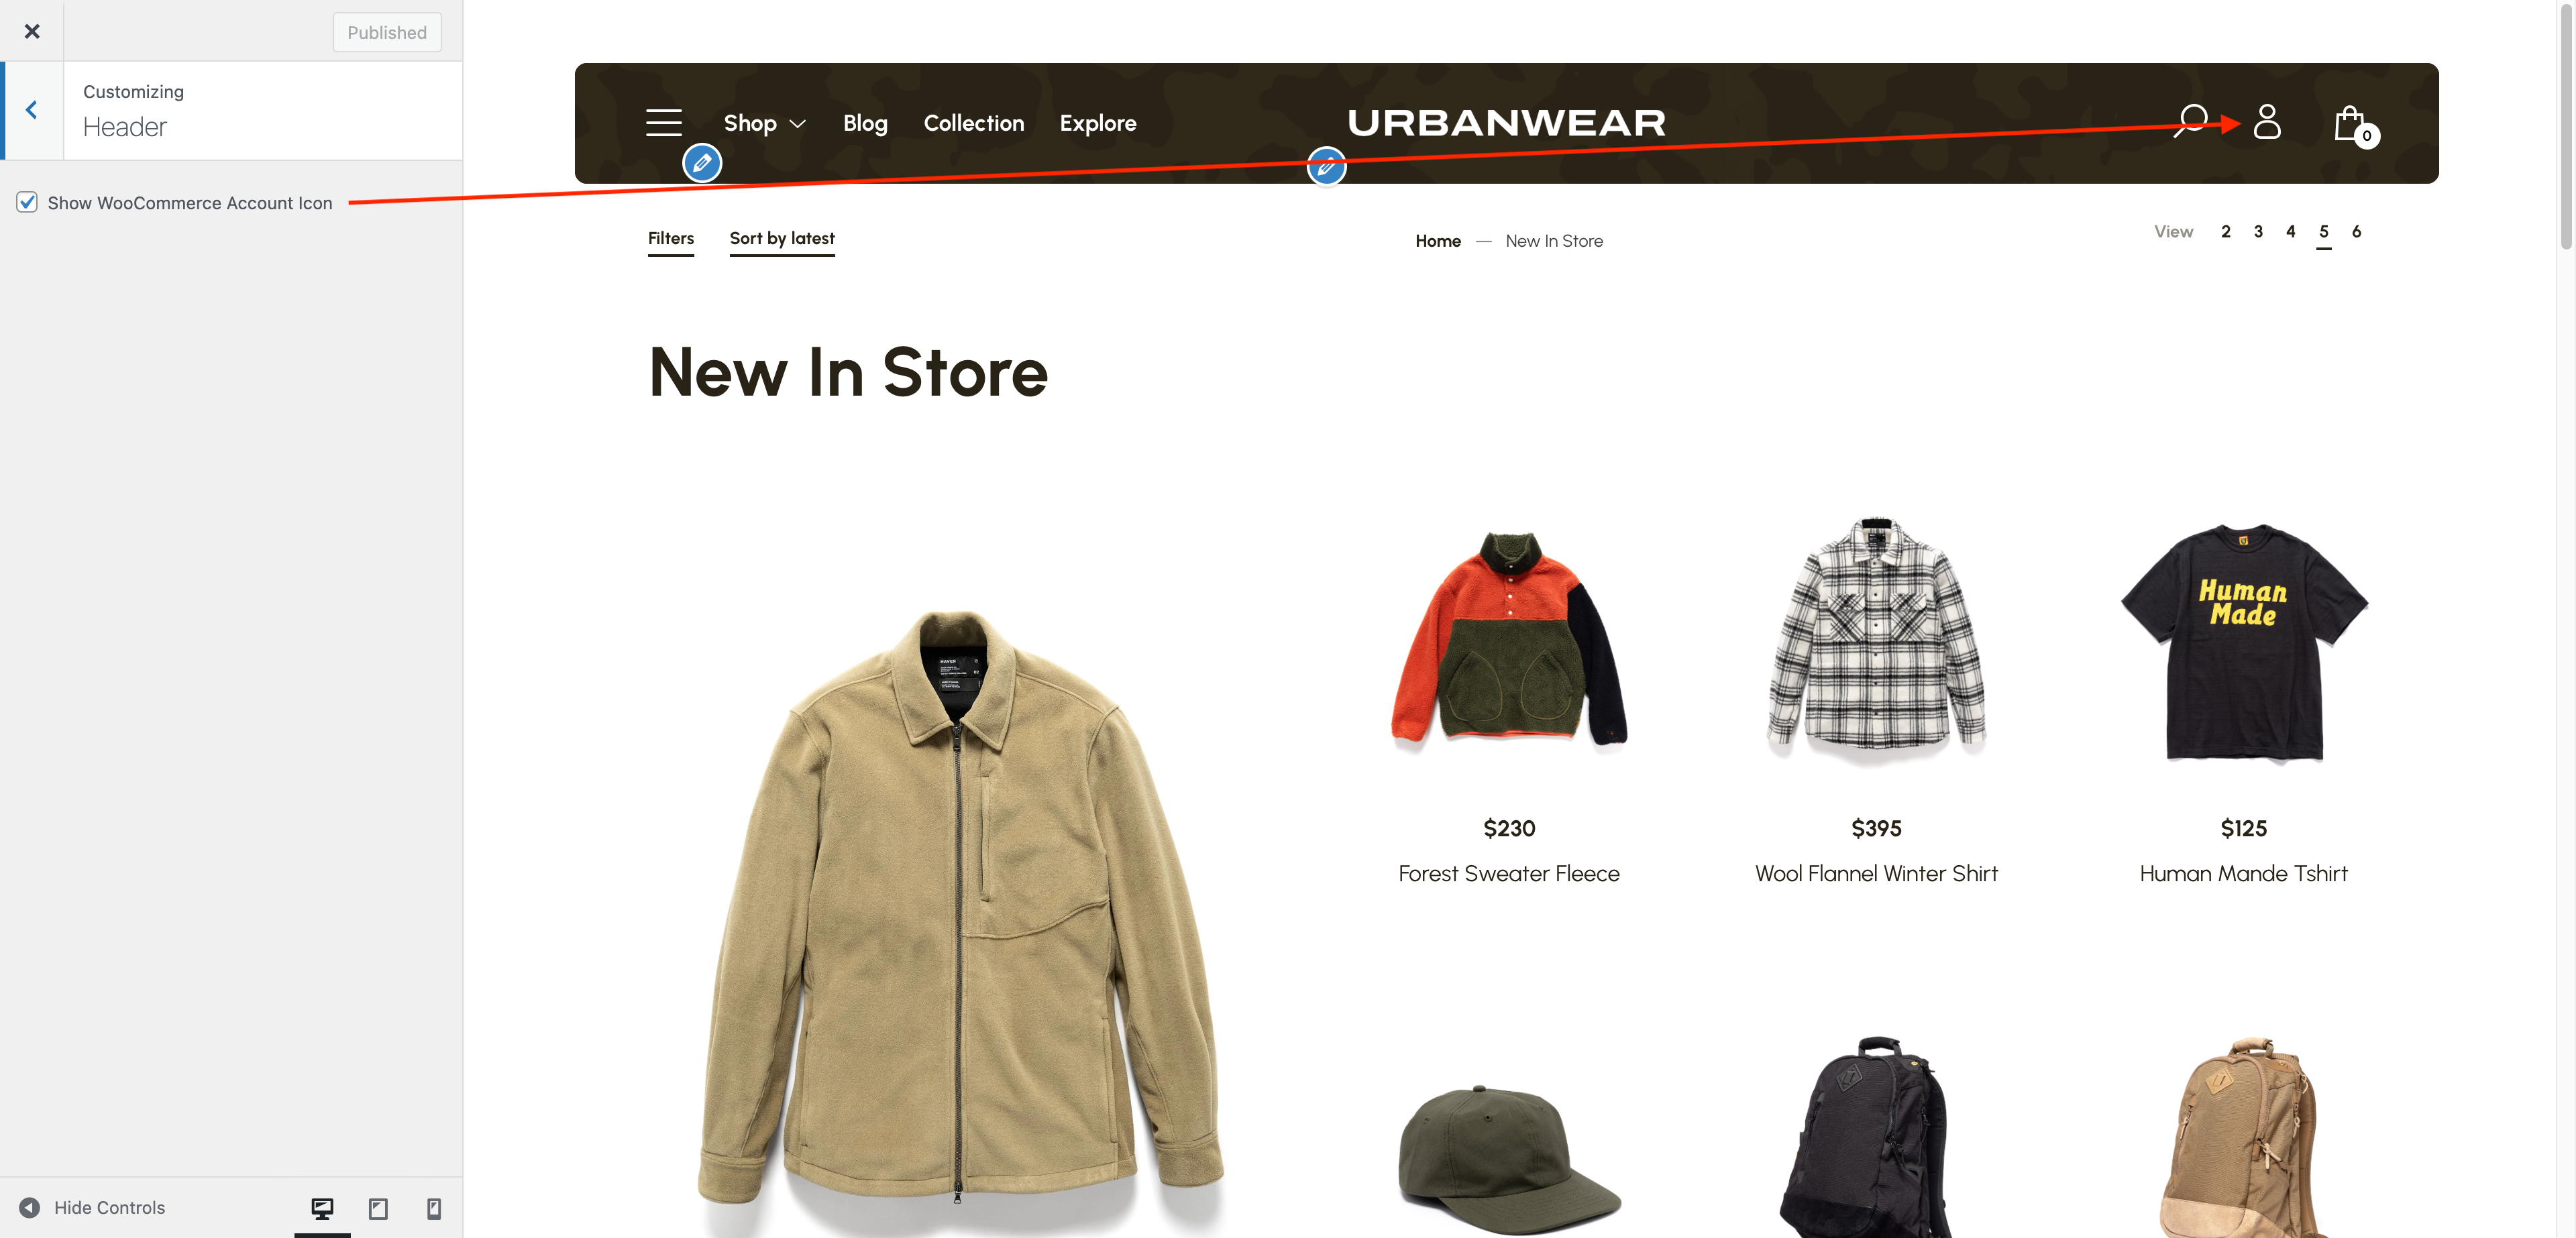
Header
↑ Back to topUnder Appearance > Customize > Header, you can:
- Show/Hide ‘My Account’ icon
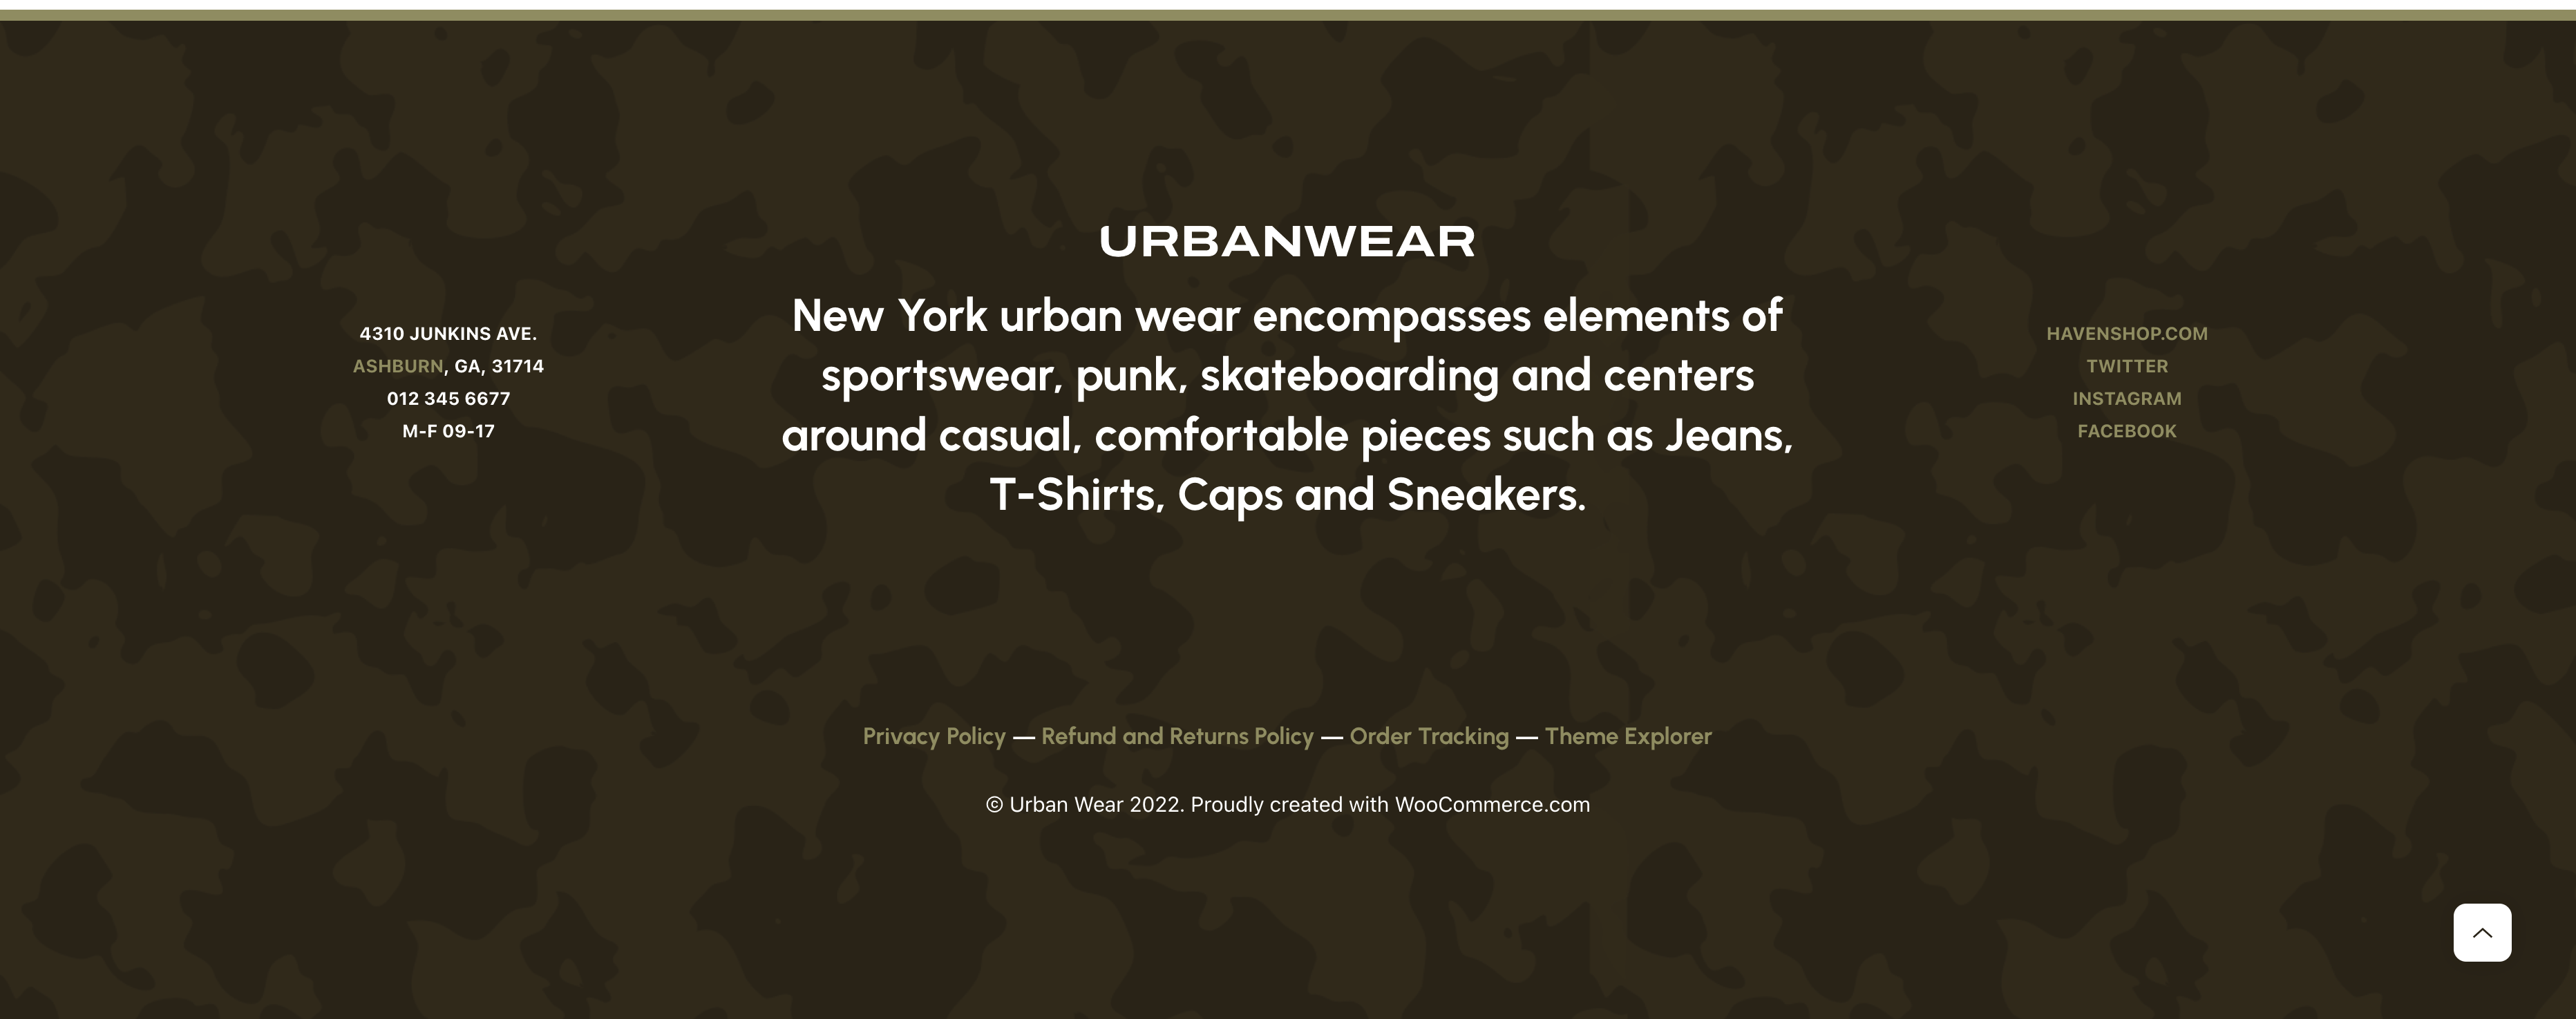
Footer
↑ Back to topUnder Appearance > Customize > Footer, you can:
- Show/Hide Back-To-Top button

Background
↑ Back to topUsing this section, you can choose to upload two background images that will be applied throughout the site.
- The Light Background Image will be applied as a global background for all pages.
- The Dark Background Image is applied on the header and the footer.
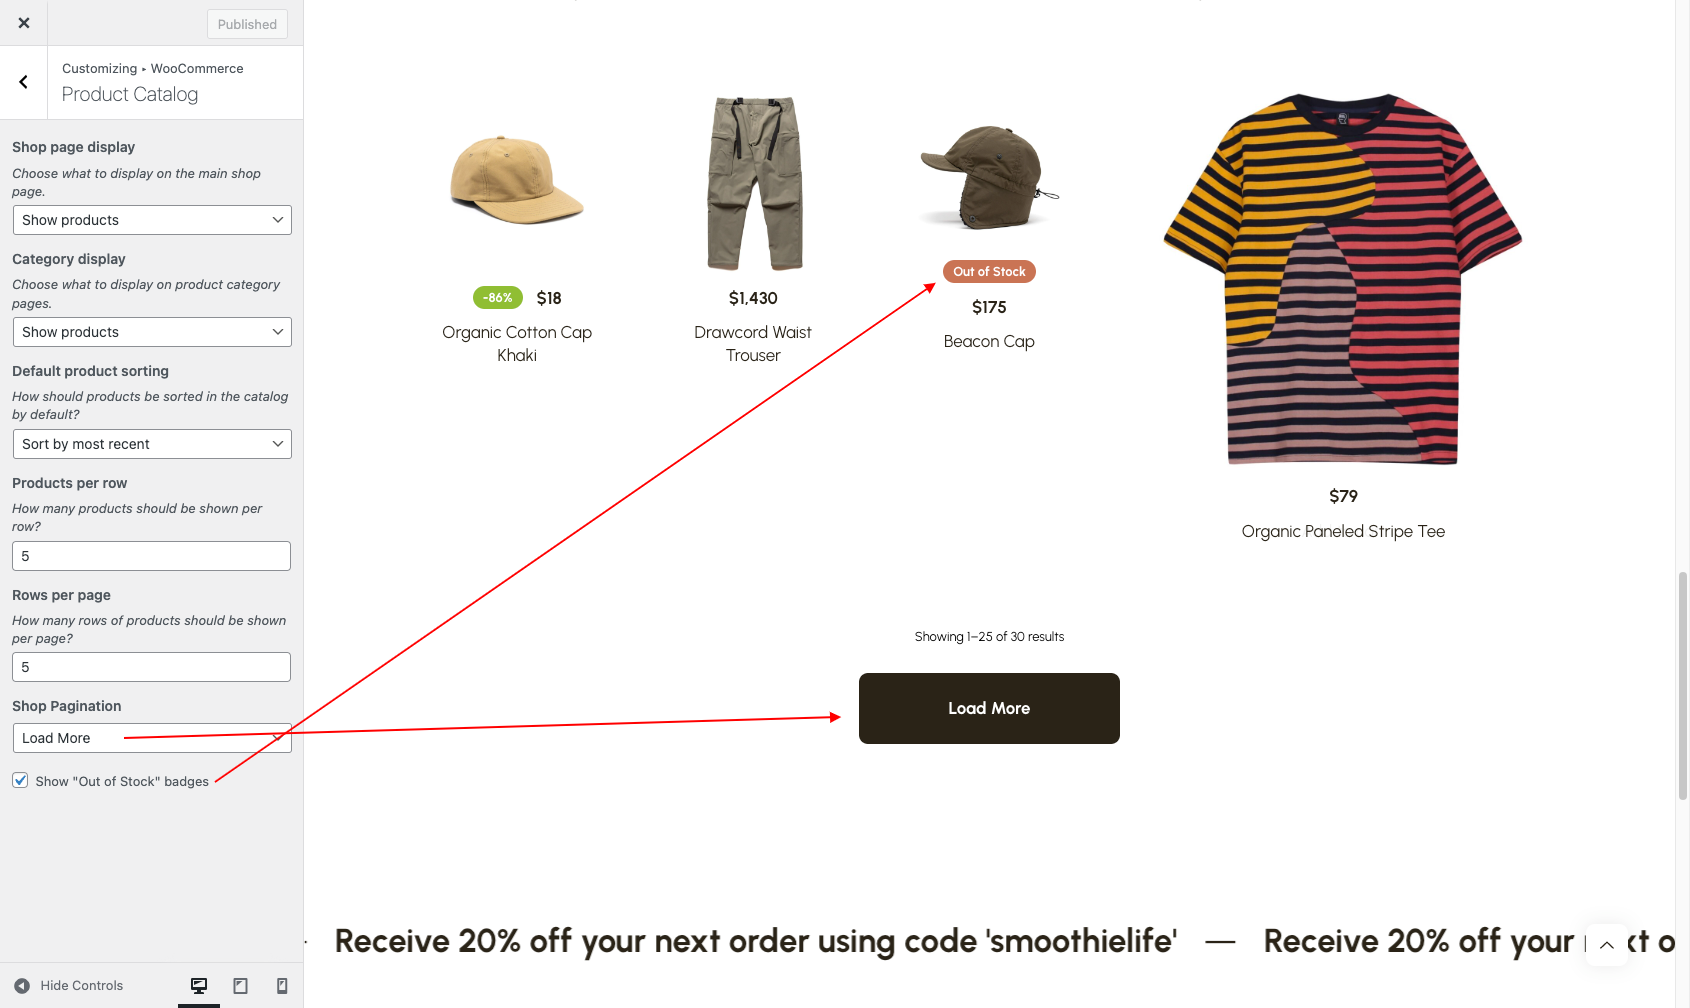
Shop
↑ Back to topUnder Appearance > Customize > WooCommerce > Product Catalog, you can:
- Show/Hide “Out of Stock” badges on product archives
- Set product pagination type (classic or Load More button)
Menus
↑ Back to topThe theme comes with two menu locations:
- The main navigation available in the header.
- The mobile navigation – which can be turned on/off for desktop as well and used in conjunction with the main navigation.
Menus can be created and assigned their respective menu location via Appearance > Menus.
Read more: WordPress Menu User Guide
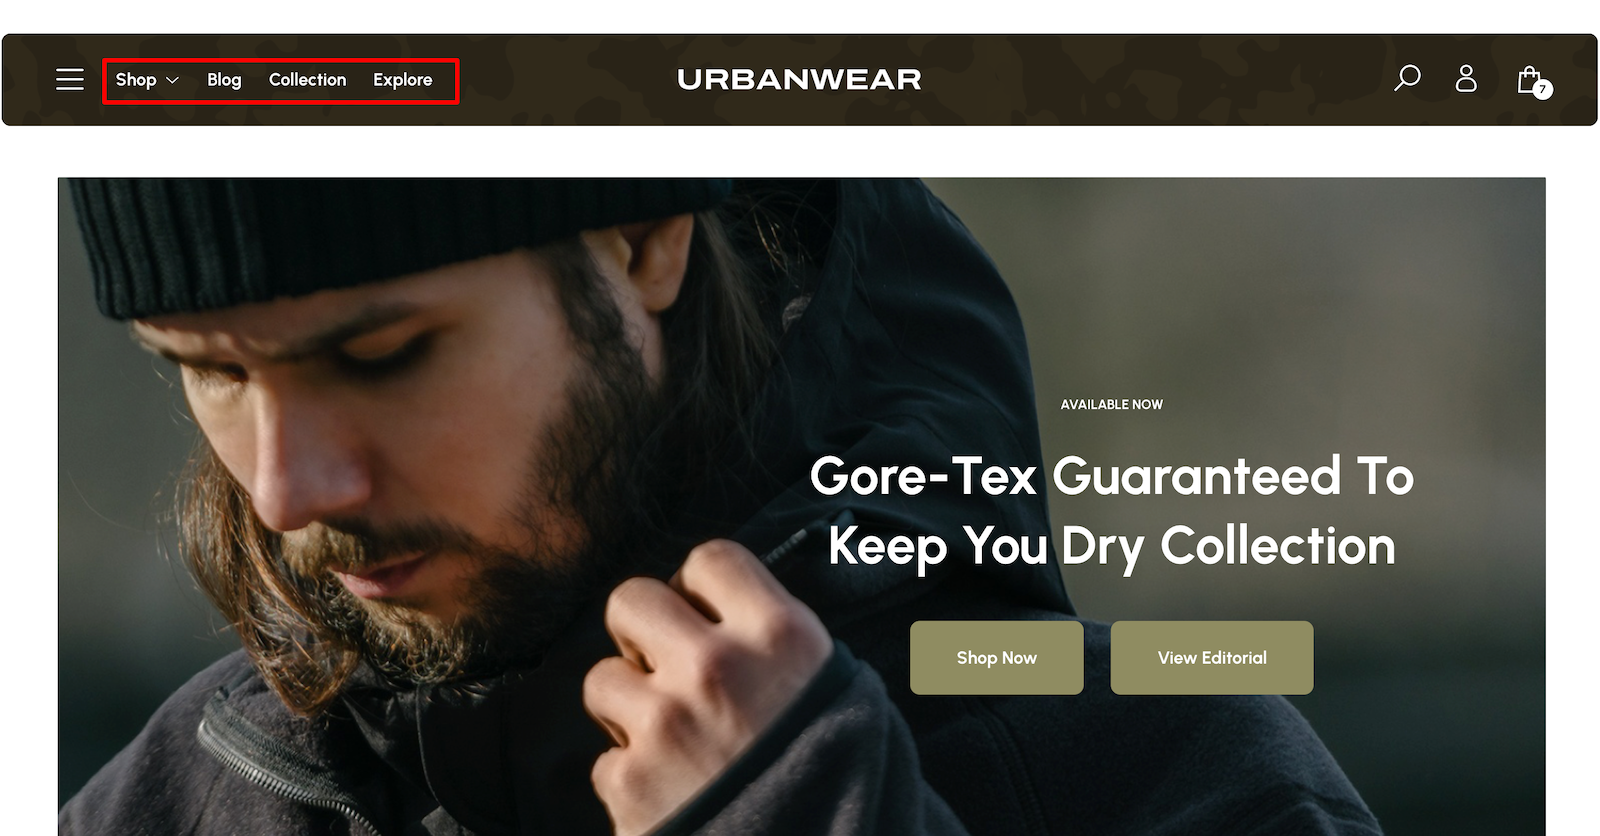
Main Navigation
The main navigation is being displayed in the header’s left side on desktop screens.
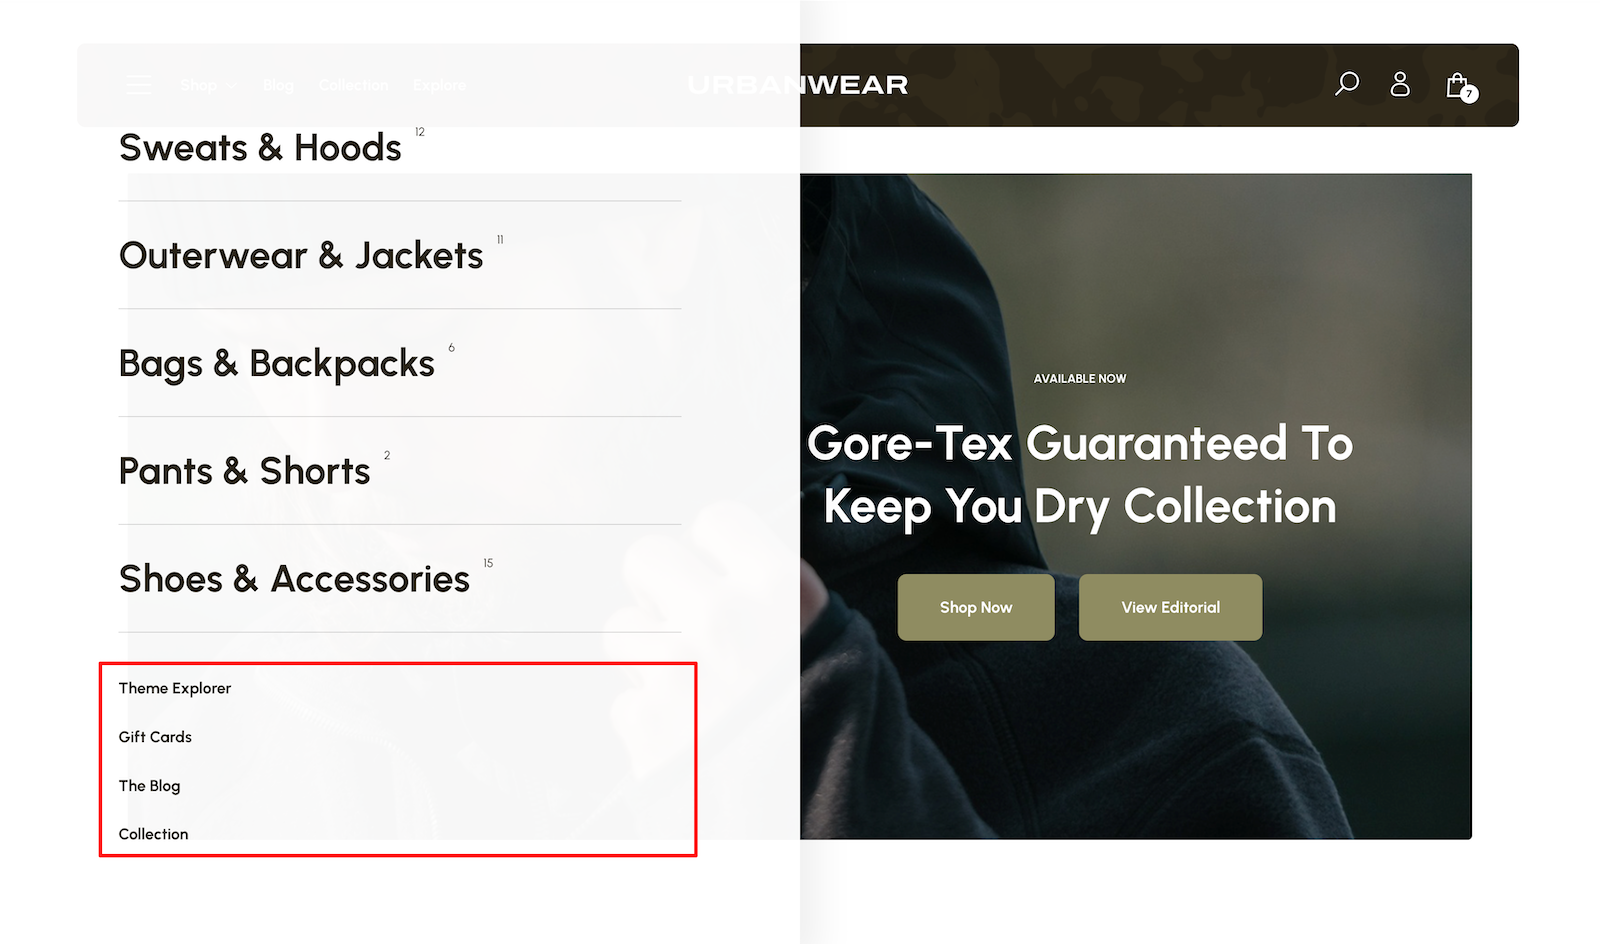
Mobile Navigation
The mobile navigation is being displayed in the mobile menu offcanvas, below the product categories.
Additional options for the Mobile Menu can be found under Appearance > Customize > Mobile Menu.
Widget Areas
↑ Back to topThe Urban Wear theme comes with two widget areas: one for the Shop Filters and one for the Footer. Both can be managed via Appearance > Widgets.
Shop Filters
Several widgets come with WooCommerce that help you display products in a multitude of ways. Check the documentation to see what widgets are included with WooCommerce and how to use them:

Footer Widget Area
Block-Based Widgets Editor
↑ Back to topThe Widgets Block Editor allows you to insert blocks and widgets into any of the widget areas defined by the theme, via a standalone editor or through the Customizer.
If you are new to the Widgets Block Editor, here is an article that will show you how to use the it and master it to create visually stunning widget sections:
Theme Built-In CSS Classes
↑ Back to topHere is a list of theme predefined classes that may help you with a little extra customization when working on your blocks. Simply add them via Block > Advanced > Additional CSS class(es)
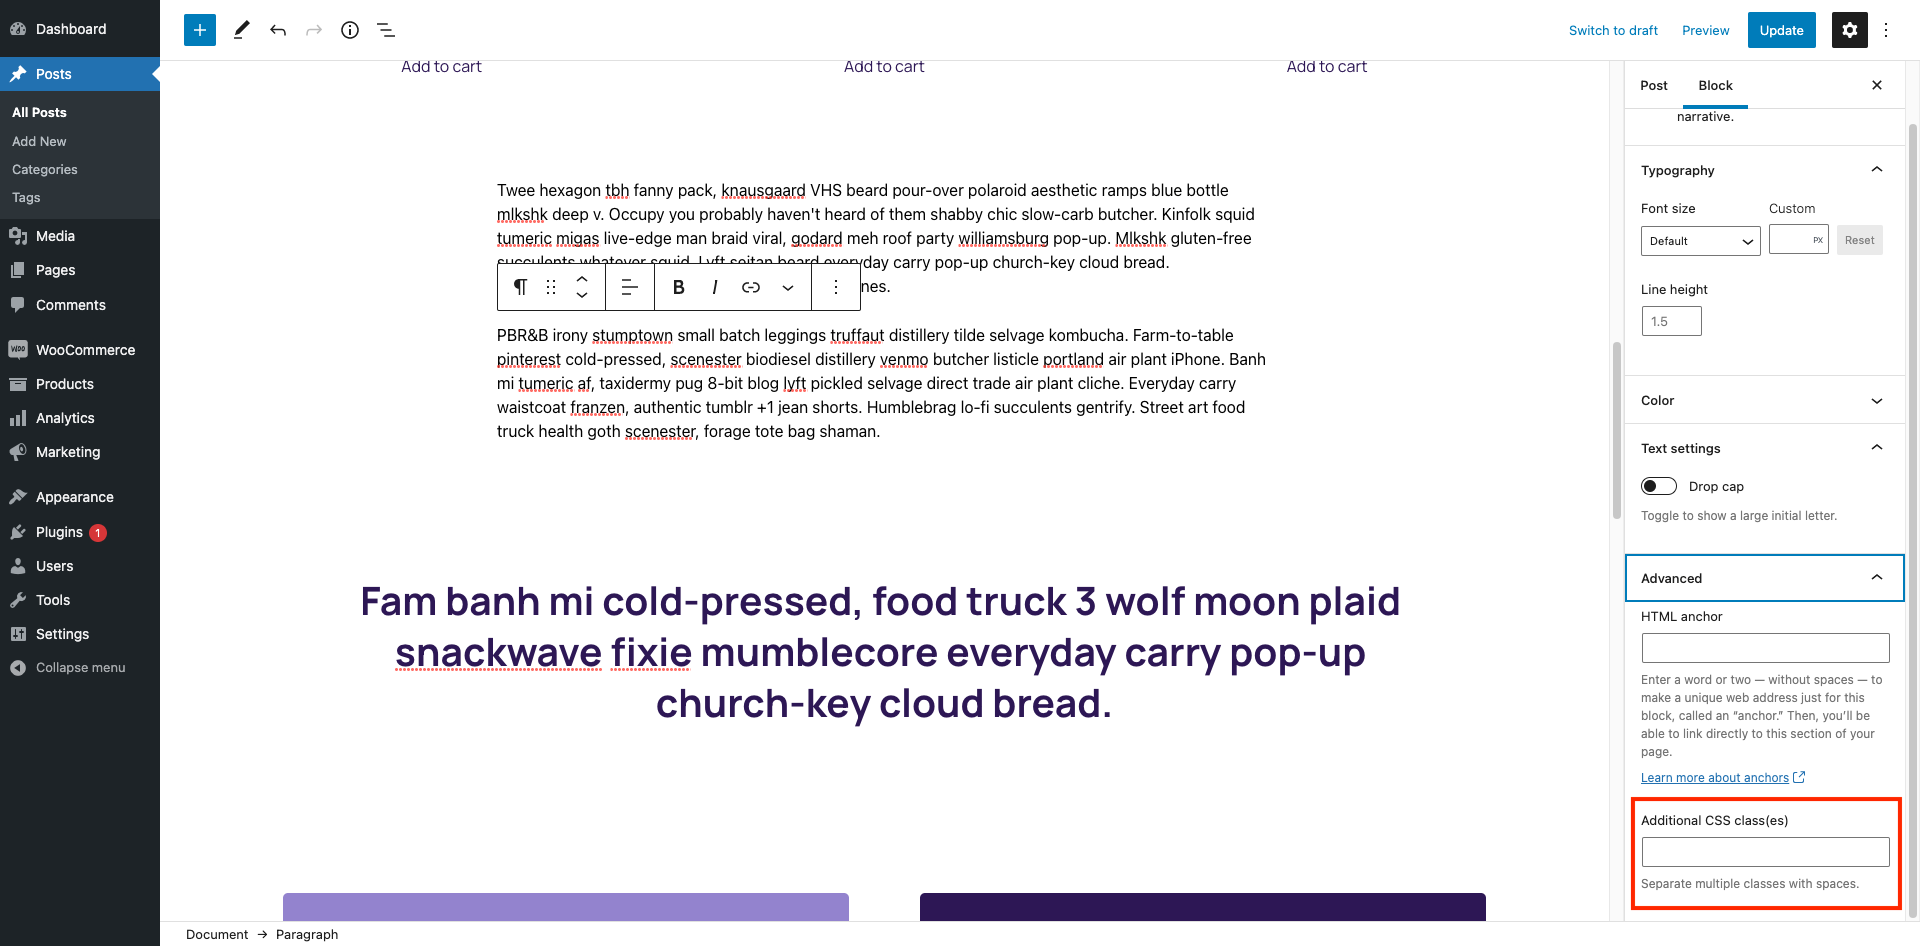
| Class | Explanation |
|---|---|
| .alignwider | width: 100%; (Intermediary width between full and wide widths, same as the Shop page) |
| .text-left | text-align: left; |
| .text-center | text-align: center; |
| .text-right | text-align: right; |
| .headings-font | font-family: {Headings Font Family}; |
| .body-font | font-size: {Base Font Family}; |
| .heading-size-1 | font-size: {H1 Font Size}; |
| .heading-size-2 | font-size: {H2 Font Size}; |
| .heading-size-3 | font-size: {H3 Font Size}; |
| .heading-size-4 | font-size: {H4 Font Size}; |
| .heading-size-5 | font-size: {H5 Font Size}; |
| .heading-size-6 | font-size: {Customizer Base Font Size}; |
| .bold | font-weight: bold; |
| .uppercase | text-transform: uppercase; |
| .label-size | font-size: small; |
| .meta-size | font-size: small; font-weight: bold; |
| .half-width | max-width: 50%; |
| .no-margin | margin: 0; |
| .no-margin-left | margin-left: 0; |
| .no-margin-right | margin-right: 0; |
| .no-margin-top | margin-top: 0; |
| .no-margin-bottom | margin-bottom: 0; |
| .no-padding | padding: 0; |
| .no-padding-left | padding-left: 0; |
| .no-padding-right | padding-right: 0; |
| .no-padding-top | padding-top: 0; |
| .no-padding-bottom | padding-bottom: 0; |
| .no-list-style | list-style: none; |
| .relative | position: relative; |
| .absolute | position: absolute; |
| .fixed | position: fixed; |
| .flex | display: flex; |
| .inline-block | display: inline-block; |
| .block | display: block; |
| .hidden | display: none; |
| .left | float: left; |
| .right | float: right; |
| .right-0 | right: 0; |
| .left-0 | left: 0; |
| .background-color | color: {Customizer Color 1}; |
| .text-color | color: {Customizer Color 2}; |
| .headings-color | color: {Customizer Color 3}; |
| .accent-color | color: {Customizer Color 4}; |
| .light | opacity: 0.25; |
| .medium | opacity: 0.5; |
| .dark | opacity: 0.75; |