The Storefront Product Hero extension allows you to add a hero component to the homepage template of your Storefront powered website, or anywhere else via shortcode. You can upload a background image (and set it to parallax scroll) and tweak other appearance settings using the WordPress Customizer.
Installation
↑ Back to top- Unzip and upload the plugin’s folder to your
/wp-content/plugins/directory - Activate the extension through the ‘Plugins’ menu in WordPress
- Enter the WordPress Customizer to begin using the plugin.
For more information on installing and managing plugins see here.
Customizer Usage
↑ Back to topAfter configuring your site’s Front Page to use the Homepage Template, the Storefront Product Hero extension settings are visible when viewing the Front Page in the WordPress Customizer.
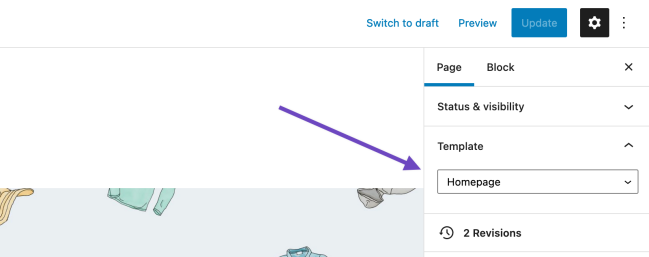
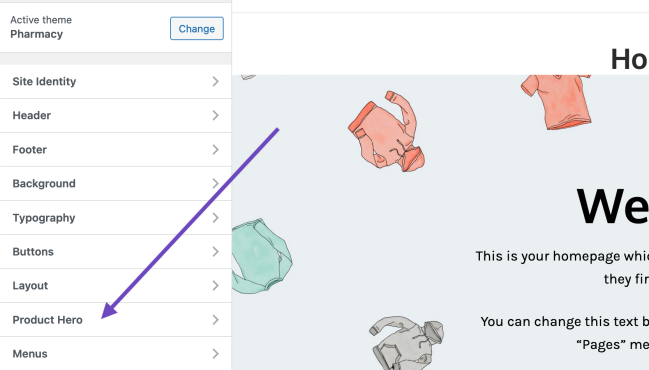
Upon entering the Customizer you will notice a new section titled Product Hero.
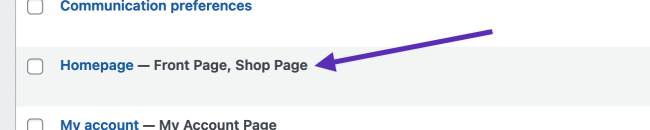
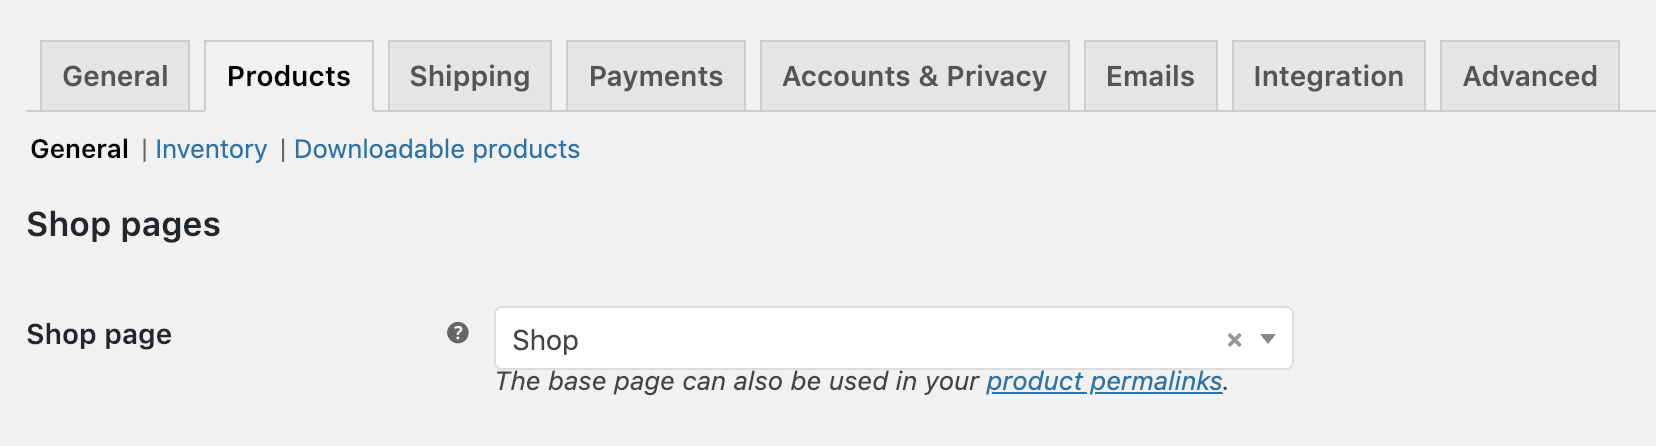
Note: If your homepage / front page is also set to be your Shop page (under WooCommerce > Settings > Products > General > Shop page, then the Customizer settings will not show. In that case, use the shortcode as outlined below.
Inside of the Customizer > Product Hero section are several settings which we’ll overview in detail:
Content
↑ Back to topSelect a product to feature in the product hero. The list of selectable products is the products that are currently marked as featured in your store. This is to avoid loading your entire product list in the Customizer. Be sure that the product you want to display in your product hero is marked as featured or it won’t be selectable here. Likewise, if you don’t have any featured products then the setting won’t appear at all.
- Product image – uncheck this option to hide the product image
- Product price/add to cart – uncheck this option to hide the price and add to cart button
- Product rating – uncheck this option to hide the product rating (it has no effect if the product doesn’t have any ratings)
- Heading text – adding text here will override the product title
- Heading text color – change the heading text color
- Description text – adding text here will override the product’s description
- Description text color – change the description text color
- Link color – change the color of links that appear in the description
Background
↑ Back to top- Background image – upload a background image for the hero component.
- Background color – select a background color
- Parallax – toggle the parallax effect applied to the background image. If no background image is set this setting does nothing.
- Parallax scroll speed – This setting affects the ratio at which the parallax background scrolls, relative the default scroll speed. IE 25% means the background will scroll at a quarter of the speed while 50% means it will scroll at half speed.
- Parallax offset – adjust the starting position o the background image
- Overlay color – adds a color tint to the Product Hero
- Overlay opacit – adjust the intensity of that tint by making it more or less transparent.
Layout
↑ Back to top- Content layout – choose from the 3 styles on offer; text to the left of the image, text below the image, or text to the right of the image.
- Hero width – choose from either full width, or fix width. Fixed width means it will match the rest of the content on the page in width, full width means it will span the full browser width.
- Full height – when enabled the product hero will intelligently resize to fill the browser window on page load. This effect will only work if it appears quite high up in your content and is not generally recommended when using the product hero in post/page content unless it’s a full-width page.
Shortcode
↑ Back to topYou can add the product hero component to any page using the [product_hero] shortcode. You can pass the following attributes to the shortcode to create custom hero components, but please note that features like Full Height and the Full Width Layout are not best suited to all pages and should generally be set to false (0).
'product_id'
'heading_text'
'heading_text_color'
'description_text'
'description_text_color'
'background_img'
'background_color'
'background_size'
'alignment'
'layout'
'width'
'parallax'
'parallax_scroll'
'overlay_color'
'overlay_opacity'
'full_height'
'style'
'overlay_style'
'product_image'
'product_price'
'product_rating'
Note that valid arguments for the ‘layout’ attribute are ‘left’, ‘right’ or ‘center’ and this affects the product hero content. The valid arguments for the ‘width’ attribute are ‘full’ or ‘fixed’ and this affects the overall product hero width. The ‘full’ width option will only work on pages that use the “Full width” page template.
So a full shortcode could look like:
[product_hero layout="center" background_img="https://unsplash.imgix.net/1/irish-hands.jpg?q=75&fm=jpg&s=0b8bb73125fe1ec4828d0048550ae2bd" width="full" full_height="0" background_size="cover" overlay_opacity="0.25" product_id="299" parallax="0" description_text_color="#eeeeee"]
Note: When testing the sample shortcode above, keep in mind that you’ll need to upload the image to your media and copy the URL from your media to replace the URL in the sample shortcode. Also, you’ll need to replace the Product ID with an existing Product ID from a product on your site. More on how to use shortcodes can be found in our How to use shortcodes documentation.
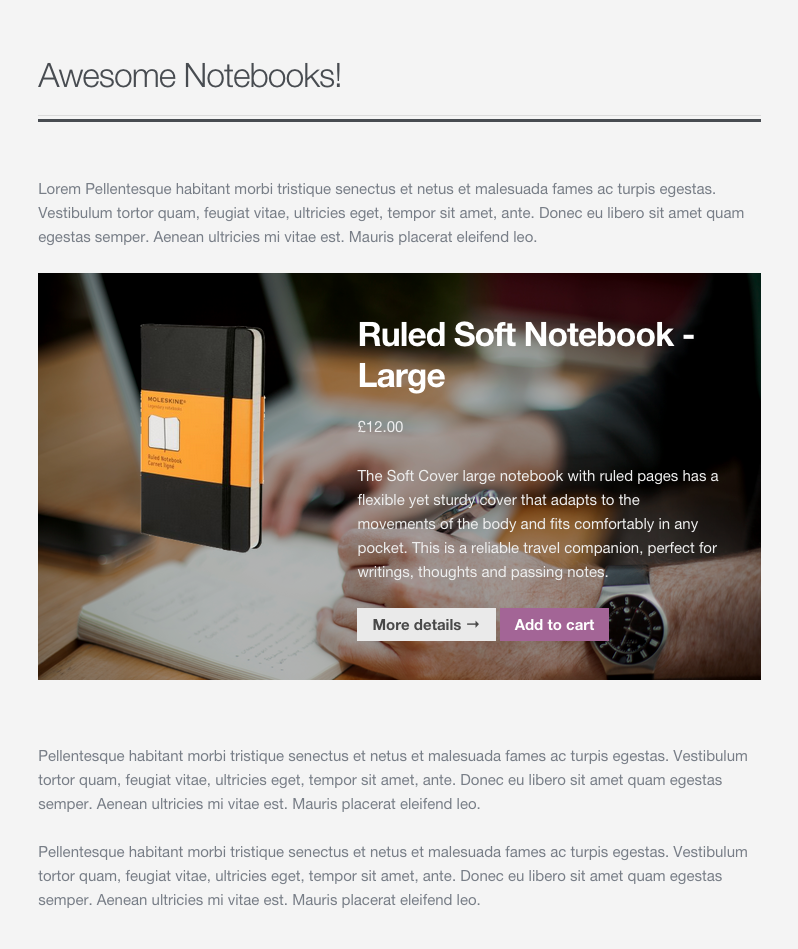
Which would create something like this:
Note that style and overlay_style attributes allow you to add custom CSS to your component. Any attributes added to the shortcode will over-rule settings specified in the Customizer so if you include no attributes at all (eg [product_hero]) the output hero component will simply use all the settings specified in the Customizer.
FAQ
↑ Back to topNo Settings In The Customizer
↑ Back to topFront Page Setting
If there are no settings displaying in the WordPress customizer for Product Hero you may not yet have the default Storefront Homepage Template configured and set as the front page of your WordPress site as the Product Hero Customizer settings will only display if you have this page template set as the front page of your site.
The Storefront documentation referenced below explains how to set up the homepage template and set that as the front page of your site.
Storefront Documentation: Setup Homepage Template
If you are not using the default Storefront homepage template as the front page of your site you will then need to add and configure the Product Hero element via it’s shortcode to the page you are using.
Store Page Setting
In order for the Product Hero settings to be displayed, your Home page must not be the same as your Store page.
How do I create the layered effect as seen on the product listing page?
↑ Back to top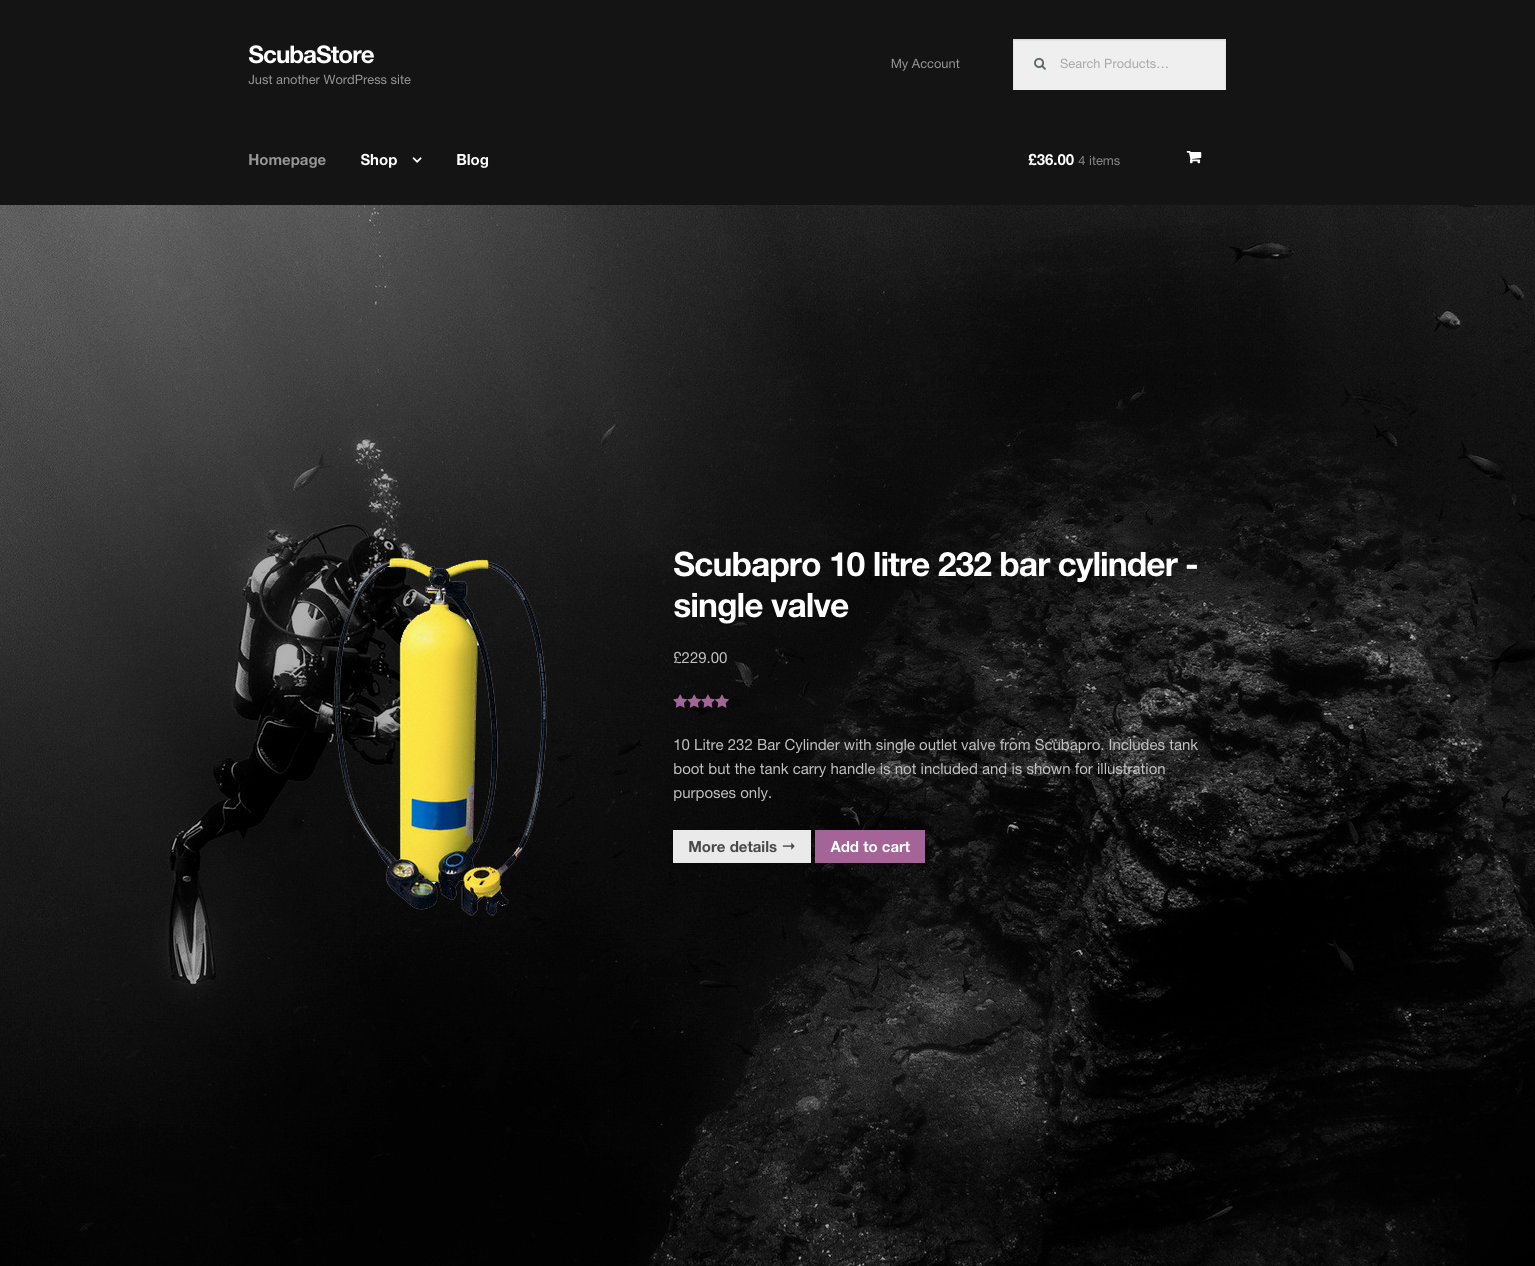
To create this look you simply need to ensure that the featured image of the product showcased in your hero component has a transparent background.