The Storefront Pricing Tables extension allows you to easily create and insert attractive pricing tables into posts / pages on your Storefront powered web site.
Installation
↑ Back to top
- Unzip and upload the plugin’s folder to your
/wp-content/plugins/directory - Activate the extension through the ‘Plugins’ menu in WordPress
- Enter the WordPress Customizer to begin using the plugin.
Usage
↑ Back to topThe Pricing Table shortcodes
↑ Back to topUsing the Shortcode Generator
Navigate to the add/edit post screen. On this screen, ensure ‘Visual’ mode is selected rather than ‘Text’ so you have access to the TinyMCE editor. You’ll notice a new button for adding Pricing Tables: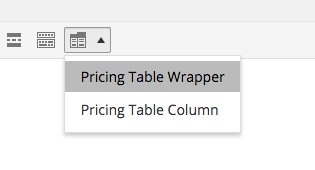
- The wrapper which declares how many columns your table has, and the alignment of content therein
- The individual columns themselves
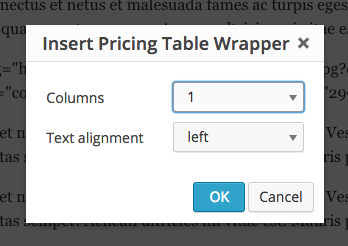
[pricing_table columns="3" alignment="left"][/pricing_table]Step 2 is the add a pricing column. First of all, ensure that your cursor is between the
pricing_table shortcode opening and closing tags so that the columns will be inserted within it.

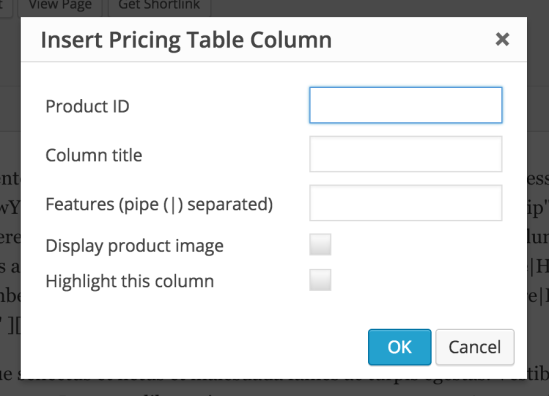
- Product ID: This can be found on the edit product screen and will be used to create the add to cart button at the bottom of the column.
- Column Title: If you leave this blank, the title of the product specified in the Product ID will be used. Otherwise it will form the content of your column title.
- Features: The features you want to display in your column. Separate each individual feature with a pipe (|). You can add basic html here.
- Image: Choose whether or not to display the product image.
- Highlight: If you check the highlight checkbox, the column will have different styles applied to it giving it visual priority over other columns. It works best if you highlight one column rather than many.
[pricing_column id="107" image="true" title="Bronze Membership" features="Here's an bronze feature|Here's another bronze feature"]
Note: The Shortcode Generator will insert the
Go ahead and add as many columns as required, but remember that to ensure a consistent layout you should generally have as many columns as you specified in the wrapper shortcode.
image attribute with a value of true or false, you can however display a custom image by inserting a URL into that attribute instead of true or false.Adding the shortcode manually
There are two shortcodes used to display the pricing tables, a wrapper shortcode and a column shortcode. The wrapper shortcode specifies the number of columns and the content alignment. Use it like so:[pricing_table alignment="left" columns="3"][/pricing_table]The column shortcode defines the product ID to use for the add to cart buttons, the title, the features and whether to highlight the column. Use it like so:
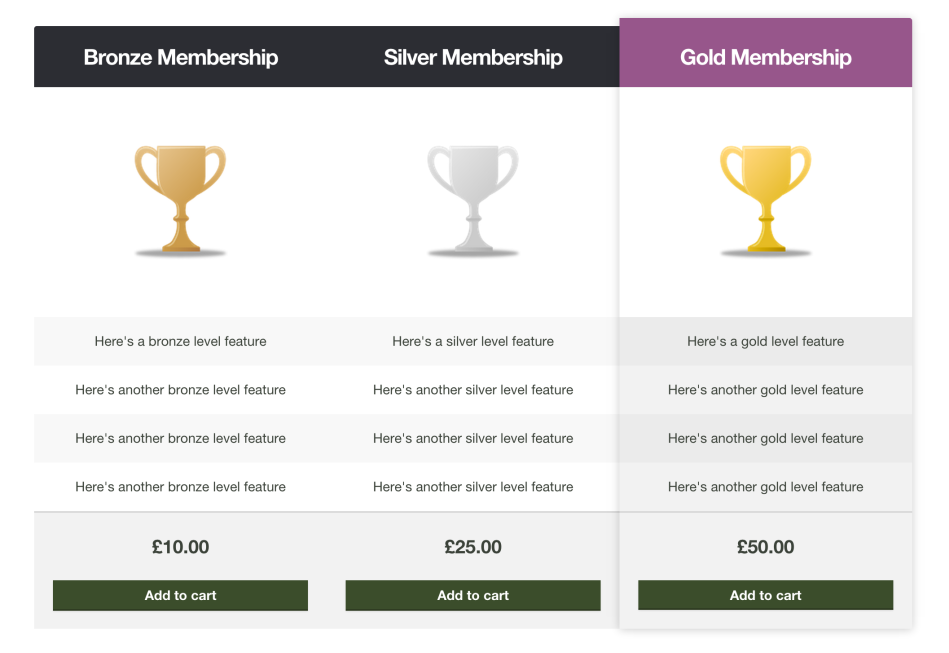
[pricing_column id="107" title="Gold Membership" features="Feature 1|Feature 2|Feature 3" highlight="true"]After you’ve added the shortcodes, you should see something like this on the frontend:
Changing the look and feel
↑ Back to top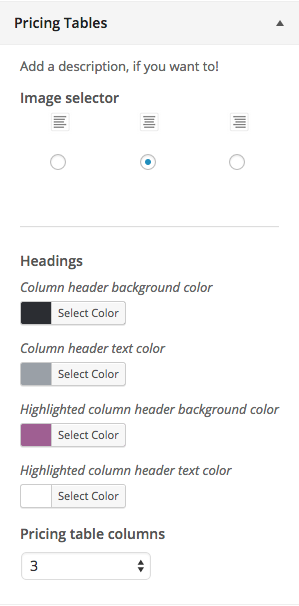
pricing_table shortcode and do not specify a columns attribute, it will inherit the setting of 3 that you specified in the Customizer.
The settings you’ll most frequently use here are the colors. You can change the header background and text colors for standard and featured columns.