- Download the .zip file from your WooCommerce account.
- Go to: WordPress Admin > Plugins > Add New and Upload Plugin with the file you downloaded with Choose File.
- Install Now and Activate the extension.
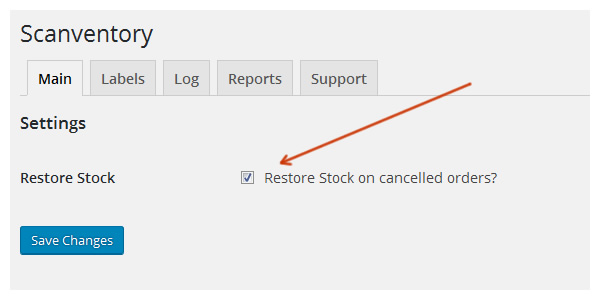
In this section if you click on the checkmark, you can choose to restore stock automatically if its canceled by the buyer.
 Our step by step video will show you how to generate labels for all your products. NOTE: if you have too many products, it is adviced that you generate labels for individual products instead.
Click to View Step by Step Video
Our step by step video will show you how to generate labels for specific products.
Click to View Step by Step Video
The inventory log section allows you to view and track all inventory updates. It will provide information such as the date and time the product was updated, who updated the product, and which product was updated.
Our step by step video will show you how to generate labels for all your products. NOTE: if you have too many products, it is adviced that you generate labels for individual products instead.
Click to View Step by Step Video
Our step by step video will show you how to generate labels for specific products.
Click to View Step by Step Video
The inventory log section allows you to view and track all inventory updates. It will provide information such as the date and time the product was updated, who updated the product, and which product was updated.

Have a question before you buy?
Please fill out this pre-sales form.
Already purchased and need some assistance?
Please get in touch via the help desk.