Store Owner’s Guide
↑ Back to topInstallation
↑ Back to top- Download the zip file from your WooCommerce account;
- Go to your WordPress Dashboard to Install;
- Click Upload Plugin at the top;
- Click on the “Choose File” button and select Quote-For-WooCommerce-Plugin.zip;
- Click Install Now and Activate the extension;
Getting Started
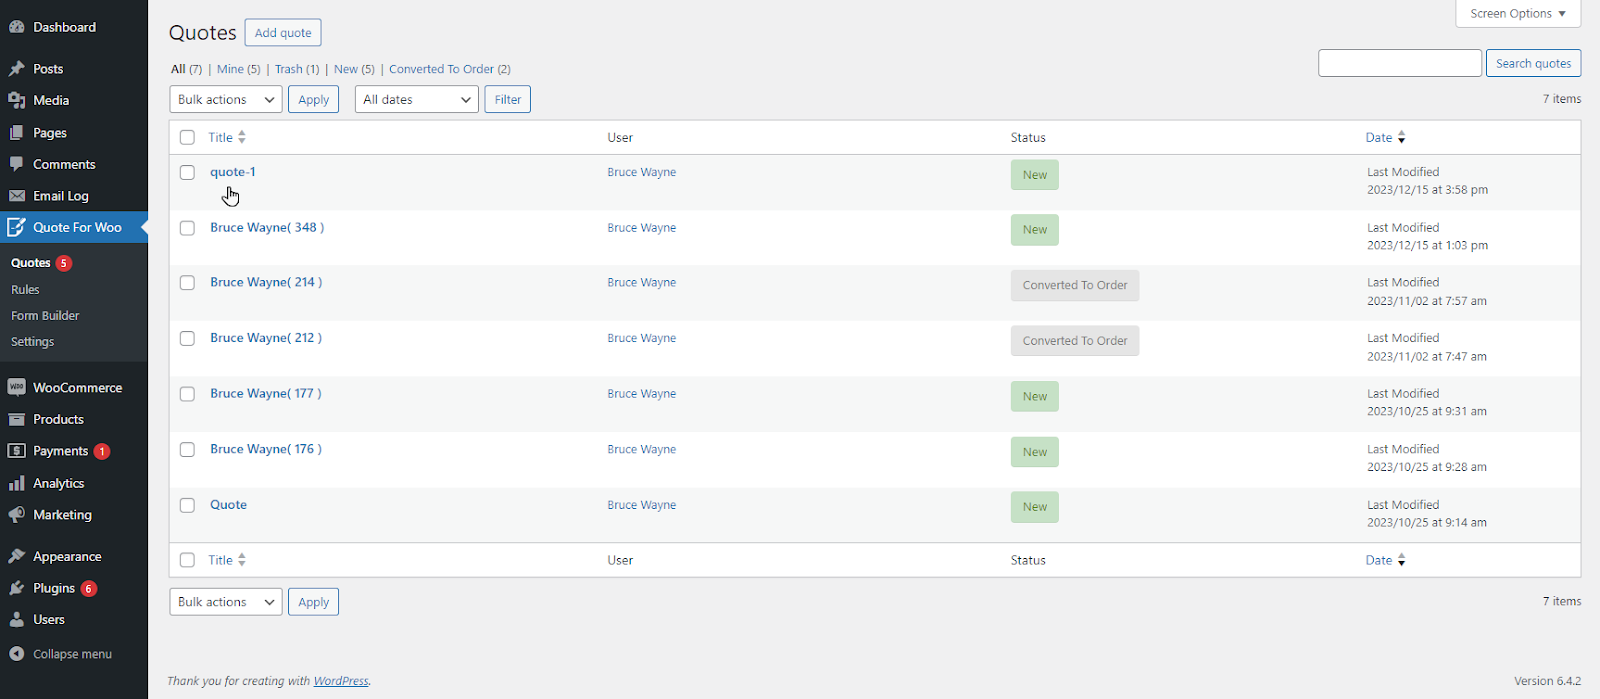
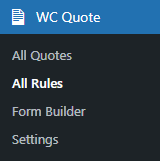
↑ Back to topOnce the plugin is installed, a menu will appear on the WP Admin Dashboard titled WC Quote.
Rules Set-up & Configuration
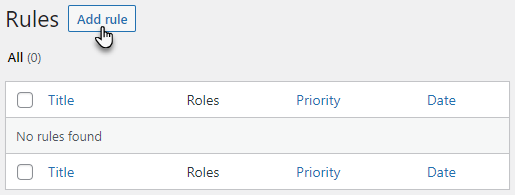
↑ Back to topAdd a new rule
↑ Back to topHow to create a new rule
- Navigate to the WordPress Admin Dashboard → WC Quote → All Rules.
- Click on the Add rule button.
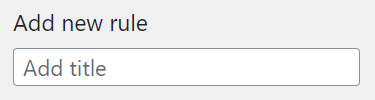
How to create the title for a new rule
- Add the Title of the rule by entering the text in the input field.
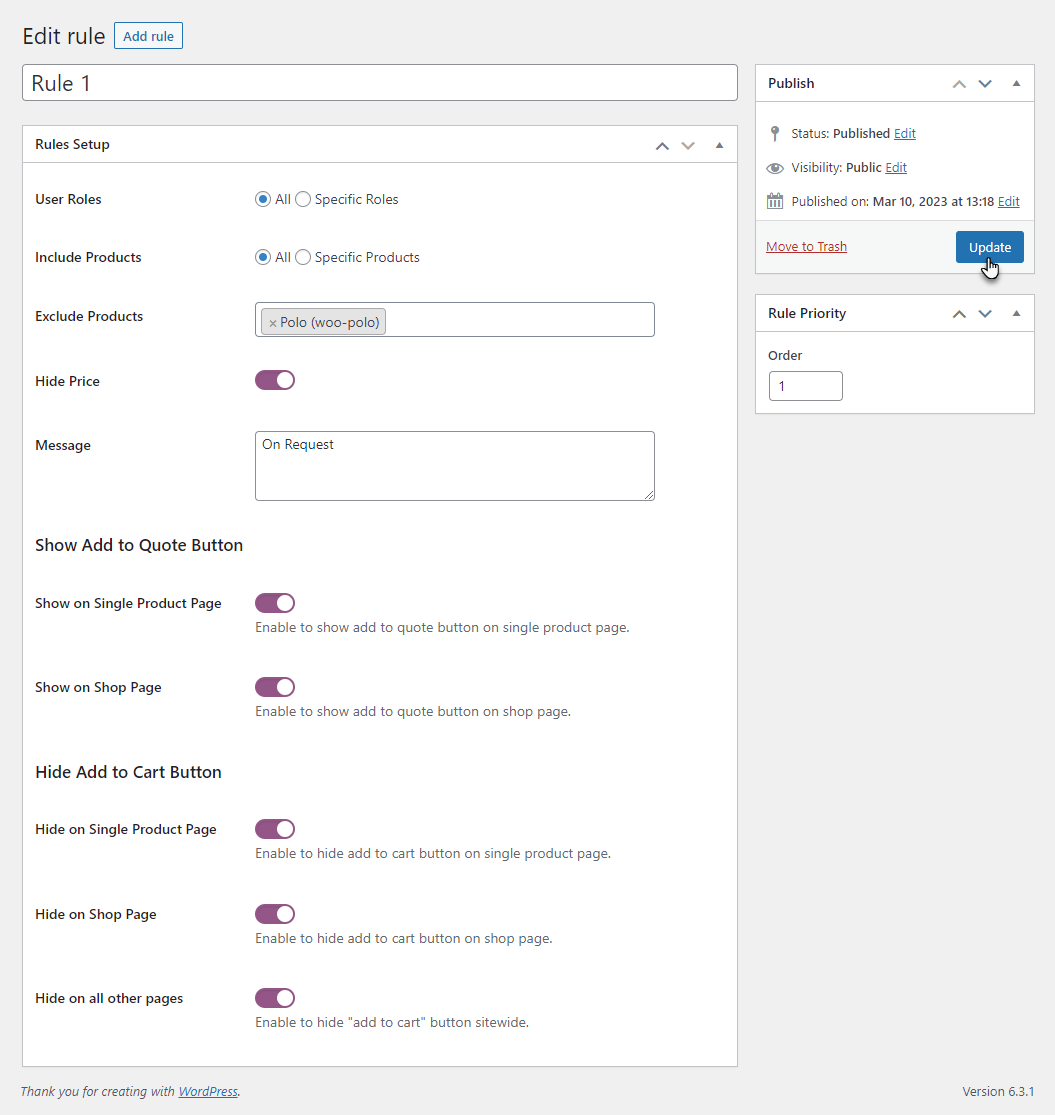
Rule Setup
↑ Back to topHow to apply rules to all user roles
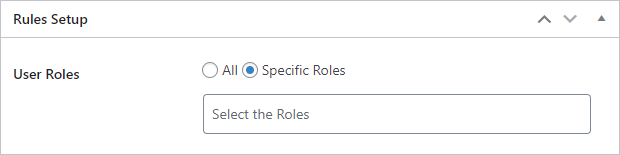
- Select the User Role on which the rule would be applied.
- If you choose the “All” radio button option, the rule would be applied to all the user roles present on the website.

How to apply rules to specific user roles
- If you choose the “Specific” radio button option, a search field would appear below the radio buttons.
- This search field would allow us to select the user roles to apply the rule only to those user roles. We can either search the user roles or select them from the dropdown menu.
Include Products
- In the Include Products option, we have four radio buttons present.
- All
- Specific Products
- Specific Products Categories
- Specific Products Tags
All
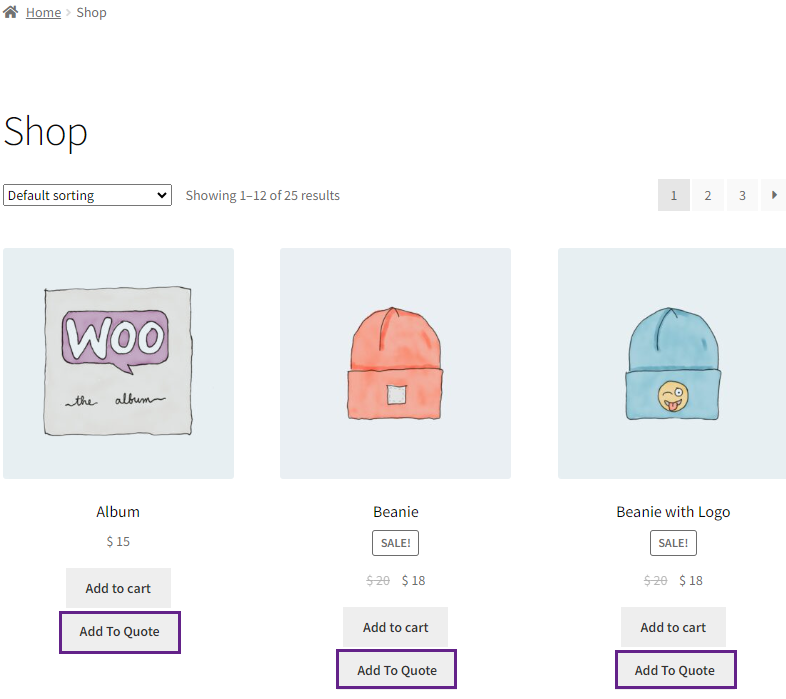
- Select the All radio button to include all products.

Front-End Impact
- We can see that all the products will appear.
Specific Products
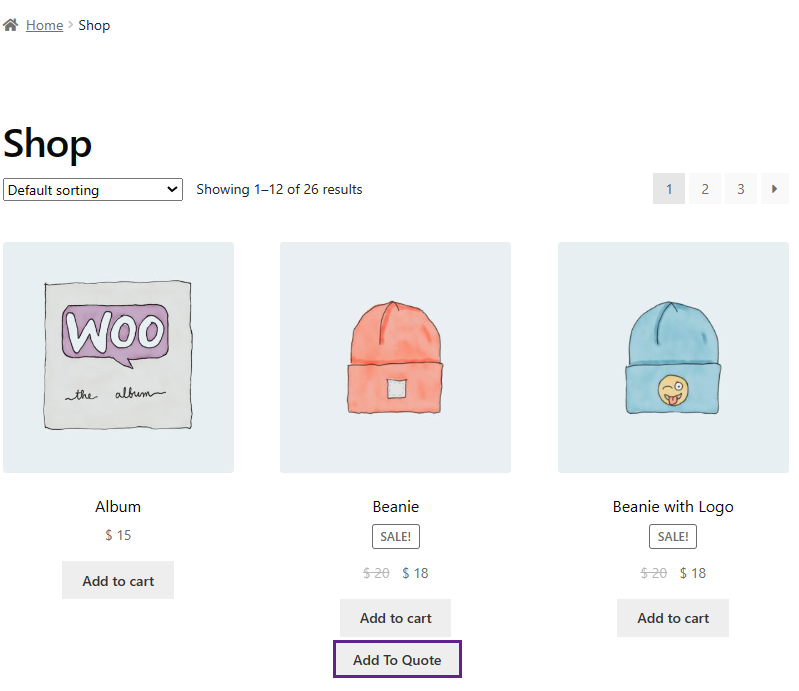
- Select the Specific Products radio button to include only specific products.

Front-End Impact
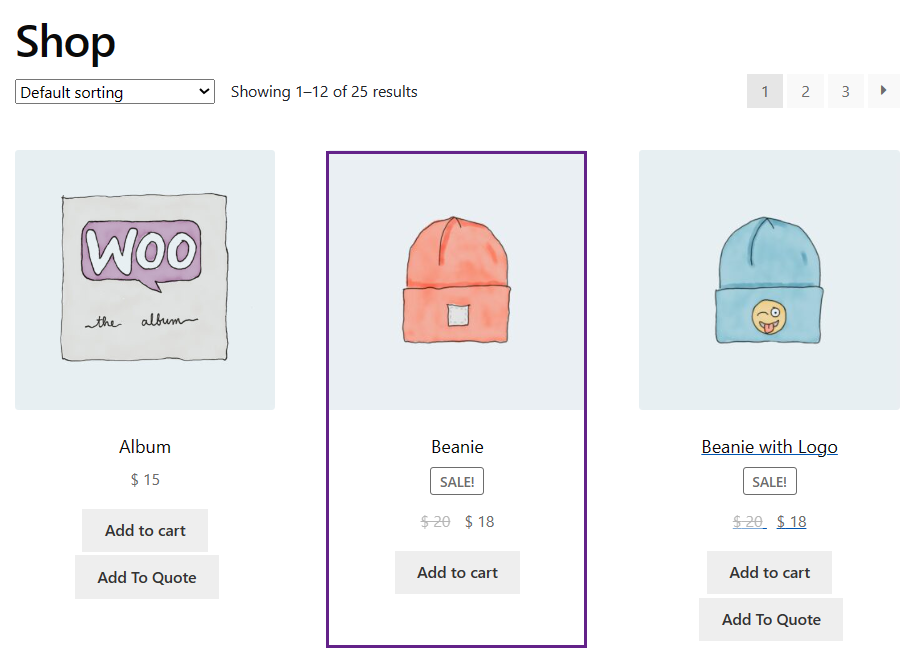
- We can see that only the products mentioned in the Specific Products option have the Add to Quote button on the website.
Specific Products Categories
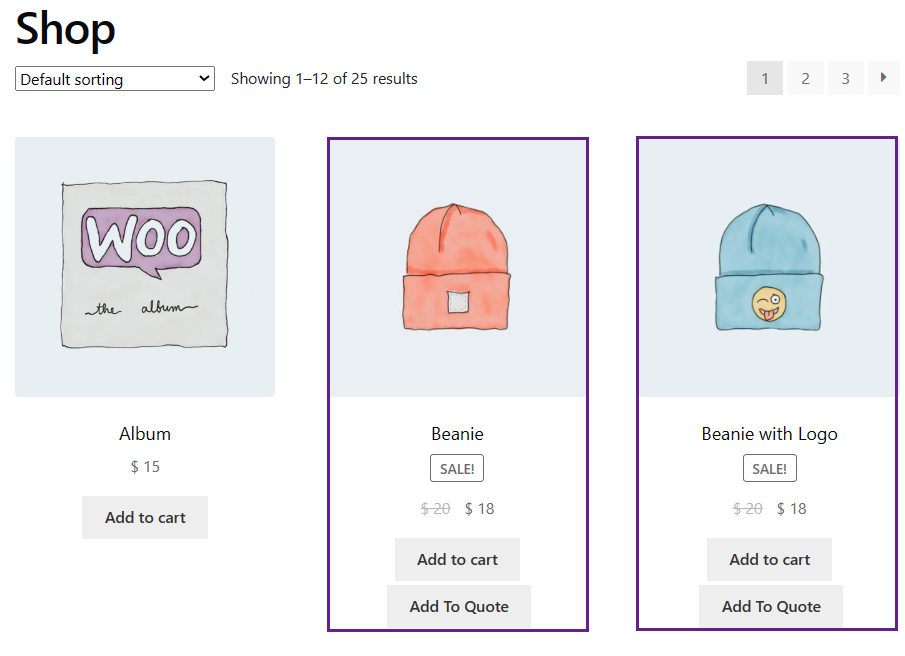
- Select the Specific Product Categories radio button to include products from specific categories.

Front-End Impact
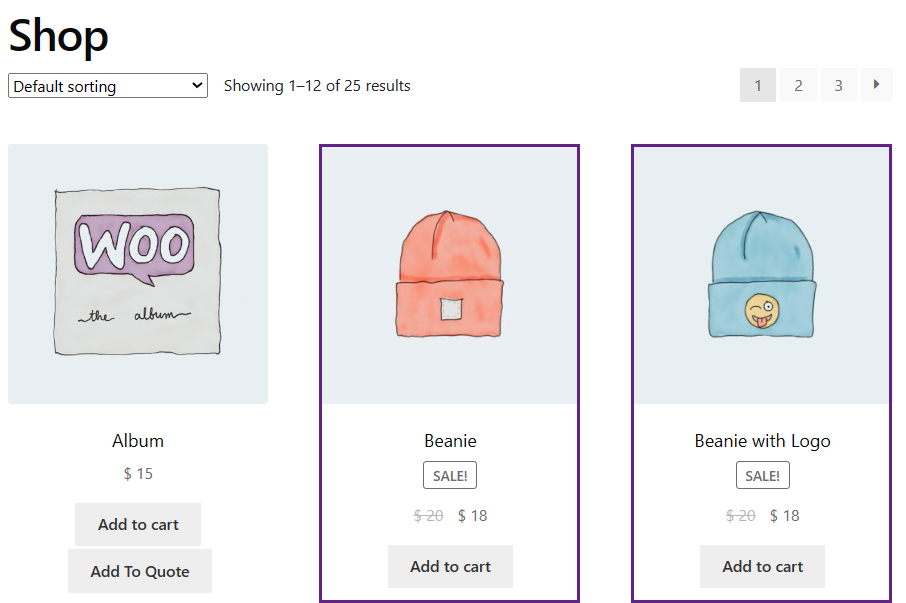
- We can see that only the products mentioned in the Specific Product Categories option have the Add to Quote button on the website.
Specific Products Tags
- Select the Specific Products Tags to include products with specific tags.

Front-End Impact
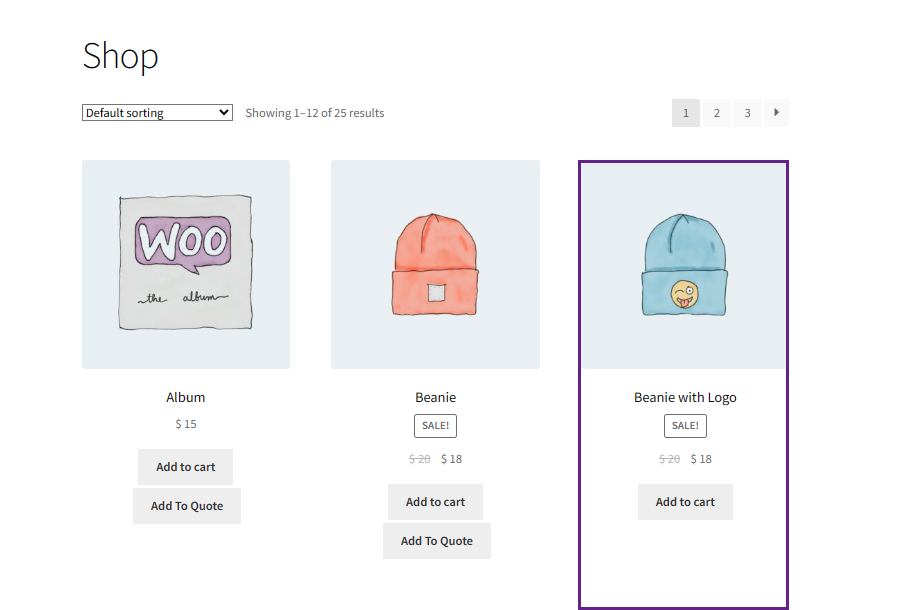
- We can see that only the products mentioned in the Specific Product Tags option have the Add to Quote button on the website.

Exclude Products
- In the Exclude Products option, three radio buttons are present.
- Specific Products
- Specific Products Categories
- Specific Products Tags
Specific Products
- Select the Specific Products radio button to exclude only specific products.

Front-End Impact
- We can see that only the products mentioned in the Specific Products option do not have the Add to Quote button on the website.
Specific Products Categories
- Select the Specific Products Categories to exclude products from specific categories.

Front-End Impact
- We can see that only the products mentioned in the Specific Products Categories option do not have the Add to Quote button on the website.
Specific Products Tags
- Select the Specific Products Tags to exclude products with specific tags.

Front-End Impact
- We can see that only the products mentioned in the Specific Products Tags option do not have the Add to Quote button on the website.
How to include products in all rules
- Select the products on which the rule would be applied.
- If we choose the All radio button, the rule would be applied to all the products present on the website.

How to include products in specific rules
- If we choose the Specific radio button, a search field would appear below the radio buttons.
- Click on the search field and enter the name to search the products.
How to exclude products from rules
- Select the products you want to exclude from the rules.
- Click on the search field and enter the name to search the products. Multiple products can be added to this section.

How to enable the HIDE PRICE option
To hide the price of your products on the shop page, enable the Hide Price toggle button.
How to create a custom message
- To display a message instead of prices, set any custom message in the text field.

Show Add-to-Quote Button
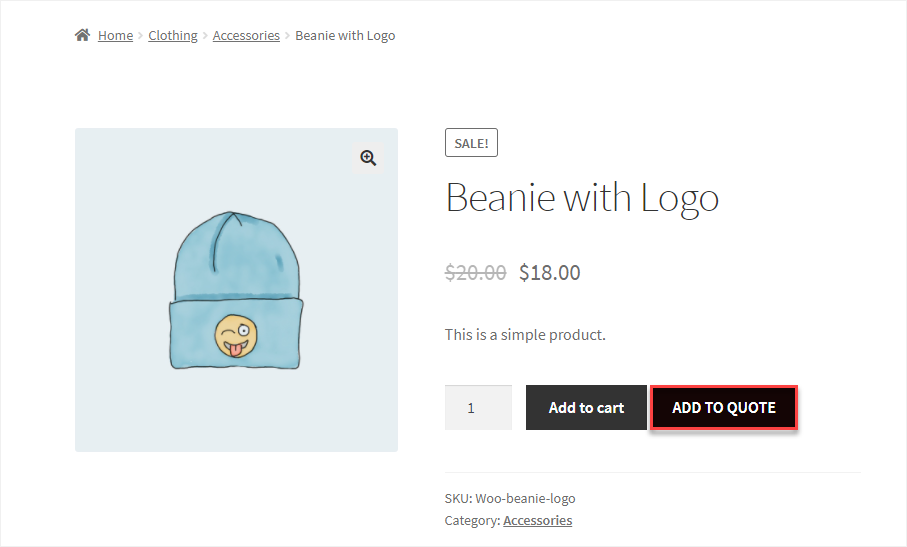
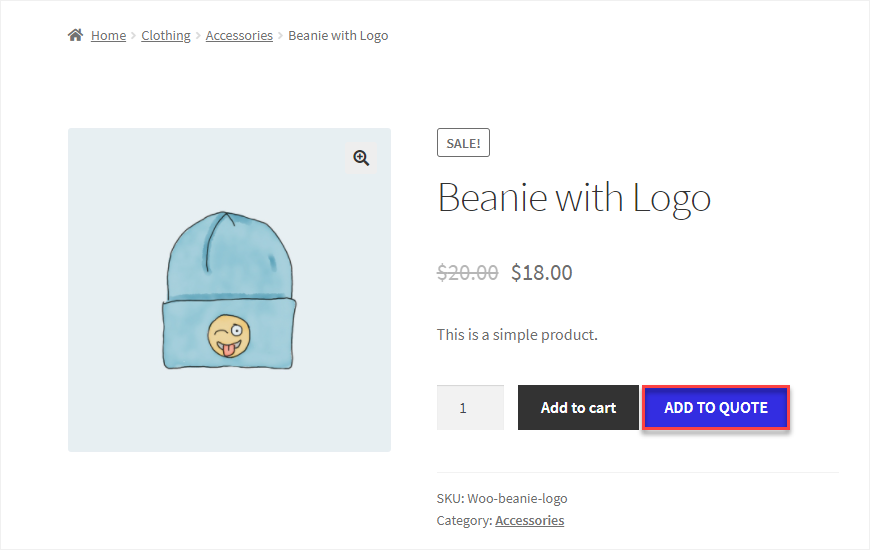
How to enable the add-to-quote button for single product pages
Enabling this option will allow you to display the Add to Quote button on the single product page.

How to enable the add-to-quote button for the shop page
Enabling this option will allow you to display the Add to Quote button on the shop page.

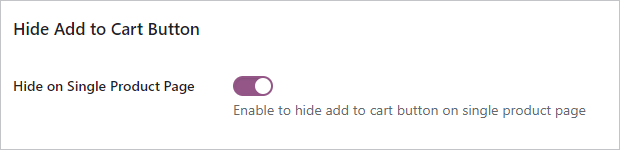
Hide Add-to-Cart Button
↑ Back to topHow to hide the add-to-cart button on single product and shop pages
- Enabling this option will allow you to hide the Add to Cart button on the single product pages.
- You can also hide the Add to Cart button on the shop page.
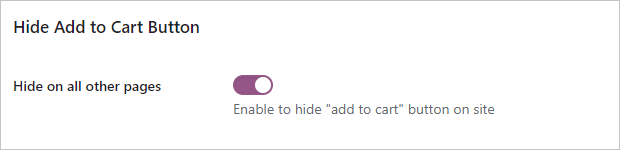
How to hide the add-to-cart button on other pages
Enabling this option allows you to hide the Add to Cart button on all other pages of the website.
Rule Priority
↑ Back to top- Admin can now set the rule priority for a specific rule.
- This will be implemented when there are multiple rules.
- The rule with the Lowest order number will be implemented first.
- Higher priority order starts from 1 and decreases as the number increases.
- To set the rule priority, navigate to the WordPress Admin Dashboard → Quote For Woo → Rules.
- Select the rule and click on the edit.
- The Rule Priority section is located on the right hand side of the page.
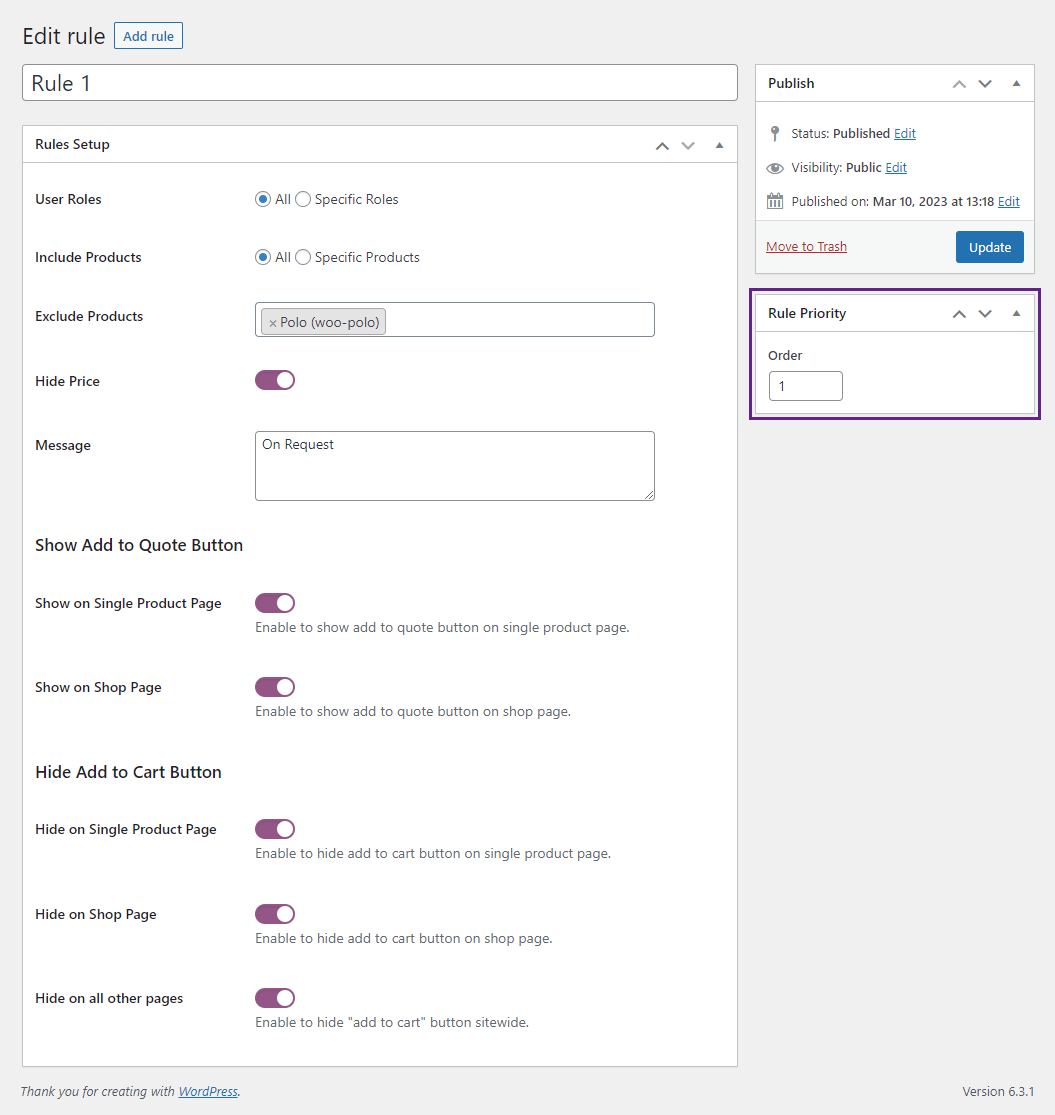
- Set a number in the order field.
- Click on the Update button to save the changes.
- In case of conflicting rules, for example: if both rules have the same settings but Rule A has Priority Order 1 and Rule B has Priority Order 2, then in this case Rule A will be implemented first because it has the higher priority.
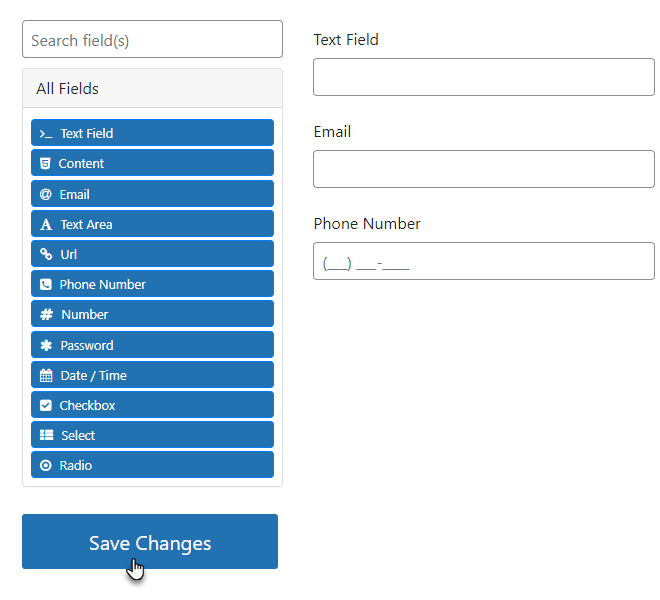
Form Builder
↑ Back to topForm Builder settings & Configuration
↑ Back to topNavigate to the WordPress Admin Dashboard → WC Quote → Form Builder.

How to create a new form
- The form builder allows you to drag and drop components on your Form from the All Fields column.
- Once you’ve added all the fields, click on the Save Changes button to save your form.
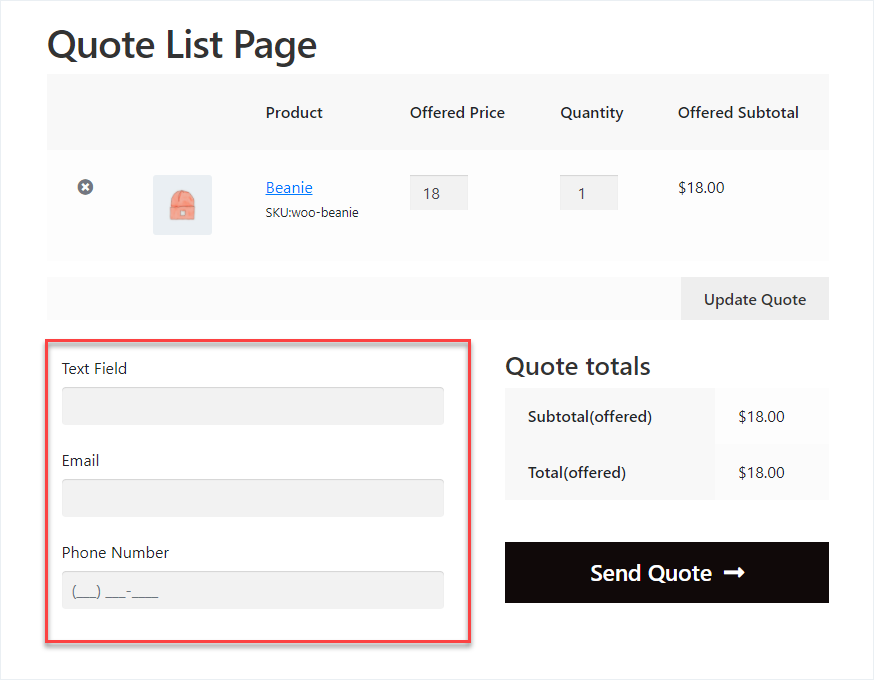
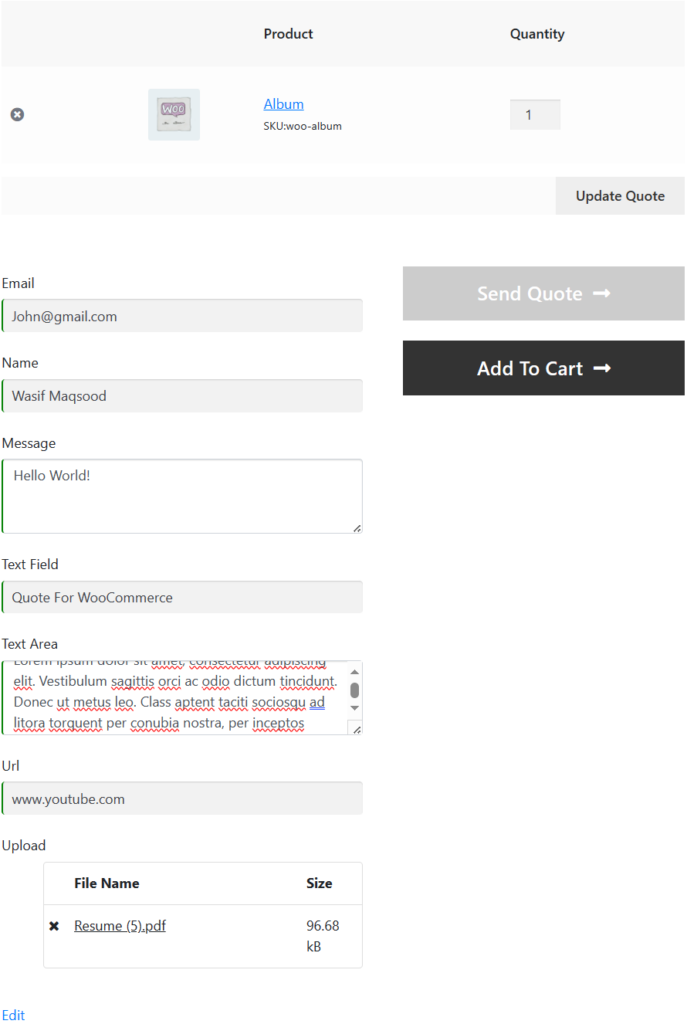
Front-End Screenshots
- The form created will appear on the Quote List Page.
File Upload Field on Form Builder
↑ Back to top- Drag and Drop the File Upload element on the form.
- Once done, a popup will appear.
- A popup will appear on the File component.
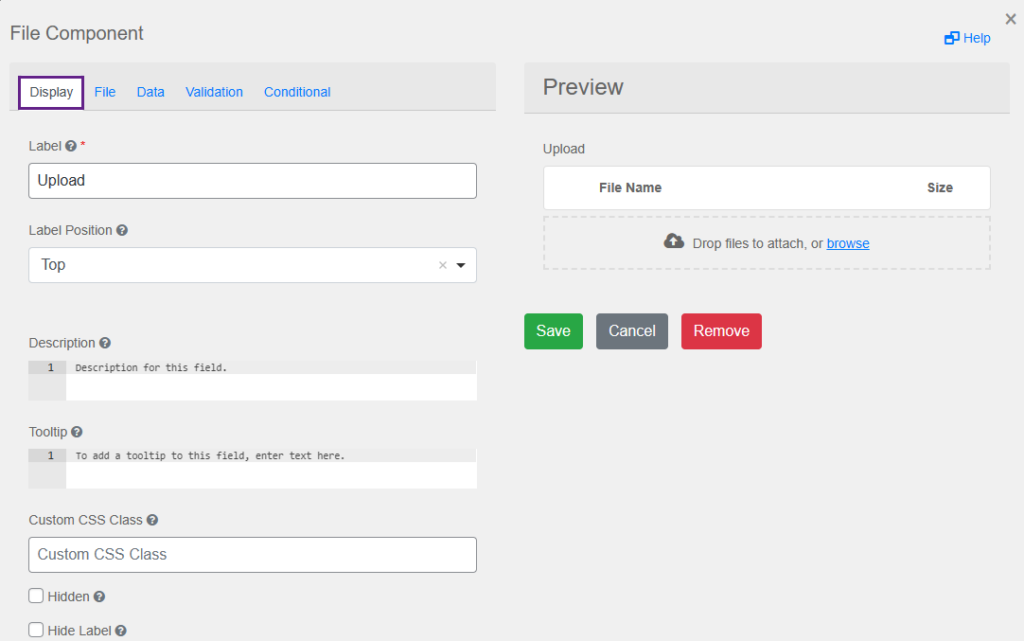
Display
↑ Back to top- In the Display tab, customize how the File component would appear on the front-end.
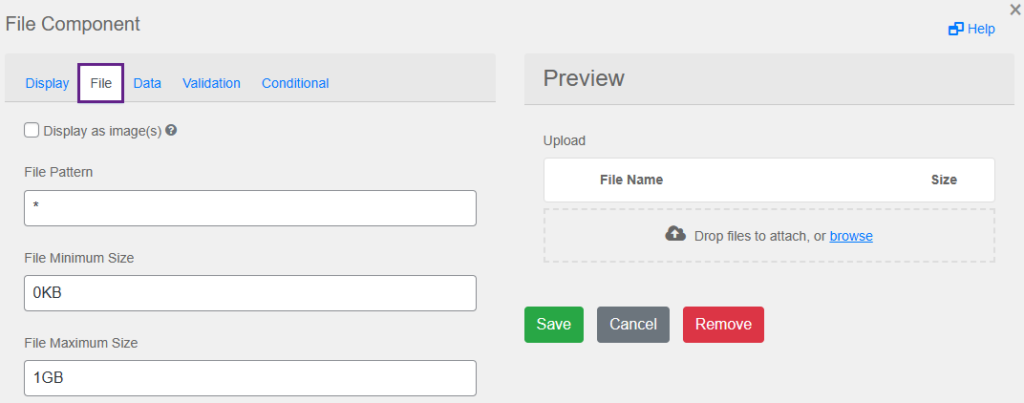
File
↑ Back to top- In the File tab, the Administrator can set the File Pattern, File Minimum Size, and File Maximum Size.
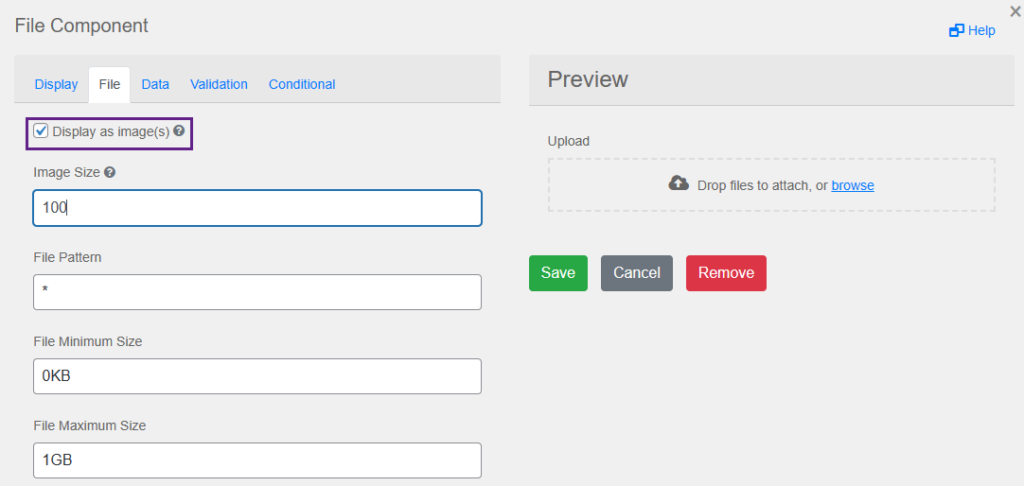
- Selecting the “Display as image(s)” checkbox reveals a new option called “Image Size.” This allows you to choose the size at which images are displayed in the view instead of showing them as a list of linked files.
- Clicking the “Display as image(s)” checkbox toggles how files are displayed. When enabled, images are rendered in the view instead of a list of linked files. You can then control their size using the “Image Size” option.
- By checking the “Display as image(s)” box, you can switch from seeing linked files to previewing the images directly within the view. The “Image Size” option allows you to adjust the size of these displayed images.
- Checking “Display as image(s)” transforms a list of linked files into a view of the images themselves. You can then use the “Image Size” option to control their size for previewing.
Data
↑ Back to top- In the Data tab, a Multiple Values checkbox is present. Checkmark the Multiple Values checkbox.
- Once done, it will allow multiple values to be entered for this field.
Validation
↑ Back to top- In the Validation tab, set the validation on the component which would appear on the front-end.
- Checkmark the Required checkbox to apply on the File.
- Once done, a “*” would appear on the Upload component.
Conditional
- In the Conditional tab, set the conditions according to your requirements.
- Once done, click the Save button.

Front-End Impact
↑ Back to top- Navigate to the form on the website.
- Fill the form while submitting the Quote.
- Once done, navigate to the WordPress Admin Dashboard → Quote For Woo → Quotes.
- Now you’re on the Quotes page.
- Hover over that Quote to view the suboptions or click on the Quote to view it.
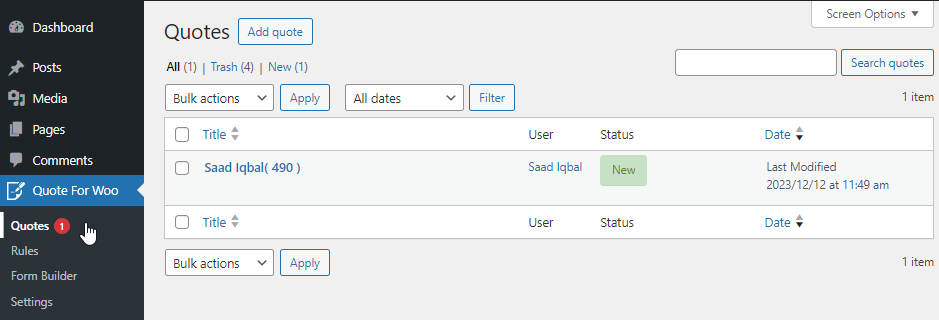
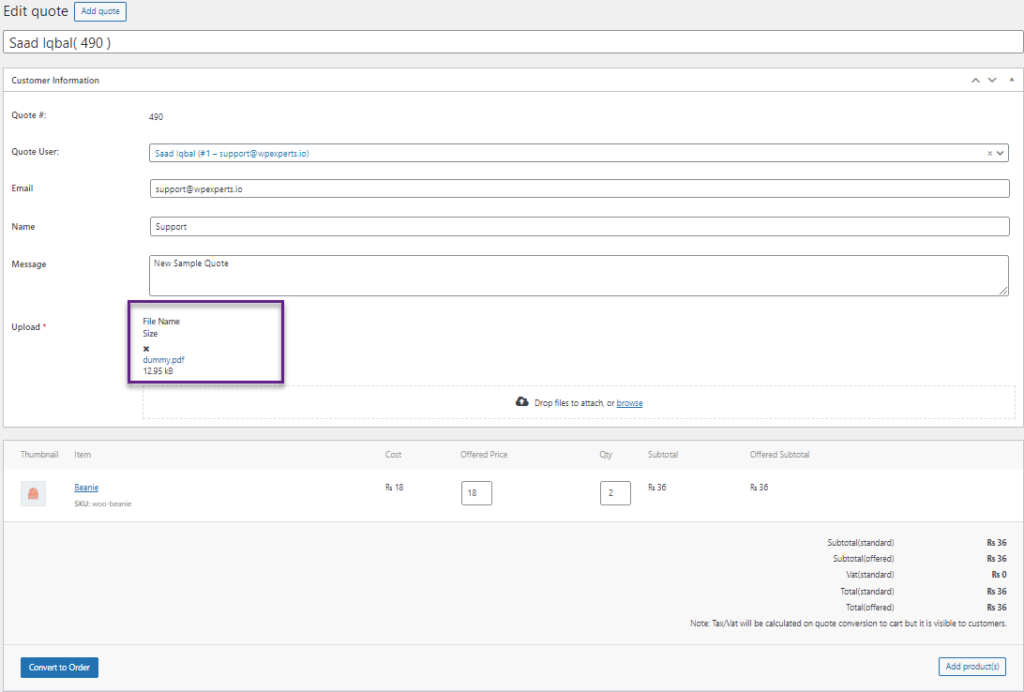
- Now you’re on the Edit Quote page.
- Scroll down and navigate to the Upload field.
- The Upload field will appear with the File/Image uploaded by the user.
- A hyperlink is also available below the field with the File/ Image. On clicking the hyperlink, the File/ Image attached will be downloaded.
General Options
↑ Back to topNOTE: By default, you’ll be on the General tab once you’re on the Settings page.
Select Quote List Page
How to select quote list page
- This option allows you to select the Quote List Page from the dropdown menu.
- All the custom pages will appear in the dropdown. The Admin will select the page from the dropdown Menu on which Quote needs to be shown.
- To display Quote List Page, navigate to the WordPress Admin → Pages → Add New and paste the shortcode [wc-quote-request-page].
Front-End Screenshots
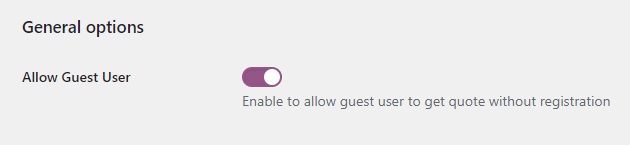
Allow Guest Users to Request a Quote
↑ Back to topEnabling this option will allow guest users to request a quote without registering for a user role.
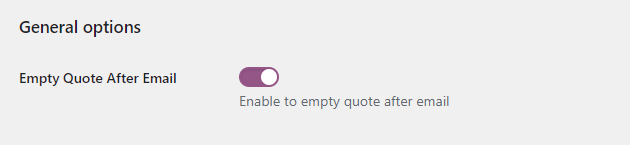
Empty Quote Page After Email
↑ Back to topEnabling this option will empty the quote list page once the email has been sent successfully by the customer.
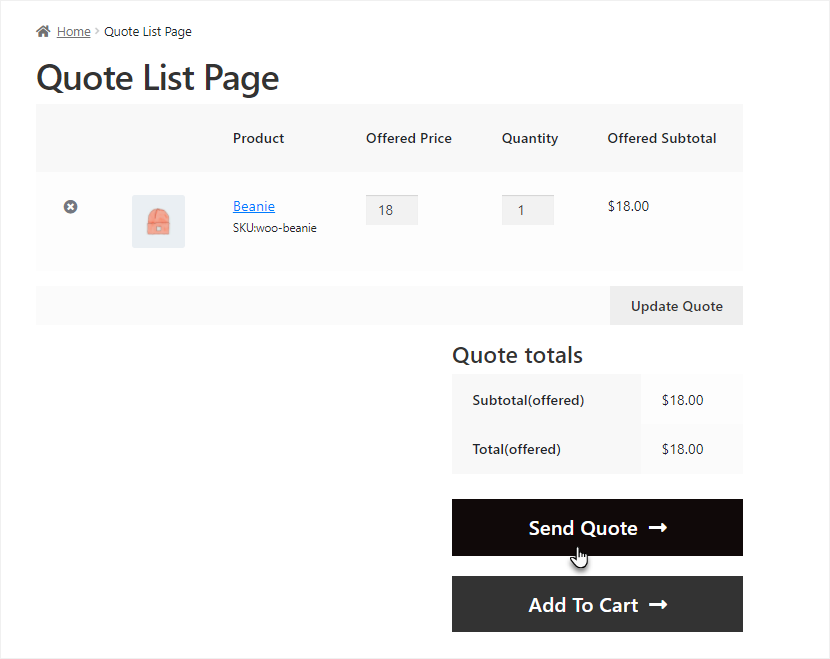
Front-End Screenshots
- Go to the website and add a product to the Quote by clicking the Add to Quote button.
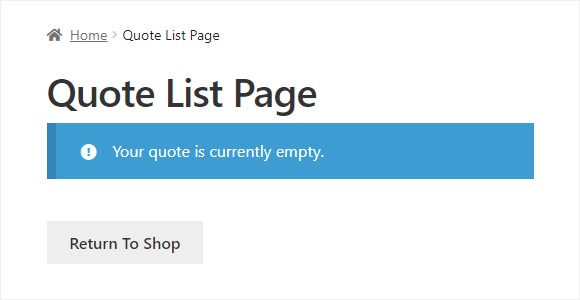
- Now go to the Quote List Page.
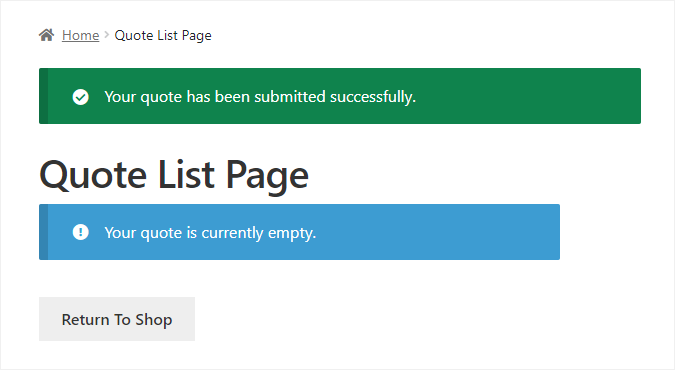
- Click on the Send Quote button.
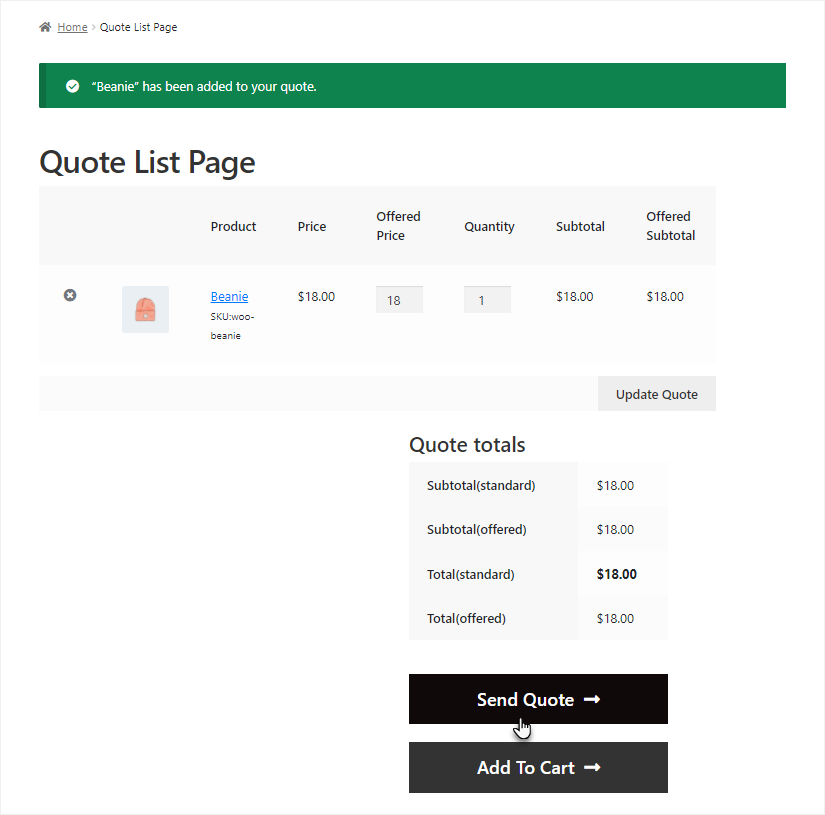
- Once the quote has been sent successfully, the Quote will be empty.
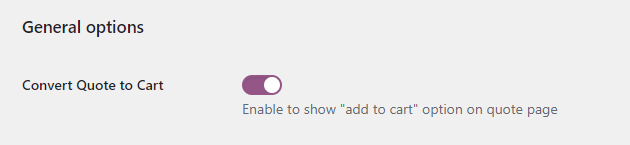
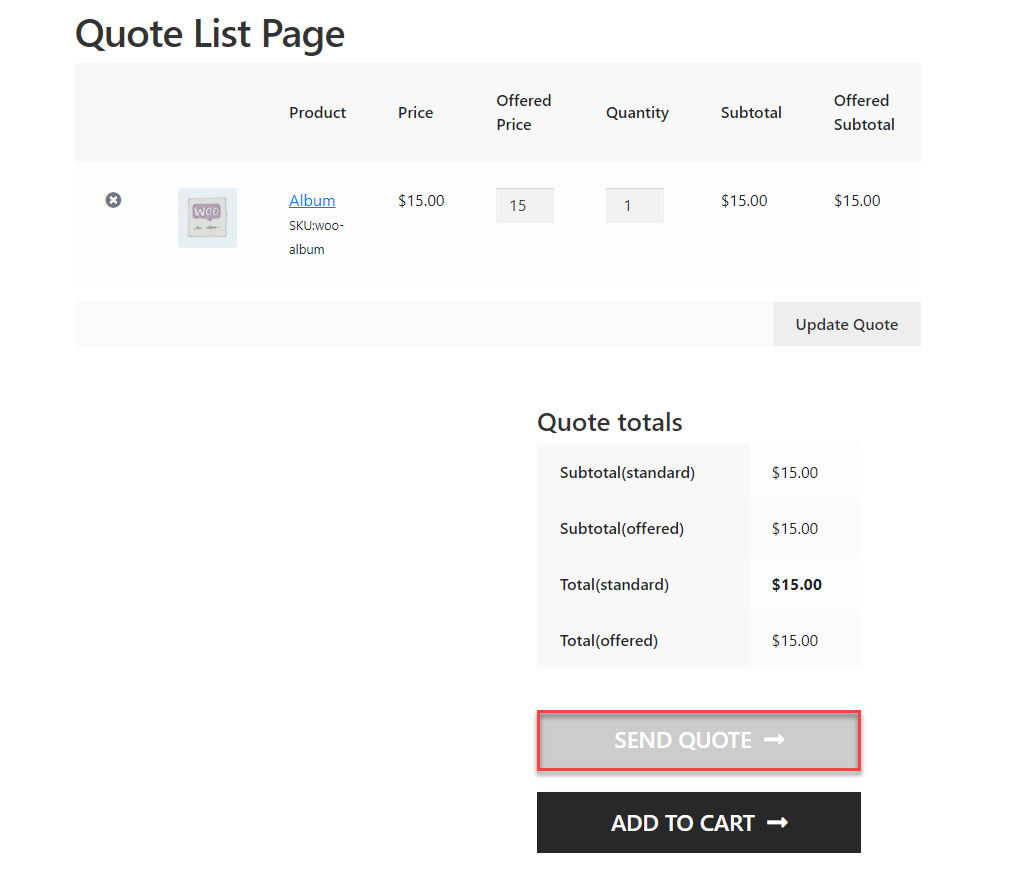
Convert Quote to Cart
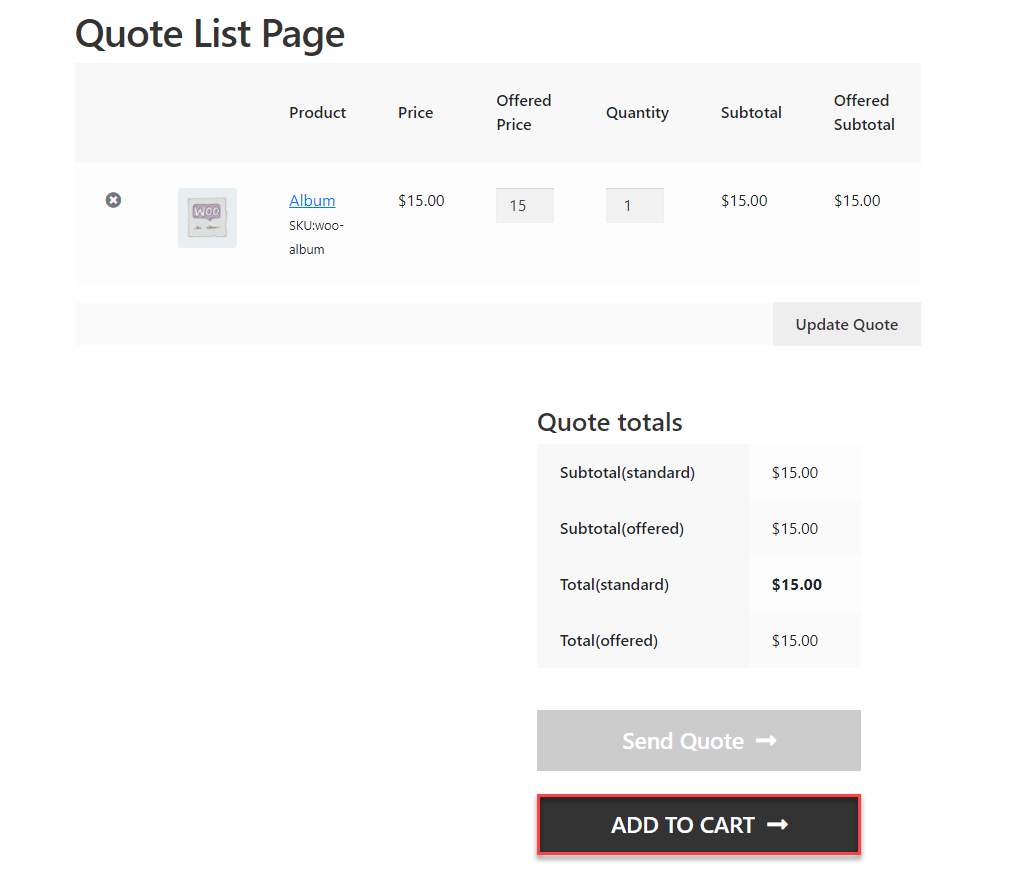
↑ Back to topEnabling this option will allow you to display the “Add to Cart” button on the Quote list page.
Front-End Screenshots
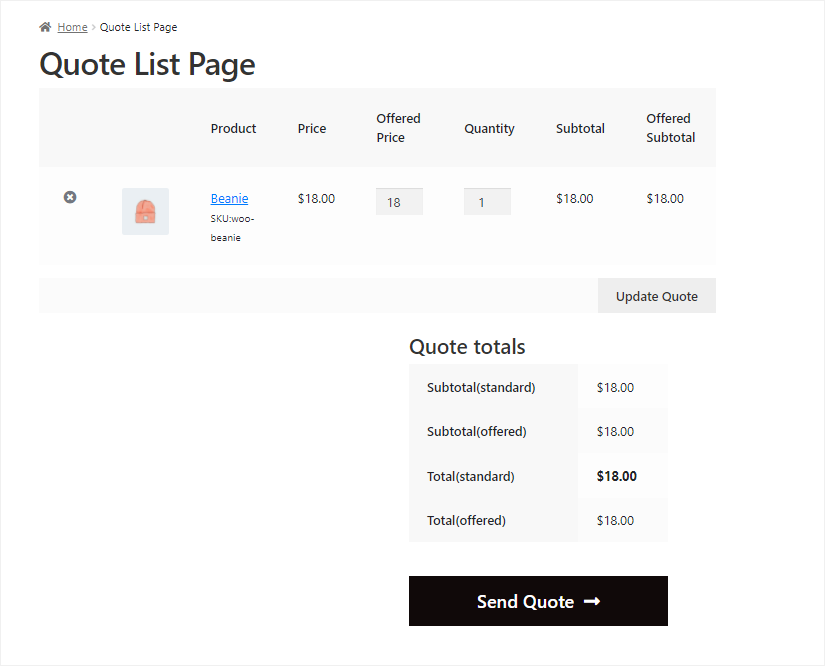
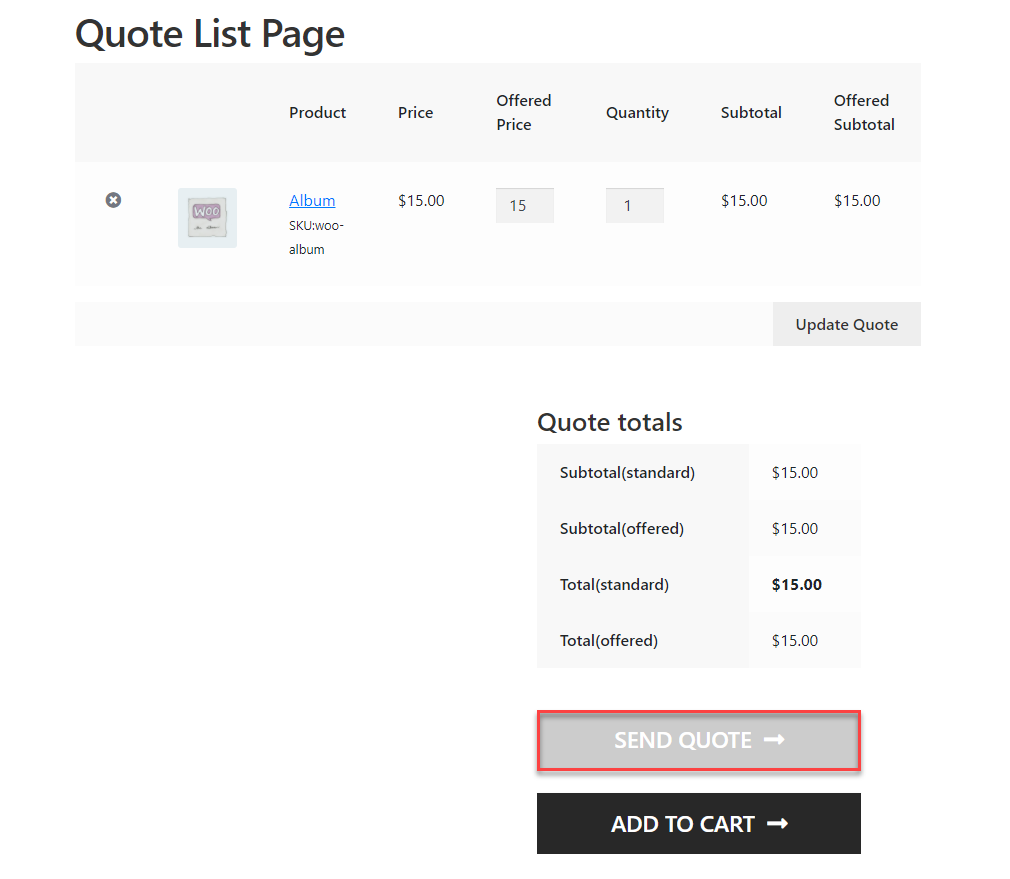
Before
- When the Convert Quote to Cart toggle button is disabled, the Add to Cart button is not visible on the Quote List Page.
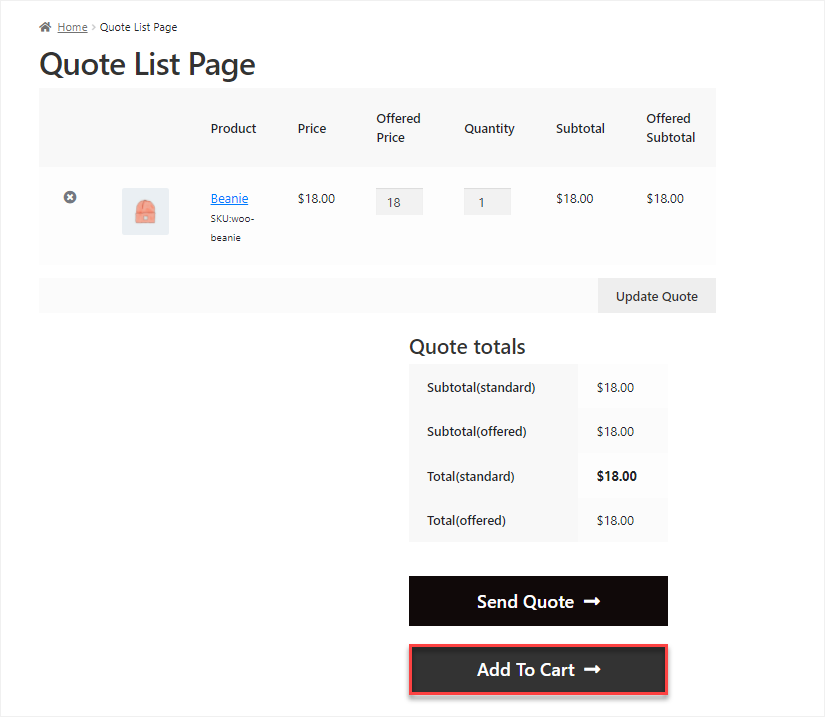
After
- When the Convert Quote to Cart toggle button is enabled, the Add to Cart button is visible on the Quote List Page.
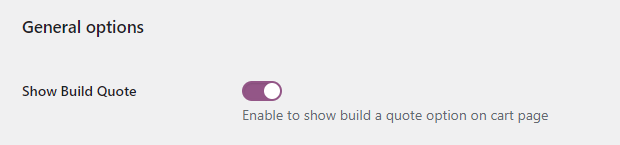
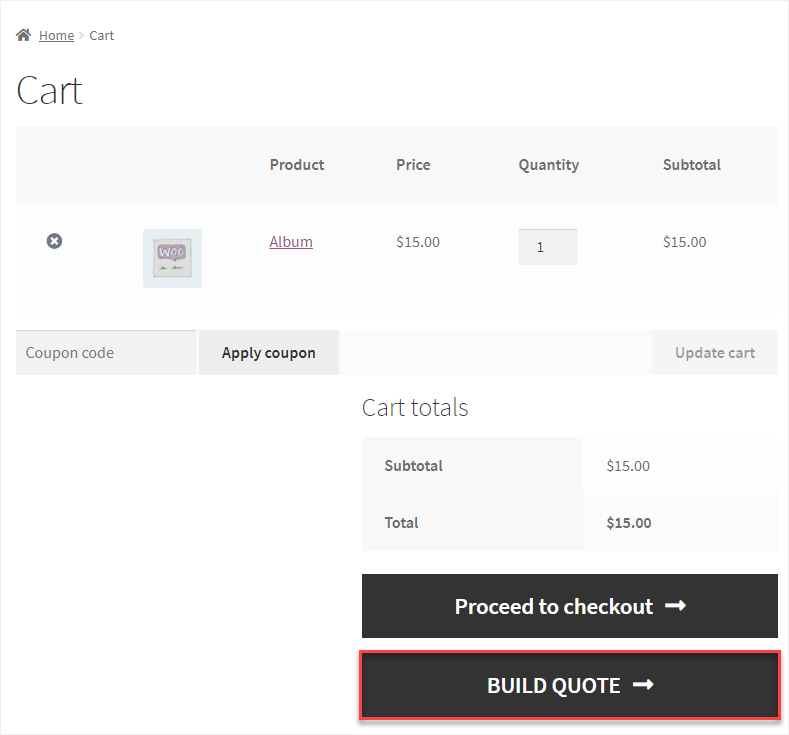
Show Build a Quote button
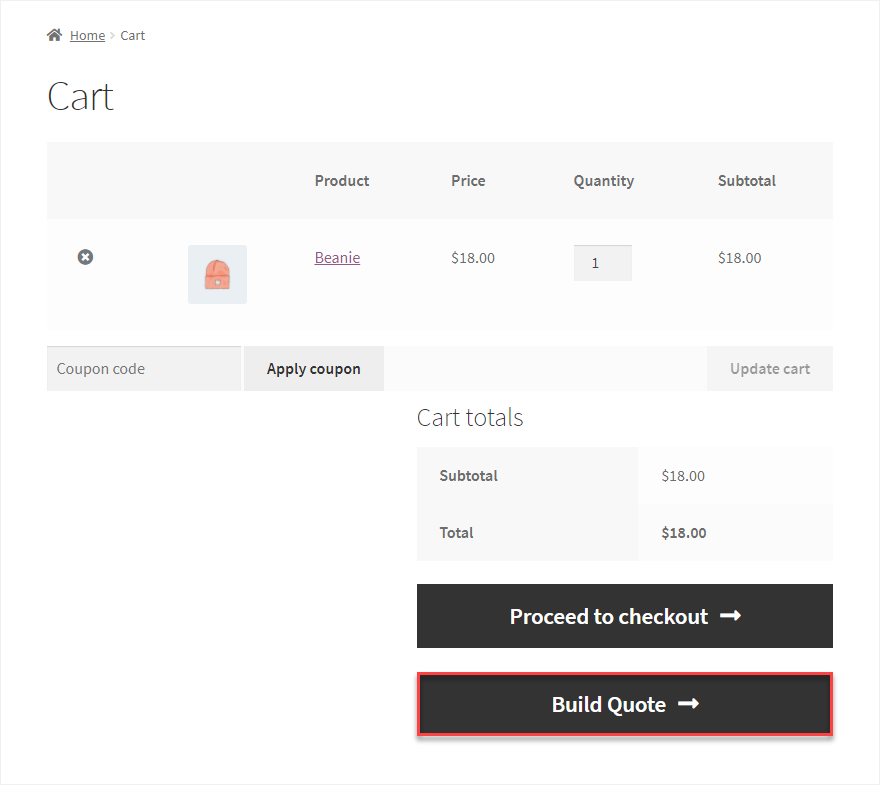
↑ Back to topEnabling this option will allow you to display the “Build a Quote” button on the Cart page.
Front-end Screenshots
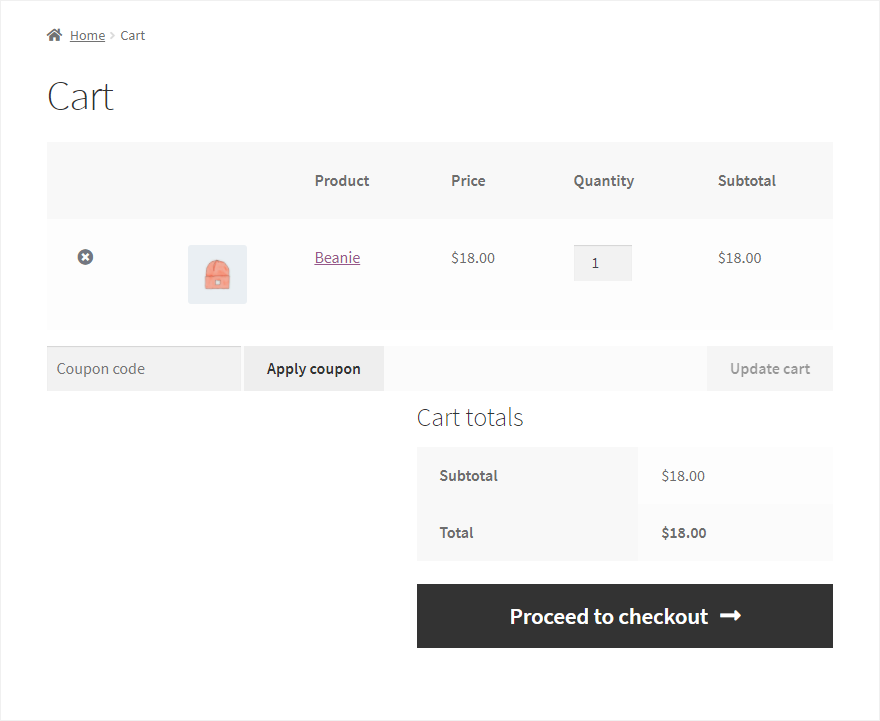
Before
- When the Show Build Quote toggle button is disabled, the Build Quote button is not visible on the Cart page.
After
- When the Show Build Quote toggle button is enabled, the Build Quote button is visible on the Cart page.
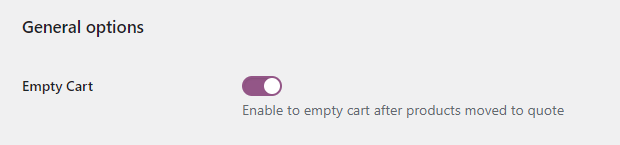
Empty Cart After Moving Products to Quote Page
↑ Back to topEnabling this option will empty the cart once the products are moved to the Quote list page.
Front-End Screenshots
- Go to the website and add a product to the Cart by clicking the Add to Cart button.
- Now go to the Cart page and click on the Build Quote button.
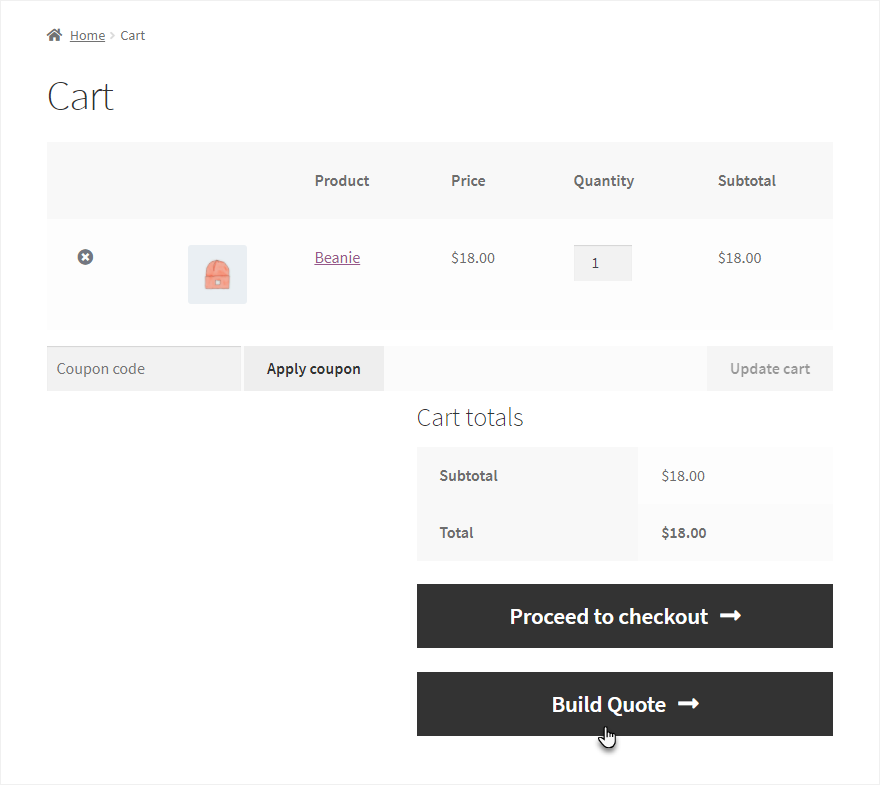
- Once done, a quote will be generated, and you’ll be redirected to the Quote List Page.

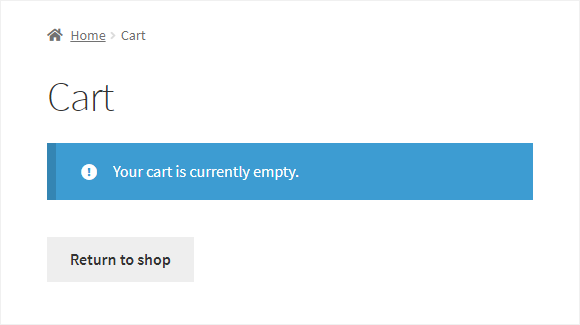
- Now go back to the Cart page.
- We can see that the cart is empty now.
Quote Basket
- Navigate to the WordPress Admin Dashboard → Quote For Woo → Settings.
- In the General Settings, scroll down to the Quote Basket.
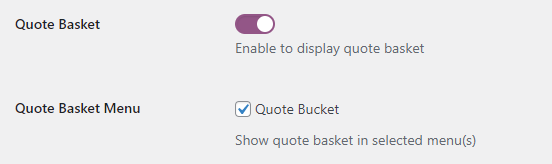
- Admin can Enable and Disable the Quote Basket using the toggle button.
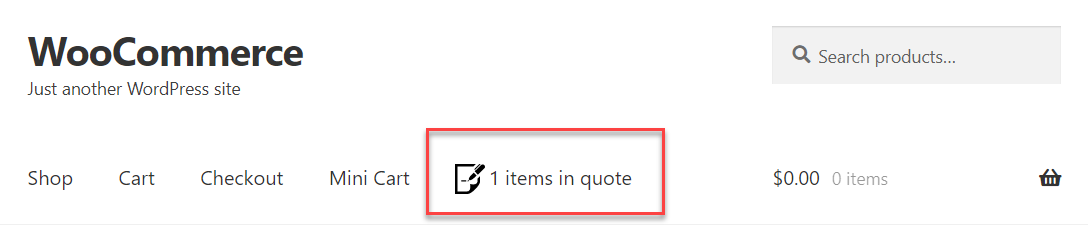
- To show the Quote Basket in the Menu, follow the Quote Basket Menu settings.
Front End Screenshots
- Go to the shop page.
- Send a quote.
- Your quote basket will be displayed on the menu.

Disable Quote Basket For User Roles
- Quote Basket is enabled for all the users by default.
- Navigate to the Disable Quote Basket for user roles.
- Select the user role from the drop-down menu.
Front End Screenshots
- The Quote Basket is disabled for the user role Guest in the front end.

Quote Basket Style
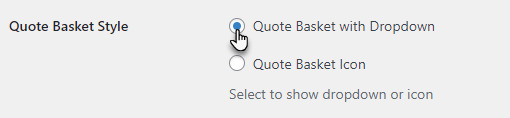
↑ Back to top- Admin can set the Quote Basket Style.
- Quote basket will be displayed as a Dropdown or as Icon.
- To select the style, navigate to the Quote Basket Style.
- Click on the radio button and select the style.
- Click on the Save changes button to save the changes.
Front End Screenshots
- Go to the store.
- Locate the Quote Basket icon.
- When the Dropdown style is selected, the user hovers over the Quote Basket icon.
- The menu will be displayed.
- When the Icon style is selected, only the icon of the basket will be displayed.
- Click on the icon to go to the quotes page.
Quote Expire
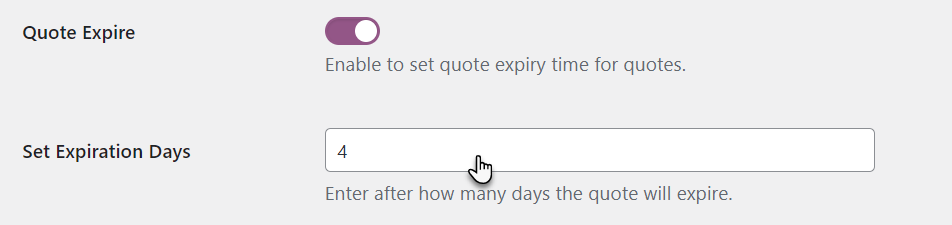
↑ Back to top- Admin can set the expiration days for the quotes.
- To set the expiration days, navigate to the Quote Expire.
- Click on the toggle button to enable and disable Quote Expire.
- When you enable the Quote Expire, the Set Expiration Days field will appear.
- Set the number of days after which the quote will be expired in the Set Expiration Days field.
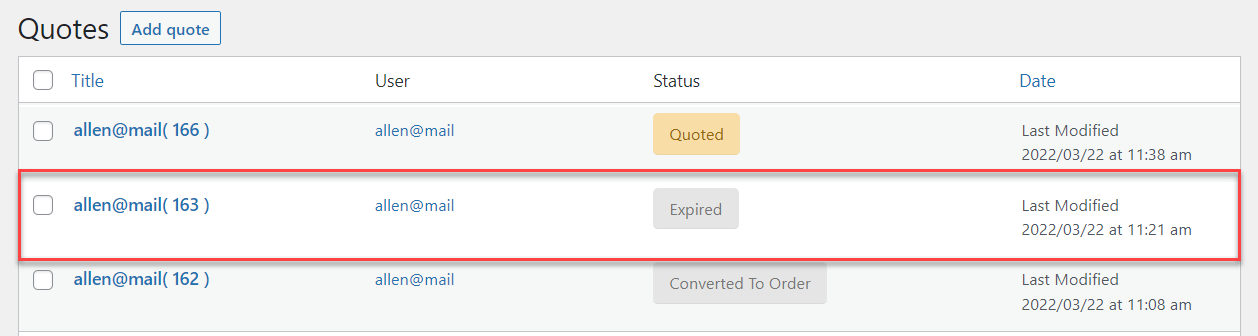
- After the expiry day, the status of the quote will be displayed as expired in the Quotes section.
- Quote will be expired when the Quote is set to Quoted or Rejected.
- After the expiry, the Convert to Order button will be removed for that particular quote.
Front End Screenshots
- Go to the Admin Panel and change the status of the quote to Quoted.
- Go to the website.
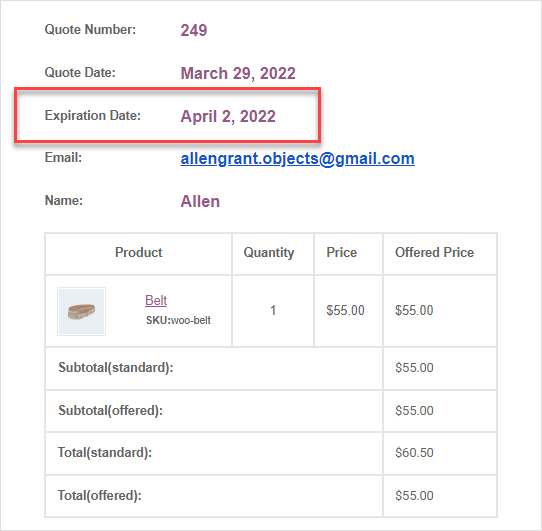
- Go to My Account → Quotes.
- View the quote.
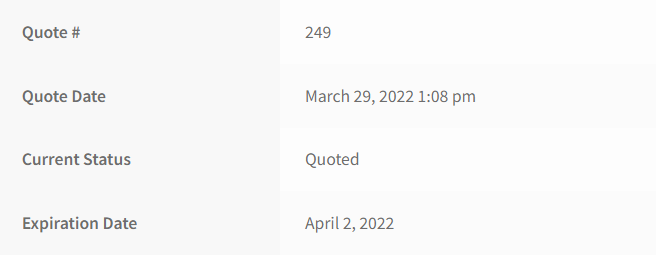
- The expiry date will be shown in both Email and PDF.
- After the expiry day, the status of the quote will be changed to expired.
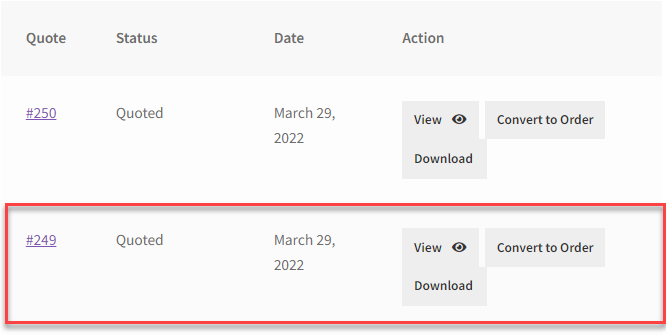
- Go to My Account → Quotes.
- After the expiration, the Convert to Order button will be removed for that particular quote for the customer.

Increase Offered Price
↑ Back to top- Admin can now set the percentage from the back end to increase the offered price.
- The offered price will be increased upon the standard price. For example, if the standard price is 100$ and offered price percentage set by admin is 30% on the standard price, which will be 130$ in the above case.
- So whatever the standard price is the system will check the percentage set in the increase offered price field and apply it to the standard price and display the offered price by adding the standard price and percentage of standard price which the Admin sets.
- To set the percentage, go to the Increase Offered Price field in the General setting.
- Enter the percentage.

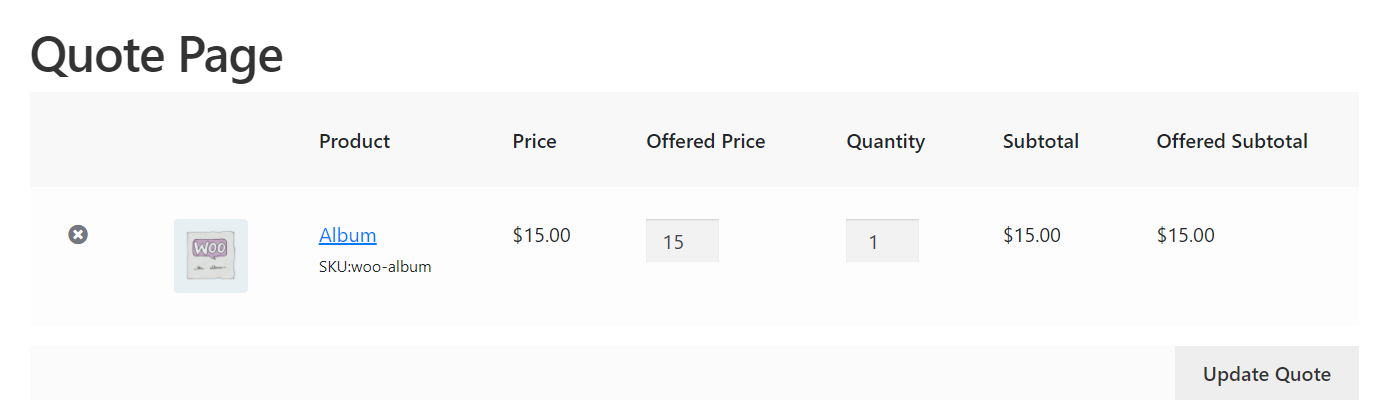
Front End Screenshots
- Go to the shop.
- Select a product and add it to your quote basket.
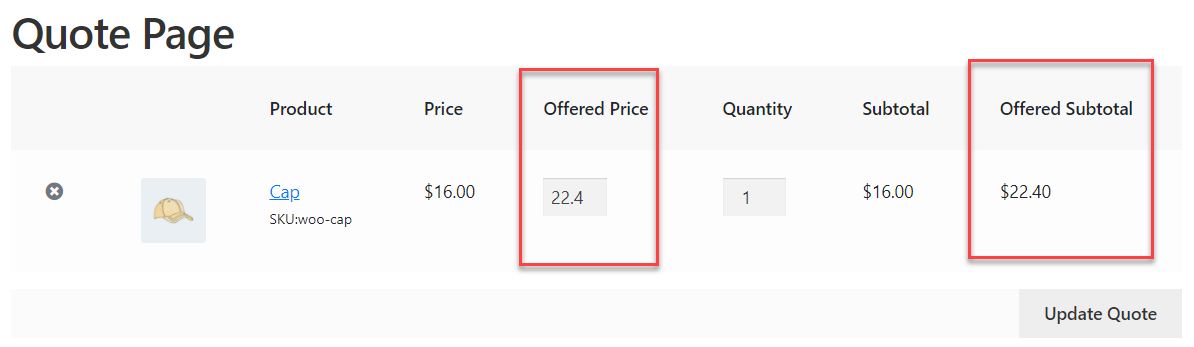
- The user will see the increased percentage price in the Offered price section.
- The user can increase or decrease the offered price.
- These offered prices are also reflected in the Offered Subtotal.
Display Tax
↑ Back to top- To display the Tax on the front end, first, navigate to the WooCommerce Settings → General Settings.
- Click on Enable taxes.
- Now, navigate to the Tax tab and then in the Standard rates section to set the tax rates.
- Now to display Tax on the quote page, go to Quote For WooCommerce → General Settings.
- Scroll down to the Display Tax field.
- Click on the toggle button to enable it.
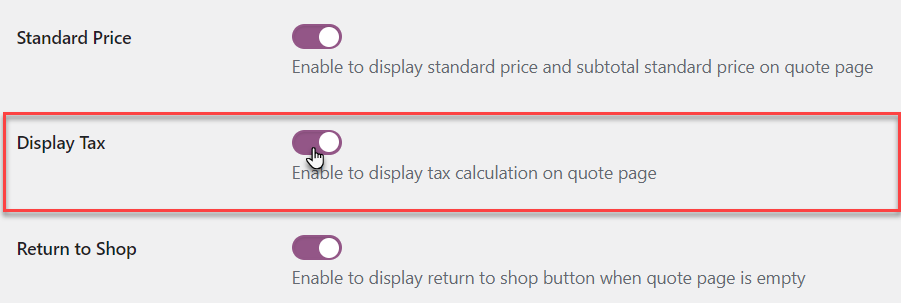
- Click on the Save changes button.
Front End Screenshots
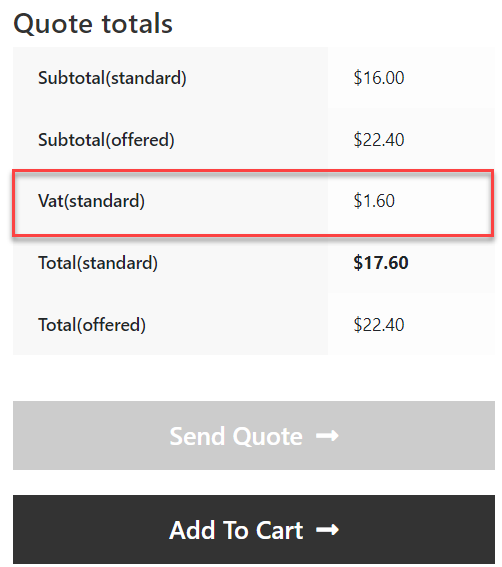
- Go to your Quote Page.
- The Tax value is displayed as the Vat(standard).
Convert to Order
↑ Back to topAdmin
- The admin can convert the quote to the order from the backend.
- To do so, go to the Quotes section.
- Select a quote.
- In the Edit quote section, scroll down to the bottom of the page, here you will see the Convert to Order button.
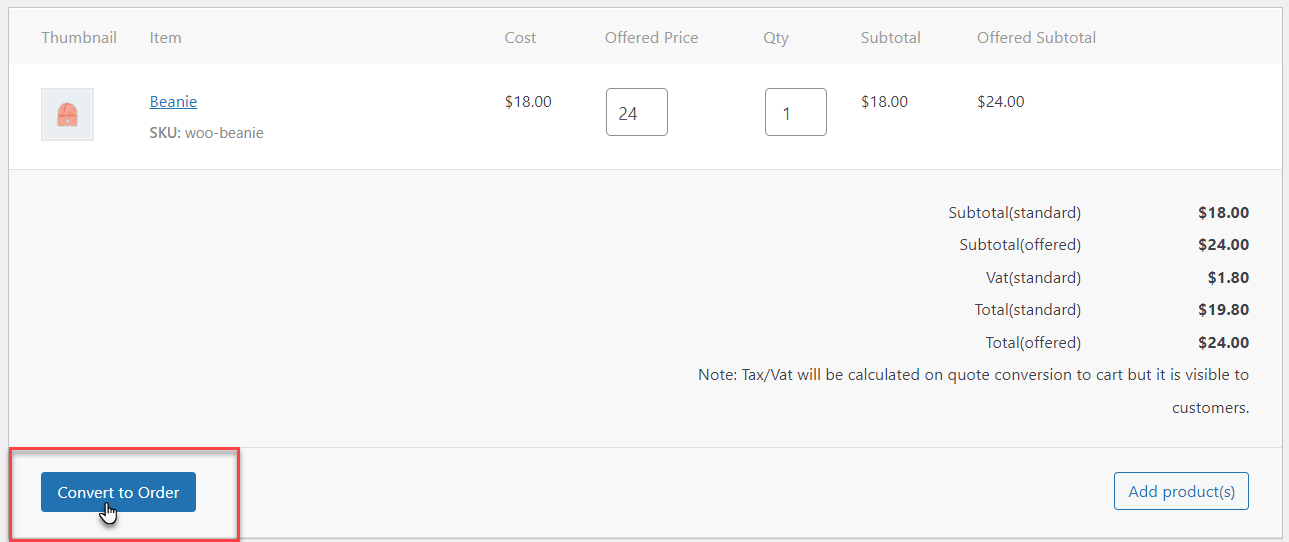
- Click on the Convert to Order button.
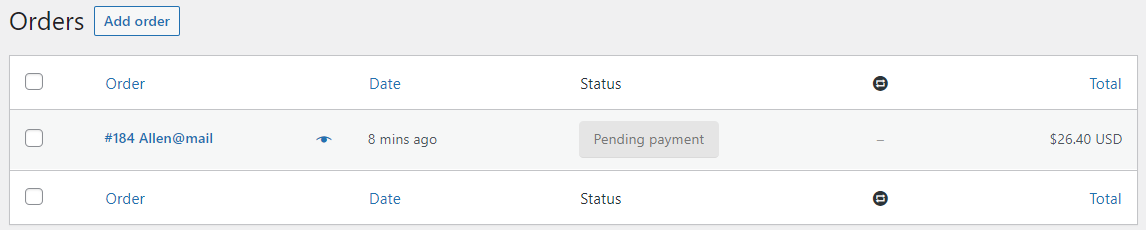
- This will convert the quote into a new order and this new order will be generated in the WooCommerce Orders.
- The quote is now converted into order with all the details of the user.
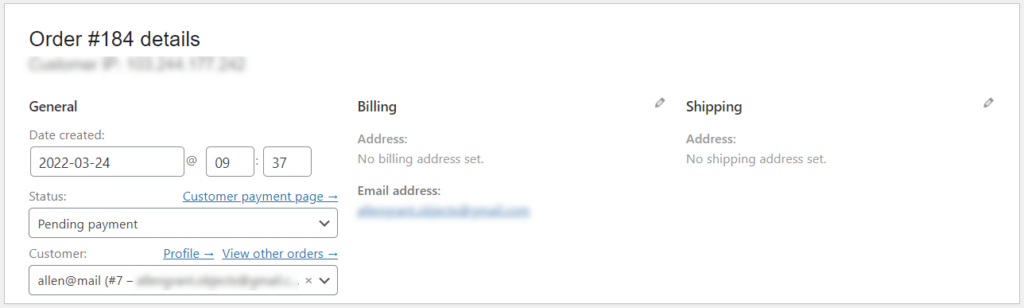
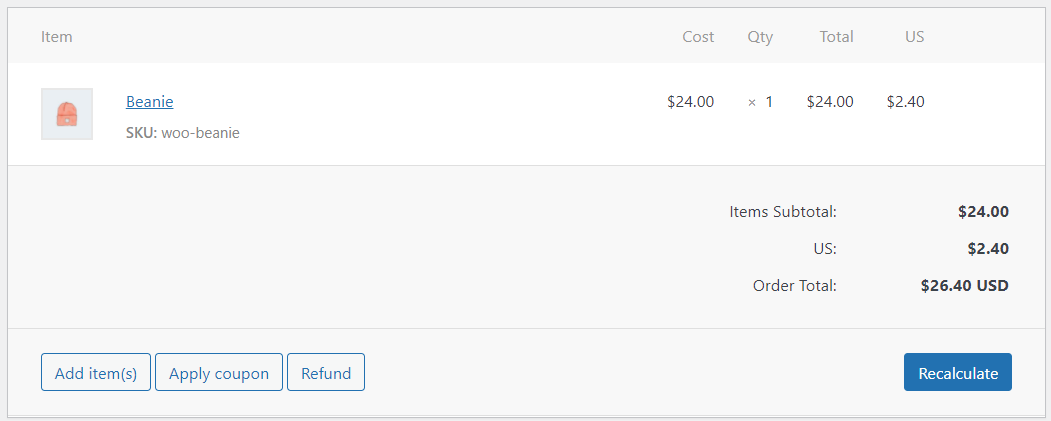
- The payment status will be pending.
Front End Screenshots
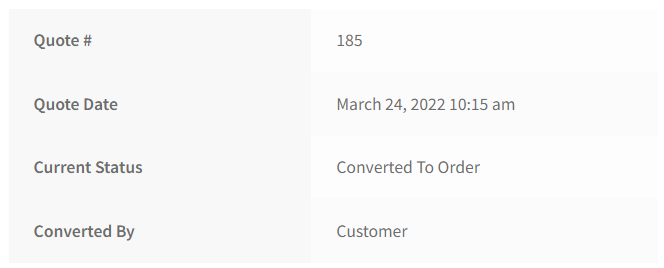
- Go to My Account → Quotes.
- The current status of the order will be displayed as Converted To Order to the user.
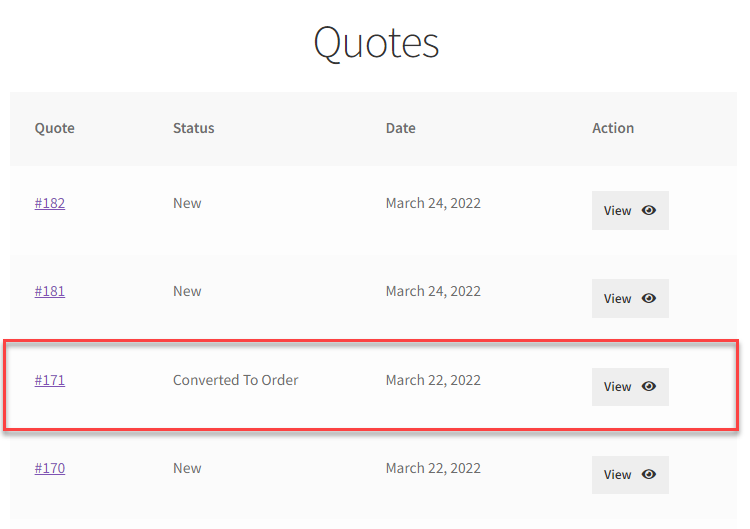
- Click on the View to see the converter.
User
- Admin can allow the user to convert the quote into an order.
- Go to the Quote for WooCommerce → Settings → General.
- Scroll down to the Convert to Order toggle button.
- Click on the toggle button to enable it.
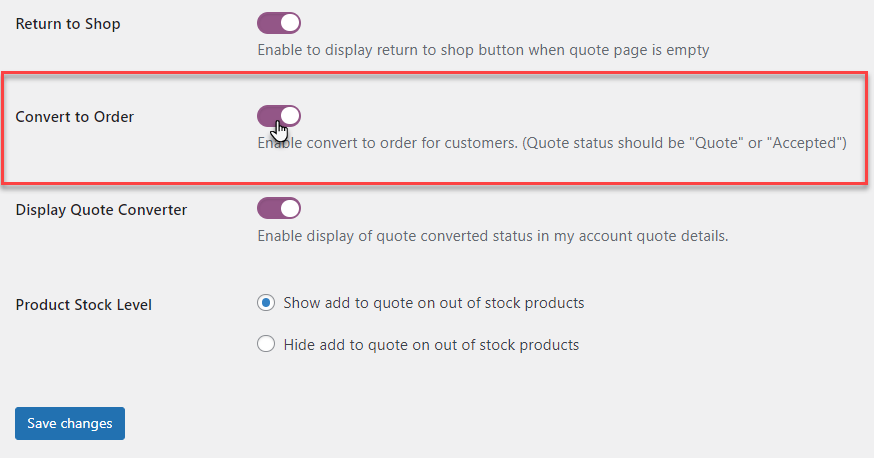
- Click on the Save Changes button.
Front End Screenshots
- Go to the My Accounts → Quotes.
- Click on the Convert to Order button.
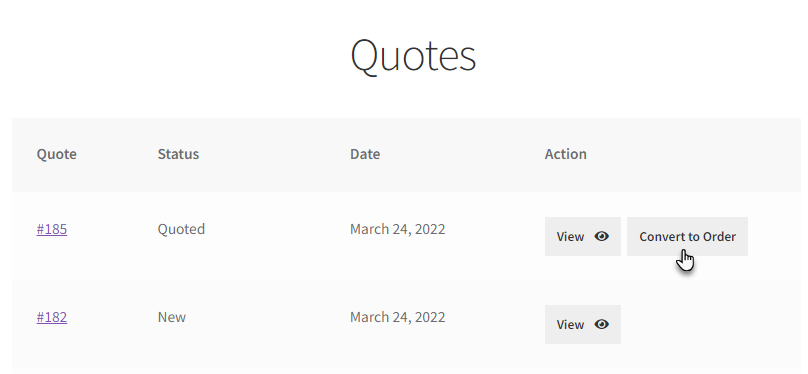
- The quote is converted by the user and the status of the “Converted by” is updated to Customer.
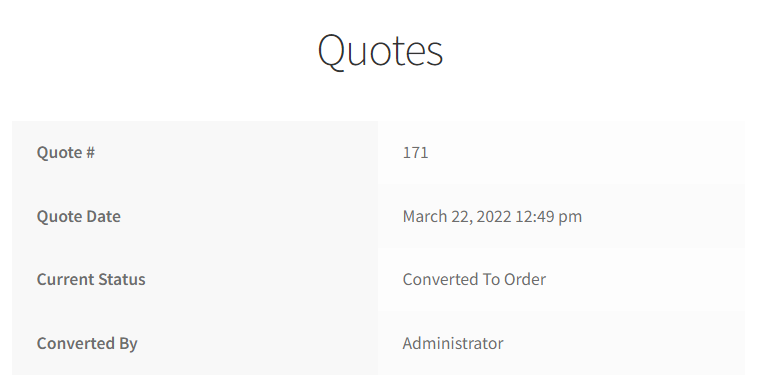
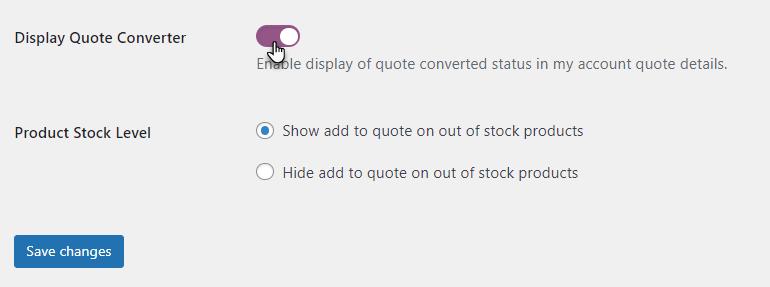
Display Quote Converter
↑ Back to top- This feature displays the quote Converted by on the front end.
- The Admin can enable and disable this option from the backend.
- Navigate to the Quote for WooCommerce → Settings → General.
- Scroll down to the Display Quote Converter.
- Click on the toggle button to enable it.
Front End Screenshots
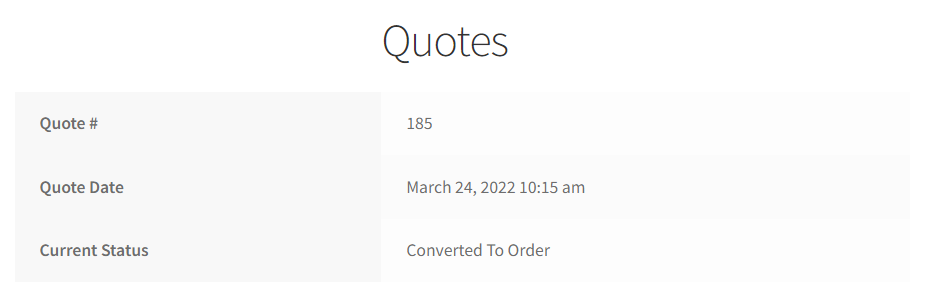
- Go to the My Accounts → Quotes.
- When enabled, the role of the user that converted the quote to order is displayed.
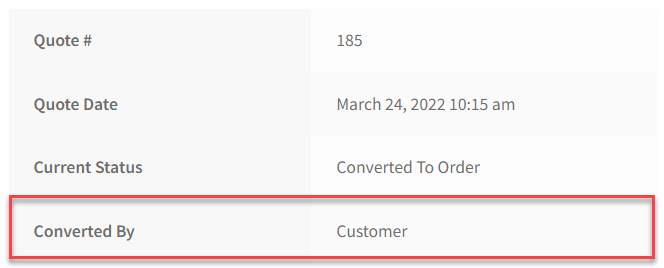
- When disabled, the converted by section is not displayed.
Quote Counter
↑ Back to top- Navigate to the Quote Counter option.
- Enable the Quote Counter toggle button.
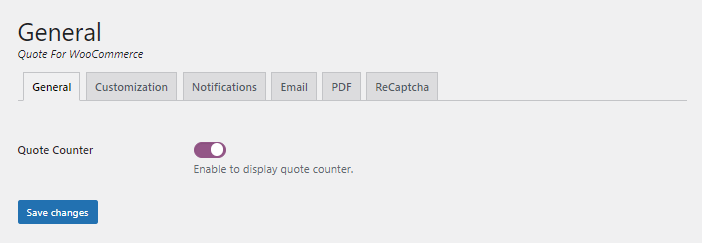
- Once done, navigate to the Customization tab.
- Now, navigate to the Quote Counter option.
- The text for this button can be customized as per your needs.
- The default text will be Quote Counter.

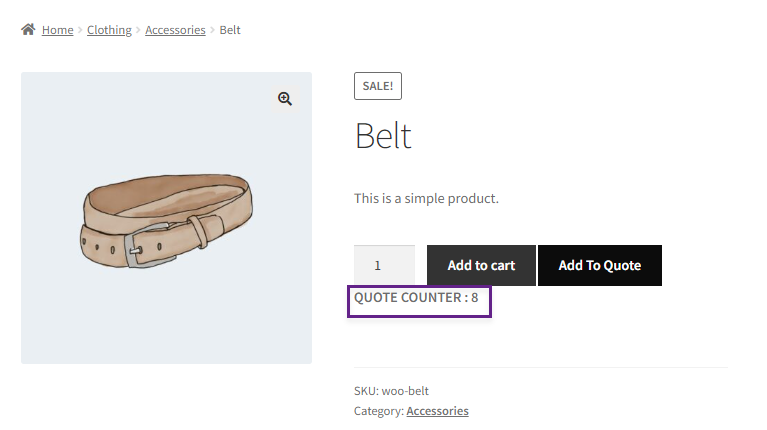
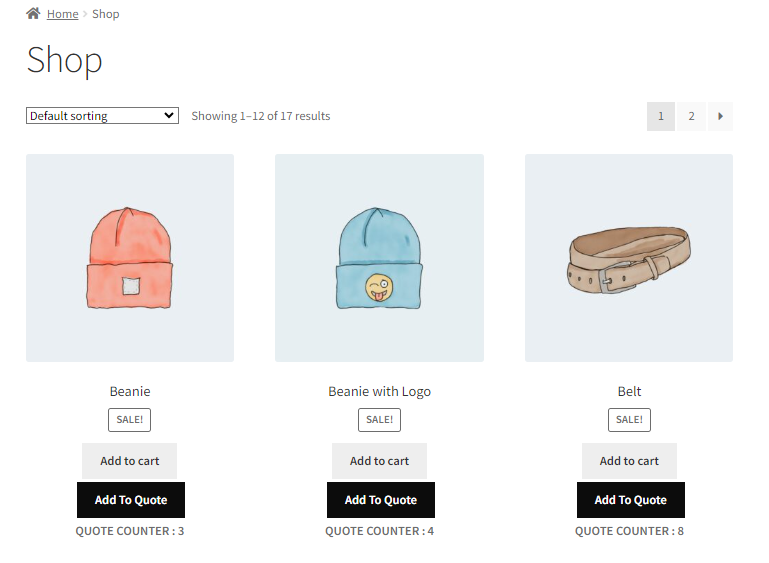
Front End Impact:
- Go to the shop page.
- Add any item to Quote by clicking the Add to Quote button.
- Navigate to the Quote page.
- Move your Quote request by Clicking the Send Quote button.
- Now, navigate back to the shop page.
- The Quote Counter will appear down to the Add to Quote button.

PLEASE NOTE: The Quote Count will only increase when the user clicks the Send Quote button on the Quote page. Also, the Quote Count will increase if any Guest user clicks the Send Quote button.
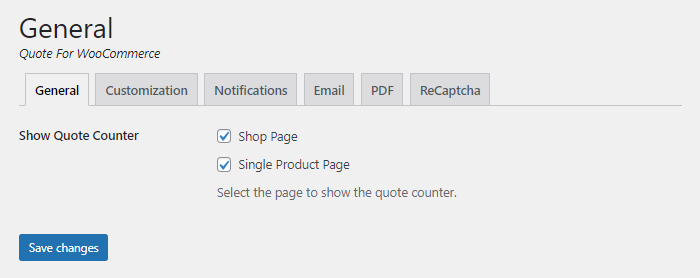
Show Quote Counter
- Navigate to the Show Quote Counter option.
- Check mark the radio button you want to show your counter on the selected pages.
Front End Impact:
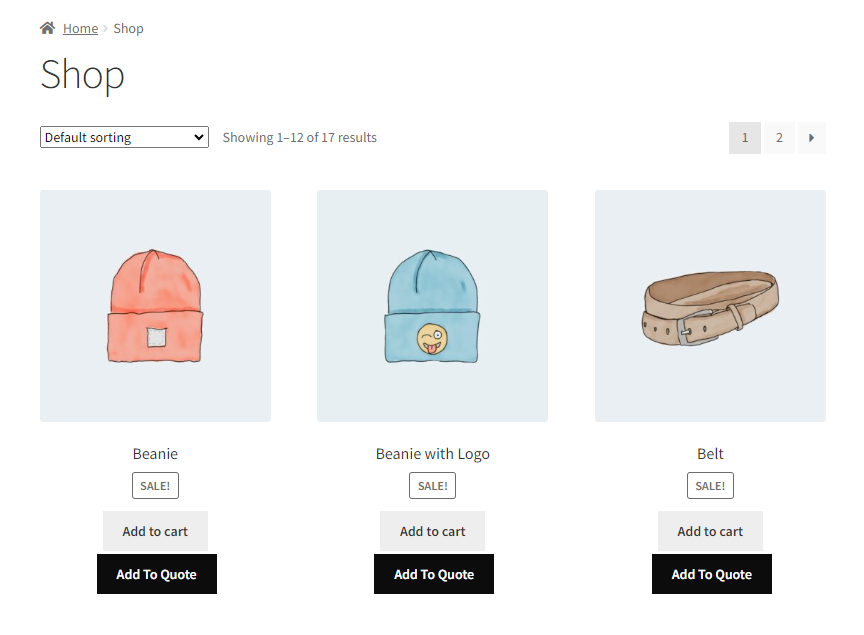
Shop Page

Single Product Page
PLEASE NOTE: The Quote Count option will not appear on the products where the Quote Count is zero(0) for both the Shop and Single Product pages.
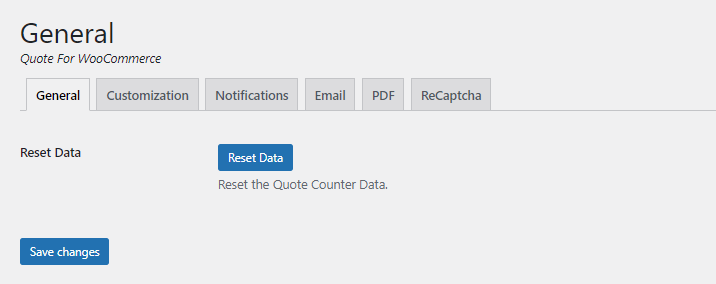
Reset Counter
- Navigate to the Reset Data option.
- You can reset your Quote Counter from this option.
Front End Impact:
Before Reset
After Reset
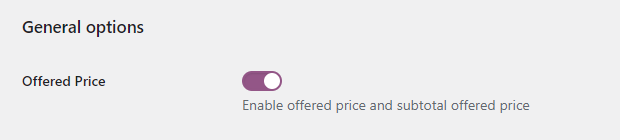
Offered Price Option
↑ Back to topEnabling this option allows the customer to set an offered price on the Quote List Page.
Front-End Screenshots
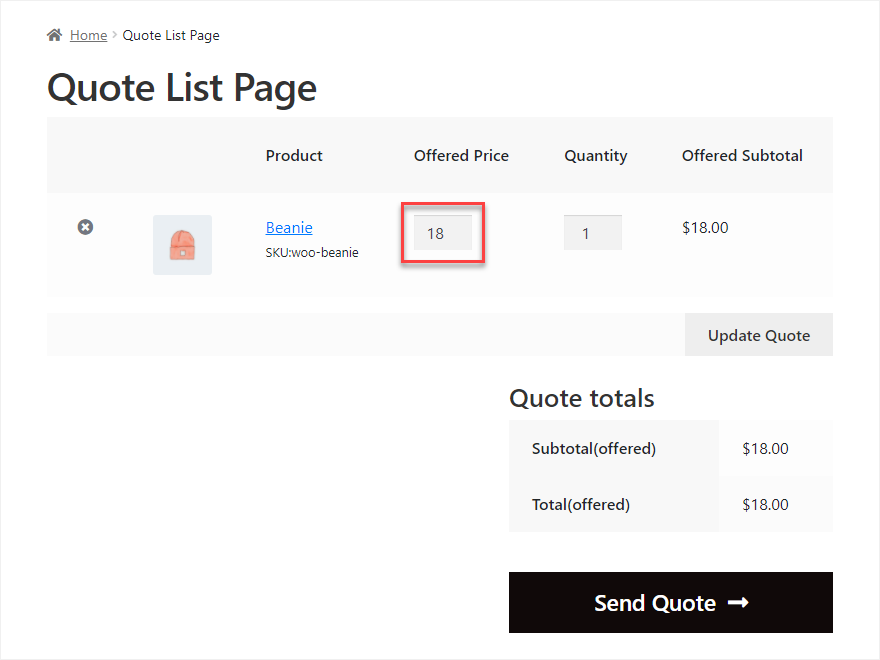
The Customer can change the Offered Price and click on the Update button to reflect the changes in the Quote totals section.
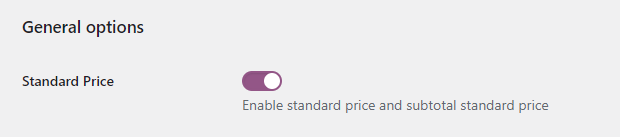
Standard Price Option
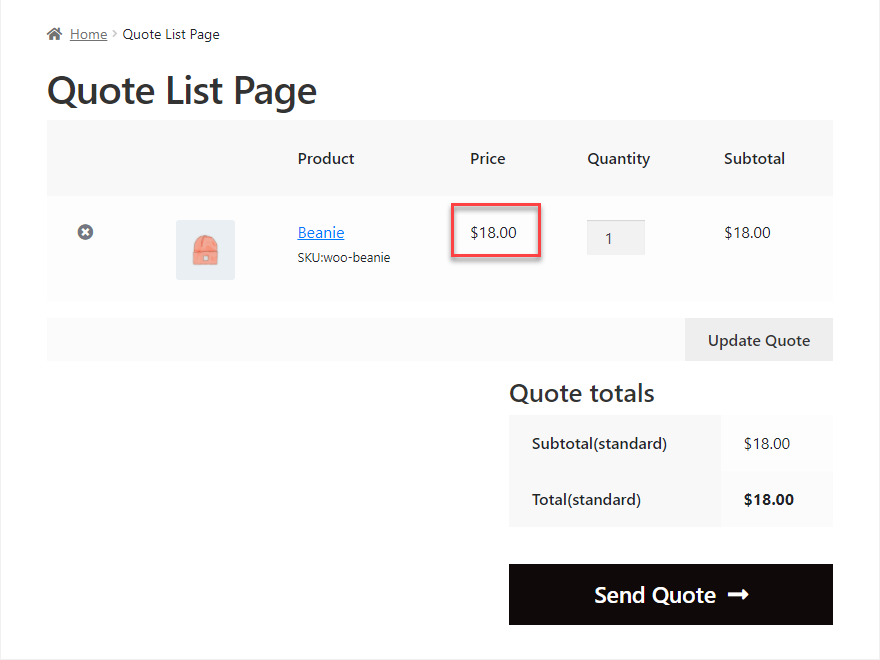
↑ Back to topEnabling this option allows the administrator to only display the price set on the Quote List Page.
Front-End Screenshots
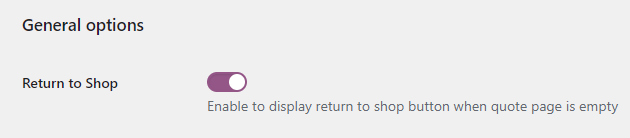
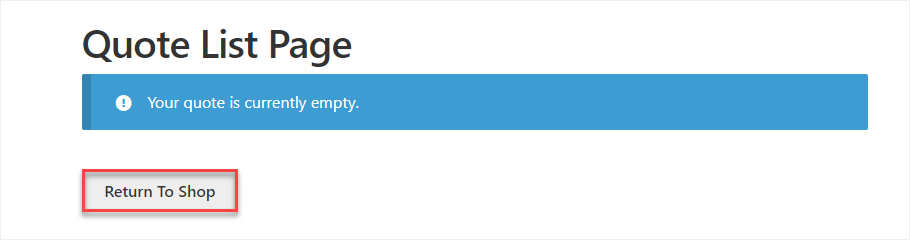
Return to Shop Button
↑ Back to topEnabling this option displays the Return to Shop button on the Quote List Page.
Front-End Screenshots
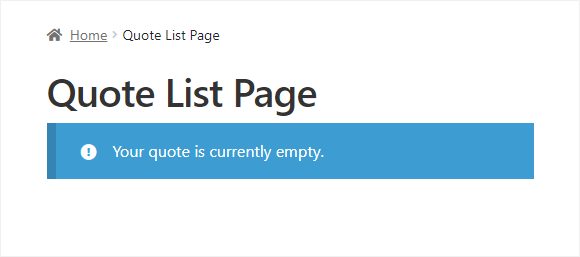
Before
- When the Return to Shop toggle button is disabled, the Return to Shop button is not visible on the Quote List Page.
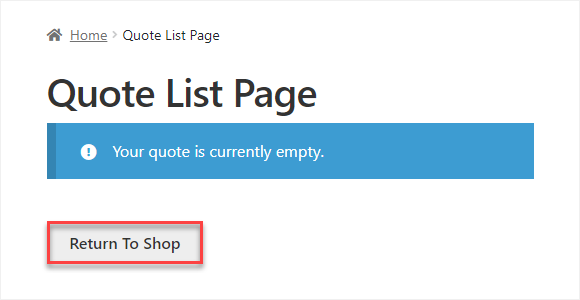
After
- When the Return to Shop toggle button is enabled, the Return to Shop button is visible on the Quote List Page.
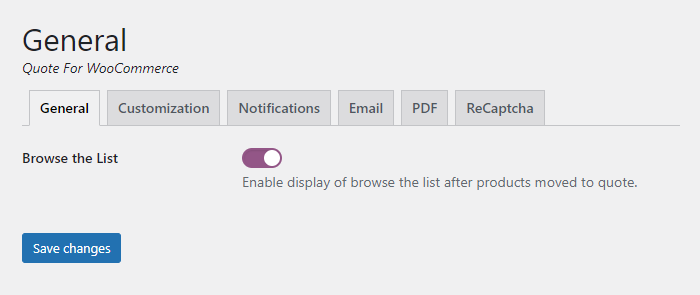
Browse the List
↑ Back to top- Navigate to the Browse the List option.
- Enable Browse the List toggle button.
- Once done, navigate to the Customization tab.
- Now, navigate to the Browse the List Button Text option.
- The text for this button can be customised as per your needs. The default text will be Browse the List.

Front End Impact:
Use Case 1:
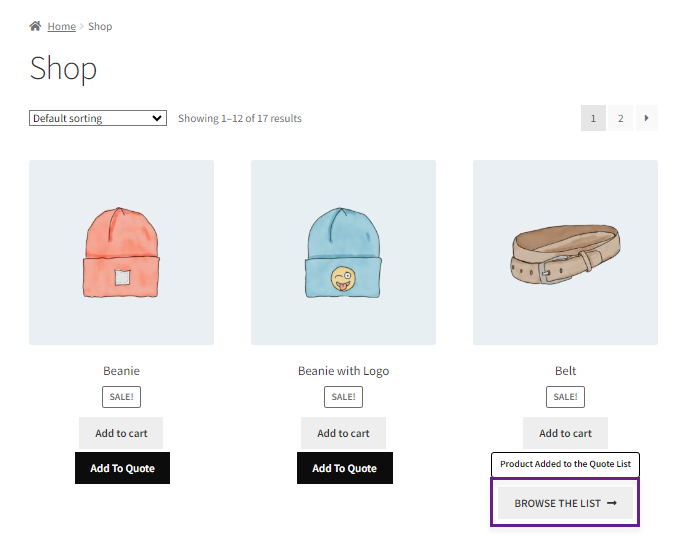
- Navigate to the Shop page.
- Click on the Add to Quote button.
- Once done, the Add to Cart button will be replaced with the Browse the List button, and the Product Added to the List text will appear at the top of the Browse the List button.
- Click the Browse the List button to navigate to the Quote page.
- The product is added to the Quote page.
Use Case 2:
- Navigate to the Shop page.
- Click on the Add to Quote button.
- Once done, the Add To Quote button will be replaced with the Browse the List button, and the Product Added to the List text will appear at the top of the Browse the List button.
- Click on the Browse the List button to navigate to the Quote page.
- The product is added to the Quote page.
- Now, navigate to the Shop page again, and the Product already added in the List text will appear.
- Click the Add To Quote button to add the item again to Quote, and the Add To Quote button will be replaced with the Browse the List button.
- The Product Added to the List text will appear at the top of the Browse the List button.
- Click the Browse the List button to navigate the user to the Quote page.
- Items will be added to the quote, and the quantity will be increased.
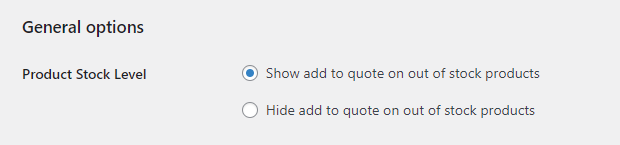
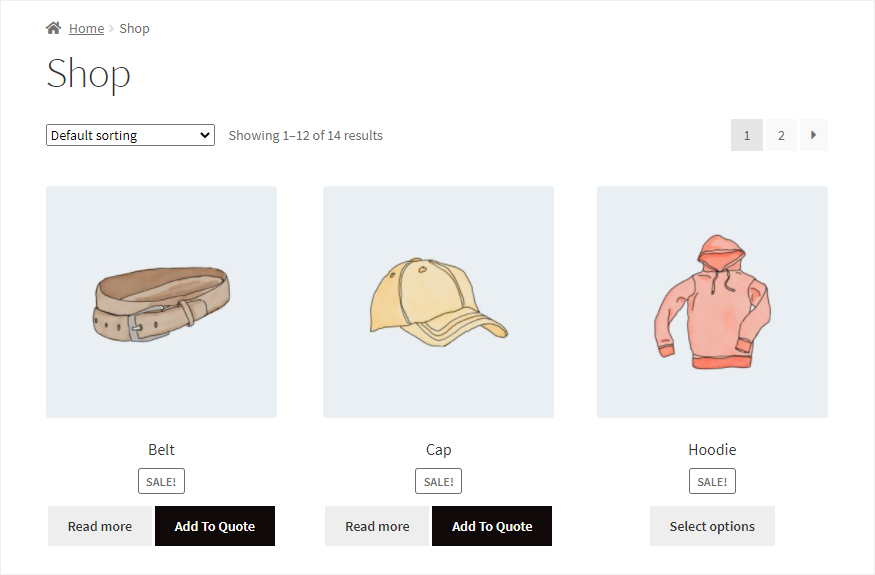
Quote According to Product Stock Level
↑ Back to topHow to show add-to-quote button on out-of-stock products
- If this radio button is selected, the Add to Quote button will appear on the Out of stock products.
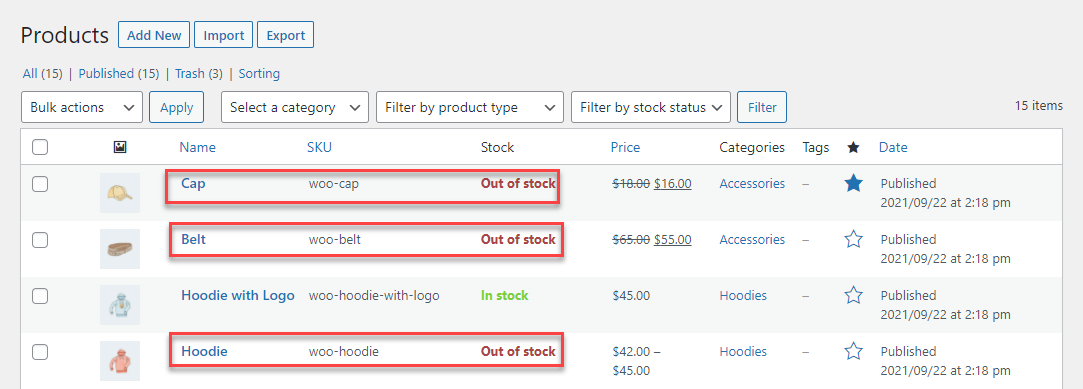
Front-End Screenshots
NOTE: For the cases mentioned below, we can see that the Stock level of the following products is Out of stock.
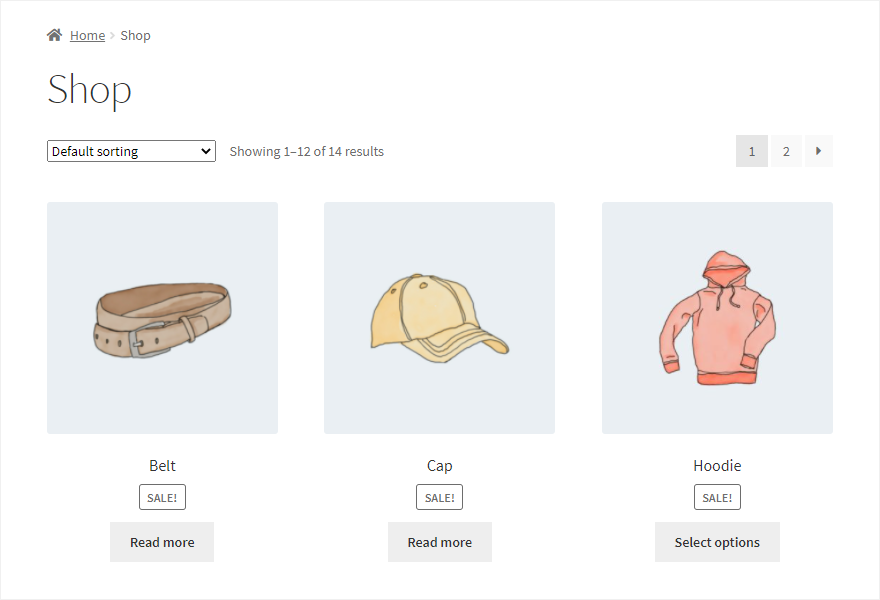
How to hide add-to-quote on out-of-stock products
Selecting this option will disable hide the Add to Quote button on Out of stock products.
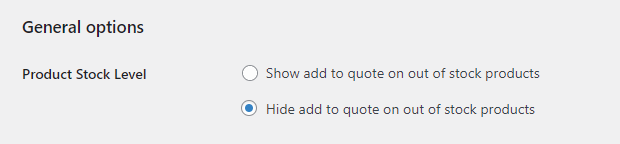
Front-End Screenshots
Customization Options
↑ Back to topBuild a Quote Button Text
↑ Back to top- This option allows the Administrator to set the text for the Build Quote button on the Cart page.
- By default, Build Quote is set in the textbox.
- You can change the text by entering text in the input field.

Front-End Screenshots
Before

After
Convert to Cart Button Text
↑ Back to top- This option allows the Administrator to set the text for the Add To Cart button on the Quote List Page.
- By default, Add To Cart is set in the textbox.
- You can change the text by entering text in the input field.

Front-End Screenshots
Before

After
Send Quote Button Text
↑ Back to top- This option allows the Administrator to set the text for the Send Quote button on the Quote List Page.
- By default, Send Quote is set in the textbox.
- You can change the text by entering text in the input field.

Front-End Screenshots
Before

After
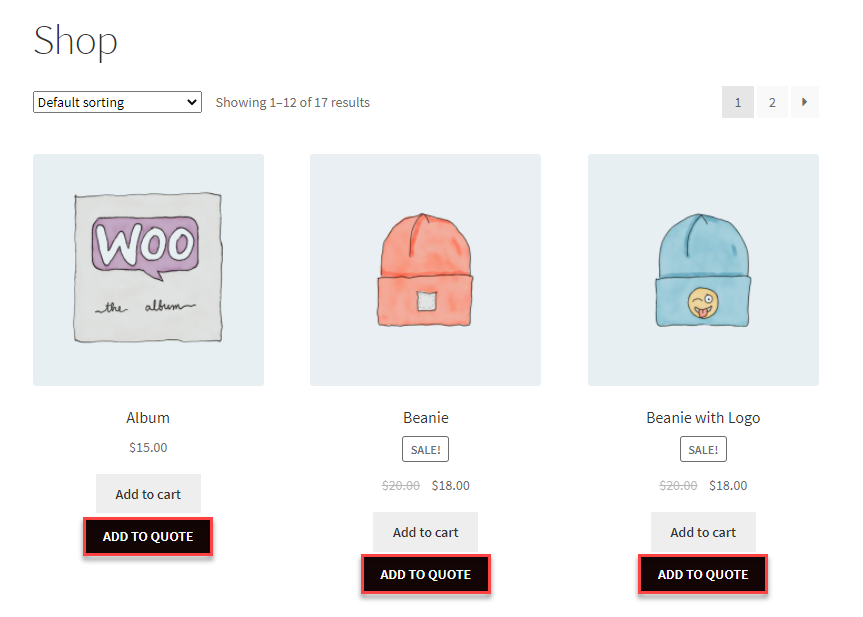
Add to Quote Button Text
↑ Back to top- This option allows the Administrator to set the text for the Add to Quote button on the website.
- By default, Add to Quote is set in the textbox.
- You can change the text by entering text in the input field.

Front-End Screenshots
Before
After
Return to Shop Button Text
↑ Back to top- This option allows the Administrator to set the text for the Return To Shop button on the Quote List Page.
- By default, Return To Shop is set in the textbox.
- You can change the text by entering text in the input field.

Front-End Screenshots
Before
After

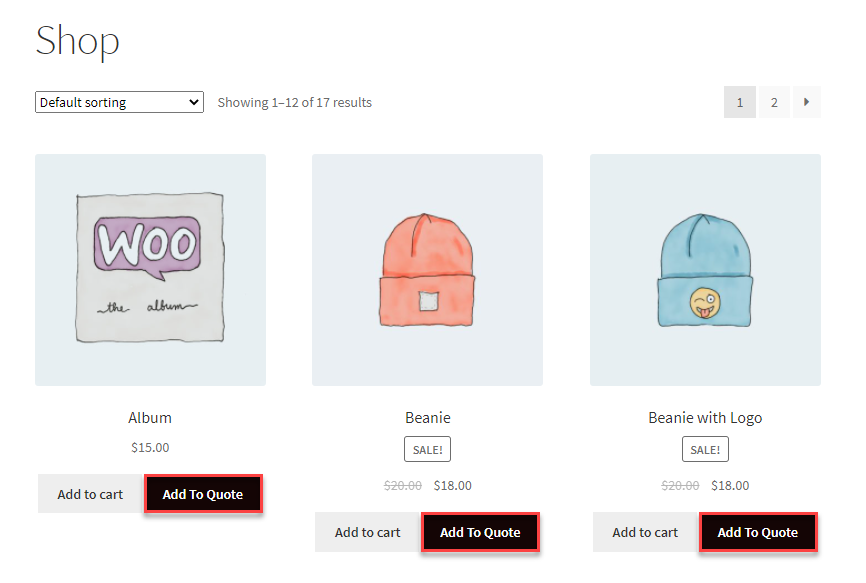
Add to Quote Button Color
↑ Back to top- This option allows the Administrator to set the color of the Add to Quote button.
- You can choose any color from the color grid and change it according to your requirements.
- Click on the Save Changes button.
Front-End Screenshots
Before
After

Add to Quote Button Text Color
↑ Back to top- This option allows the Administrator to set the text color of the Add to Quote button.
- You can choose any color from the color grid and change it according to your requirements.
- Click on the Save Changes button.
Front-End Screenshots
Before
Send Quote Button Color
- This option allows the Administrator to set the color of the Send Quote button.
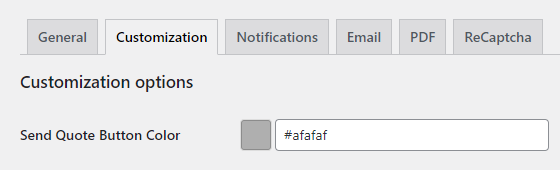
- You can choose any color from the color grid and change it according to your requirements.
- Click on the Save Changes button.
Front-End Screenshots
Before
After

Send Quote Button Text Color
↑ Back to top- This option allows the Administrator to set the text color of the Send Quote button.
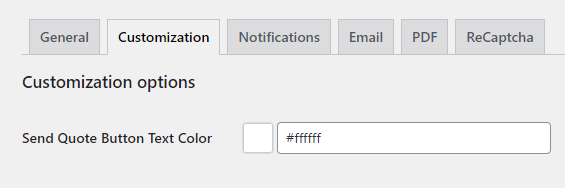
- You can choose any color from the color grid and change it according to your requirements.
- Click on the Save Changes button.
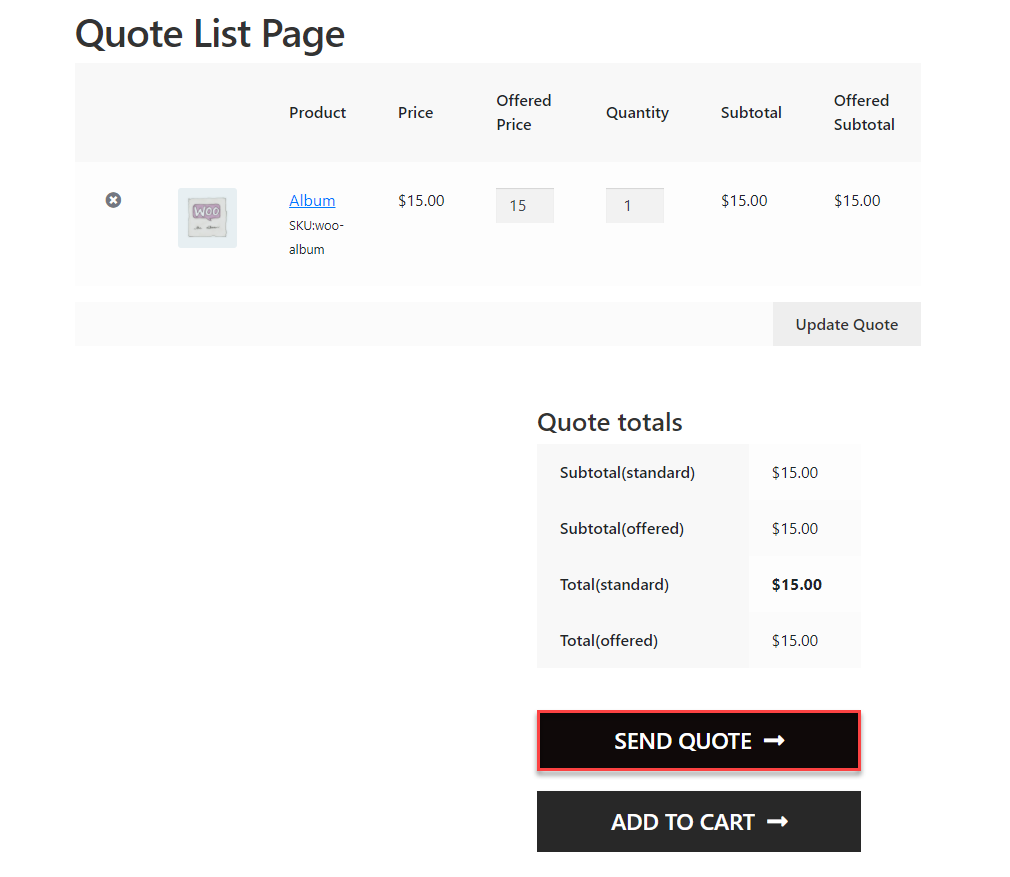
Front-End Screenshots
Before
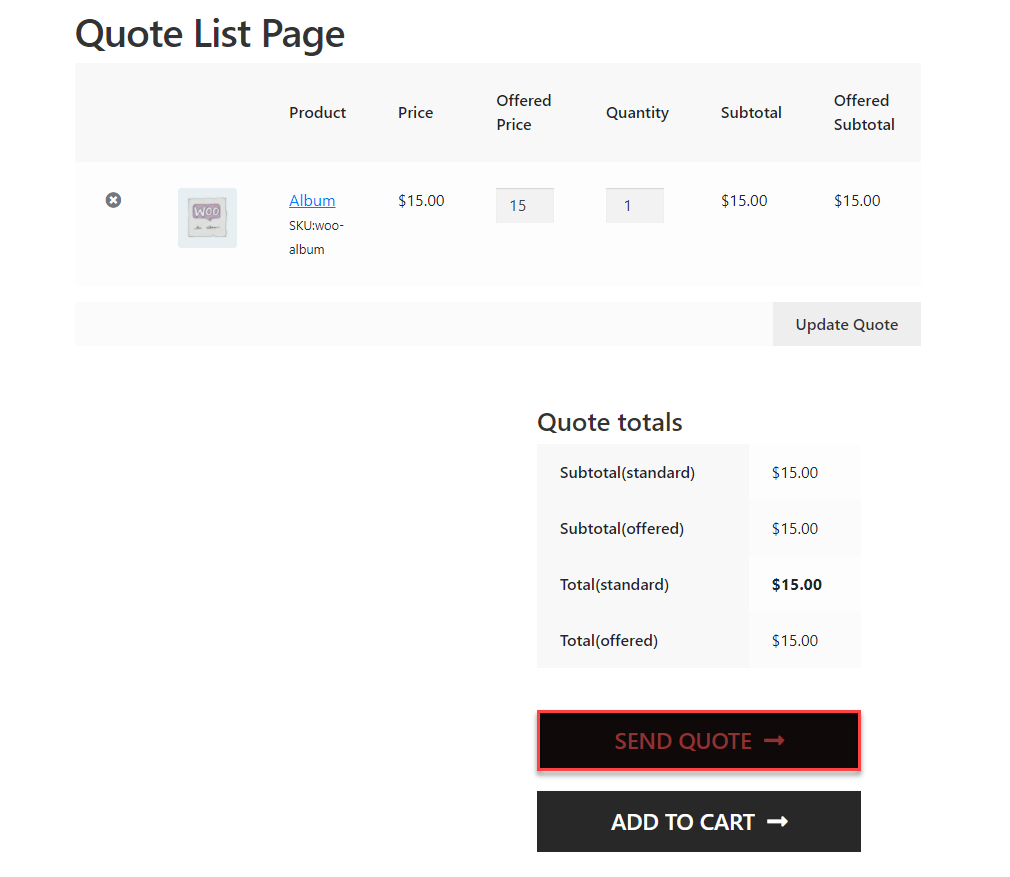
After
Notification Options
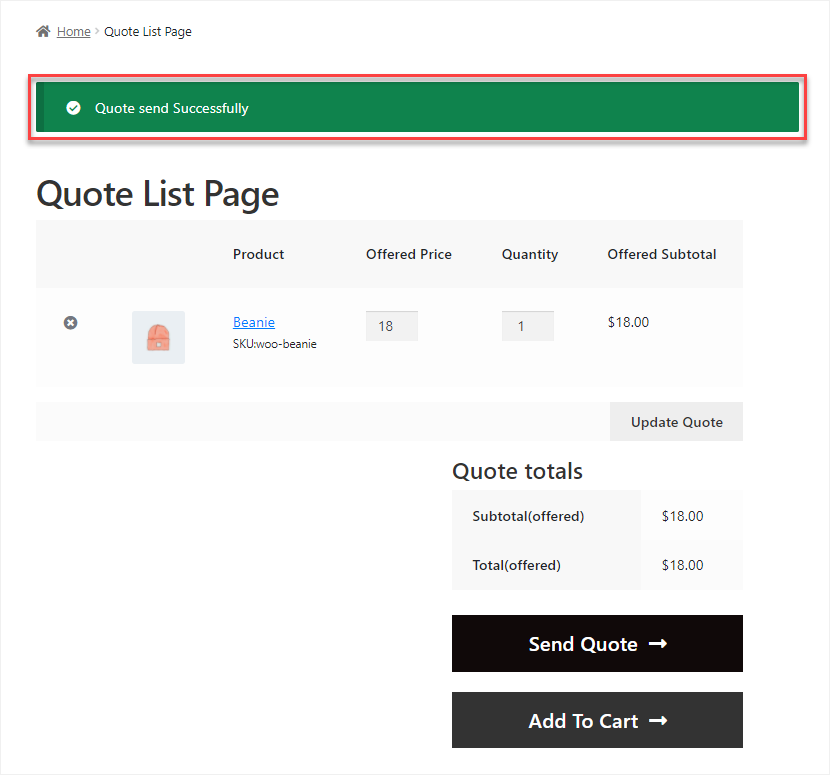
↑ Back to topSuccess message after quote request
↑ Back to top- This option allows the Administrator to set the text for when the Quote has been successfully sent.
- This text would appear when the Quote is sent successfully.
- Set the text according to our requirements.

- Click on the Save Changes button.
Front-End Screenshots
- Go to the website and create a quote against that product by clicking the Add to Quote button.
- Now go to the Quote List Page.
- Click on the Send Quote button.
- Once the Quote is sent successfully, the notification text will appear.
Error message on quote request
↑ Back to top- This option allows the Administrator to set the text for when the user gets an error in the Email Quote.
- This text would appear when the Quote has an error.
- Set the text according to our requirements.
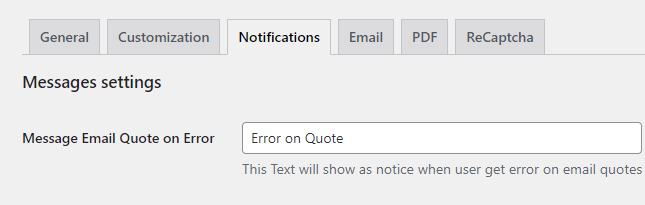
- Click on the Save Changes button.
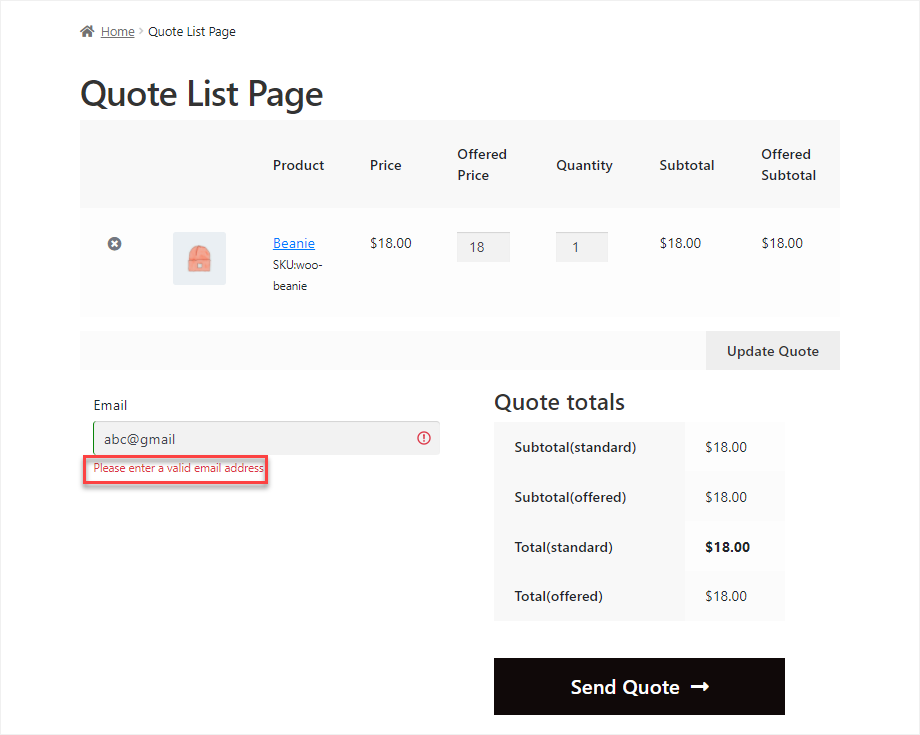
Error message on wrong email input
↑ Back to top- This option allows the Administrator to set the text for when they will insert the email address in the email send section.
- This text would appear when the user enters an invalid email, or the email address format would be invalid.
- Set the text according to our requirements.
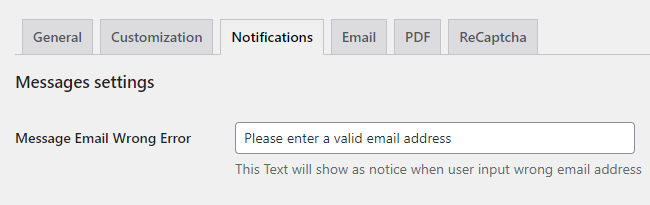
- Click on the Save Changes button.
Front-End Screenshots
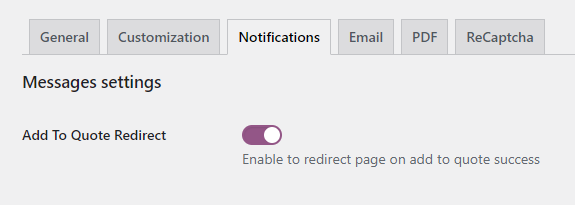
Enable add-to-quote redirection
↑ Back to top- Enabling this option allows you to redirect customers after successfully adding products to quote.
- You can also add the URL of the page for redirection.
Front-End Screenshots
- Go to the website.
- Click on the Add to Quote button on the Shop page against any product or the Single Product page.
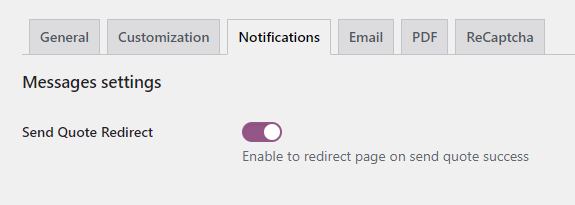
Enable send quote redirection
↑ Back to topEnabling this option allows you to redirect customers after successfully sending quotes.
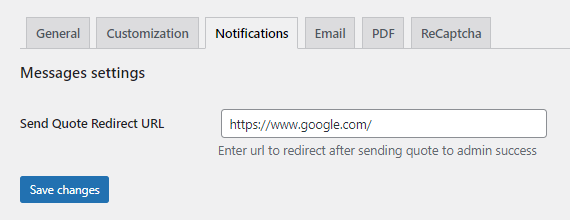
Add send quote redirection URL
↑ Back to topIn this option, enter the URL of the respective page, which would be redirected whenever the Send Quote button operation is successful.
Front-End Screenshots
- Go to the website.
- Click on the Send Quote button on the Shop page against any product or the Single Product page.
Email Options
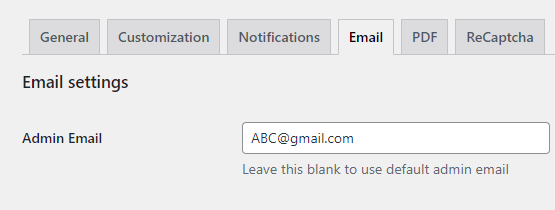
↑ Back to topSet Admin Email
↑ Back to top- Add the admin email to which you want to receive quotes.
- If the Admin email text field is blank, the quote email goes to the default Administrator Email.
- Click on the Save Changes button.
Customize admin email notification template (New request)
↑ Back to top- Enabling this option allows the Administrator to receive a notification whenever a new quote request is received.
- Set the Subject of the New Quote Request email.
- Set the Message of the New Quote Request email.
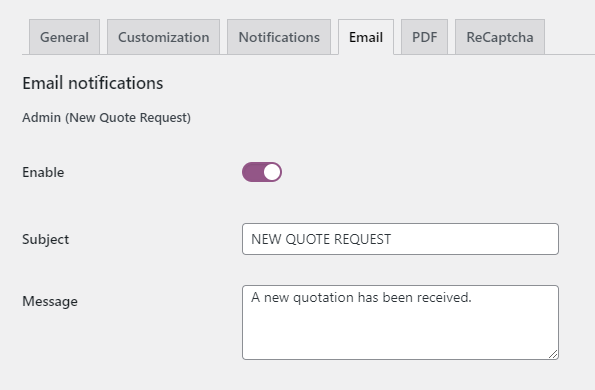
- Click on the Save Changes button.
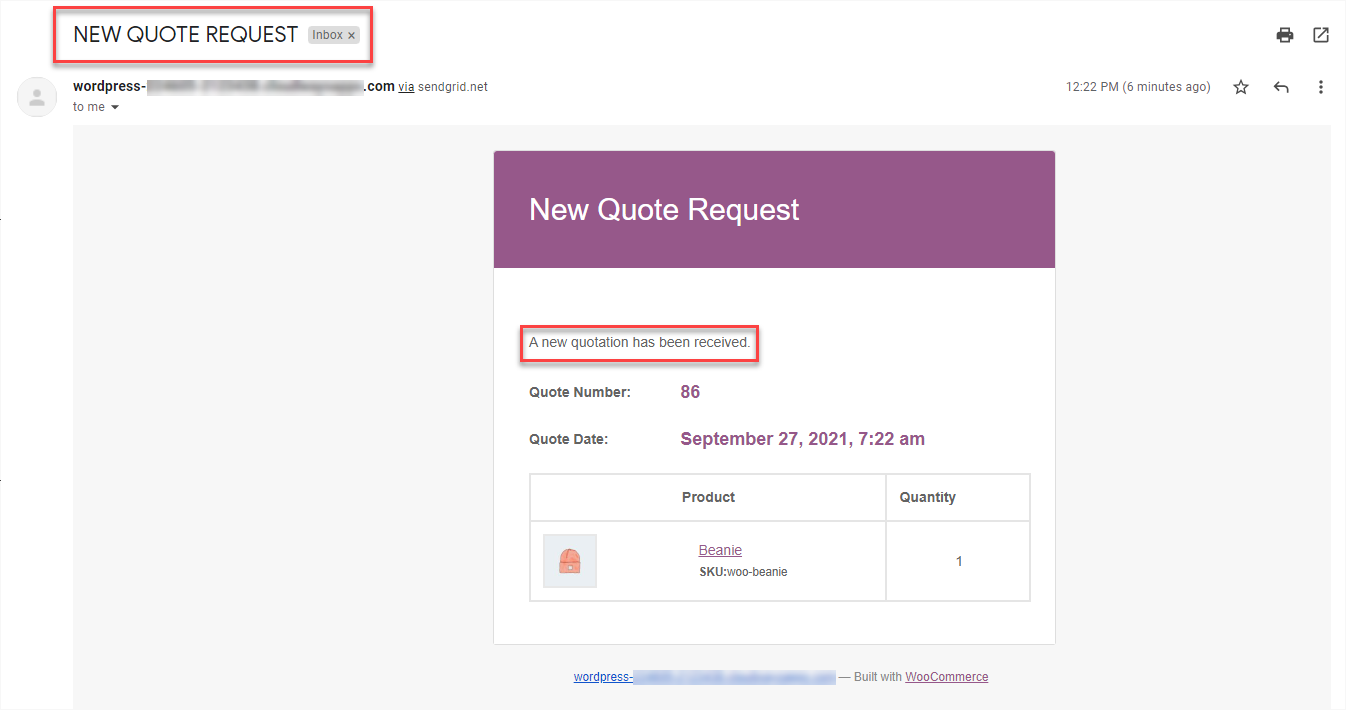
Front-End Screenshots
- The customer will go to the website.
- The customer will click on the Add to Quote button on the Shop page against any product or the Single Product page.
- Now the customer will be redirected to the Quote List Page.
- The customer will click on the Send Quote button.
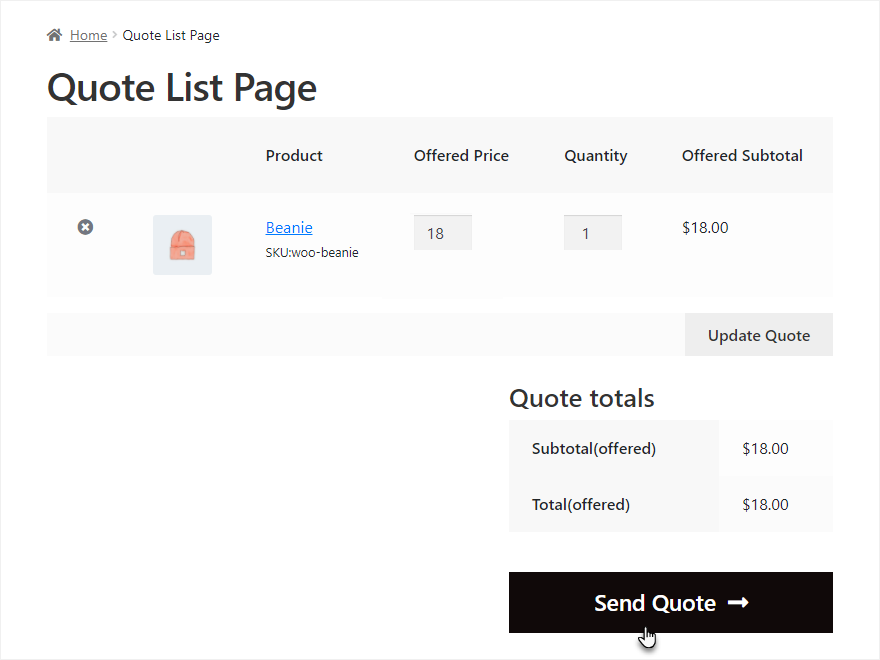
- Once done, the Administrator will receive a New Quote Request via email.
Customize customer email notification template (New request)
↑ Back to top- Enabling this option allows the Customer to receive a notification whenever a new quote request is received.
- Set the Subject of the New Quote Request email.
- Set the Message of the New Quote Request email.
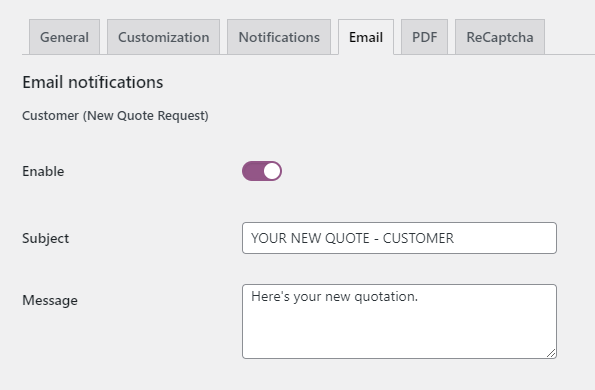
- Click on the Save Changes button.
Front-End Screenshots
- The customer will go to the website.
- The customer will click on the Add to Quote button on the Shop page against any product or the Single Product page.
- Now the customer will be redirected to the Quote List Page.
- The customer will click on the Send Quote button.

- Once done, the Customer will receive a New Quote Request via email.
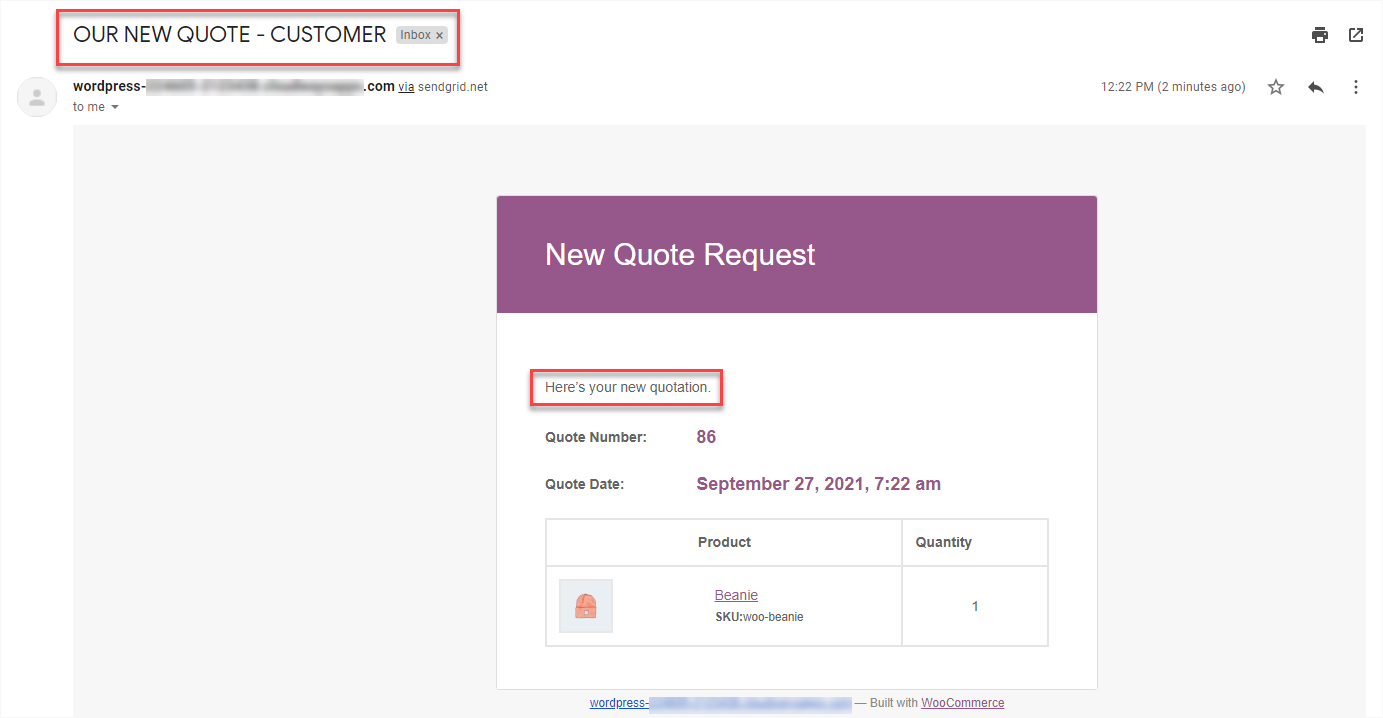
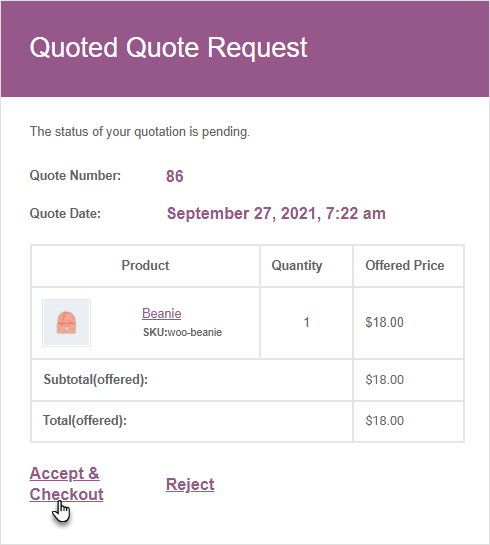
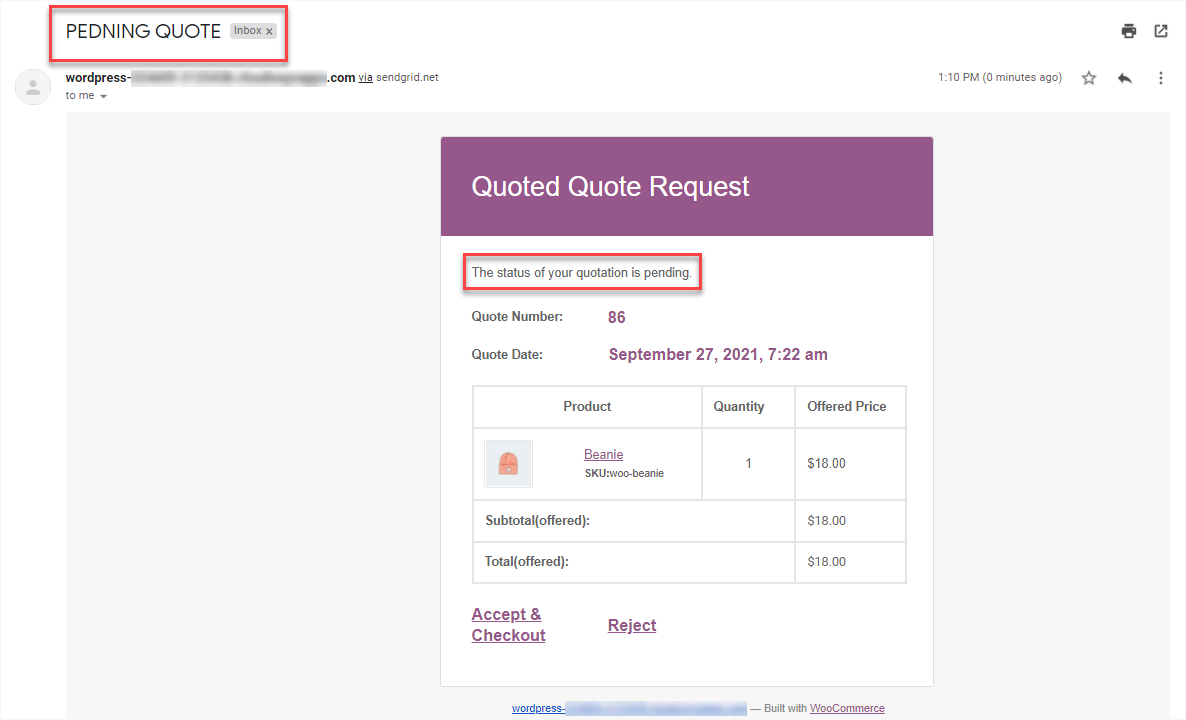
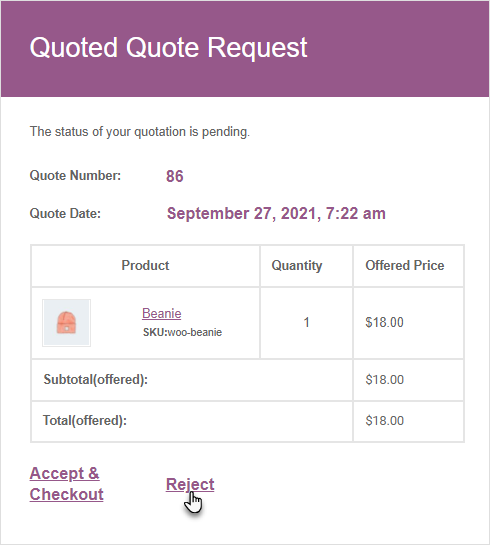
Customize customer email notification template (Pending request)
↑ Back to top- Enabling this option allows the Customer to receive a pending quote request notification message.
- Set the Subject of the New Quote Request email.
- Set the Message of the New Quote Request email.
- This option allows the Customer to receive a notification whenever a new quote request is received when the toggle button is enabled.

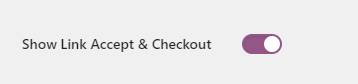
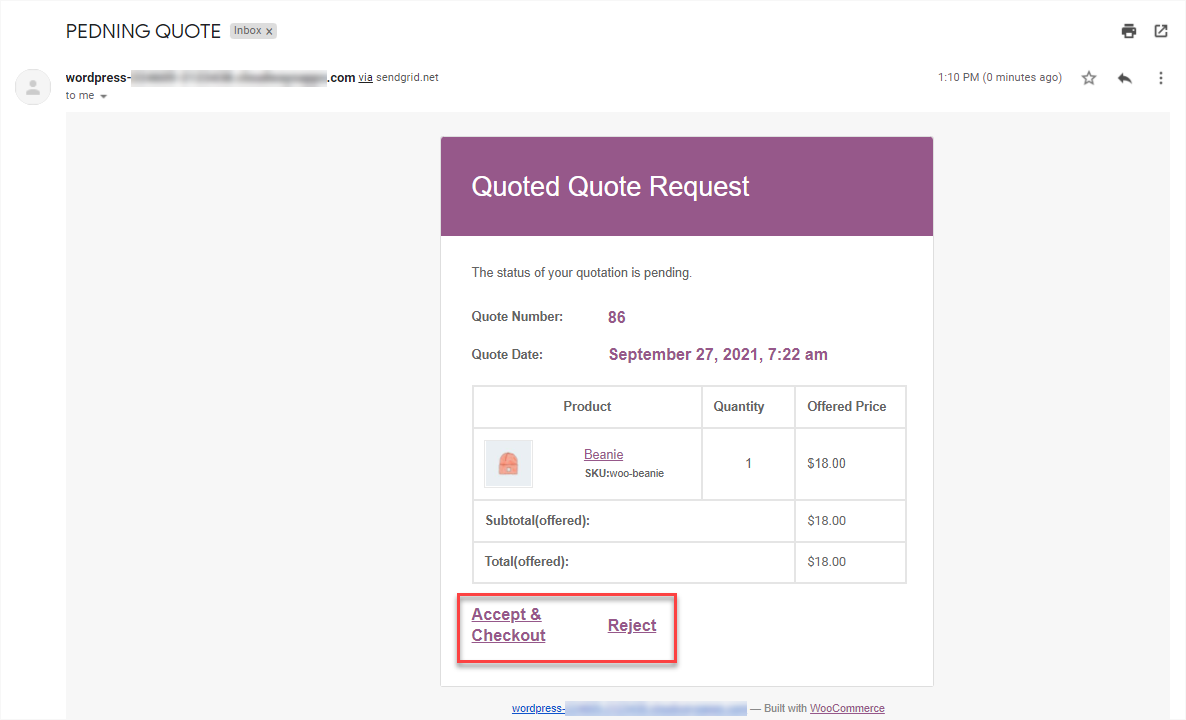
- Enable the Show Link Accept & Checkout toggle button. This option allows the Customer to either Accept & Checkout or Reject the quote from the email.
- Click on the Save Changes button.
Front-End Screenshots
- Once the Administrator receives the quote from the Customer, the Administrator would go to WordPress Admin Dashboard → WC Quote → All Quotes.
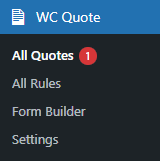
- Now the Administrator is on the Quotes Page.
- All the Quotes are present on this page.
- Hover over the quote to view suboptions.
- Click on the Edit suboptions.
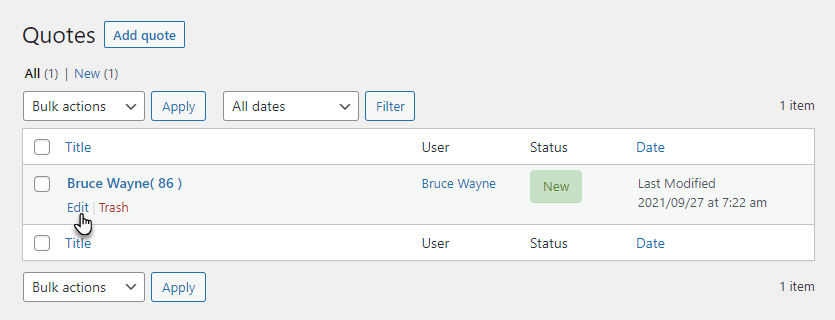
- Now you’re on the Edit Quote page.
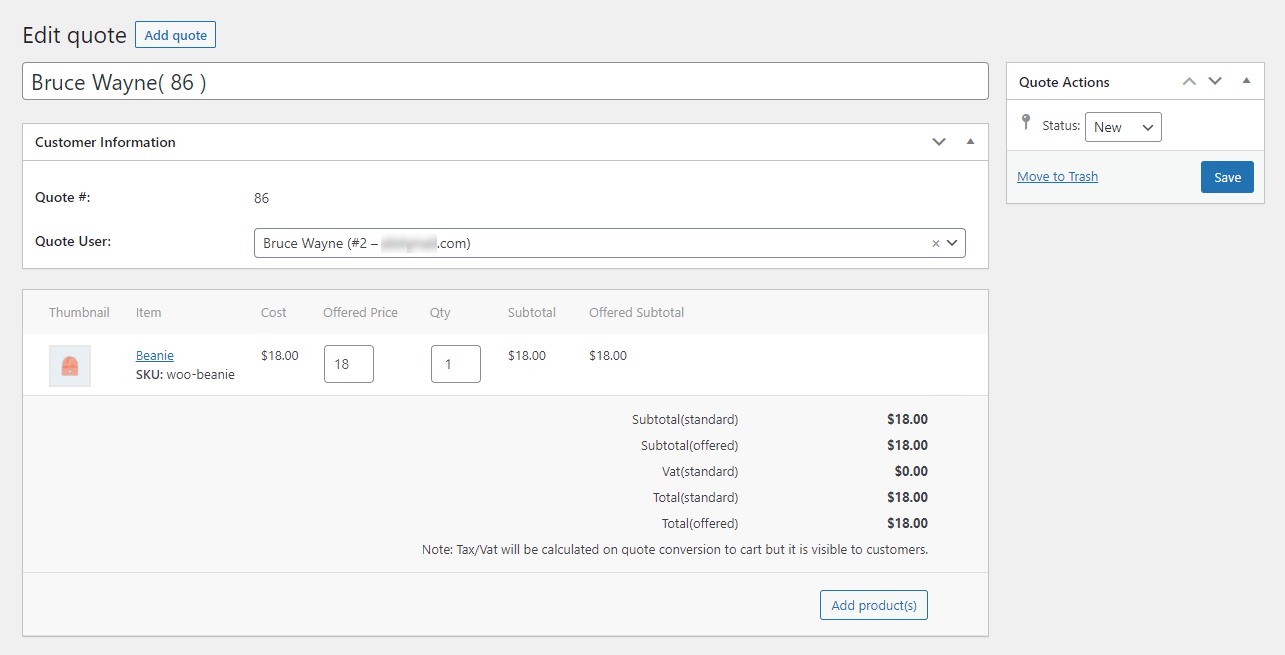
- On the Edit Quote page, go to the Quote Actions page and change the Status to Quoted.
- Click on the Save button.
- Click on the Save button.
- The quote status is now Pending.
- The customer will receive the quote via email.
- The Customer will Accept & Checkout or Reject the Quote via the link present on the quote.
Customize admin email notification template (Request accepted)
↑ Back to top- Enabling this option allows the Administrator to receive a notification whenever a quote request is accepted.
- Set the Subject of the New Quote Request email.
- Set the Message of the New Quote Request email.
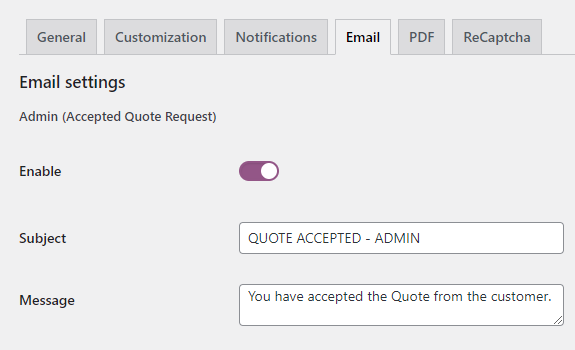
- Click on the Save Changes button.
Front-End Screenshots
- The customer will click on the Accept & Checkout link present on the quote.

- It will send an email to the Administrator of the Accepted Quote Request.
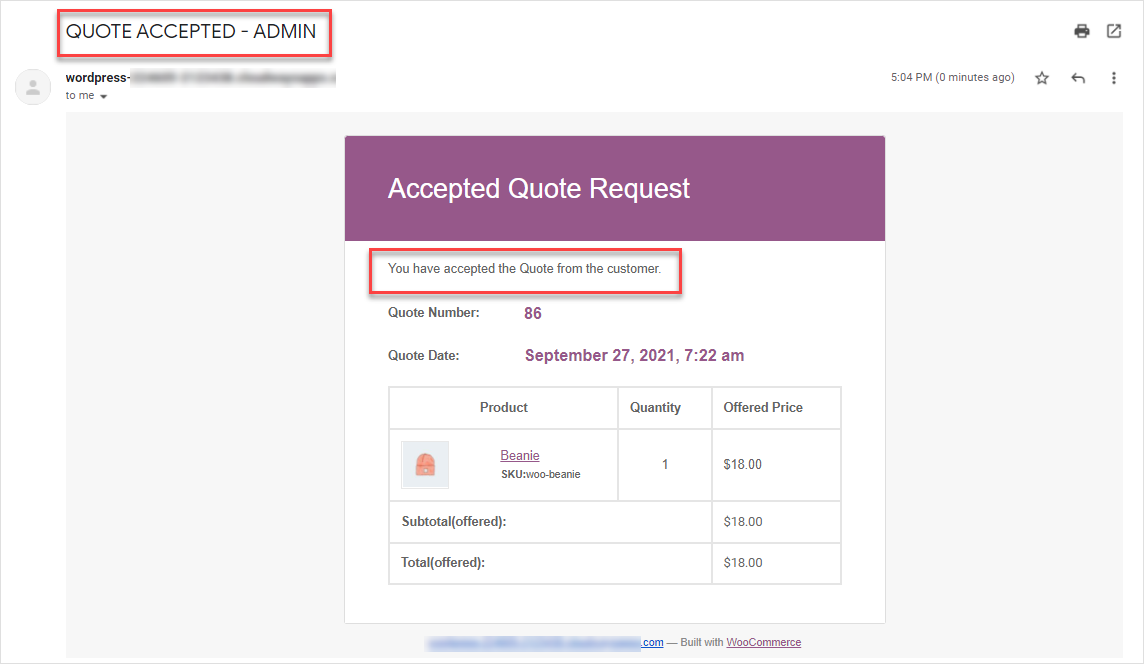
NOTE: On the Edit Quote page, If the Administrator manually changes the quote status to Accepted, the same email will be generated to the Administrator.
Customize customer email notification template (Request accepted)
↑ Back to top- Enabling this option allows the Customer to receive a notification when a quote request is accepted.
- Set the Subject of the New Quote Request email.
- Set the Message of the New Quote Request email.

- Click on the Save Changes button.
Front-End Screenshots
- The customer will click on the Accept & Checkout link present on the quote.

- It will send an email to the Customer of the Accepted Quote Request.
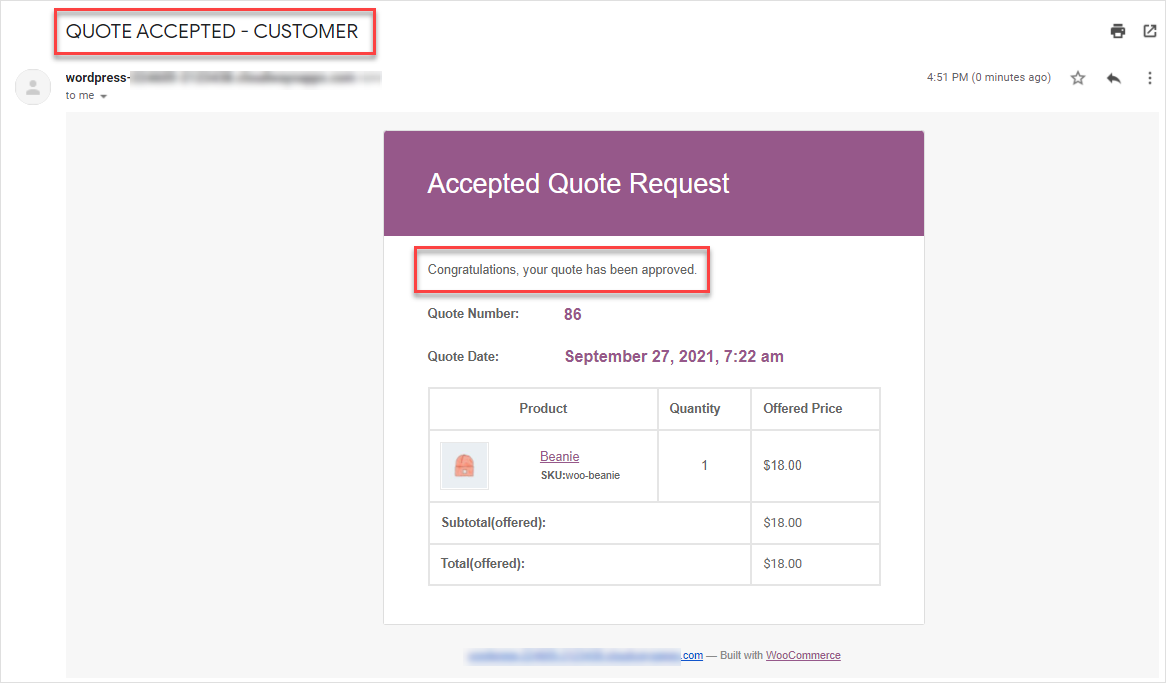
NOTE: On the Edit Quote page, If the Administrator manually changes the quote status to Accepted, the same email will be generated to the Customer.

Customize admin email notification template (Request rejected)
↑ Back to top- Enabling this option allows the Administrator to receive a notification whenever a quote request is rejected by the customer.
- Set the Subject of the New Quote Request email.
- Set the Message of the New Quote Request email.
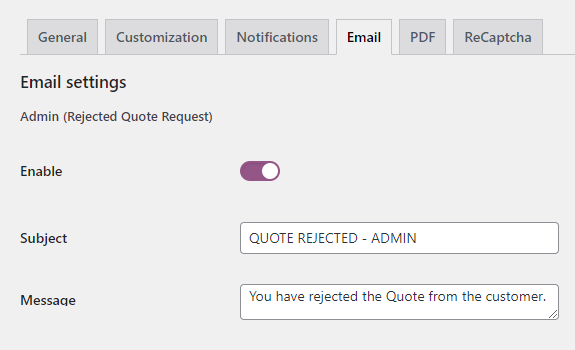
- Click on the Save Changes button.
Front-End Screenshots
- The customer will click on the Reject link present on the quote.

- It will send an email to the Administrator of the Rejected Quote Request.
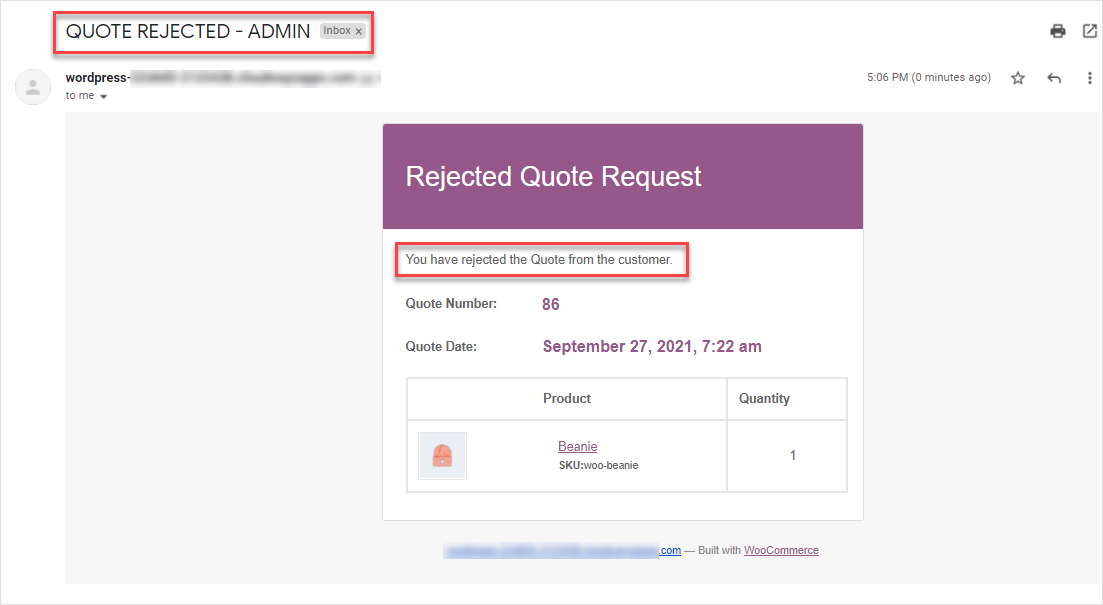
NOTE: On the Edit Quote page, If the Administrator manually changes the quote status to Rejected, the same email will be generated to the Administrator.
Customize customer email notification template (Request rejected)
↑ Back to top- Enabling this option allows the Customer to receive a notification whenever a quote request is rejected by the admin.
- Set the Subject of the New Quote Request email.
- Set the Message of the New Quote Request email.
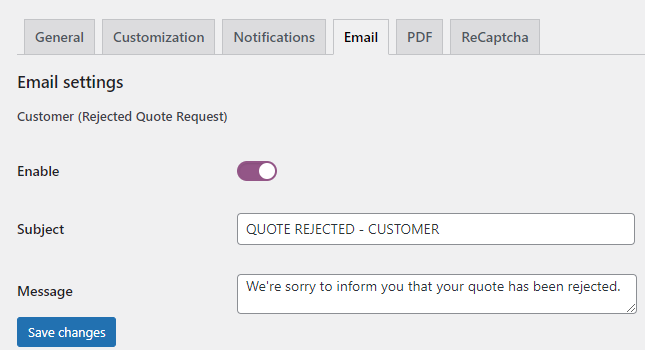
- Click on the Save Changes button.
Front-End Screenshots
- The customer will click on the Reject link present on the quote.
- It will send an email to the Customer of the Rejected Quote Request.
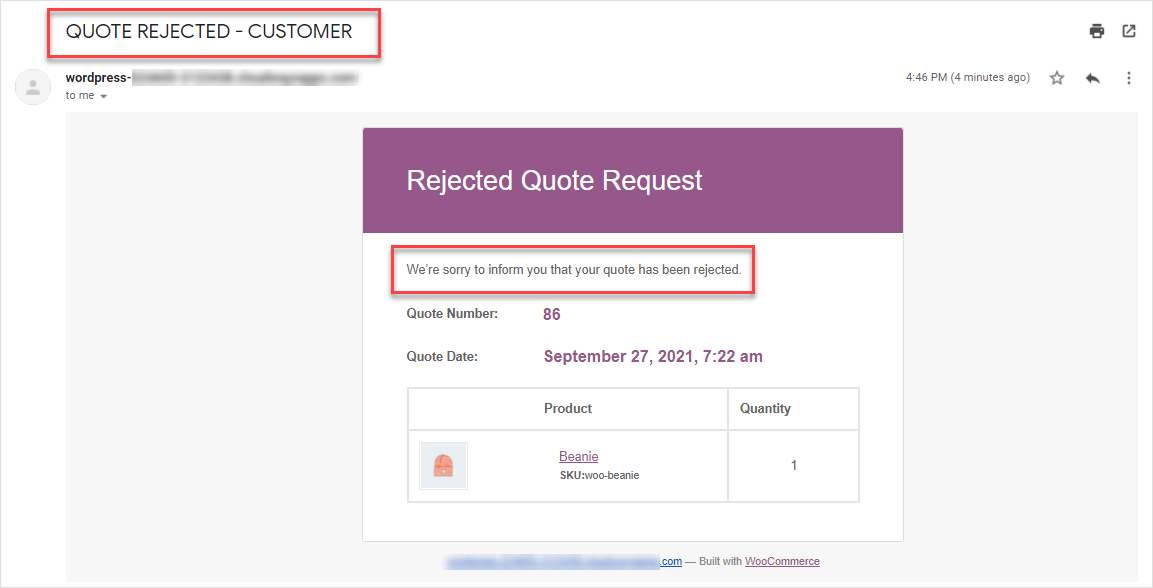
NOTE: On the Edit Quote page, If the Administrator manually changes the quote status to Rejected, the same email will be generated to the Customer.
PDF Options
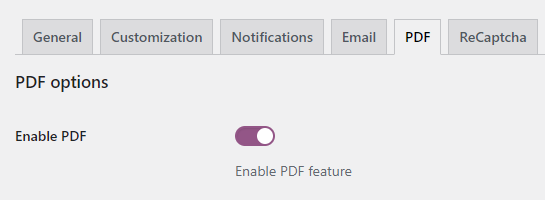
↑ Back to topEnable PDF
↑ Back to topThis option allows you to enable the PDF feature.
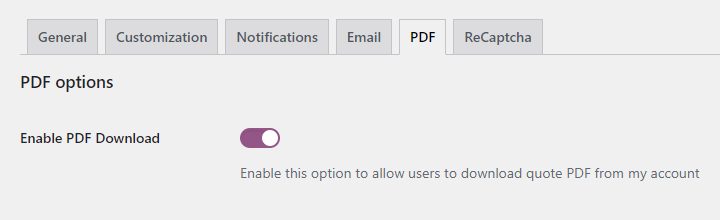
Enable PDF Download
↑ Back to topEnabling this option allows users to download the PDF of their quote from the My Account page.
Front-End Screenshots
- Once the user has requested the quote, now the user will go to the My Accounts page.
- Now click on the Quotes tab.
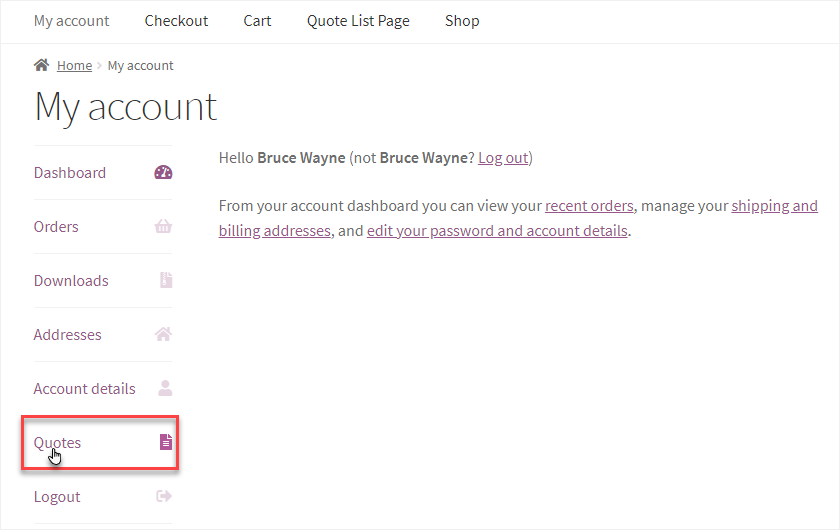
- In this tab, all the Quotes are present.
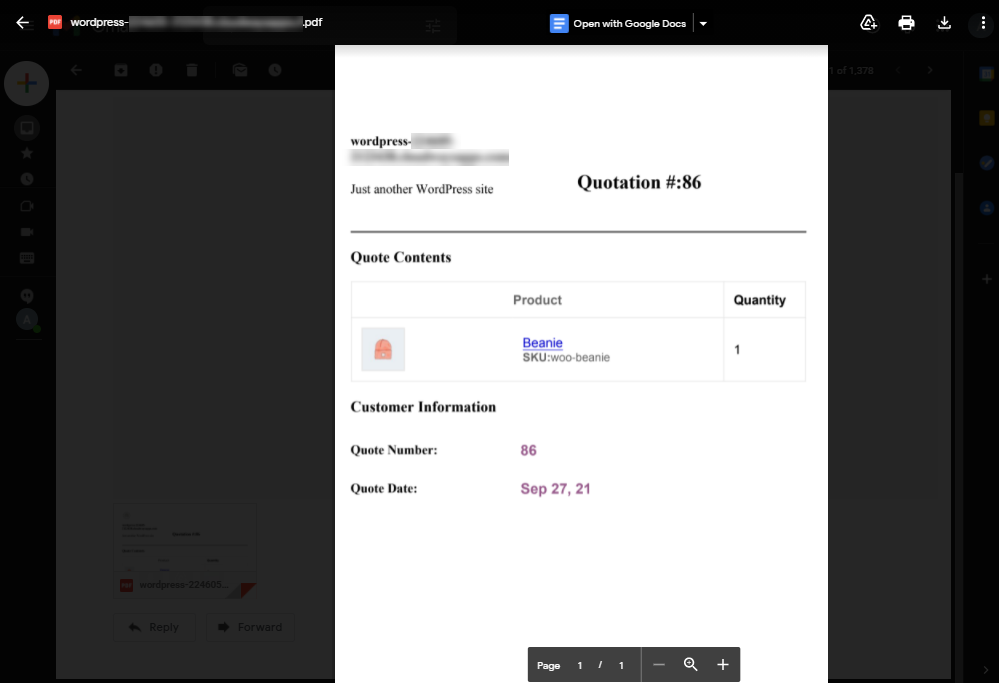
- Click on the Download button in the Actions column.
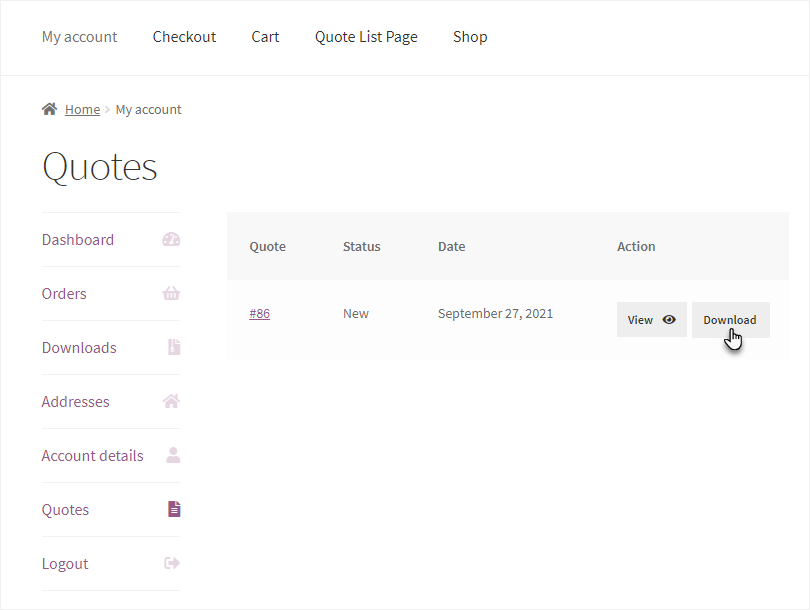
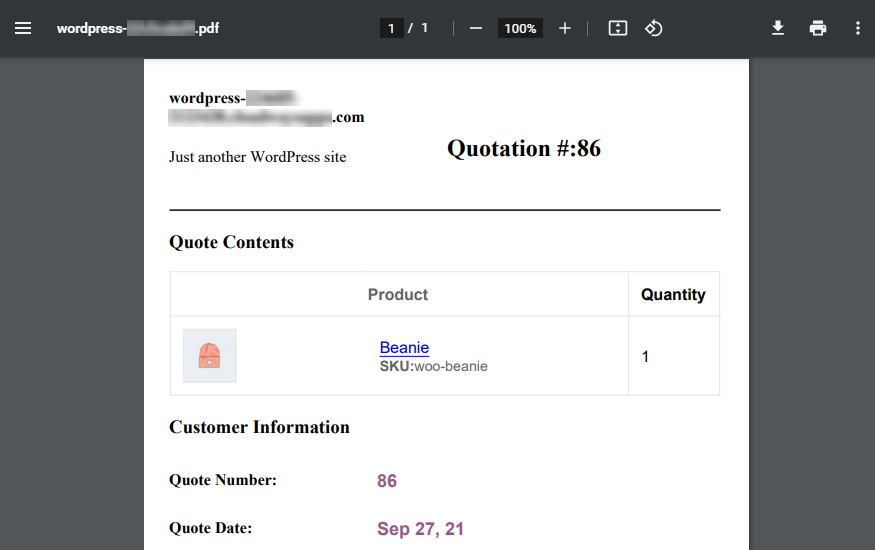
- The PDF of the Quote will be opened in a new tab. You can download the PDF of your quote from this page.
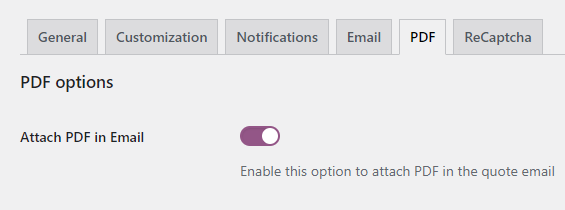
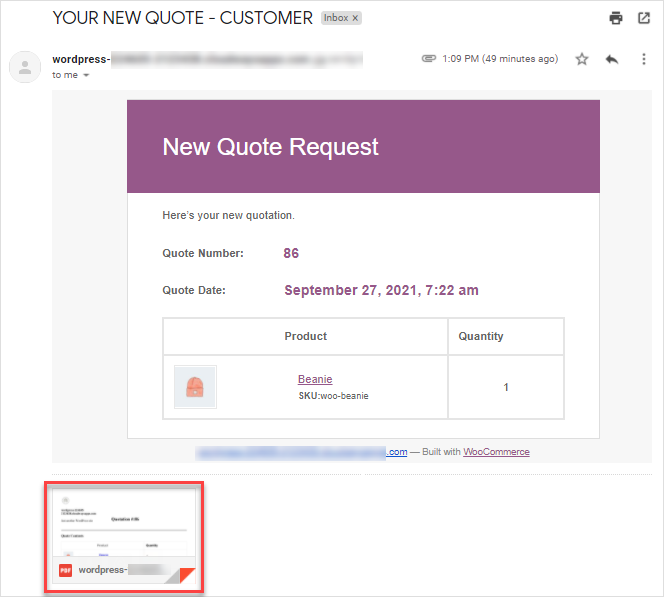
Attach PDF in Email
↑ Back to topEnabling this option will allow you to attach PDF in the email.
Front-End Screenshots
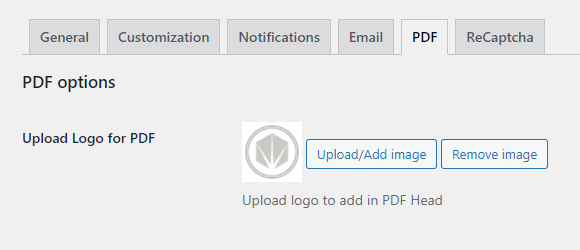
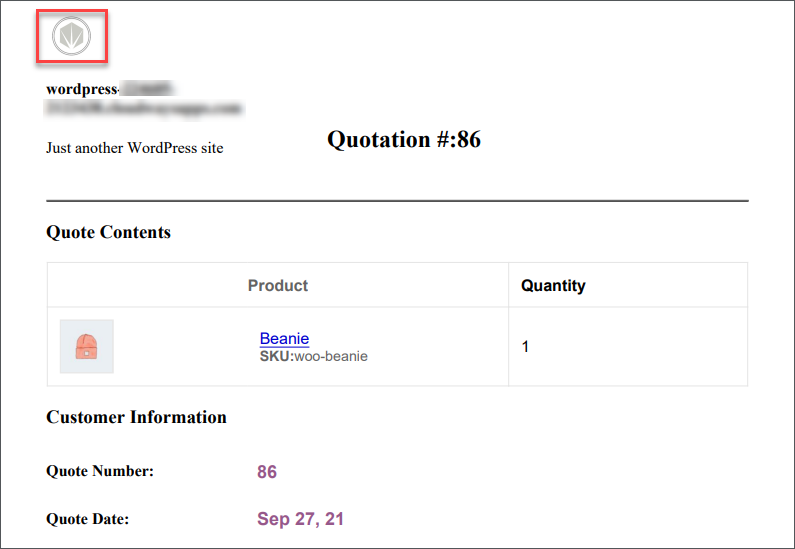
Upload Logo in PDF
↑ Back to top- This option will allow you to upload a logo in the PDF.
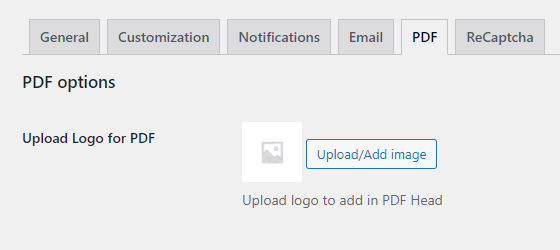
- Click on the Upload/Add image button.
- Select the image and click on the Save Changes button.
- The Administrator can also change the logo by clicking on the Upload/Add image button again and choosing a new image.
- The Administrator can also remove the logo by clicking on the Remove image button.
Front-End Screenshots
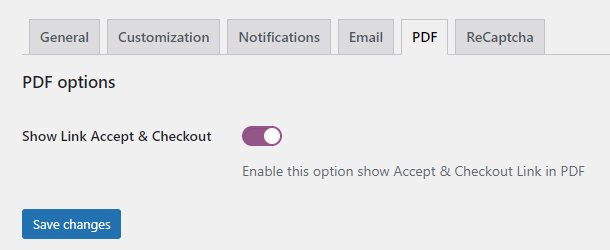
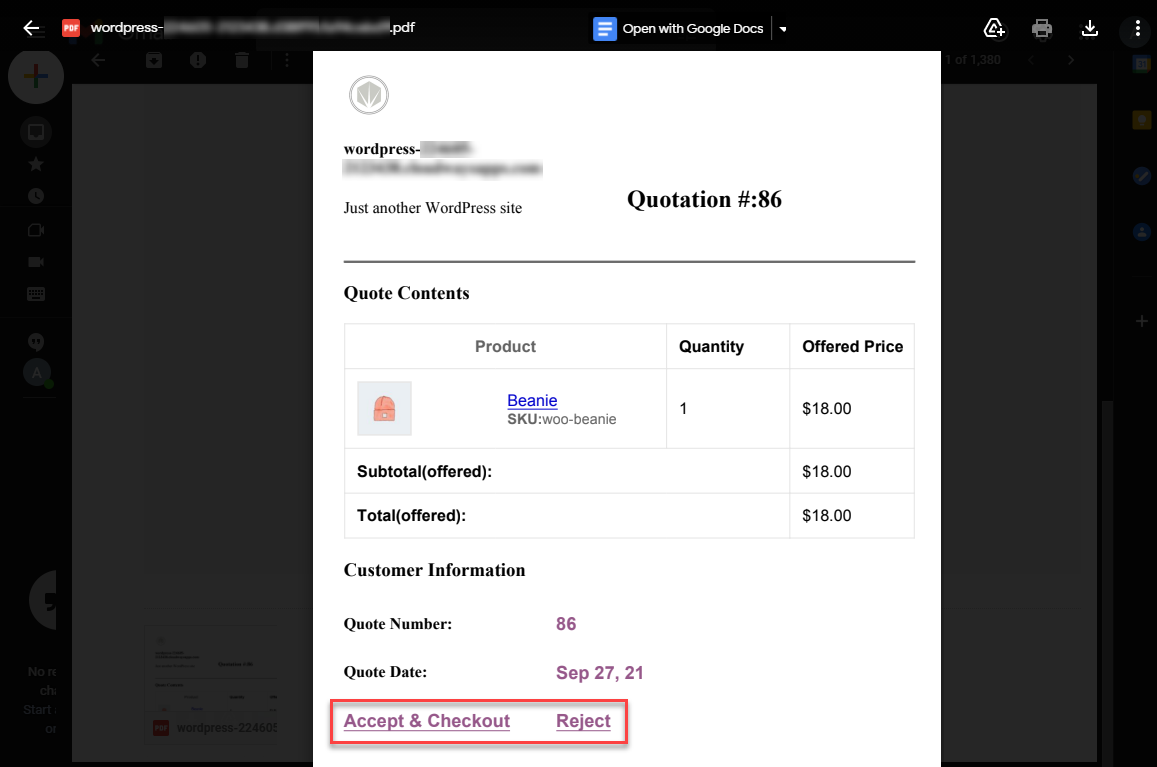
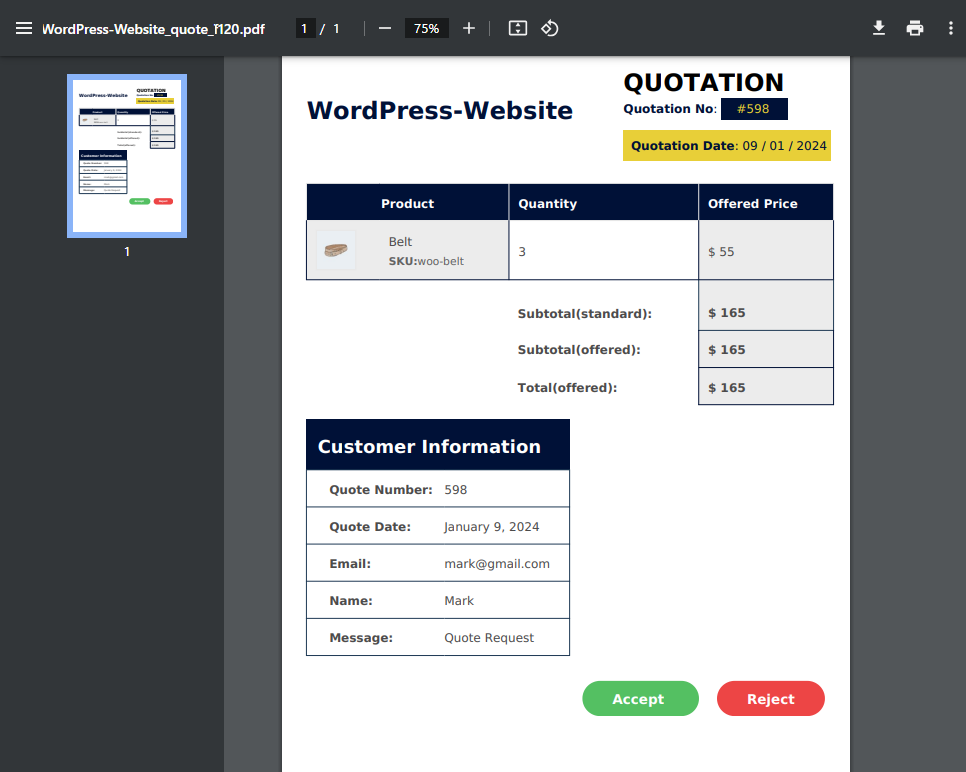
Show Link Accept & Checkout in PDF
↑ Back to topEnabling this option will allow the customer to Accept & Checkout or Reject the quote using the link in the PDF.
Front-End Screenshots
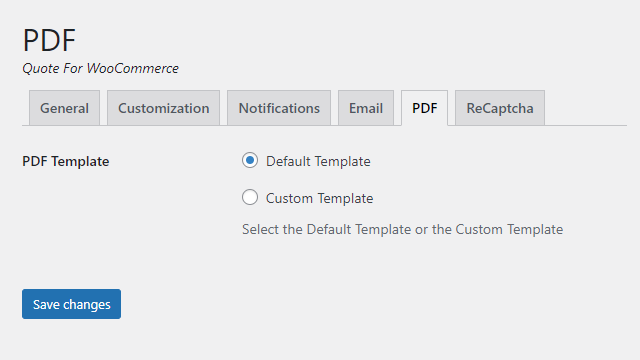
PDF TEMPLATE
↑ Back to top- In the PDF Template option, we have two radio buttons.
- Default Template
- Custom Template

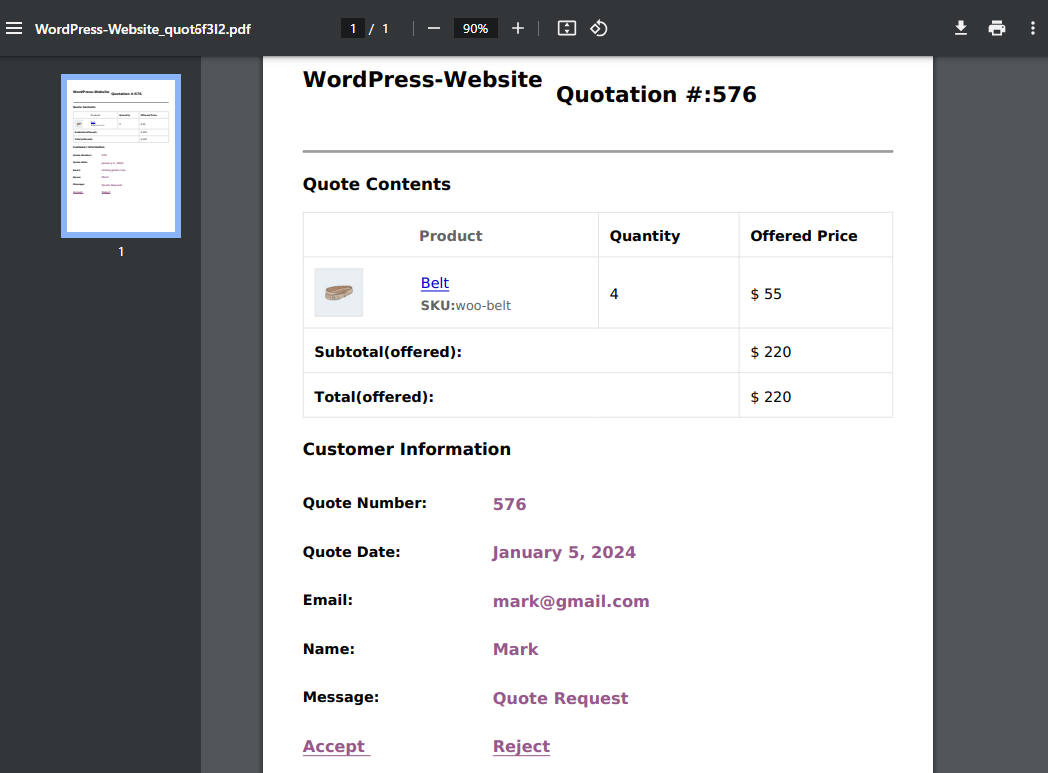
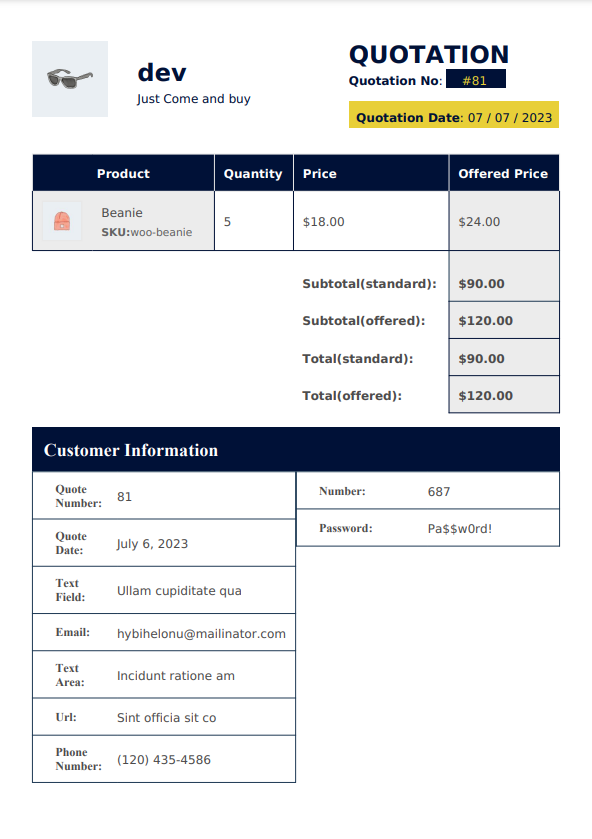
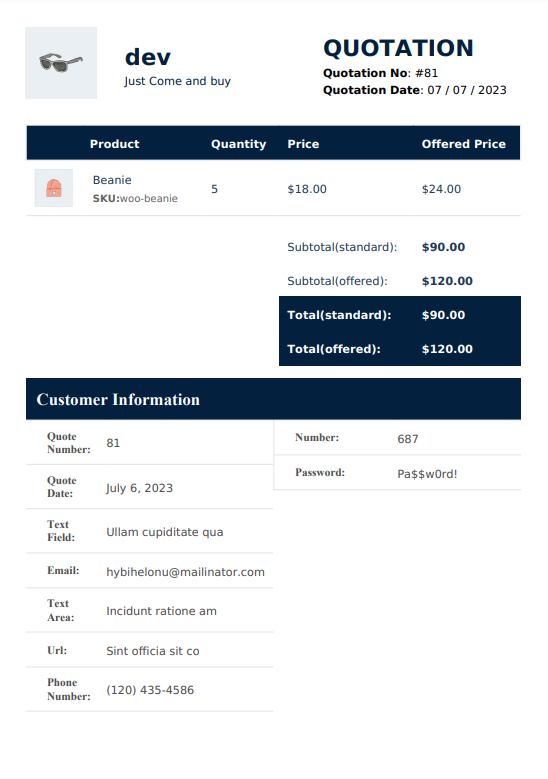
Default Template
- If a user selects the Default Template in the PDF Template Option, the plugin will generate a default PDF template for the quote.
Front End Impact:
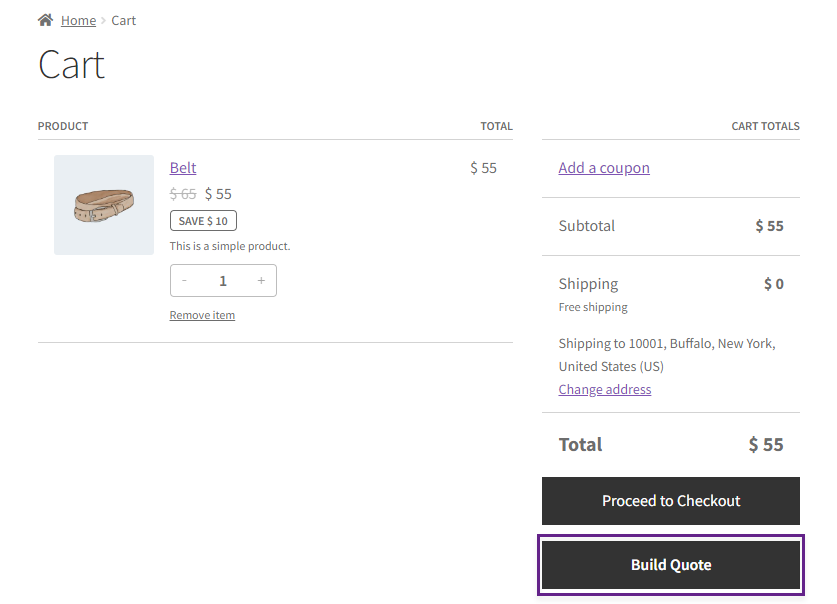
- Go to the Shop page.
- Add the product to the cart.
- Request a quote by clicking the Build Quote button on the cart page.
- Once you request a quote, go to the My Accounts page.
- Now click on the Quotes tab.
- In this tab, all the Quotes are present.
- Click on the view button in the Action column to view your Quote.
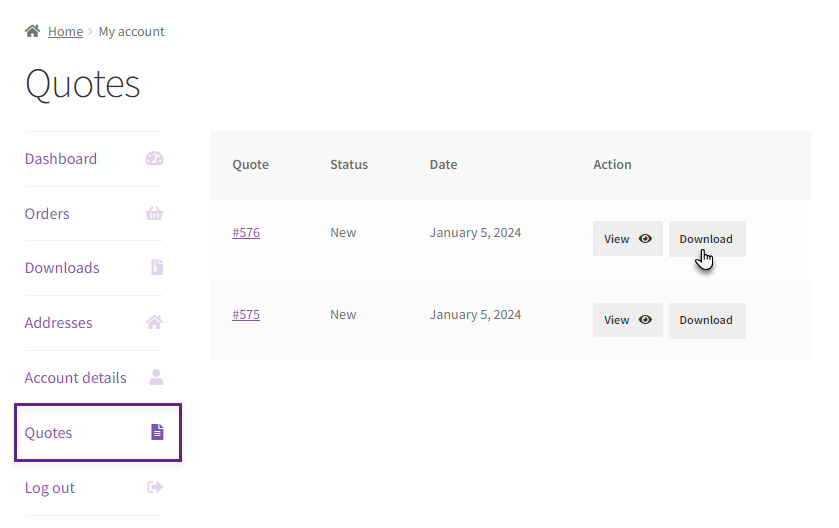
- Click on the Download button in the Actions column.
- The PDF of the Quote will be opened in a new tab. You can download the PDF of your quote from this page.
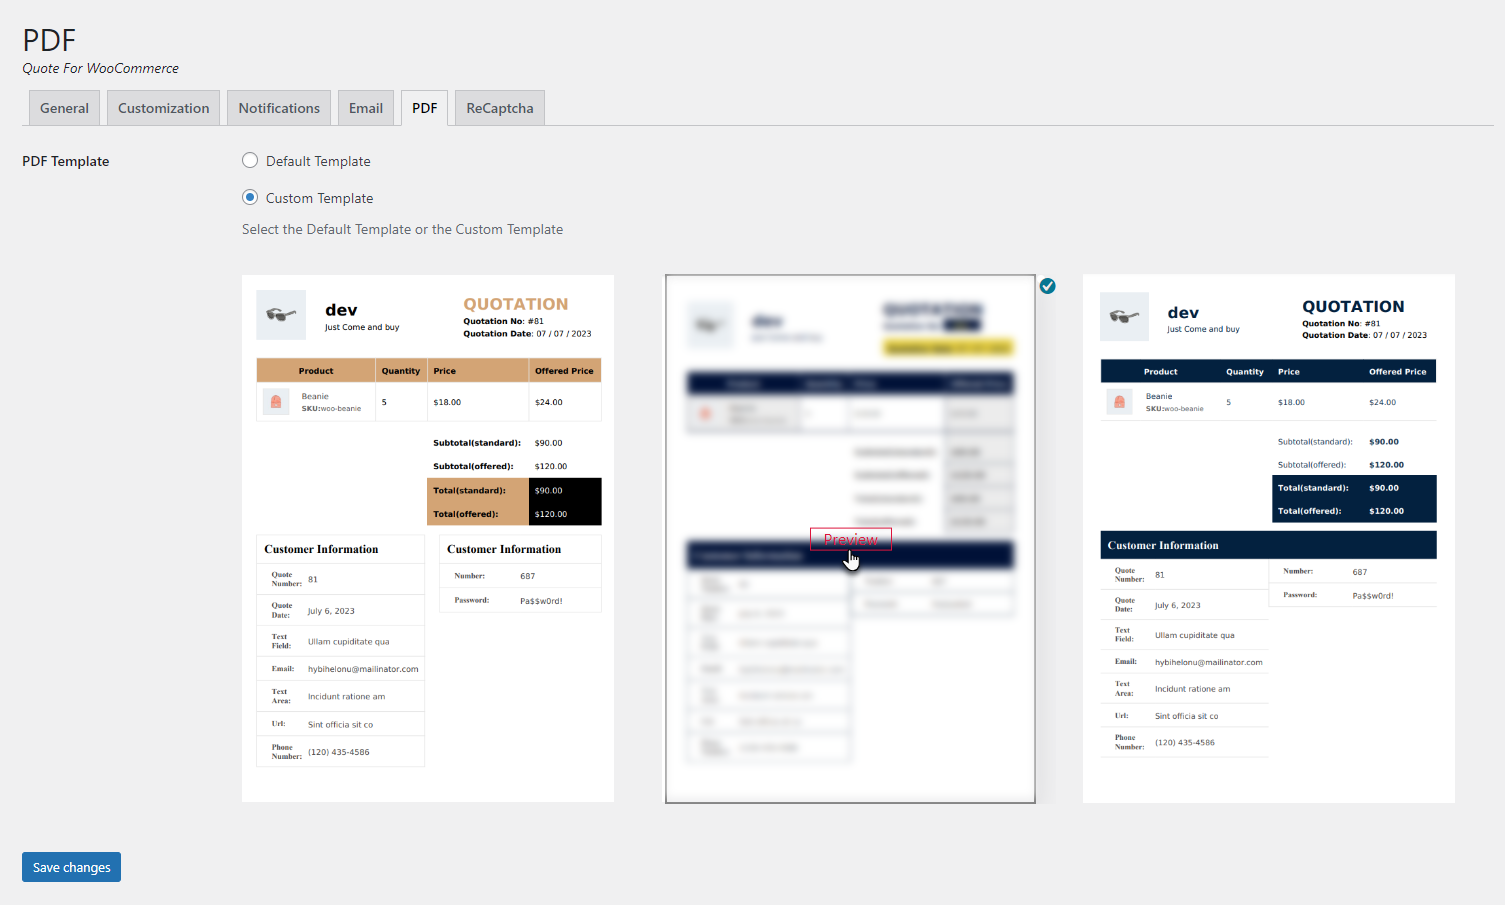
Custom Template
- If the user selects the Custom Template in the PDF Template Option, then three PDF templates will appear, and the user can select any template from those Custom Templates.
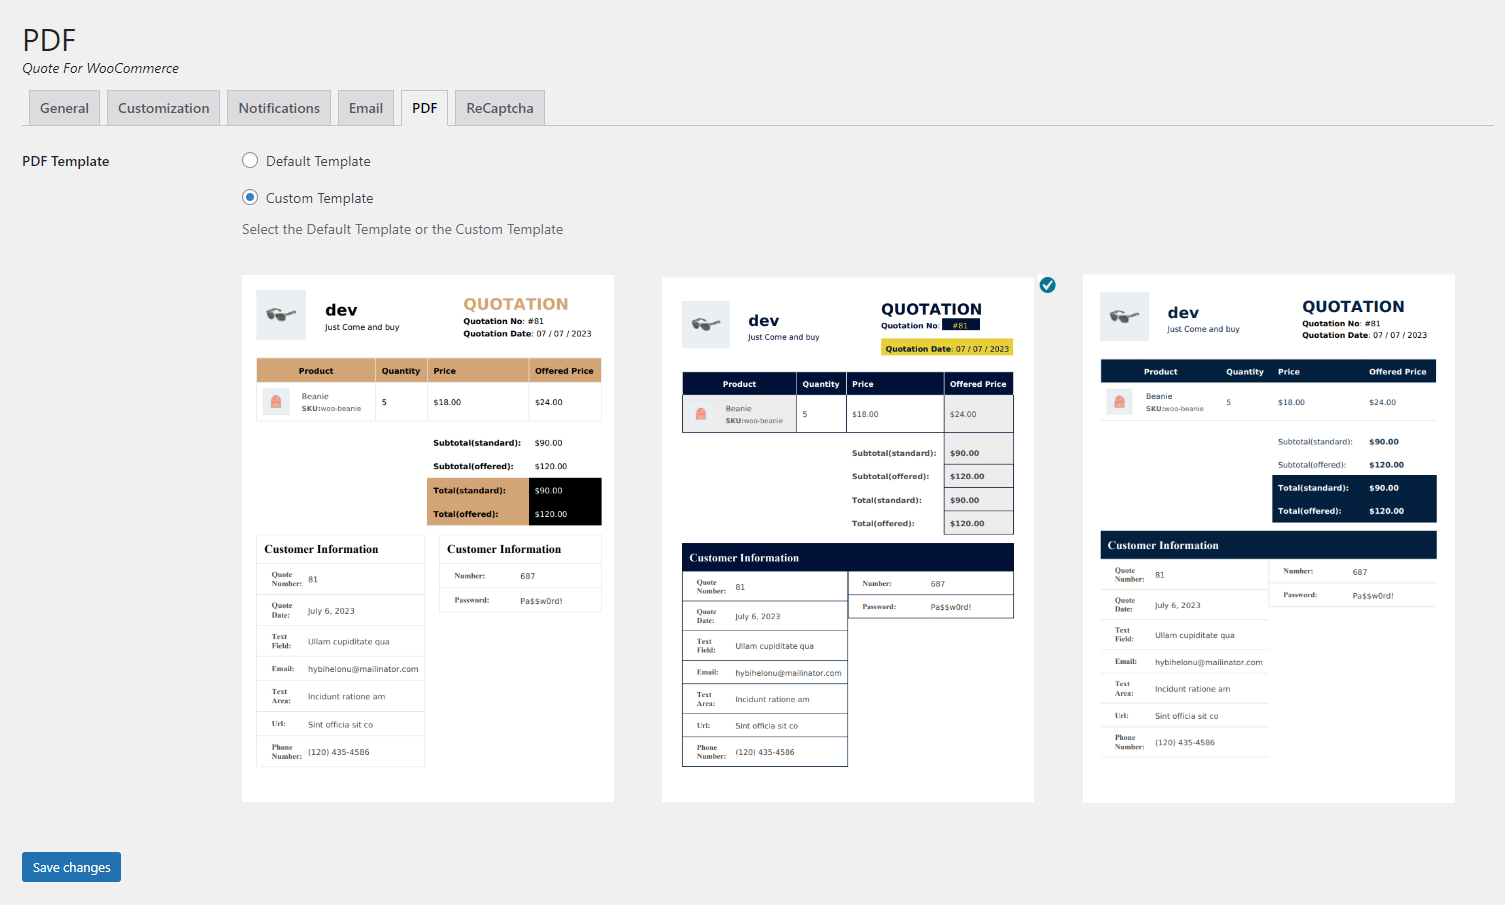
- Users can hover over the template to preview the template.
Front End Impact:
- Go to the Shop page.
- Add the product to the cart.
- Request a quote by clicking the Build Quote button on the cart page.

- Once you request a quote, go to the My Accounts page.
- Now click on the Quotes tab.
- In this tab, all the Quotes are present.
- Click on the view button in the Action column to view your Quote.

- Click on the Download button in the Actions column.
- The PDF of the Quote will be in the Template you have chosen in the configuration. It will be opened in a new tab. You can download the PDF of your quote from this page.
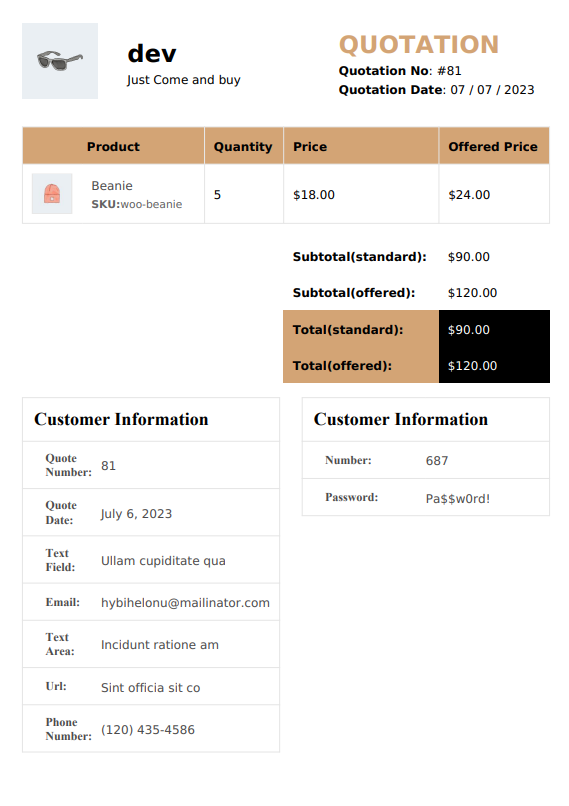
Custom Template Preview:
- Dark Blue
- Light Blue
- Bronze
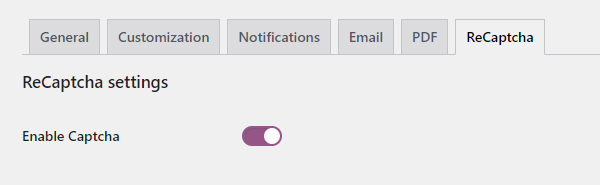
ReCaptcha Settings
↑ Back to topEnable Captcha
↑ Back to topEnabling this option allows you to display Google reCAPTCHA on the fornt-end.
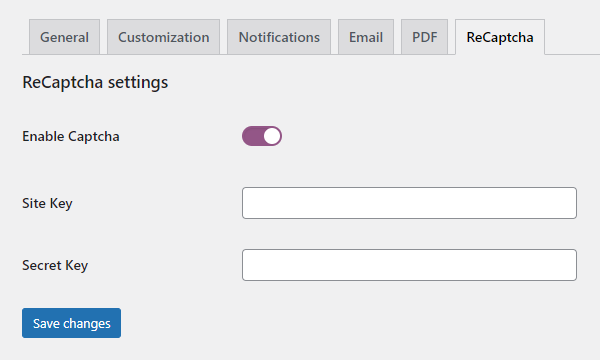
Add Site Key and Secret Key
↑ Back to topTo enable the reCAPTCHA functionality, we need to add the Site Key and the Secret Key.
How to add site key and secret key
- To get the Site Key and the Secret Key, go to www.google.com/recaptcha/admin/create.
- Fill in the required fields.
- In the reCAPTCHA type option, select the reCAPTCHA v2 and then select the suboptions of it. NOTE: The plugin is only compatible with reCAPTCHA v2.
- Checkmark all the checkboxes if you agree with them.
- Once done, click on the SUBMIT button.

- Once you click on the SUBMIT button, you’ll be redirected to a new page where you’ll get the Site Key and Secret Key.
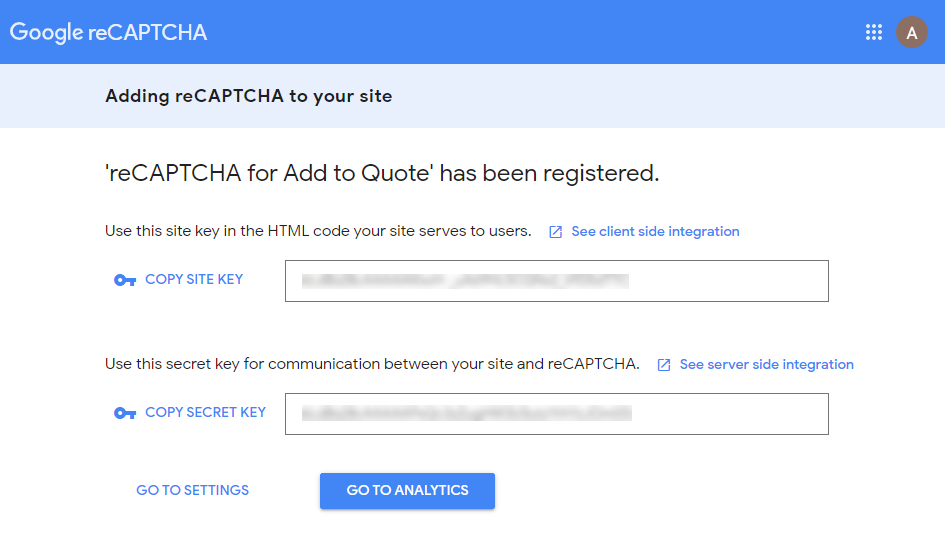
- Copy the Site Key and Secret Key and paste them on the ReCaptcha settings page
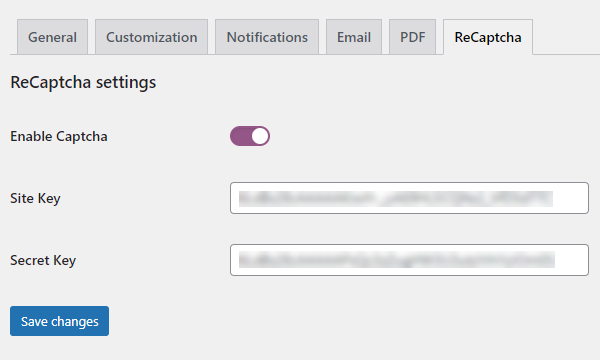
- Click on the Save Changes button.
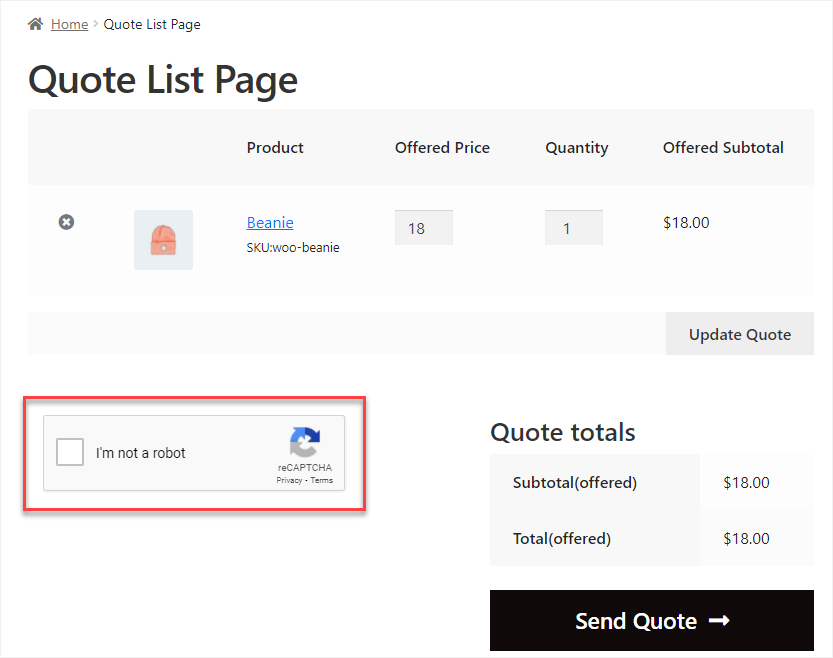
Front-End Screenshots
- Go to the website and add a product to the Quote by clicking the Add to Quote button.
- Now go to the Quote List Page.
Compatibility and integrations
↑ Back to topCompatible with Wholesale for WooCommerce
↑ Back to topWholesale for WooCommerce is the Swiss Army Knife of wholesale extensions that helps WooCommerce stores create and manage wholesale pricing plans across multiple levels. It’s simple, easy, and effective.
Compatible with WooCommerce Subscriptions
↑ Back to topWith WooCommerce Subscriptions, you can create and manage products with recurring payments — payments that will give you residual revenue you can track and count on.
Compatible with WooCommerce Product Add-ons
↑ Back to topProduct Add-Ons allow your customers to personalize products while they’re shopping on your online store. No more follow-up email requests—customers get what they want before they’re done checking out.
REST API
↑ Back to top- The Quotes API provides functionality for Generating, Displaying, Modifying, and Removing Quotes.
- Available Routes are mentioned below:
- GET: wp-json/wc/v3/wc_quote
- GET: wp-json/wc/v3/wc_quote/{quote_id}
- POST: wp-json/wc/v3/wc_quote?title={quote_title}
- PUT: wp-json/wc/v3/wc_quote/{quote_id}
- DELETE: wp-json/wc/v3/wc_quote/{quote_id}?delete=true
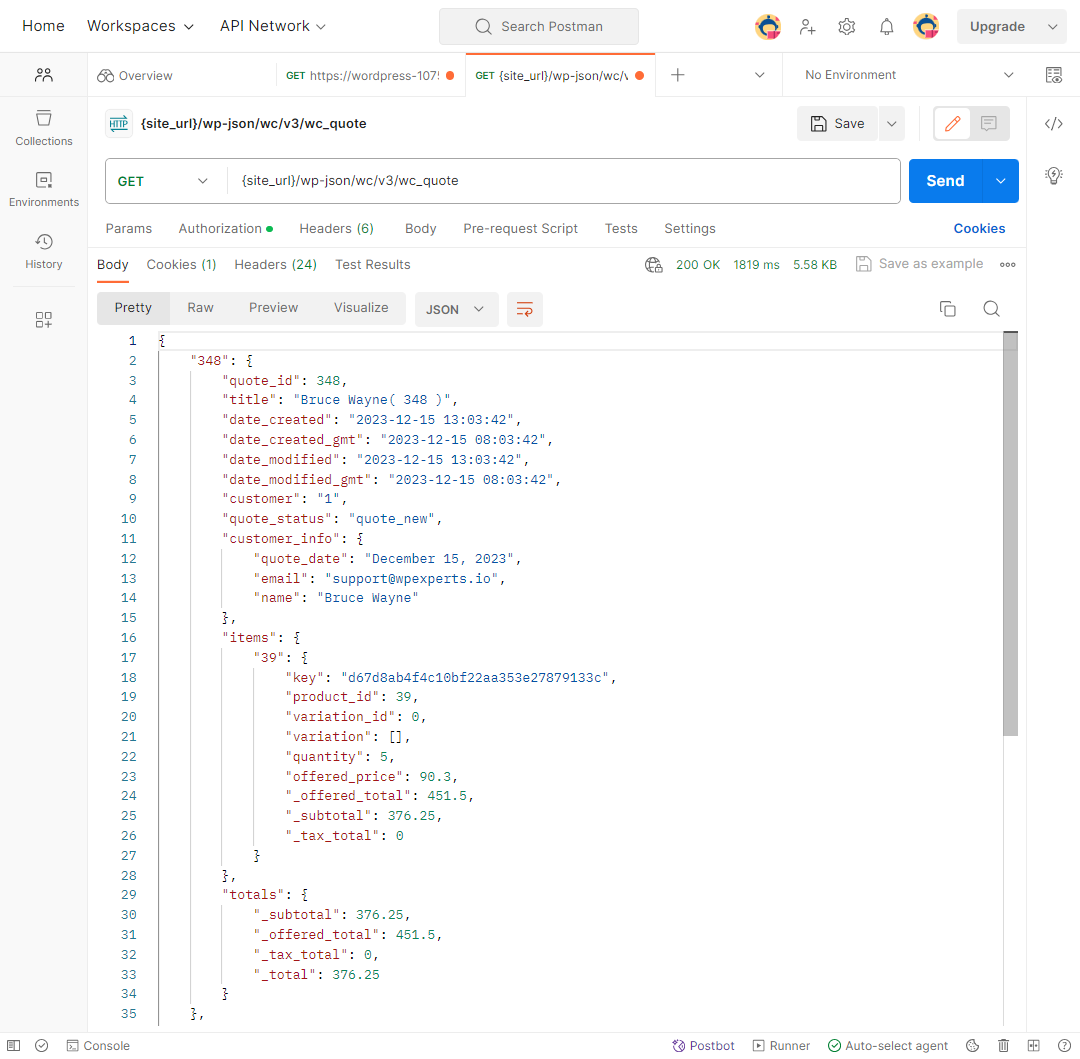
List Quotes (GET)
↑ Back to topRequest Example
- METHOD: GET
- ENDPOINT: /wp-json/wc/v3/wc_quote
- POSTMAN: Fetch all Quotes
GET: wc_quote
Response Example
- STATUS: 200 OK (Fetch all Quotes)
Quote by ID (GET)
↑ Back to topRequest Example
- METHOD: GET
- ENDPOINT: /wp-json/wc/v3/wc_quote/210
- POSTMAN: Fetch this Quotes
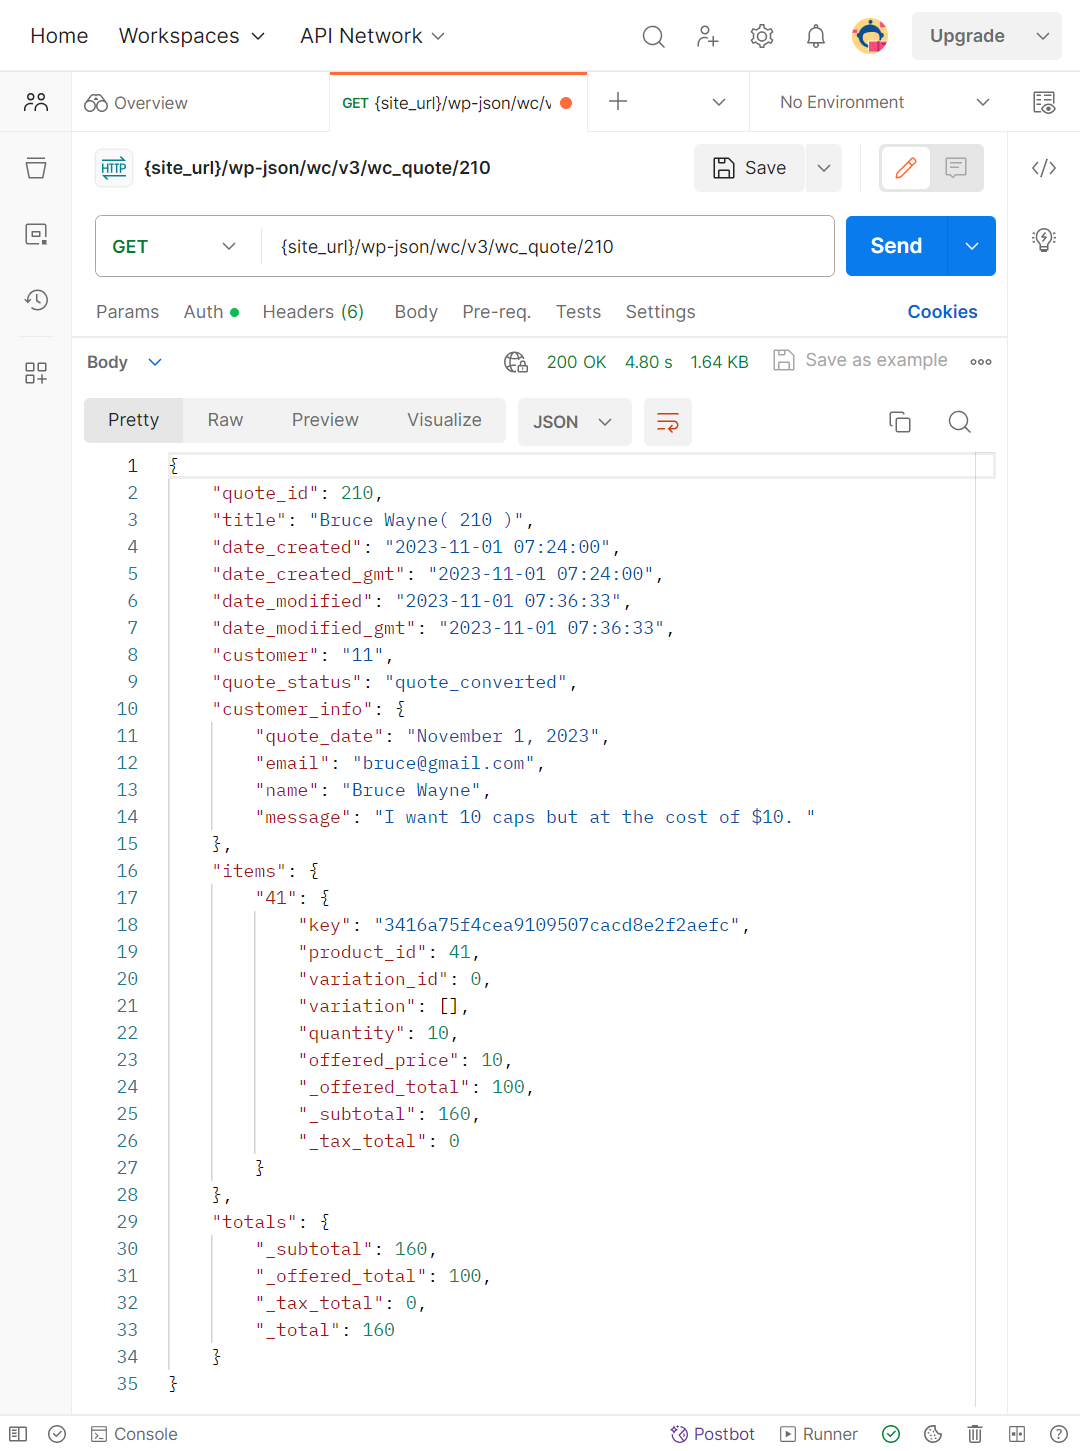
GET: wc_quote/210
Response Example
STATUS: 200 OK (Fetch this Quote)
Quote by ID (DELETE)
↑ Back to topRequest Example
- METHOD: DELETE
- ENDPOINT: wp-json/wc/v3/wc_quote/210?delete=true
- POSTMAN: Fetch this Quotes
DELETE: wc_quote/210?delete=true
Response Example
STATUS: 200 OK (Delete this Quote)

Add Product in Quote (PUT)
↑ Back to topRequest Example
- METHOD: PUT
- ENDPOINT: wp-json/wc/v3/wc_quote/348
- POSTMAN: Fetch this Quotes
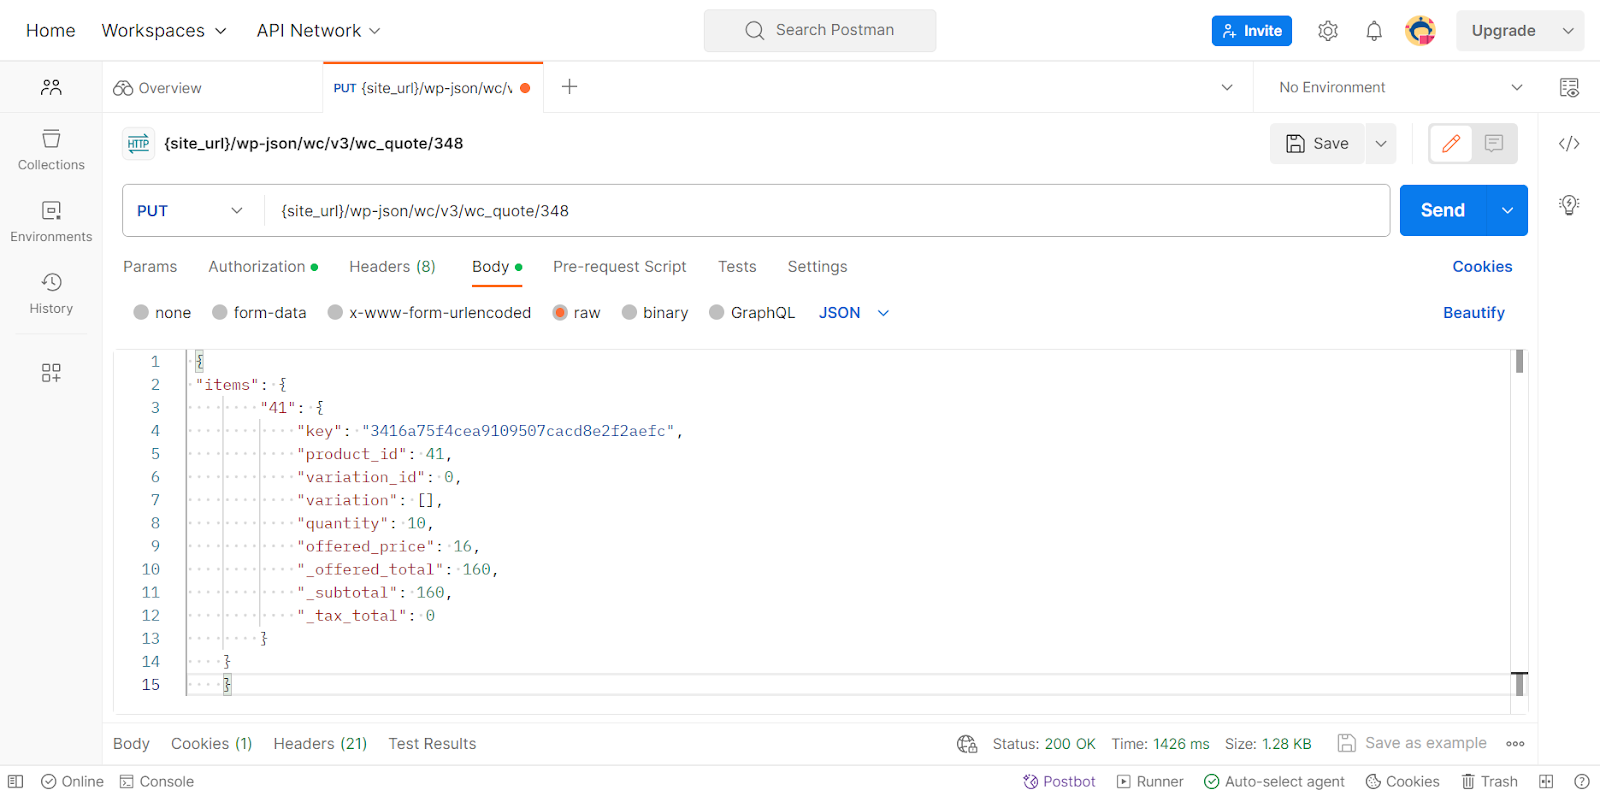
PUT: wc_quote/348 - Body – raw
{
“items”: {
“{your_product_id}”: {
“key”: “3416a75f4cea9109507cacd8e2f2aefc”,
“product_id”: {your_product_id},
“variation_id”: 0,
“variation”: [],
“quantity”: 10,
“offered_price”: 16,
“_offered_total”: 160,
“_subtotal”: 160,
“_tax_total”: 0
}
}
}
Response Example
STATUS: 200 OK (Put this Product in Quote)

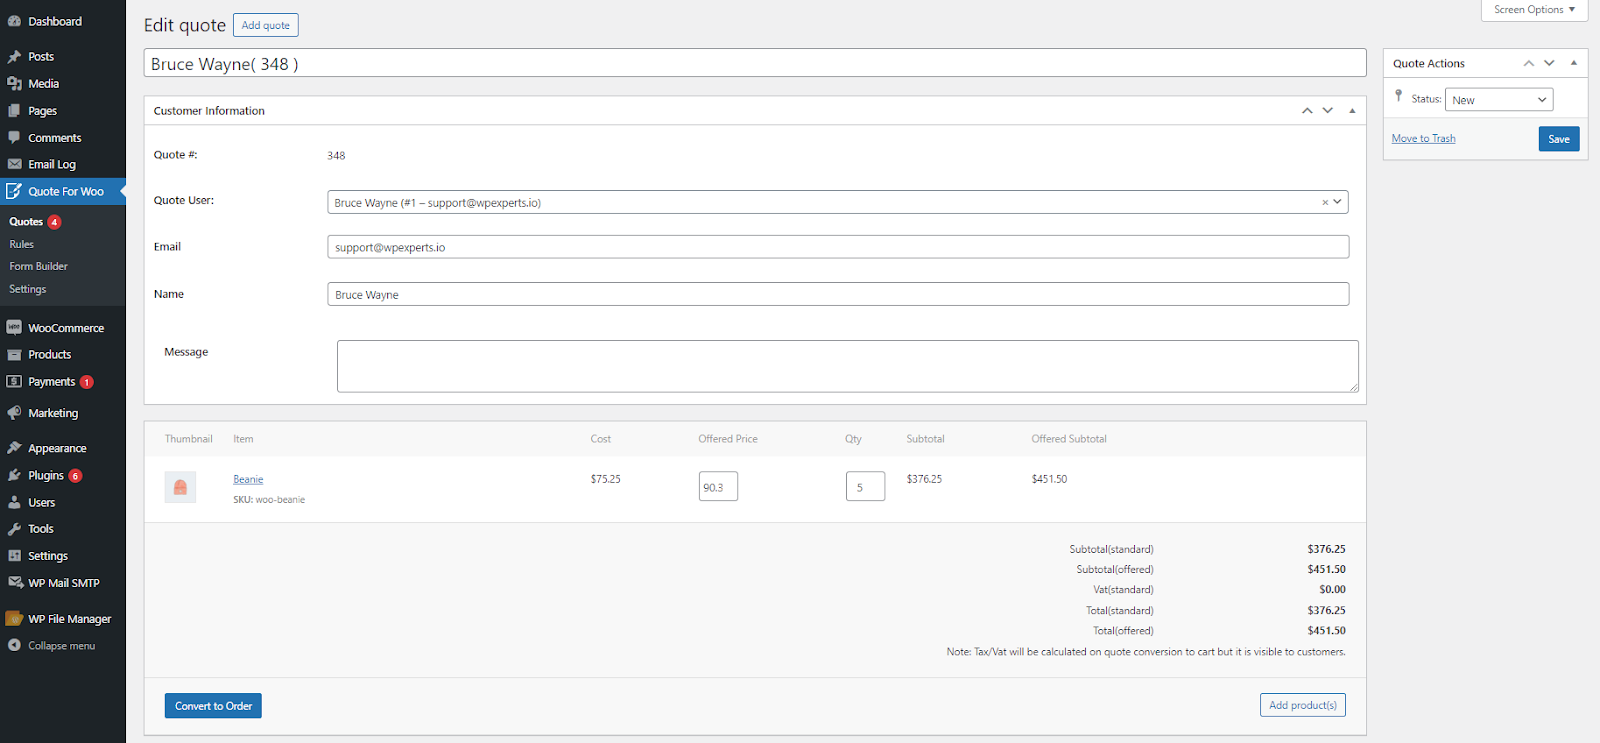
Before
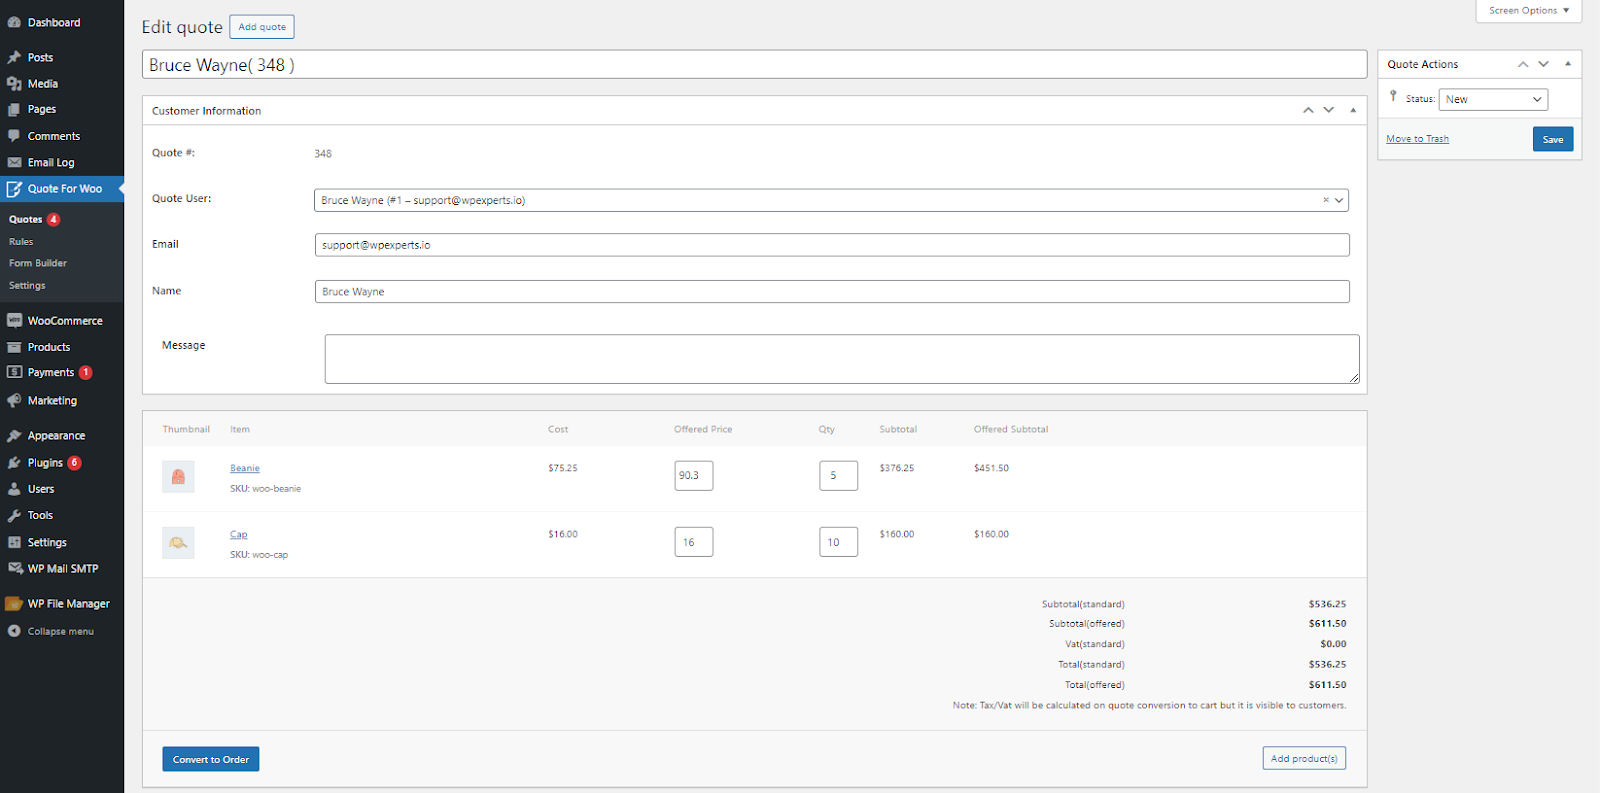
After
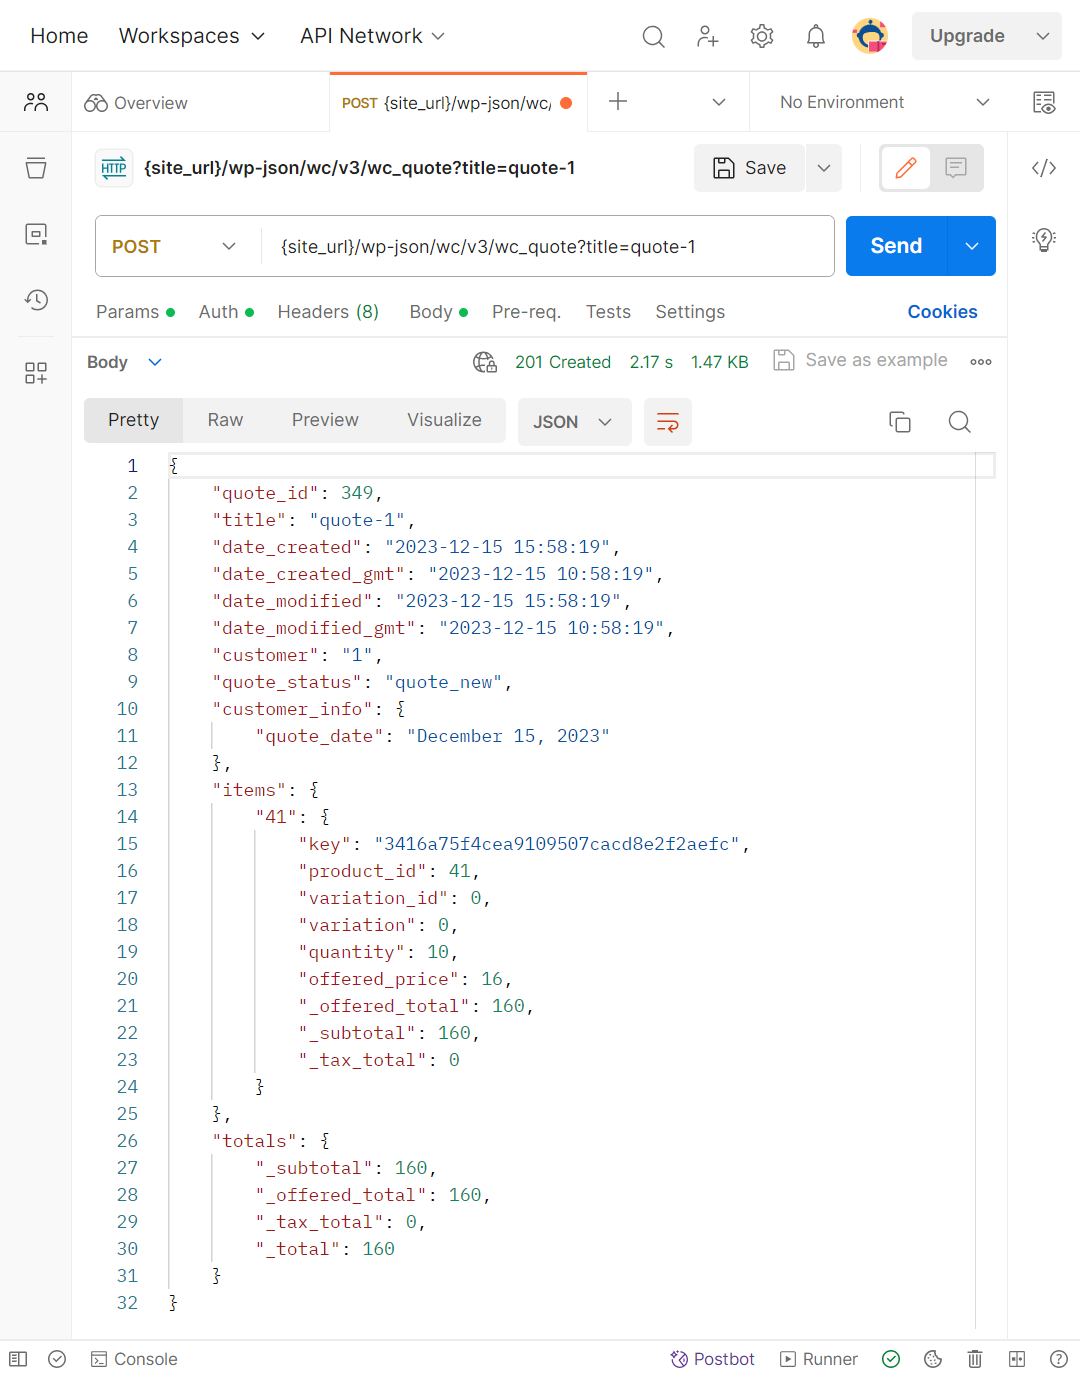
Create a Quote (POST)
↑ Back to topRequest Example
- METHOD: POST
- ENDPOINT: wp-json/wc/v3/wc_quote?title=quote-1
- POSTMAN: Create this Quote
POST: wc_quote?title=quote-1
Response Example
STATUS: 201 OK (Create this Quote)
Before
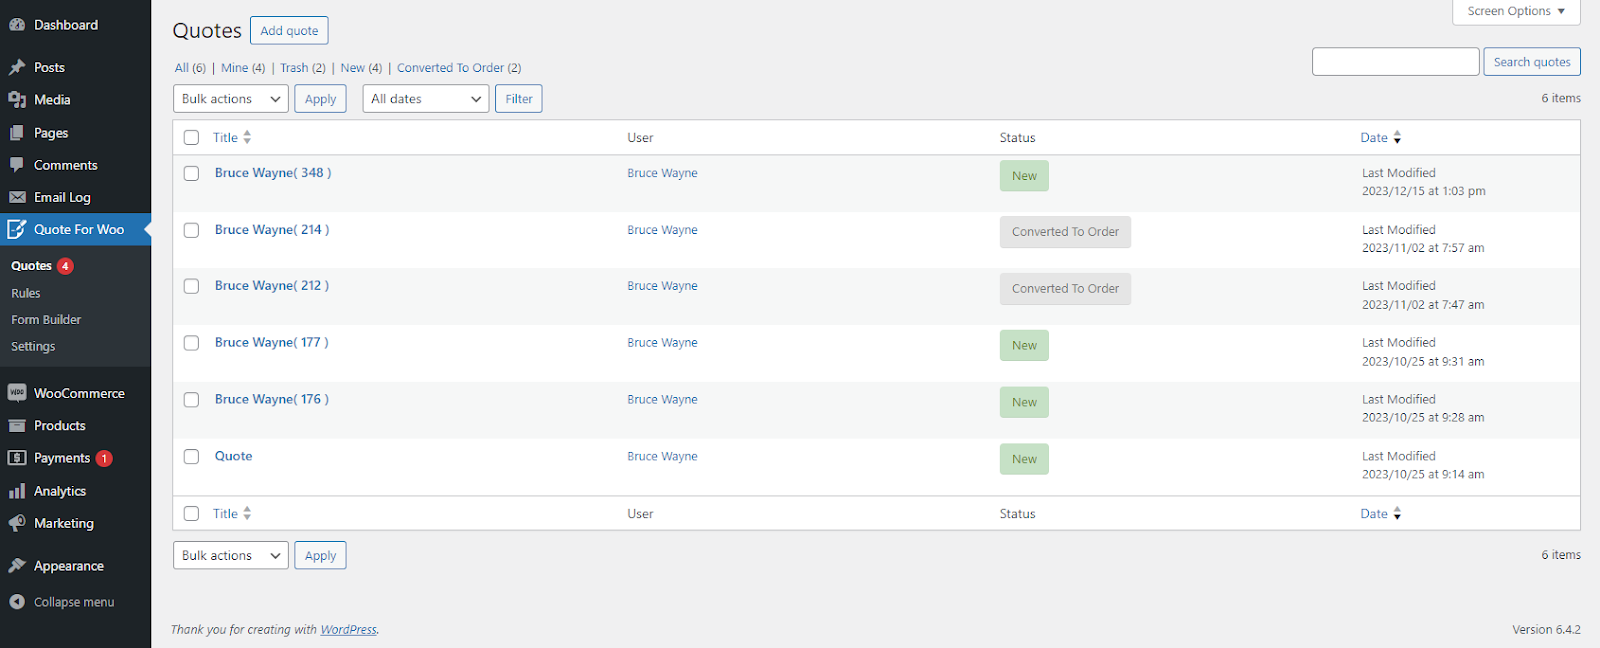
After