Quick WhatsApp allows you to connect your WooCommerce store with WhatsApp to let your customer chat and order on WhatsApp with an interactive user interface and support for multiple WhatsApp numbers.
 With Quick WhatsApp, you have the option to manage multiple WhatsApp agents for your store and can be used in different places. For example; you can use a different WhatsApp number for each of your products, OR can add multiple WhatsApp members in a floating button.
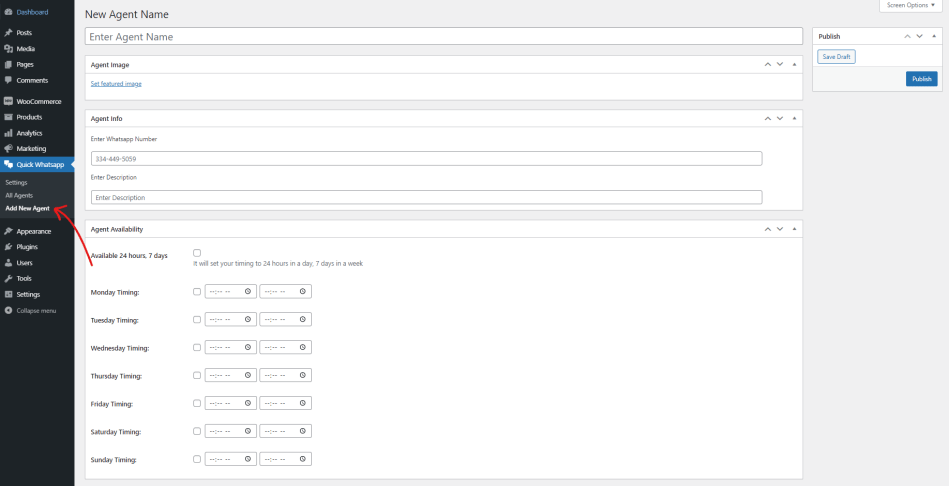
- Go to Quick WhatsApp > Add new agent
- Add name of agent.
- Add WhatsApp number.
- Add designation/description for the agent.
- Manage availability of respective WhatsApp number/agent (you can mark it available 24/7 if you don’t want to show it as offline).
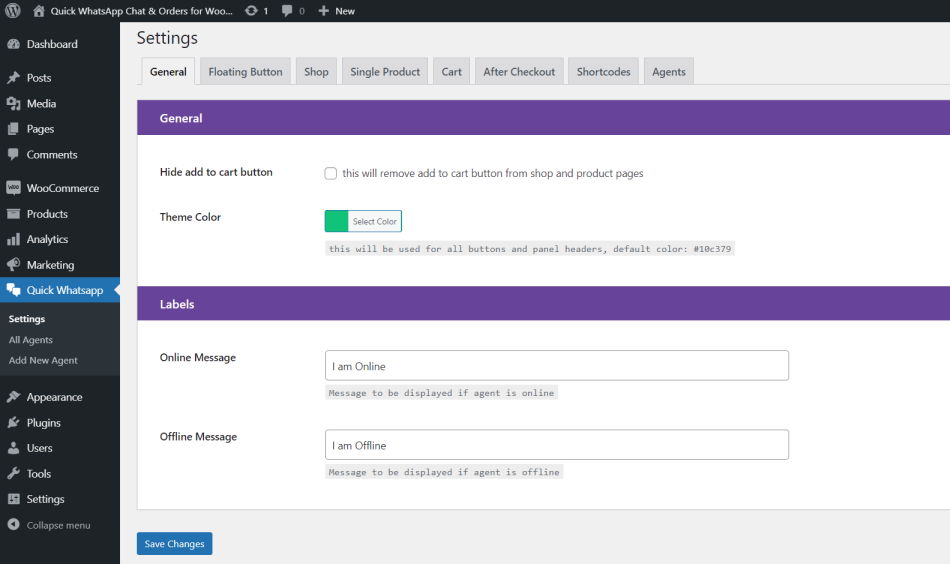
- Go to Quick WhatsApp > Settings > General .
- You have option to hide add to cart button.
- You can select your theme color.
- You can set the message to appear for the agents that are online.
You can add an interactive floating icon with multiple animations and a custom image icon. Follow up on the details on how to set up quickly for your site.
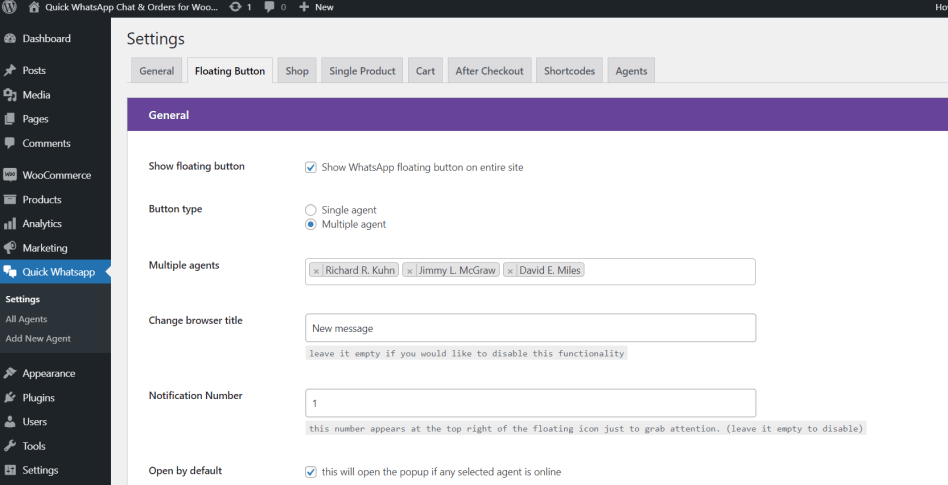
- Go to Quick WhatsApp > Settings > Floating button
- Enable the option to Show floating button
- Select Button type: If you want to display single agent or multiple agent
- Select agents accordingly (make sure you have added agents from Add new agent tab before this step)
- Browser title can be changed dynamically to get the customers attention.
- Display a count on floating icon. Leave empty if you would like to disable this option.
- You can set it to open the popup with page load by enabling the option Open by default.
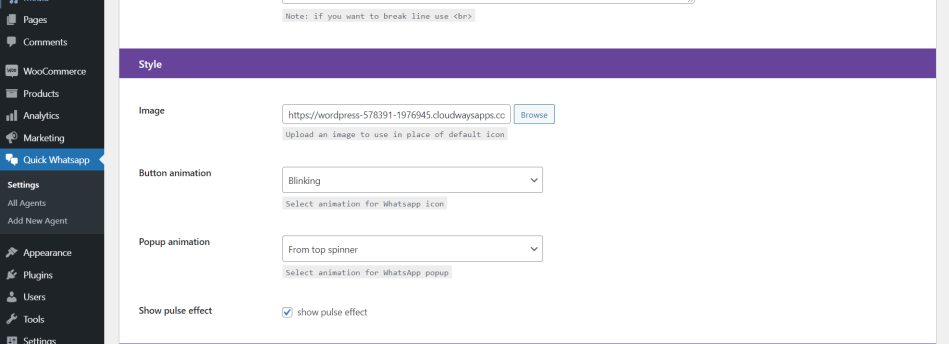
- You do have the option to set a custom image for the floating icon. If left empty, the default icon will be displayed in the front end.
- Set the animation of floating button
- You can set the animation of popup as well
- There is an option to display pulse effect for the floating icon to add interactivity
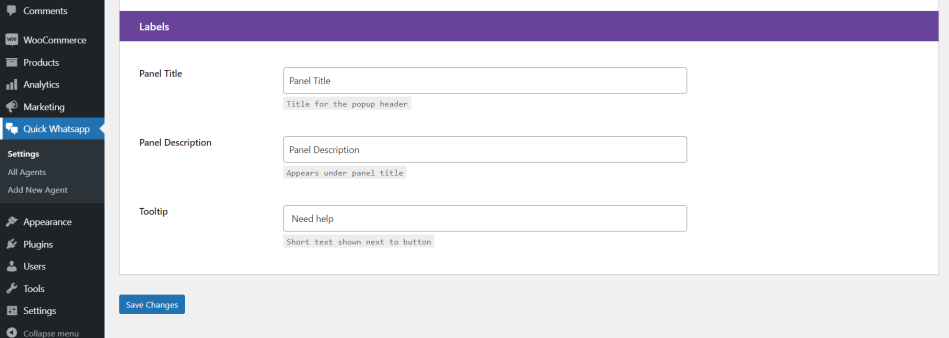
- Set the Panel title, this will be displayed at the top of the popup.
- Set Panel description, this will be displayed under panel title as sub heading.
- Set tooltip text which is displayed right above the floating icon in the message bubble view in order to engage your visitor.
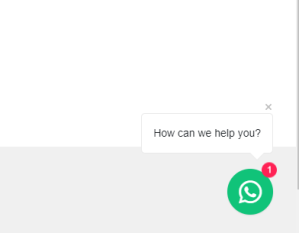
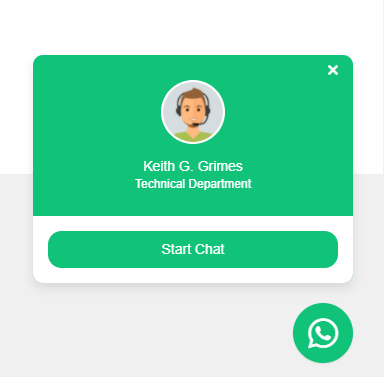
Here is how it may look in the front-end with single agent;
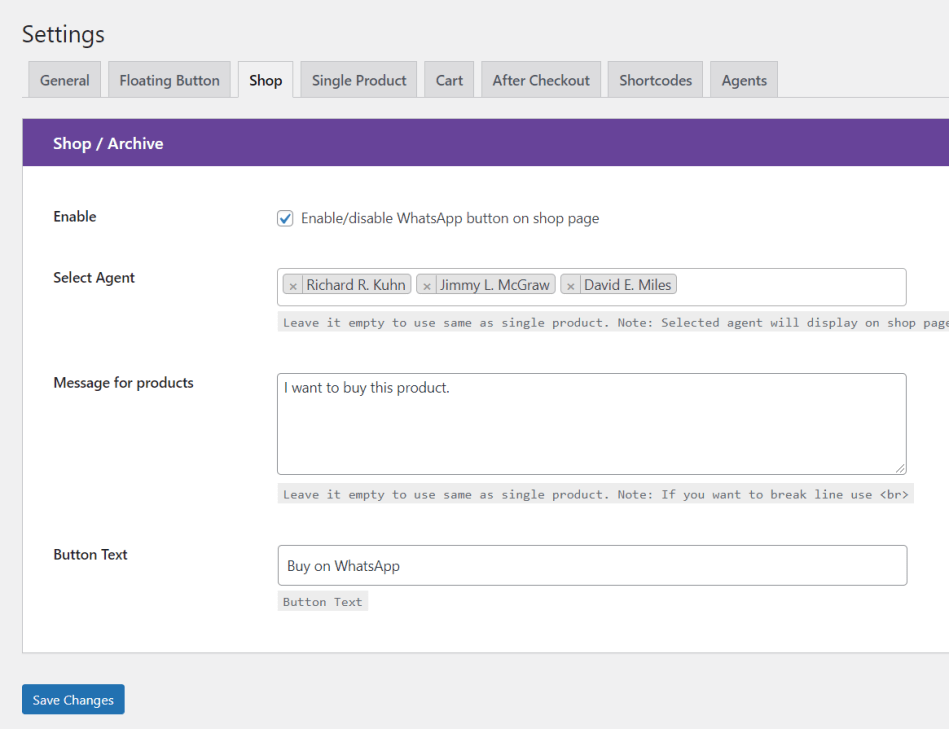
- Go to Quick WhatsApp > Settings > Shop
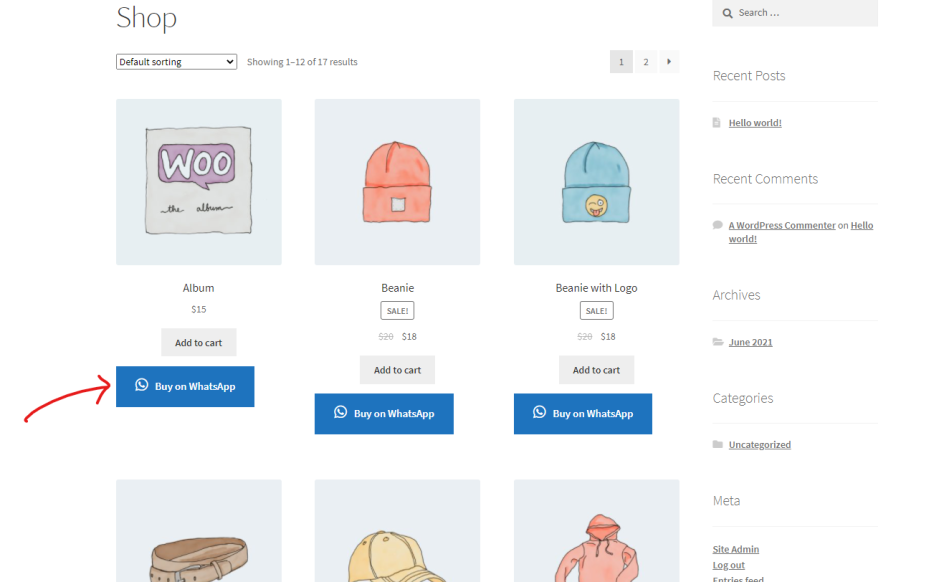
- Enable option to display WhatsApp button on shop page
- Select agent to display on shop page. (NOTE: Only single agent (the first available) will be displayed on frontend if multiple agent has been selected)
- You can set a custom message to be sent with product information to WhatsApp.
- You can change the button text for Buy on WhatsApp button.
Here is how it may look in the front end.
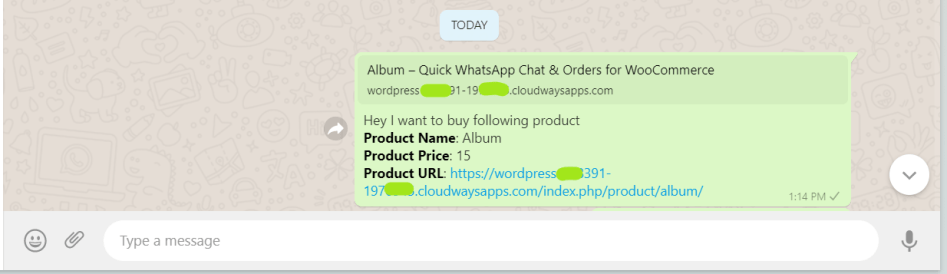
And this is how it may appear on WhatsApp
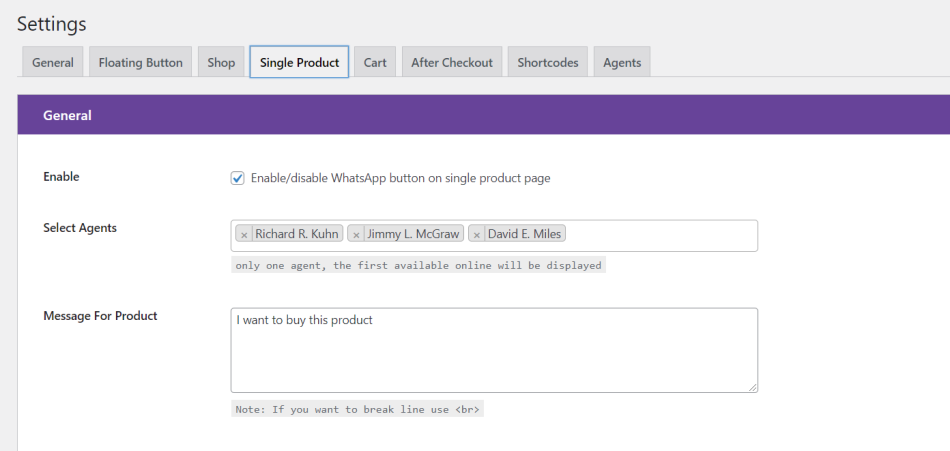
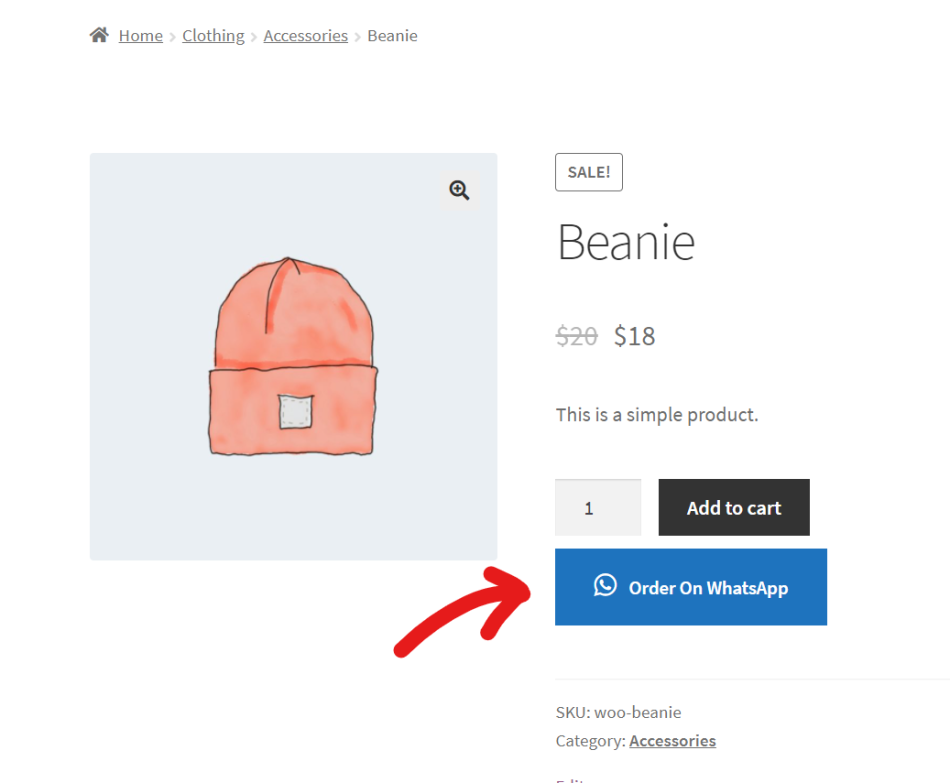
- Go to Quick WhatsApp > Settings > Single product.
- Enable the option to display WhatsApp button on single product.
- Select agent that you would like to display on single product.
NOTE: Only single agent (the first available) will be displayed on frontend if multiple agent has been selected.
- Add a custom message that you would like to send with product information from single product edit window.
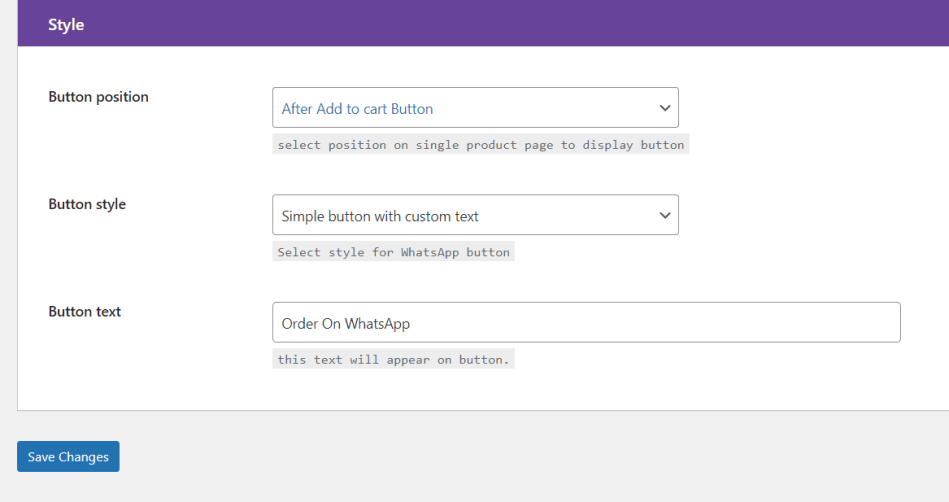
- Set button position as per your preference on single product page.
- Change button style as per your theme.
- If you have selected Simple button with custom text style, you will have an option to set custom button text.
Here is how it may look in the front end.
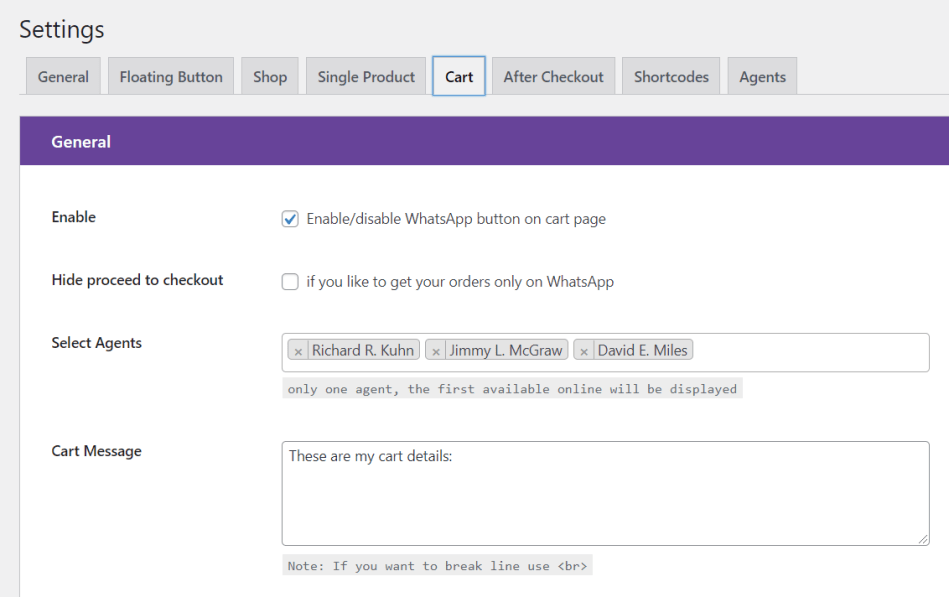
- Go to Quick WhatsApp > Settings > Cart
- Enable option to complete order via WhatsApp on cart page.
- You can Hide proceed to checkout option if you would like to get all orders via WhatsApp only.
- Select agent to receive orders.
NOTE: Only single agent (the first available) will be displayed on frontend if multiple agent has been selected.
- You can set a custom message to be sent with cart details.

- Select button style to use on the cart page.
- If you have selected Simple button with custom text style, you will have an option to set custom button text.
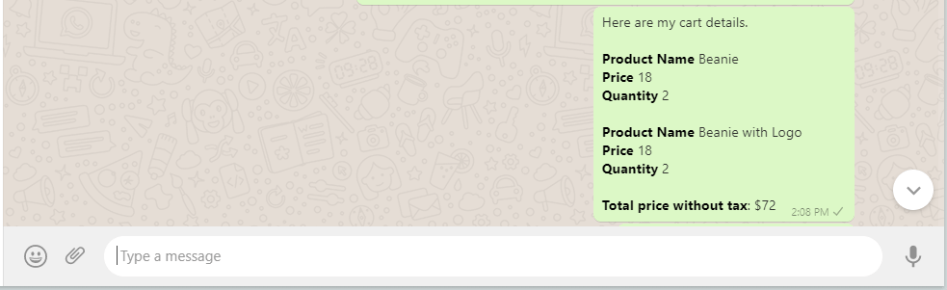
Here is how the information will be send to agent WhatsApp number.
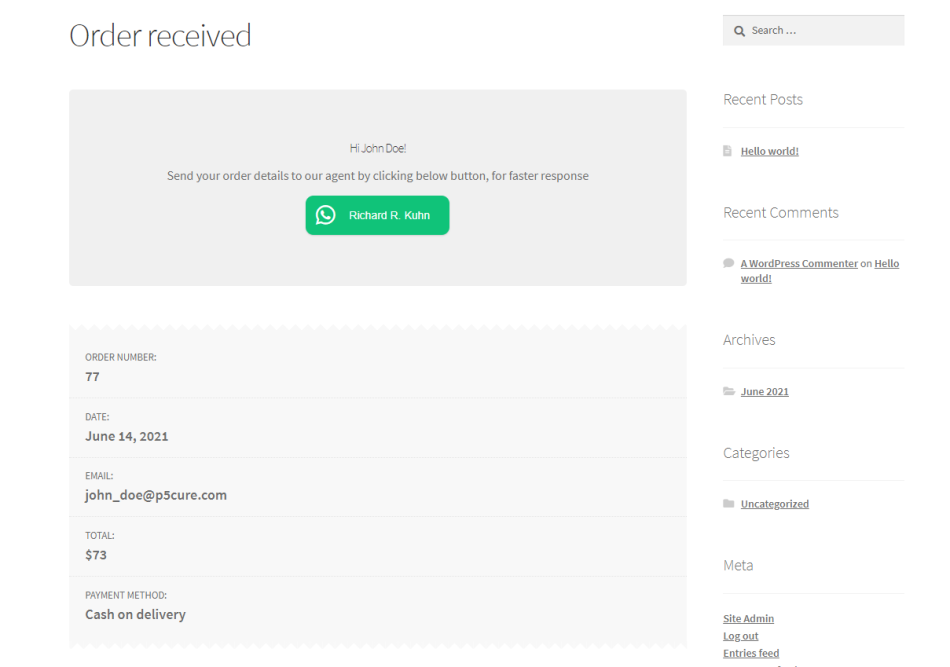 You can also display a WhatsApp button on thankyou page, in order to let customers send the whole order information after checkout. This can help store managers to connect with their customers with WhatsApp before processing the orders for them.
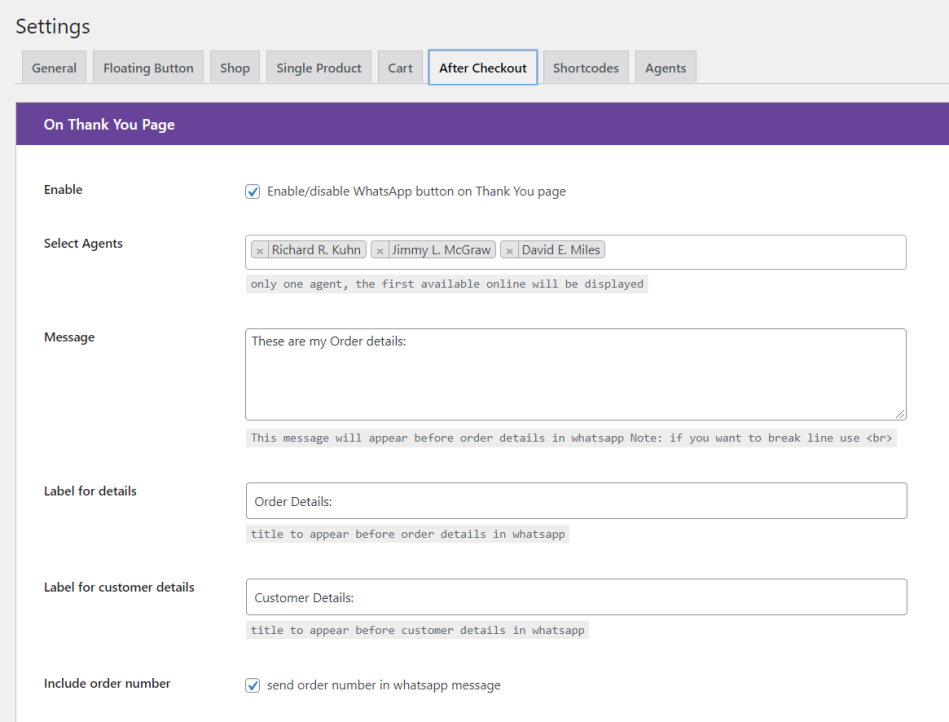
- Go to Quick WhatsApp > Settings > After Checkout.
- Enable option to display WhatsApp button on Thank You page.
- Set a custom message to be send before order information.
- Set title to be displayed before order information.
- Set title for the customer information to be send via WhatsApp.
- You can even send an order number to WhatsApp for quick reference.
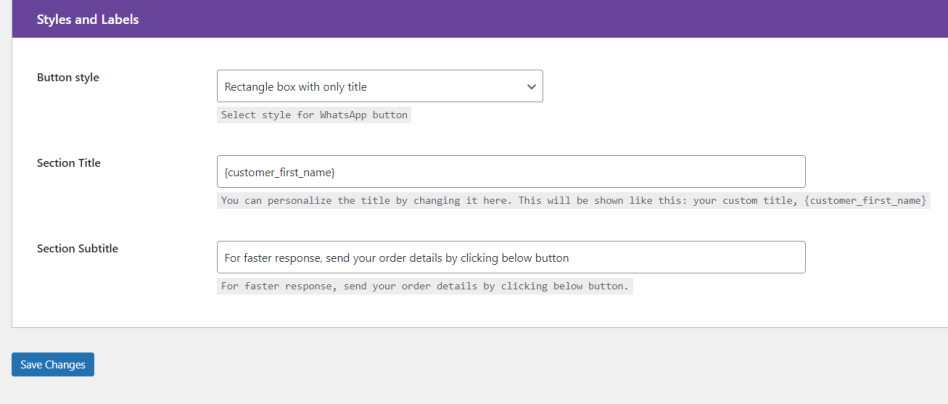
- Select button style as per your preference.
- If you have selected Simple button with custom text style, you will have an option to set custom button text.
- Set the title of the section to be displayed.
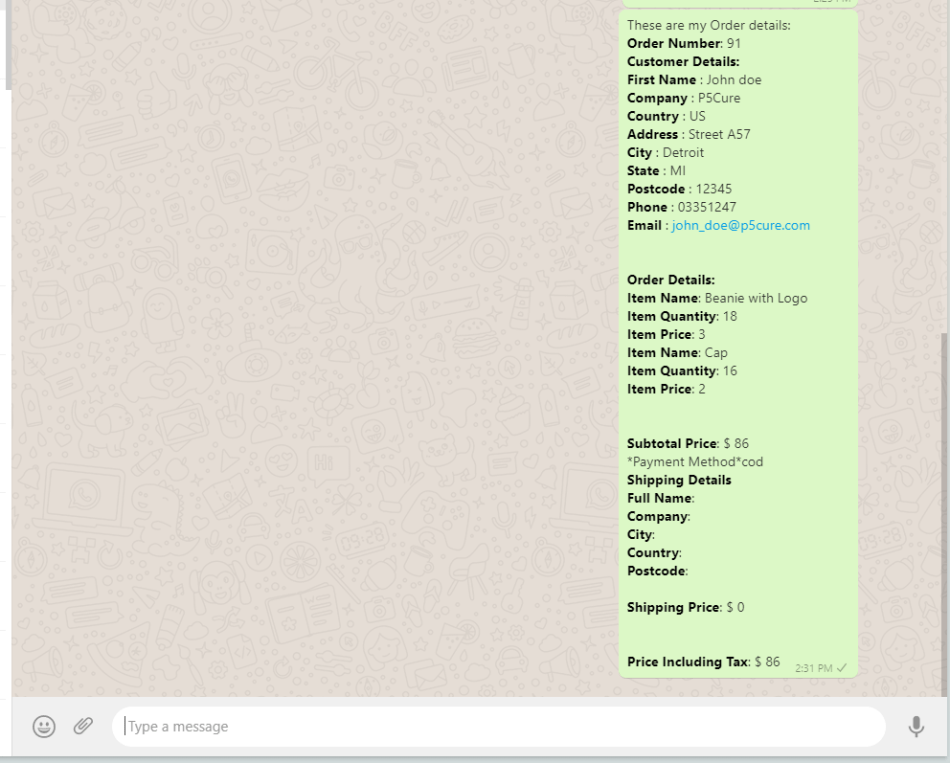
Here is how the complete order information will be send to agent WhatsApp number.
You can display Quick WhatsApp buttons any where on your site using short codes.
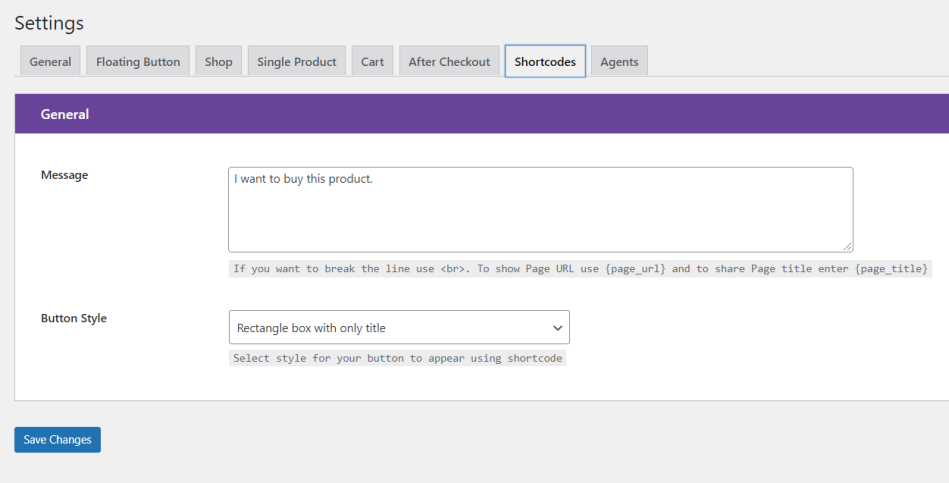
- Go to Quick WhatsApp > Settings > Short codes
- Set the message you would like to send with this button to WhatsApp
- Select button style. This style will be used for all short codes being used in your site.
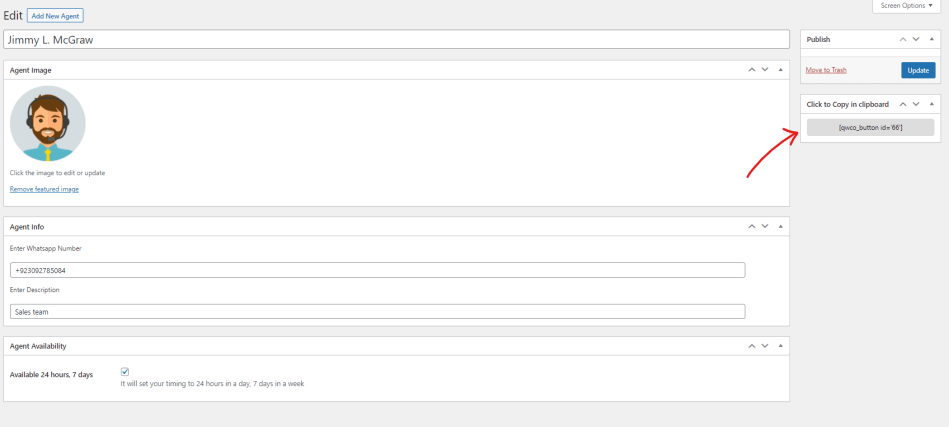
- You can copy the short code for each agent from the single agent edit window.
- Just paste this short code anywhere around your site to let your customers connect with you via WhatsApp
If you would like to assign separate WhatsApp number to individual products, you can do it easily using the following settings.
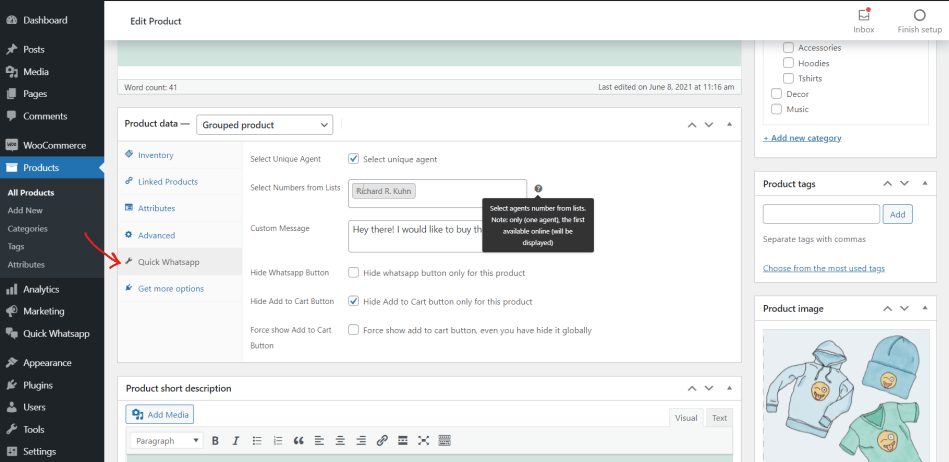
- Within single product edit window, click on Quick WhatsApp tab
- Enable option to select unique agent
- Assign an agent to this specific product.
NOTE: Only single agent (the first available) will be displayed on frontend if multiple agent has been selected.
- You also have an option to hide the WhatsApp button for a specific product.
- You can hide the add to cart button on a specific product.