Quick Checkout for WooCommerce allows your users to quickly complete their purchase by using Buy Now Buttons and Saving Multiple Addresses.
Installation
↑ Back to top1. Download the order-bump-for-woocommerce.zip file from your WooCommerce account.
2. Go to: WordPress Admin > Plugins > Add New and Upload Plugin with the file you downloaded with Choose File.
3. Install Now and Activate the extension.
More information at: Install and Activate Plugins/Extensions.
Setup and Configuration
↑ Back to topTo access the plugin settings navigate to Dashboard > Quick Checkout
Buy Now
↑ Back to topGeneral
General Settings
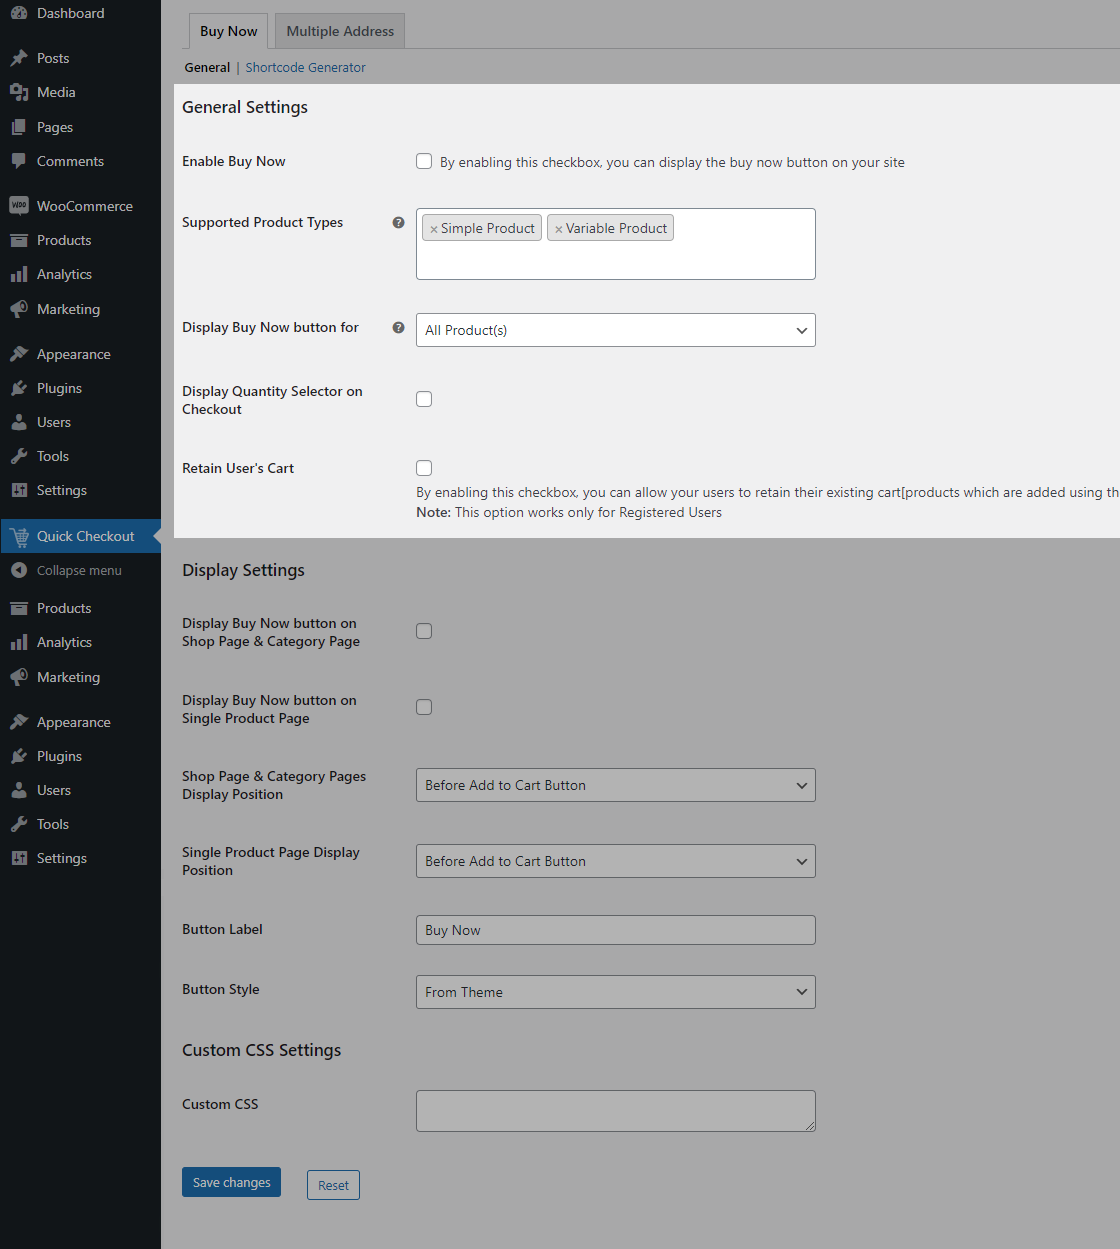
- By default, the Buy Now button will not be displayed on your site. Enable the Enable Buy Now checkbox to display it.
- By default, the Buy Now button will be displayed for Simple & Variable Products. You can make use of the other product types given in the Supported Product Types.
- By default, the Buy Now button will be displayed for all the products on your site. If you wish to display the button for specific products/categories, then make use of the filter given in Display Buy Now button for option.
- By default, 1 quantity of the product will be assigned when using the Buy Now button from Shop Page. If you wish to allow your users to update the quantity in the checkout page, then select the “Display Quantity Selector on Checkout” checkbox.
- By default when the user clicks the Buy Now button, their existing cart contents will be removed and only the product on which the Buy Now button was clicked will be added to the cart. If you wish to retain the user’s cart contents you can do so by enabling the “Retain User’s Cart” option.
Display Settings
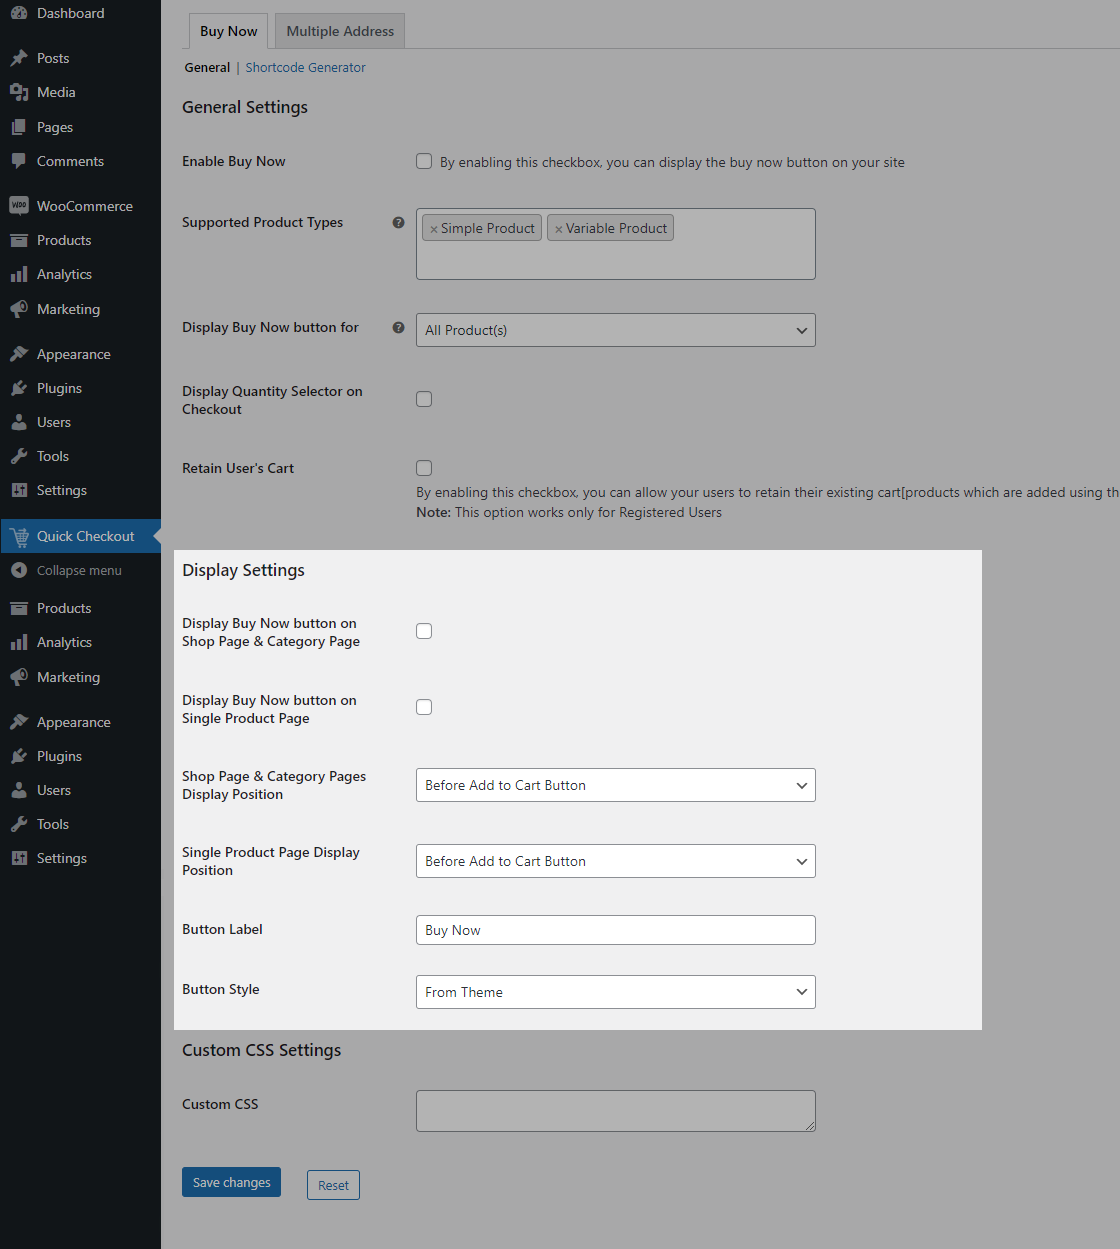
- If you wish to display the Buy Now button in the shop & category page, then select “Display Buy Now button on Shop Page & Category Page” checkbox.
- If you wish to display the Buy Now button on the product page, then select the “Display Buy Now button on Single Product Page” checkbox.
- You can set where the Buy Now buttons have to be displayed in the shop & category pages using the options given in Shop Page & Category Pages Display Position.
- You can set where the Buy Now button has to be displayed on the product page using the options given in the Single Product Page Display Position.
- You can customize the Buy Now button name using the Button Label field.
- You can customize the Buy Now button style based on Theme/using the inbuilt designs given in the plugin.
Custom CSS
You can customize the look and feel of the Buy Now buttons using the Custom CSS option.
Shortcode Generator
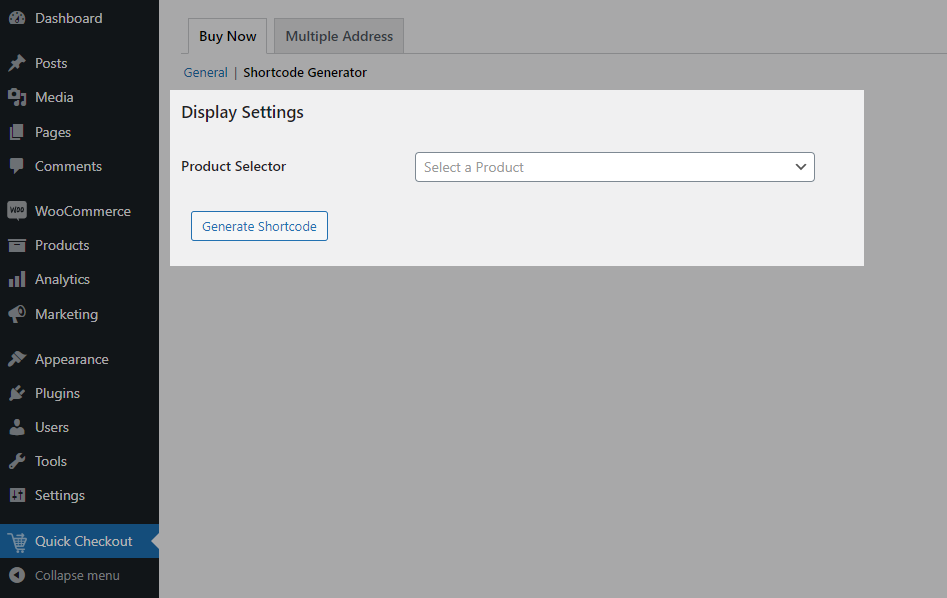
If you wish to display the Buy Now button for the specific products using the shortcode, then search the product in Product Selector option, click Generate Shortcode button, copy the id & paste it anywhere on your site.
Multiple Address
↑ Back to topGeneral
General Settings
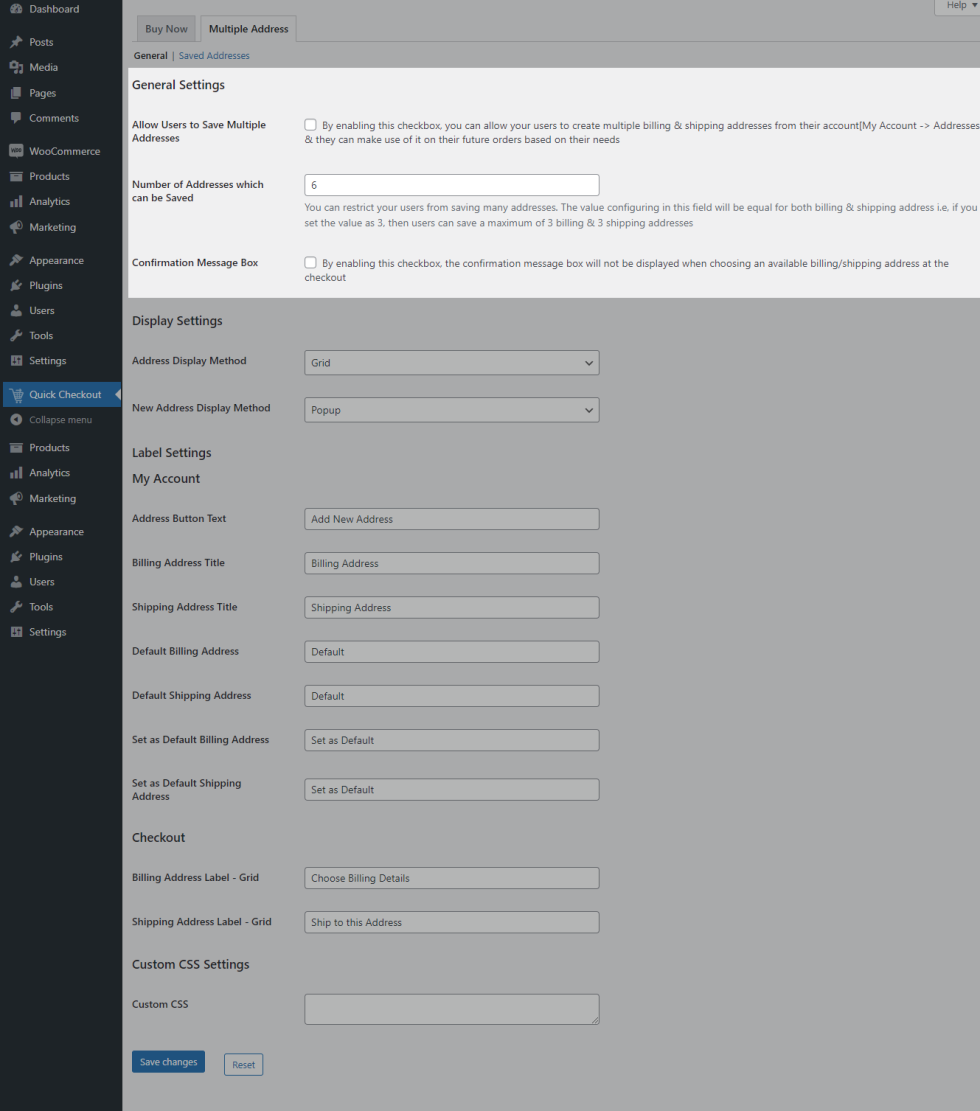
- By default, the Custom Address Creation button will not be displayed on the frontend[My Account -> Addresses]. Enable Allow Users to Save Multiple Addresses checkbox to display it.
- If you wish to place a restriction on the number of addresses which can be saved, you can do so by setting a value in the Number of Addresses which can be Saved field.
- By default, confirmation message[i.e. Are you sure you want to proceed?] will be displayed when changing the address in checkout. If you don’t want to display this message, enable the “Confirmation Message Box”.
Display Settings
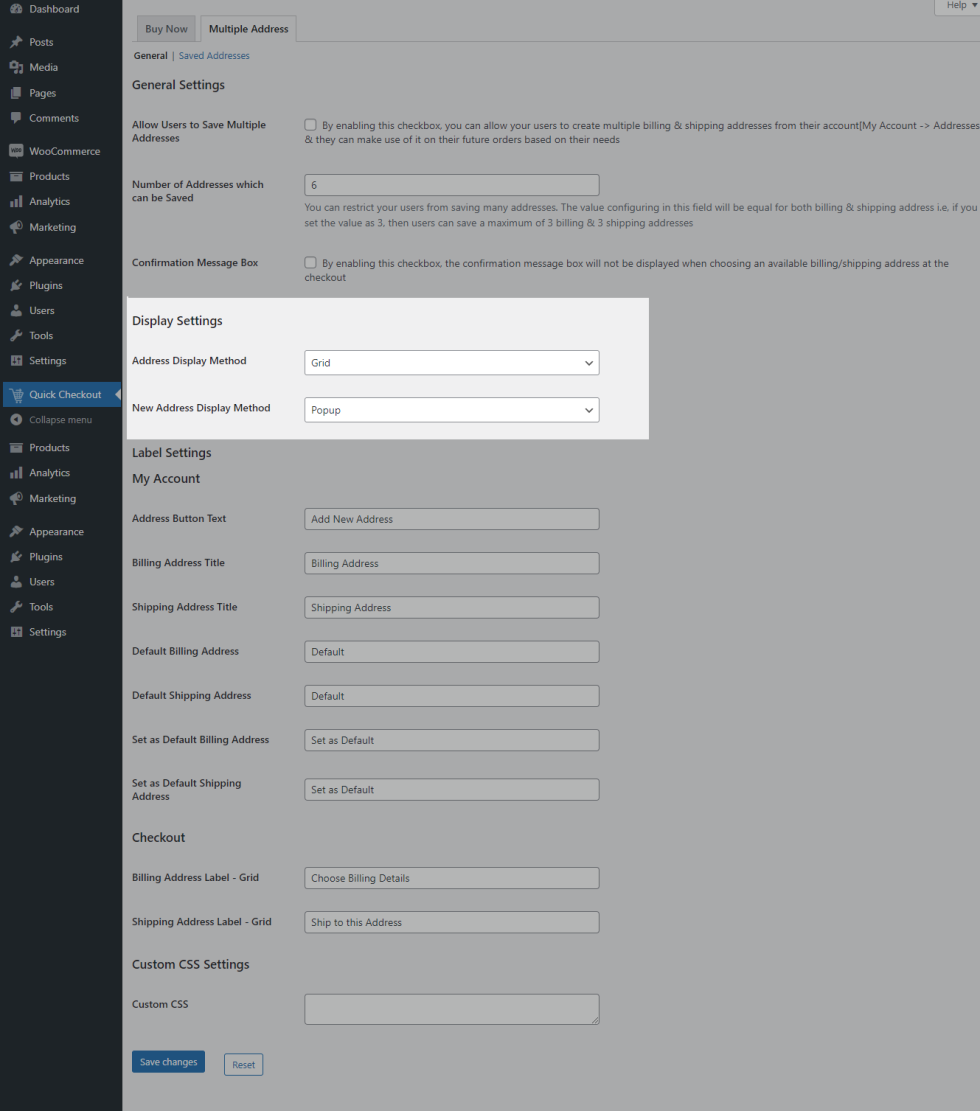
- By default, the address display method will be displayed in Grid type. If you wish to display it as a List type, then select the List in Address Display Method option.
- By default, the new address section will be displayed in a Popup type. If you wish to change it, then select Checkout Form in the New Address Display Method option.
Label Settings
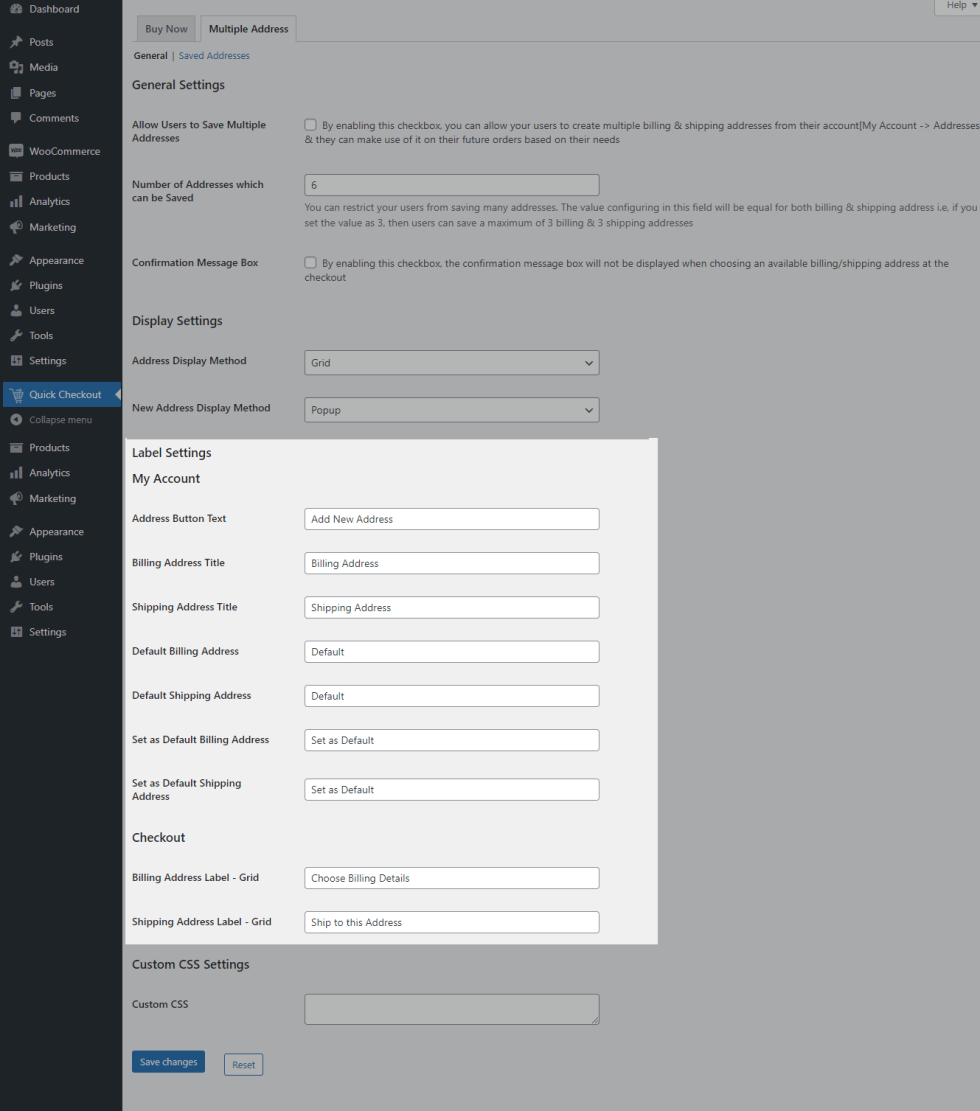
My Account Labels & Checkout Labels are customizable.
Custom CSS Settings
You can make use of the Custom CSS settings for styling the Address Section based on your needs.
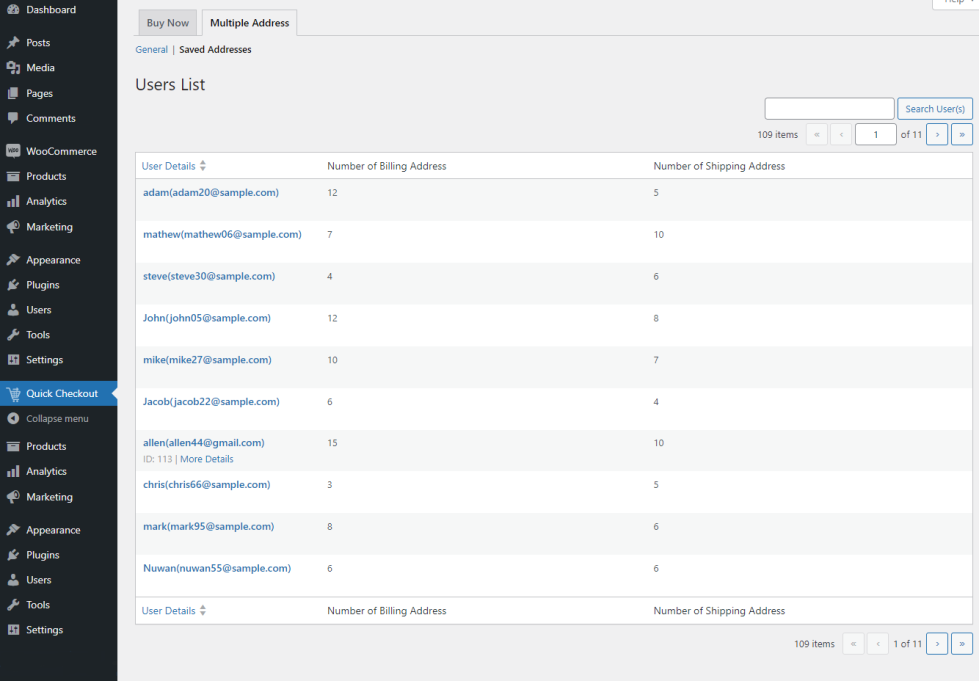
Saved Address
You can see the number of billing & shipping addresses saved by your users in this table.
How Quick Checkout for WooCommerce Plugin Works?
↑ Back to topBuy Now
↑ Back to top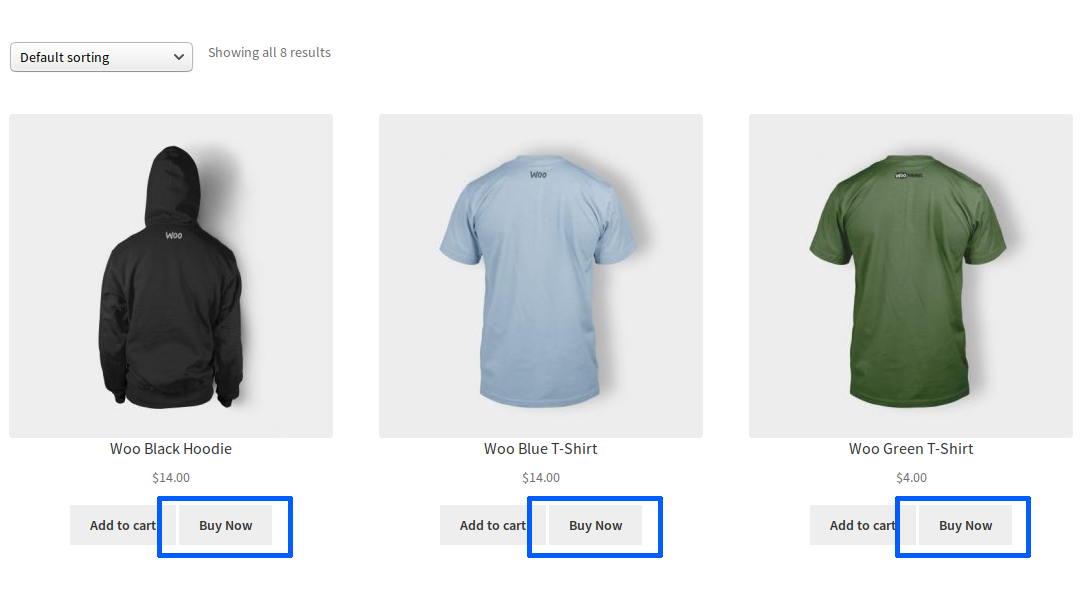
Using the “Buy Now” button, users can skip the cart, directly move to checkout from the shop/product page & complete their order more quickly. Users can also modify the quantity directly from the checkout page.
Multiple Address
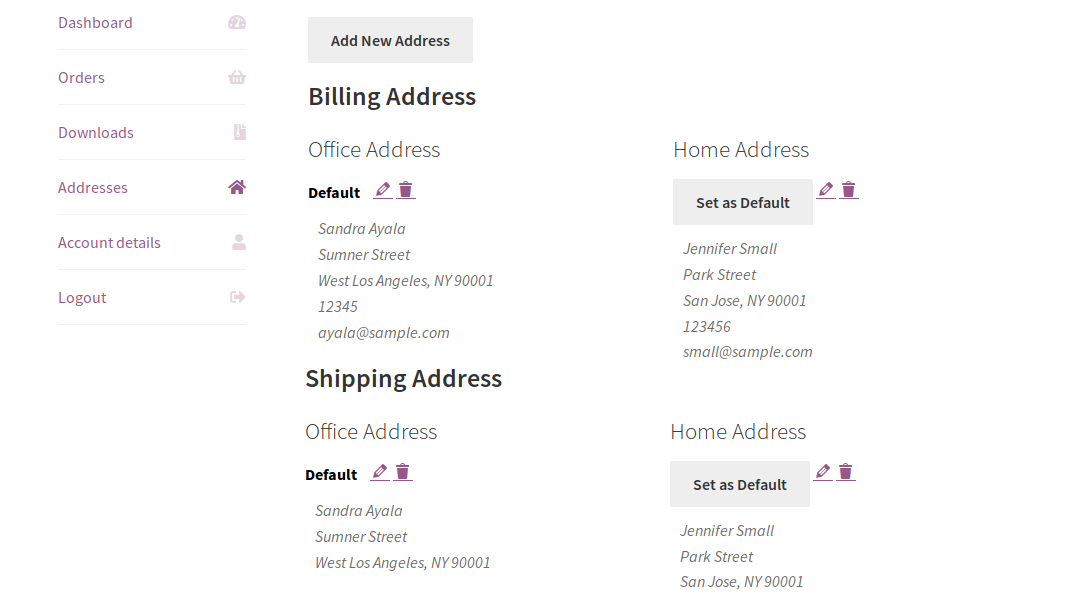
↑ Back to top- Users can create multiple billing & shipping address using the “Add Custom Address” button displayed on their Account -> Addresses.
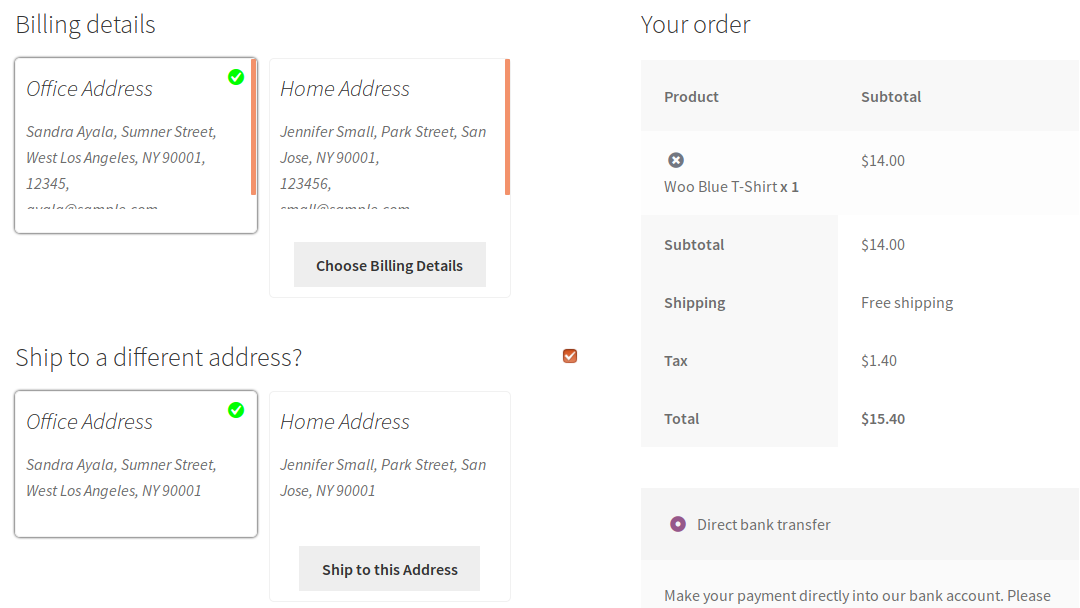
- During a product purchase, users can quickly select their billing and shipping address from the list of already saved addresses which can help them to complete the purchase quickly.
Translation
↑ Back to topQuick Checkout for WooCommerce Plugin is translation ready meaning you can edit the po files by which you can translate the text to any language.
The steps to do the translation are as follows. For eg let us consider translation to French.
- Download and install Poedit
- Open the file quick-checkout-for-woocommerce -> languages folder -> quick-checkout-for-woocommerce.pot using Poedit.
- Create a new translation file by clicking Create new translation button
- Choose the Source text and set its corresponding French text in Translation Text Area.
- Save the changes.
- Save the file name as quick-checkout-for-woocommerce-fr_FR.po.
- If you are using WordPress Version 3.9.13 or below, then in wp-config.php define the WPLANG as French. Syntax is define(‘WPLANG’, ‘fr_FR’);
- If you are using WordPress Version 4.0 or above, then go to WordPress dashboard -> Settings -> General and select the Site Language as French.
Questions and Feedback
↑ Back to topHave a question before you buy? Please fill out this pre-sales form.
Already purchased and need some assistance? Get in touch with us via the Help Desk.