PayTrace is an online payment processing company offering a secure and efficient means of accepting credit card payment. PayTrace accepts all major credit cards including Visa, MasterCard, American Express, Discover, JCB and is able to process payments in US dollars. An SSL certificate is strongly recommended to protect your customers’ sensitive information. The plugin supports both PayTrace Post API and PayTrace JSON API. The plugin supports:
- Sale or Authorization Only transaction
- Subscription product payments. Supported by both Cards and Checks.
- Subscriptions 2.n all features
- Pre-Order product payments. Supported by both Cards and Checks.
- Automatic Order Refunds.
- Direct Transaction Capture of previously authorized transactions directly from the store dashboard.
- Client Side Encryption: Encrypts all card sensitive fields and sends them directly to Paytrace.
Installation
↑ Back to top- Download the .zip file from your WooCommerce account.
- Go to: WordPress Admin > Plugins > Add New and Upload Plugin with the file you downloaded with Choose File.
- Install Now and Activate the extension.
Features
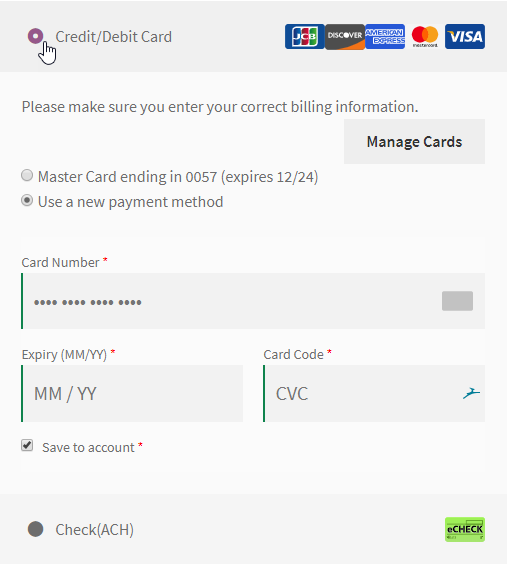
↑ Back to top- Credit/Debit Card payments. Optimized Credit Card payment form
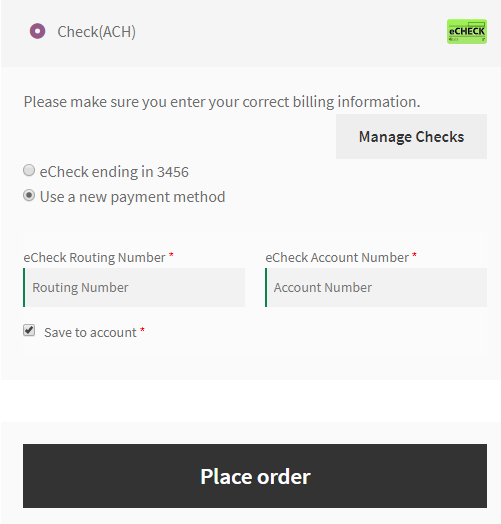
- Check Payments. Payments by eCheck(ACH) are as simple as entering your Routing and Account Numbers.

- Secure Storage. Speed up the checkout process by reusing securely saved Cards or eChecks.
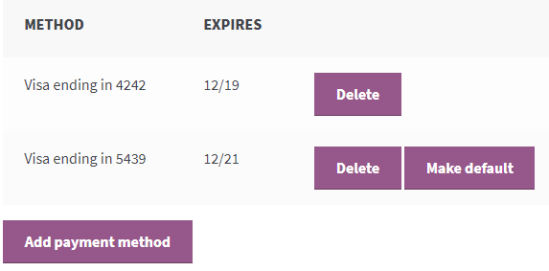
- Manage Stored Payment methods. Make default, Delete or Add new payment methods.
- Automatic Order Refunds. Process Refunds directly from “Order Edit” screen.
- Direct Capture of Authorized payments. Capture payments directly from “Order Edit” screen.
- Supports client-side encryption of the sensitive data, reduces merchants exposure to PCI-compliance verification.
- Send Paytrace Transaction receipt to the customer.


Process Refunds
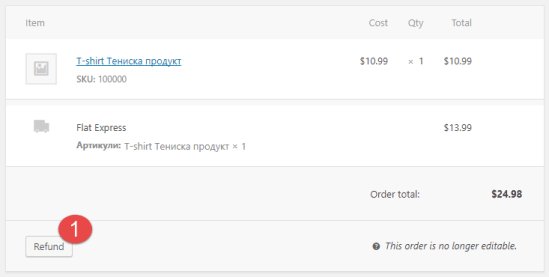
↑ Back to top- Go to the Admin Order Edit page.
- In the Order Items meta box, click the Refund button.
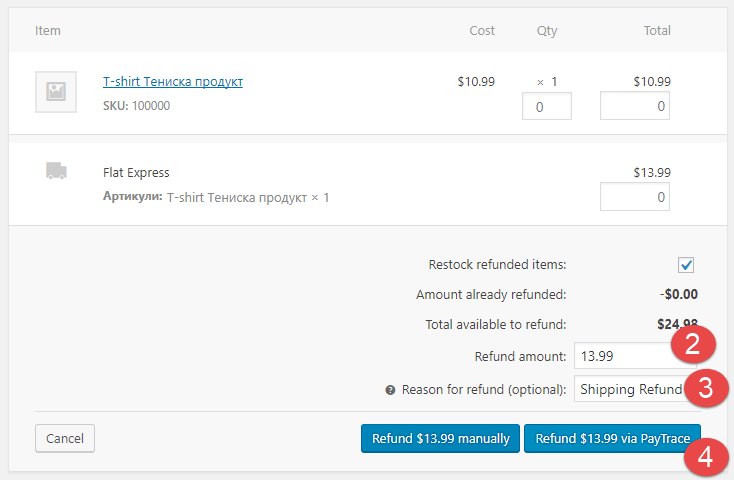
- Enter the amount you want to refund the customer with and optionally enter a refund reason. Then click on the Refund button again.

- You will be prompted to confirm the refund action. Then your refund will be processed.
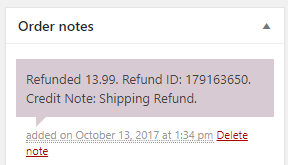
- If the refund is successful, you will see it as an order line item and a note will be placed with some information about it.

- That’s it. Don’t forget that fully refunded orders will be automatically marked as Refunded.

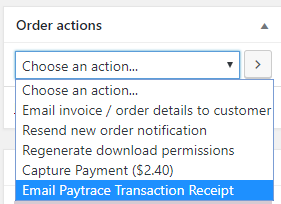
Process Capture
↑ Back to top- Go to “Order Actions”
- Open the dropdonw field and select “Capture Payment (xx.xx)” from the selections
- Update Order or click the Arrow button next to the dropdown field.
- Click the Capture button on the bottom left of the box
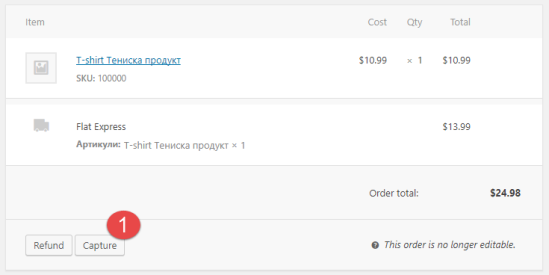
- Enter the amount you want to capture. Remember, you can capture up to the originally authorized amount. The originally authorized amount will be automatically pre-filled in the Capture field.
- Press Capture Payment button.
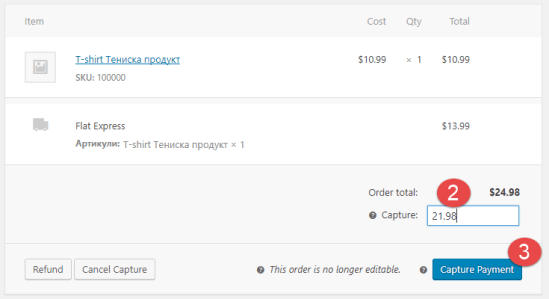
- In case you change your mind you can click the “Cancel Capture” on the bottom left.


Security Types
↑ Back to topClient-side Encryption
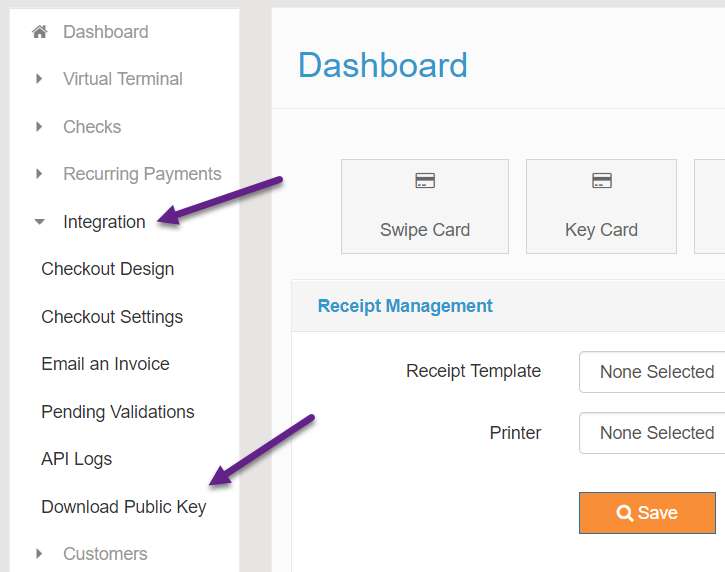
↑ Back to top- Log in to Paytrace Account
- Download your public key from “Integration > Download Public Key“

- Go to the plugin settings and choose “Client-Side Encryption” in the “Security Types” setting
- Open the public key file in a text editor
- Copy and paste the contents of the file in the plugin setting “Public Key: Contents“.
IMPORTANT: Copy all of the public key file contents, including the “—–BEGIN PUBLIC KEY—–” and “—–END PUBLIC KEY—–” lines
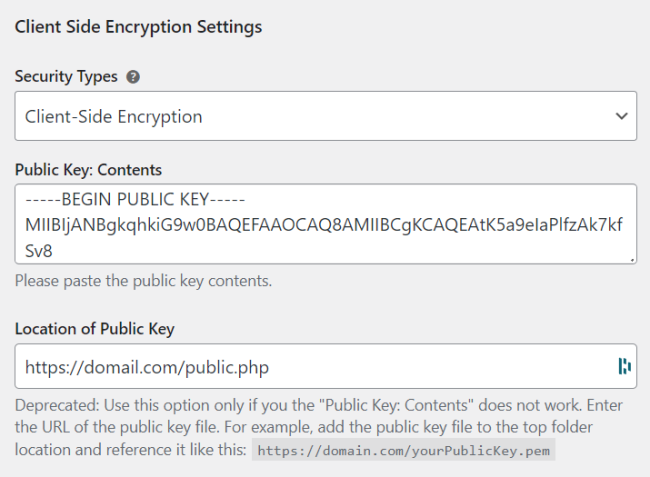
Client-side encryption settings - The “Location of Public Key” is just a backup/backward compatible setting. Ignore it if you do point 3.
- Save the changes

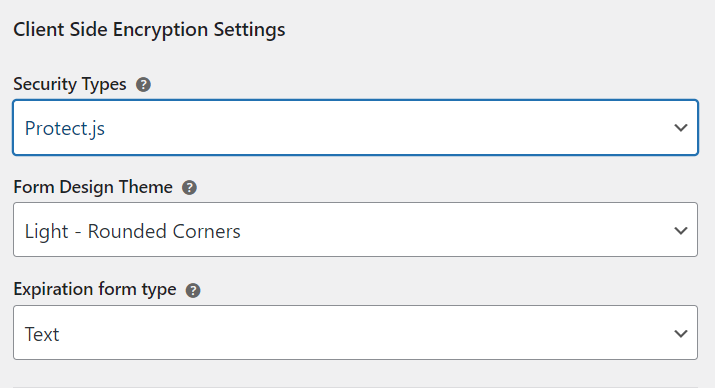
Protect.js
↑ Back to top- Go to the plugin settings and choose “Protect.js” in the “Security Types” setting
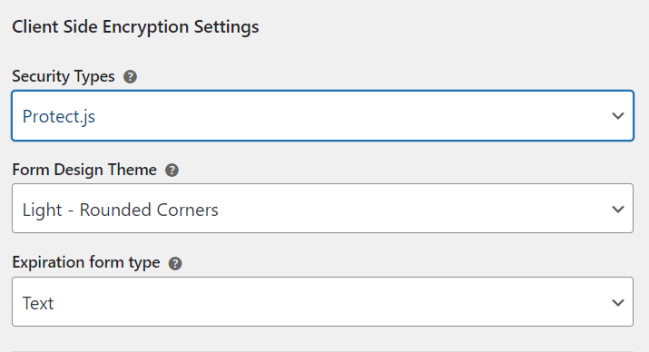
Protect.js settings - Choose the form fields style
- Choose if you want the expiration dates to be input fields or dropdown elements.
- Save settings
Send Paytrace Transaction Receipt
↑ Back to top- Enable the “Send Transaction Receipt” from the plugin settings. This will notify the plugin to send the request after each successful payment

- If a receipt is not sent for some reason, you can send a receipt manually from the Order Actions. Just choose the “Email Paytrace Transaction Receipt” option and dispatch the action.
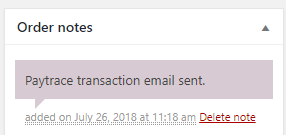
- Each time a transaction receipt is sent or the request fails a note will be added to the order notifying you of that.
Setup and Configuration
↑ Back to topIntegration Type settings
↑ Back to top
General Settings
↑ Back to top- Enable/Disable
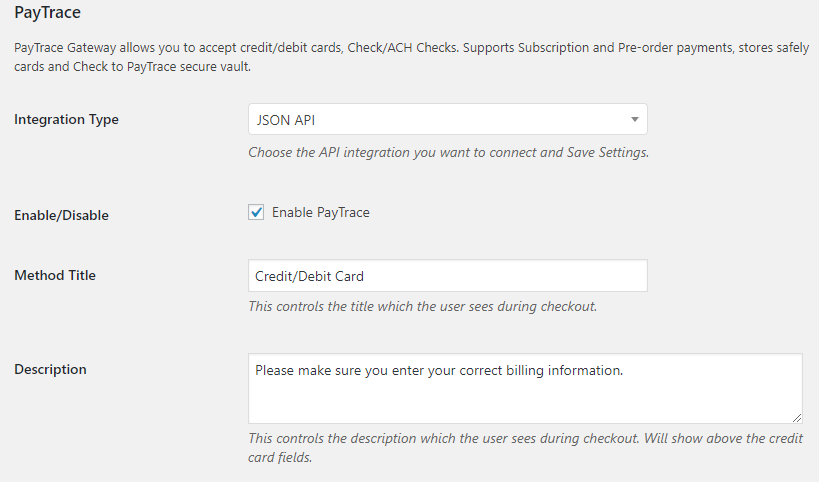
- Method Title:
- This controls the title which the user sees during checkout.
- Description:
- This controls the description which the user sees during checkout.

Credentials Settings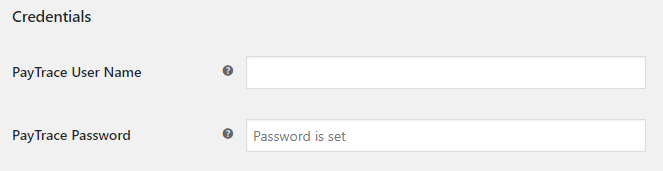
- PayTrace User Name:
- Your PayTrace user name is required to authenticate your request.
- PayTrace Password:
- Your PayTrace password is required to authenticate your request.
Form Display Settings
↑ Back to top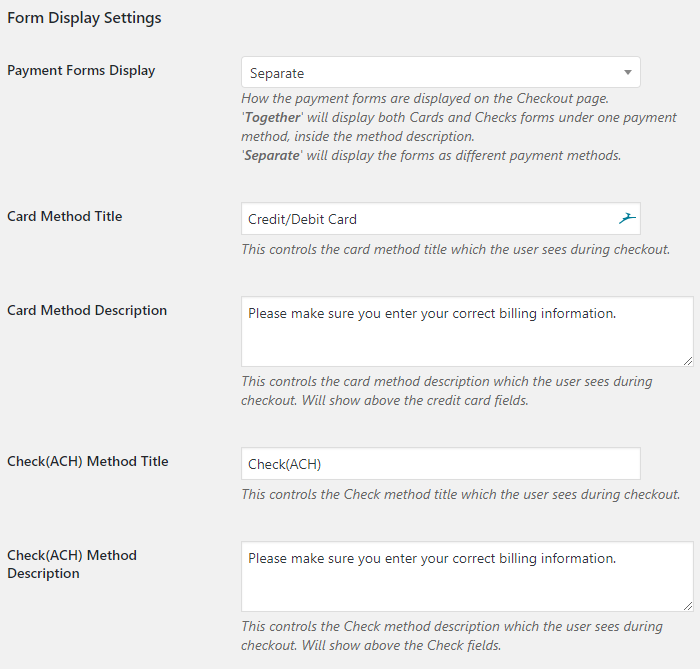 This section controls how the two payment forms (Card and eCheck) are displayed on the checkout page.
- Payment Forms Display: How the payment forms are displayed on the Checkout page
- ‘Together‘ will display both Cards and Checks forms under one payment method, inside the method description.
- ‘Separate‘ will display the forms as different payment methods.
- Card Method Title (separate only):
- Controls the card method title which the user sees during checkout.
- Card Method Description (separate only):
- Controls the card method description which the user sees during checkout. Will show above the credit card fields.

- Check(ACH) Method Title (separate only):
- Controls the Check method title which the user sees during checkout.
- Check(ACH) Method Description (separate only):
- Controls the Check method description which the user sees during checkout. Will show above the Check fields.
Card Payment Settings
↑ Back to top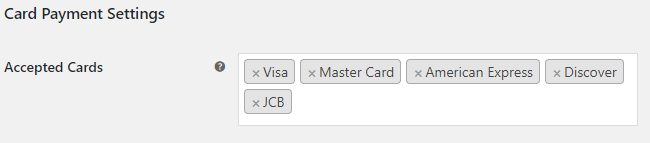
- Accepted Cards:
- Choose the cards you can and want to accept payments from.
Check Payment Settings
↑ Back to top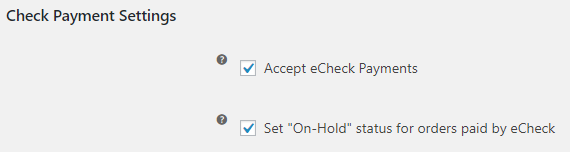
- Accept eCheck Payments:
- Enable to allow customers to pay with eChecks
- Set “On-Hold” status for orders paid by eCheck:
- If enabled, it will mark the orders paid by Check as ‘On-Hold’, otherwise, those orders will be marked as ‘Processing’.
Vault Settings
↑ Back to top
- Enable Payment Vault:
- Check if you want to save the customers’ payment info on PayTrace secure servers. This option will allow the customers to save their info and use it in future payments without entering their information again.
- Only the last 4 digits of the Credit Card, expiration date, and their generated customer ID will be saved in the WooCommerce database.
- Customer will be able to manage their saved information from their ‘My Account’ Page.
- Customers using Checks(ACH) will also have the option to save them as a profile for future payments.
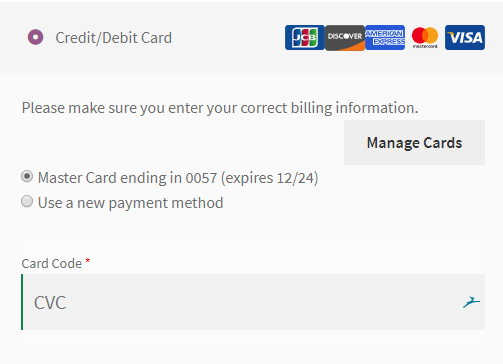
- Require CVC when paying with saved cards:
- Enable to require the customers to enter the card CVC when paying with saved cards
- Save Your Payment Method Text:
- Enter the text to prompt your customers to save their credit card info for easier future payments.
- The text area accepts any kind of HTML attributes.
Client Side Encryption Settings (JSON API Integration only)
↑ Back to top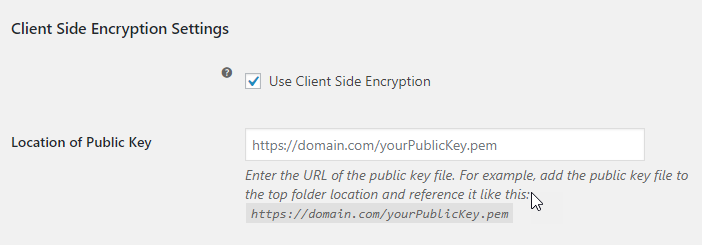
- Use Client Side Encryption:
- Uses the PayTrace Encryption Library to encrypt the customers’ sensitive data. Reduces exposure to PCI-compliance verification. Sensitive data is encrypted at the customers’ web browser using a PayTrace JavaScript Encryption Library.
- Location of Public Key:
- Enter the URL of the public key file. For example, add the public key file to the top folder location and reference it like this
https://domain.com/yourPublicKey.pem. See client-side encryption section for more information.
- Enter the URL of the public key file. For example, add the public key file to the top folder location and reference it like this
Transaction Settings
↑ Back to top- Transaction Type:
- The transaction type is the type of transaction you wish to process.
- ‘Sale’ would mean that the transaction is authorized and settled automatically.
- ‘Authorization’ would authorize the payment, but you will need to settle each payment manually from your PayTrace account.
- Send Order Description with Transaction:
- Sends the order description to PayTrace. The Description will contain the order items and/or the order number.
- PayTrace HTTPS Proxy Server (POST API Integration only):
- If your web host requires a proxy server for an SSL connection, enter here the proxy server and port.
- Leave empty, if you don’t require a proxy server.
- Test Mode (POST API Integration only):
- Enable PayTrace Test Mode.
- This option adds a test parameter to the payment request.
- Disable Test Mode to accept live payments.
Debug and Testing Settings
↑ Back to top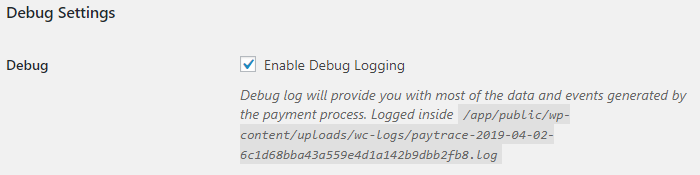
- Debug Log:
- Debug log will provide you with most of the data and events generated by the payment process. Location of the debug is in the description
Questions & Support
↑ Back to top- I received a notification from Paytrace stating something in the context of “PayTrace will be updating our TLS Ciphers during our maintenance window of 1 – 4 a.m. Pacific on Sunday, March 12, 2023“, what should I do?
- The TLS Ciphers is a server lever setup. It refers to the encryption you are using on your site. You can try asking your hosting if your certificate will work with the Paytrace update.