WooCommerce open close store hours plugin allows you to open and close your store based on your working hours and business days as well. Display a full-screen banner when the store is closed, under maintenance mode, or for coming soon. Restrict customers from placing orders during non-working hours or off days.
Installation
↑ Back to top- Download Open Close Store Hours for WooCommerce and have your .zip file
- At the WordPress admin panel, go to the Plugins section, and click ‘Add New’ to upload and install the plugin you just downloaded from WooCommerce.
- Upload the .zip file to proceed with the installation.
- Wait until the plugin installs. After successful installation, activate the plugin, and move on to configuration settings.
Configurations
↑ Back to topAt the admin panel go to WooCommerce > Settings and click the Open/Close store tab. Here you will find multiple tabs i.e. General Settings, Display Settings, Daily Schedule, Holidays Schedule, and Close Store.
General Settings:
↑ Back to topDisplay Notification Type
Select which type of notification you want to display. You can choose from two options Notification Bar and Notification Popup.

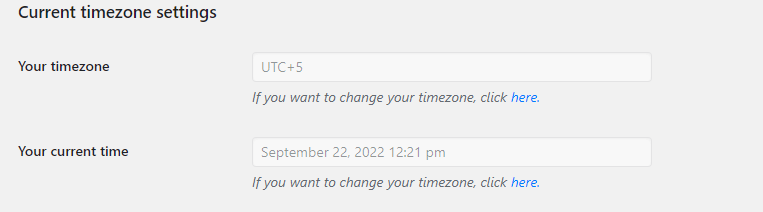
Current Timezone Settings
- Your Timezone (Option to change your time zone)
- Your Current Time (Option to change current time)
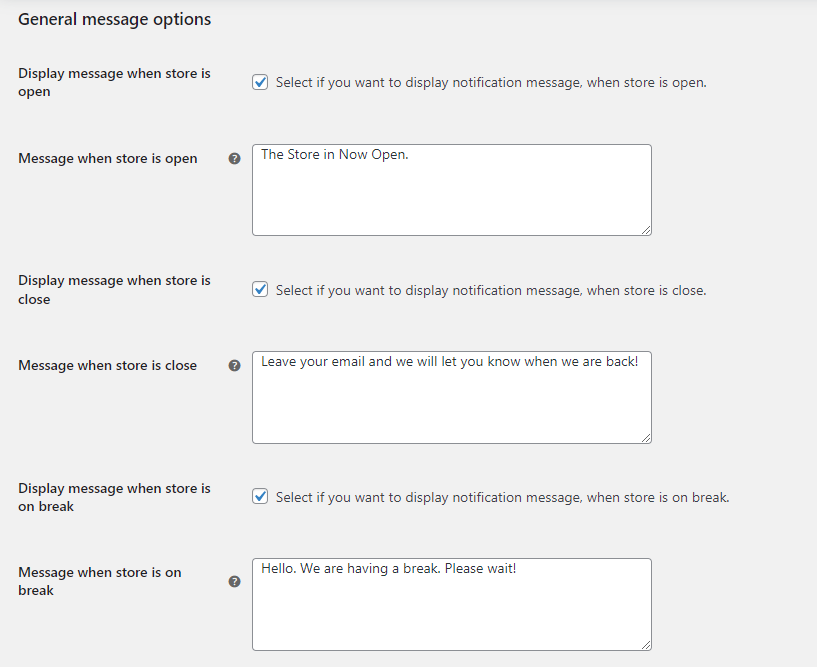
General Message Options.
- Display Message When Store is Open (Enable option to display message for open store)
- Message When Store is Open (Set message for when the store is open)
- Display Message When Store is Close (Enable option to display message for close store)
- Message When Store is Close (Add a general message for all days when the store is closed i.e., Store is closed, We will start taking orders soon)
- Display Message when Store is on Break (Enable option to display and customize the message for the break)
- Message when Store is on Break (Set message to display when the store is on break)
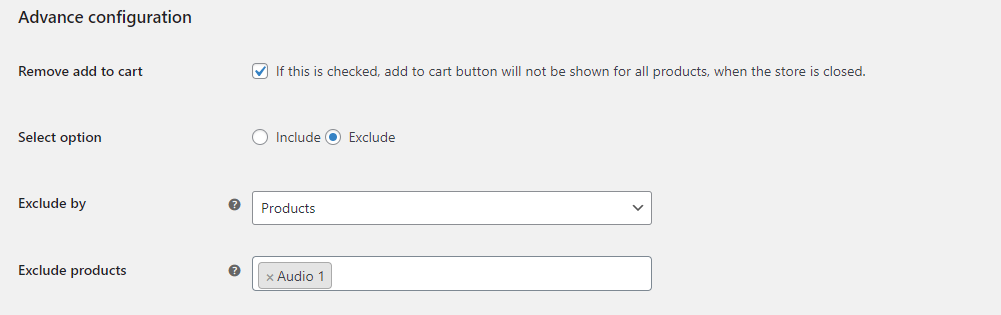
Advance Configuration
- Remove Add to Cart (Check this option to hide Add to cart button for all the products of your store when the store is closed)
- Select Option (Select include and exclude options for products)
- Exclude/Include By (Option to select products or categories, which you want to exclude or include from this schedule)
- Exclude/Include Products/Categories (Select products or categories which you want to be ordered or not ordered even when the store is closed)
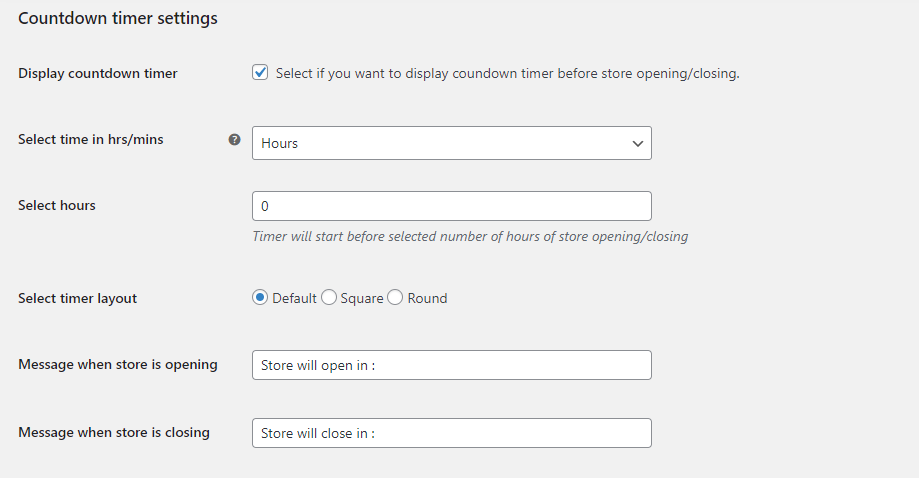
Countdown Timer Settings
In this part, you can make the following settings:
- Display Countdown Timer (Select if you want to display the countdown timer before store opening/closing)
- Select Time in hrs/mins (Choose time format either in hours or minutes)
- Select Hours/Minutes (Choose hours or minutes to start the timer before store opening/closing time)
- Select Timer Layout (Select countdown timer layout such as default, round, or square)
- Message when Store is Opening (Add a general message for when the store is opening i.e., Store will open in: )
- Message when Store is Closing (Add a general message for when the store is opening i.e., Store will close in: )
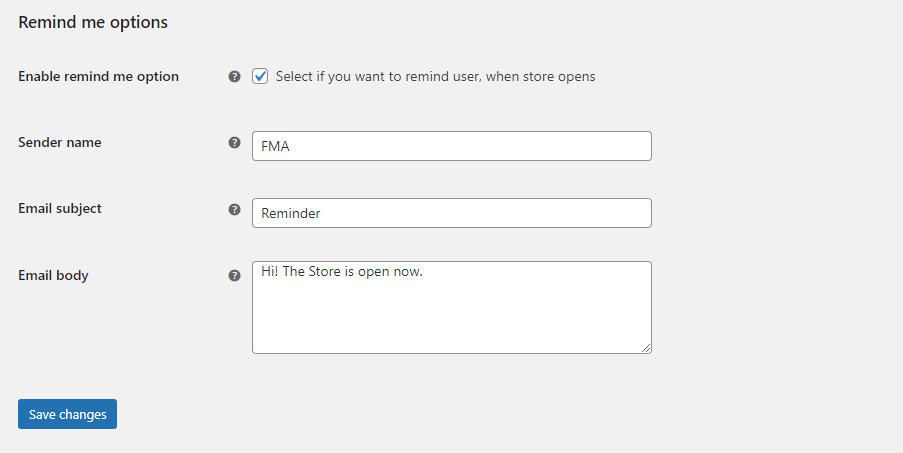
Remind Me Options
You can change the following from the remind me options section.
- Enable Remind me Option (Enable this option to remind customers when the store is open)
- Sender Name (Enter the email id from which you want to send the reminder email)
- Email Subject (Add subject for the reminder email)
- Email Body (Enter email body content that you want to send to your customers as a reminder)
Display Settings
↑ Back to topClick on the Display Settings tab to configure the Notification Bar, Popup, and Holiday Popup Settings.
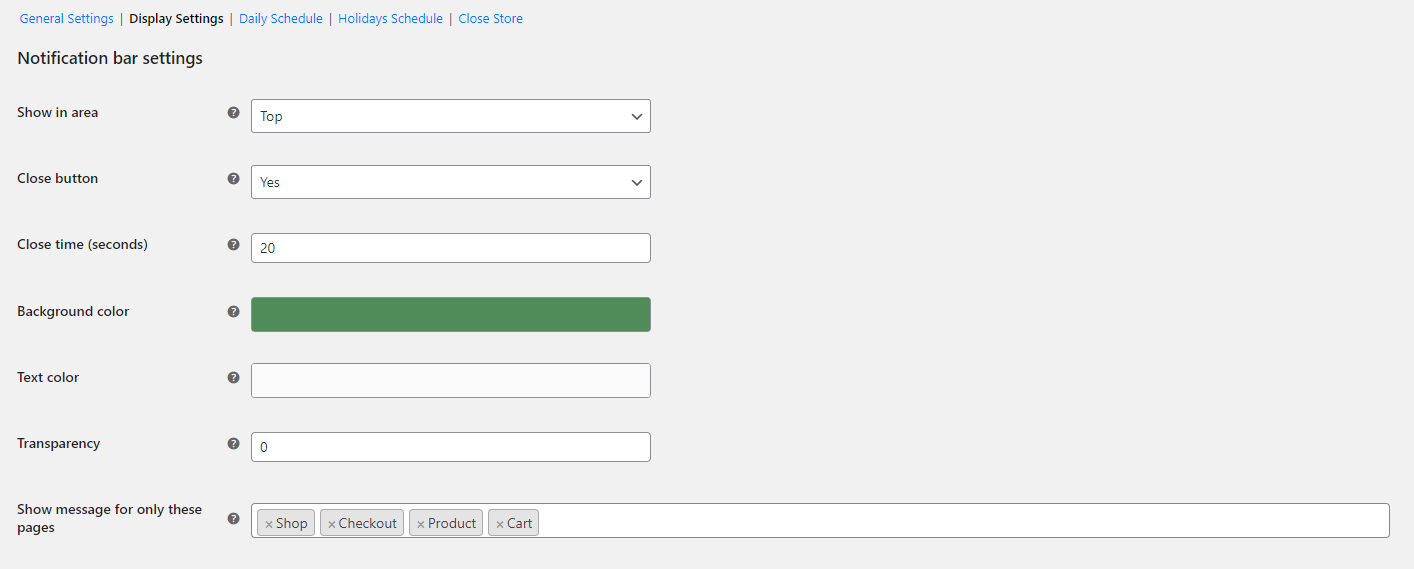
Notification Bar Settings:
↑ Back to top- Show in Area (Select position to display bar such as Top, Bottom)
- Close Button (Option to close button for customer on the bar)
- Close Time (Seconds) (Set time in seconds to auto-close the bar after a specified time )
- Background Color (Choose the background color of the bar)
- Text Color (Option to choose text color in the bar)
- Transparency (Choose transparency from 1% to 100% value)
- Show Message For Only these Pages (Option to display the message on specific pages)
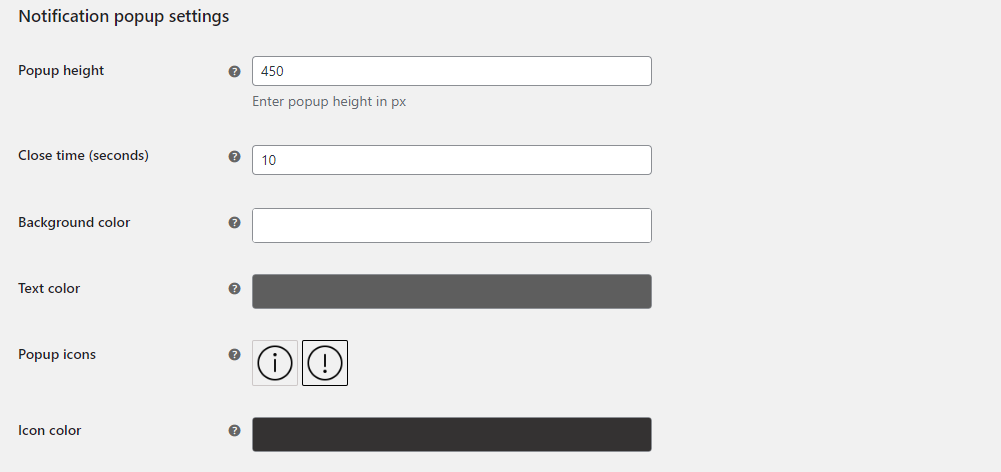
Notification Popup Settings:
↑ Back to top- Popup Height (Choose the height of popup in px)
- Close Time (Seconds) (Set time in seconds to auto close the popup after a specified time)
- Background Color (Choose the background color of the popup)
- Text Color (Option to choose text color in the popup)
- Popup Icons (Choose icon for the popup)
- Icon Color (Set the icon color in the popup)
Holiday Popup Settings:
↑ Back to topCustomize popup for holiday in this tab
- Background Color (Choose the background color of the popup)
- Notification Position (Option to set the position of notification display i.e. Top, Top Left, Top Right, Top Center, etc.)
- Heading Text (Add heading for the upcoming event, i.e. Upcoming Holidays)
- Heading Text Color (Option to choose heading text color)
- Schedule Name Color (Choose the color for the default schedule name)
- Text Color (Option to choose text color)
- Font Size (Enter text font size in pixels, i.e. 12px, 14px, 16px)
- Footer Text Color (Option to choose text color for the footer message)

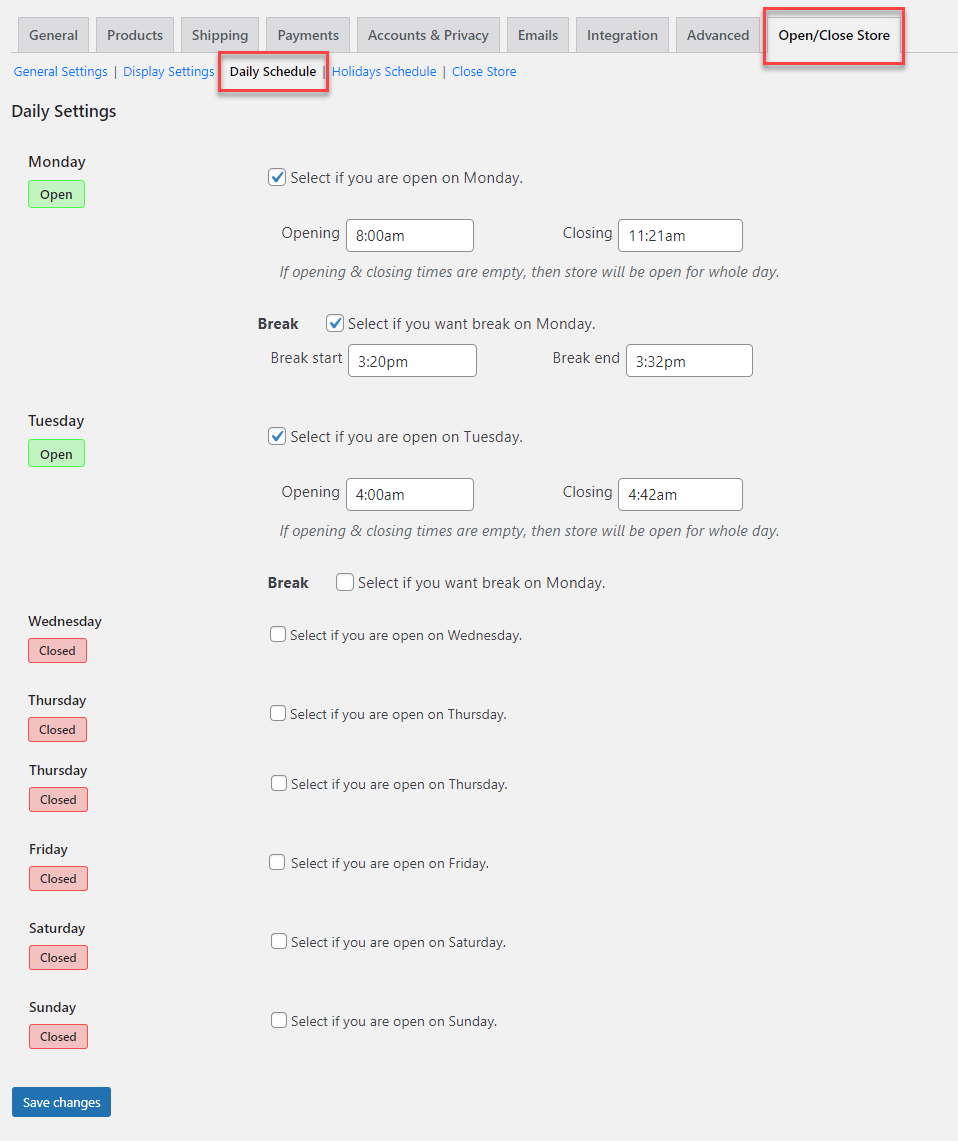
Daily Schedule:
↑ Back to topClick on the daily schedule tab to configure your routine settings such as working hours and business days.
Schedule your business days in a week such as Monday to Friday, working hours e.g. 9:00 am to 6:00 pm and you can also add the break in working hours.
Holidays Schedule:
↑ Back to topAfter configuring the daily schedule, click on the Holiday Schedules to close the store for the entire day or set working hours for the upcoming holidays like Christmas, Easter, etc. Here you can edit or delete previously created holiday schedules.
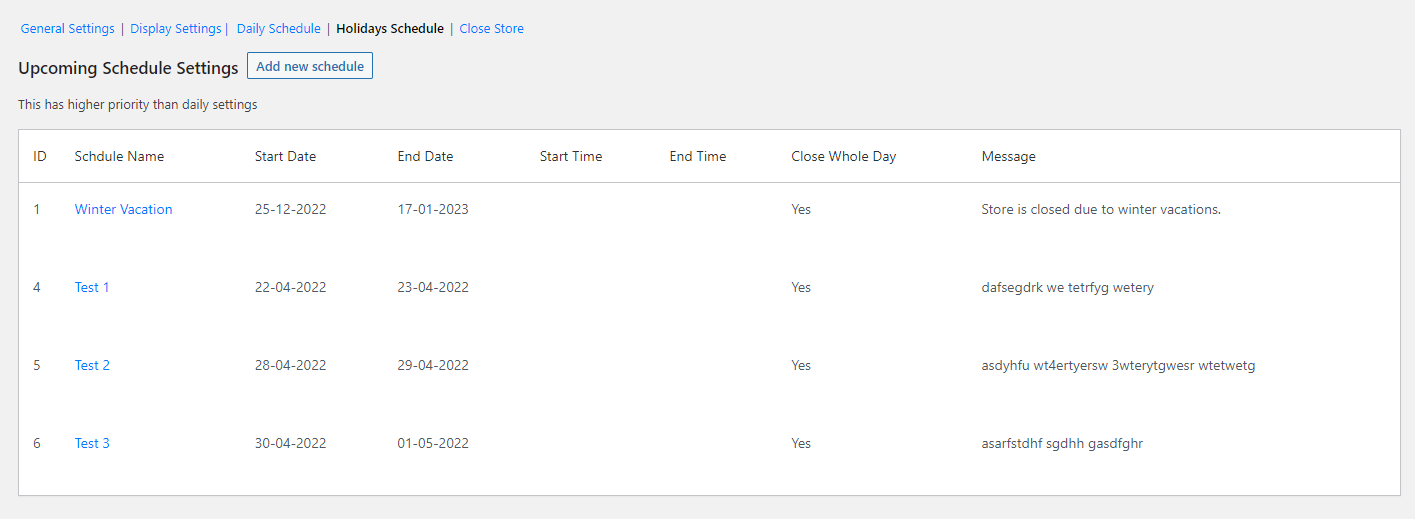
Add New Schedule
↑ Back to topClick on the “Add New Schedule” button to add a holiday schedule.
- Name (Set the name of the schedule)
- All Day (Check this option if you want to close the store for a whole day)
- Date (Chosen date will be full off if opening & closing time is not set)
- Time (Select the opening and closing time of your store for the selected date)
- Message (Enter the custom message you want to show for that date Store is closed today from)

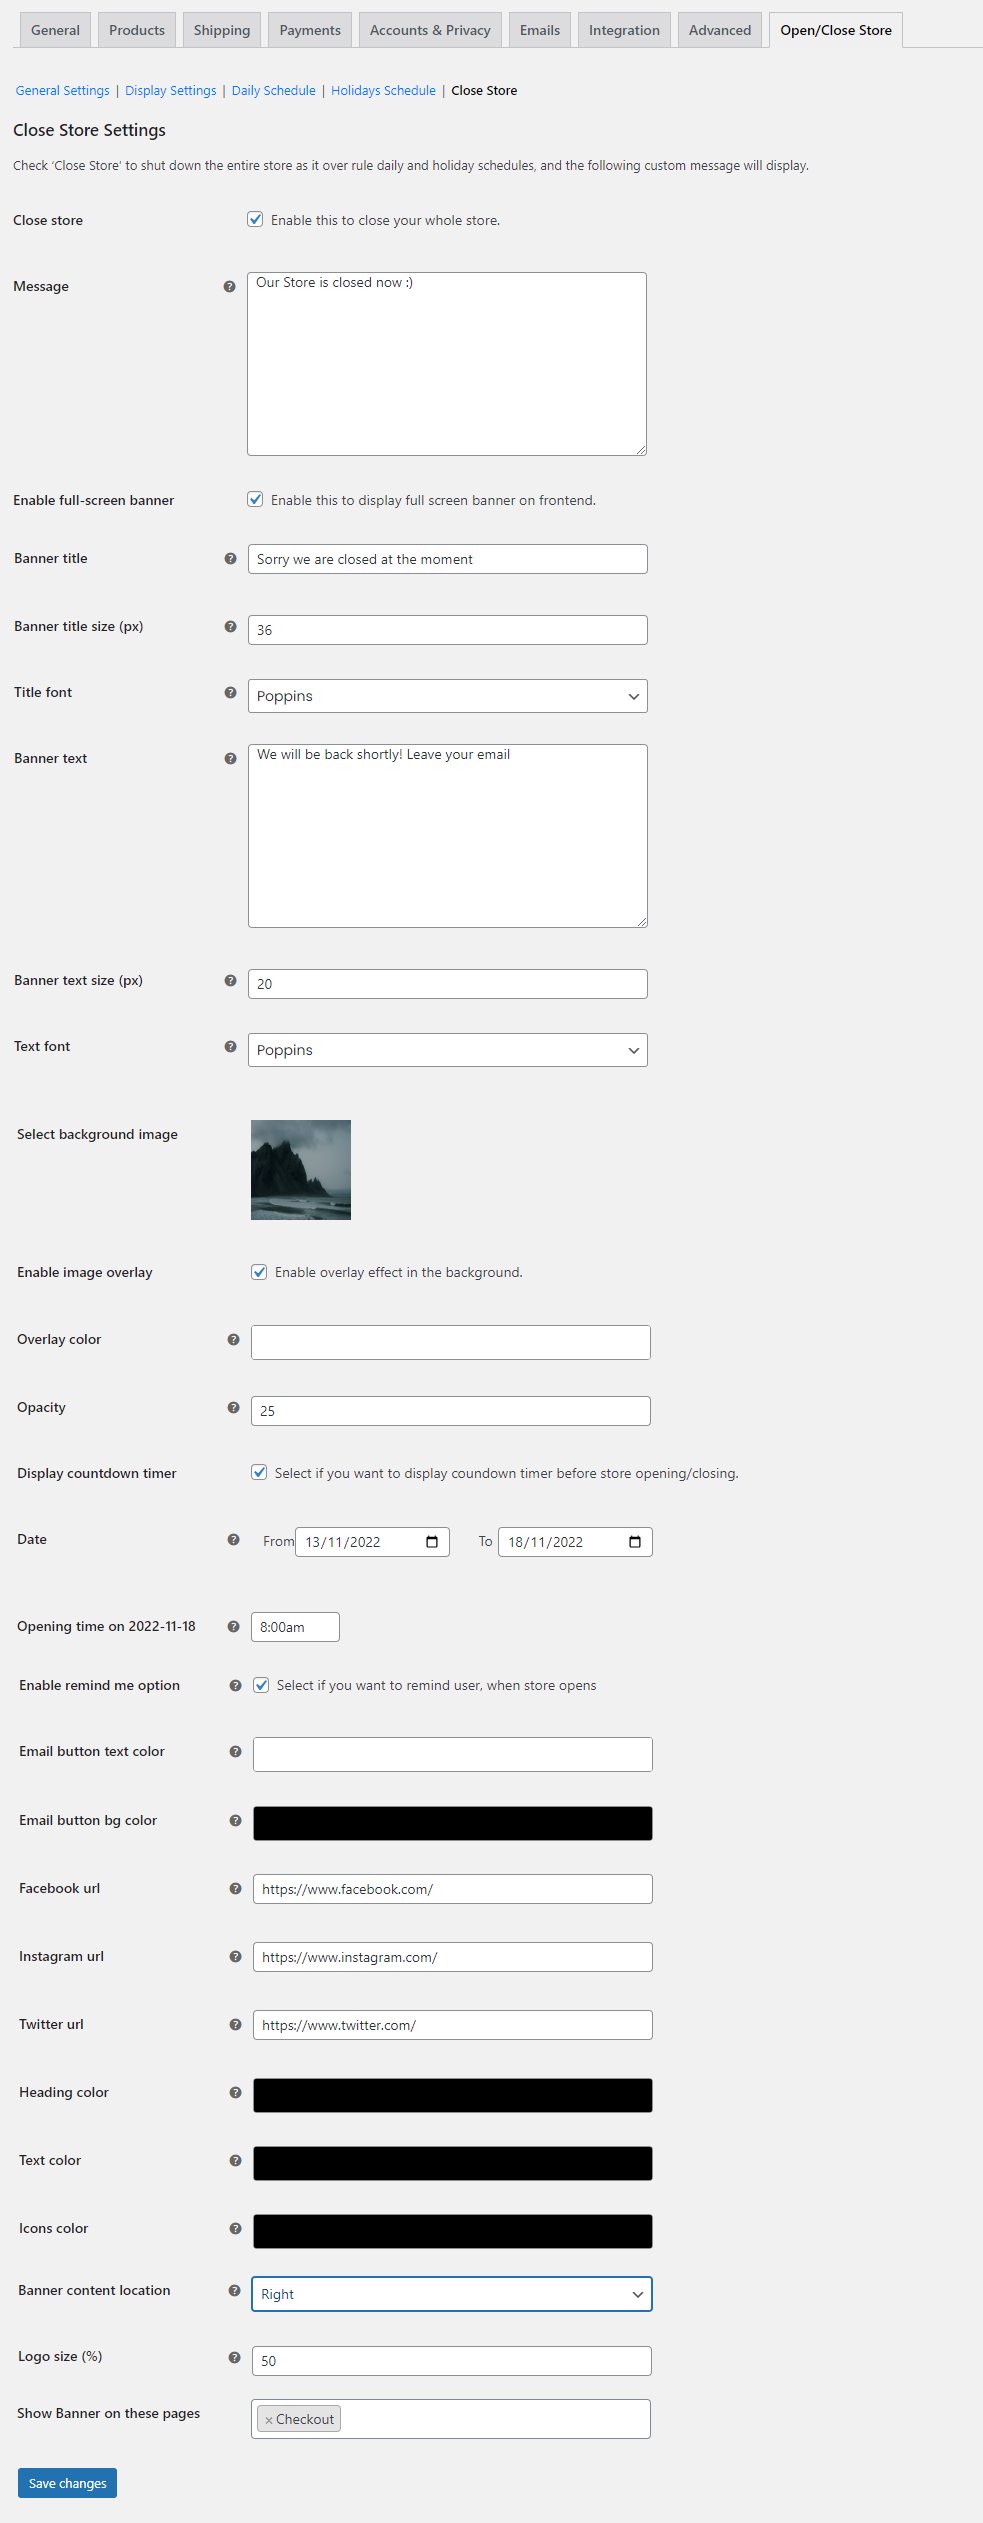
Close Store:
↑ Back to topNow click the close store tab, you can close the store manually at any time in case of an emergency. You can open it as well.
- Close Store (Option to open or close the store with just one click)
- Message (Add a custom message for viewers when the store is closed i.e. Our Store is closed now)
- Enable Full-Screen Banner (Enable this to display a full-screen banner on the frontend when the store is closed, is in maintenance mode, or for coming soon products/pages)
- Banner Title (Enter the title for the full-screen banner)
- Banner Title Size (px) (Enter the size of the banner title in pixels)
- Title Font (Select the font style for the banner title)
- Banner Text (Enter the text that you want to display on the banner image)
- Banner Text Size (px) (Set the size of the banner text in pixels)
- Text Font (Choose the font style for the banner text)
- Select Background Image (Upload an image or choose from the gallery to set as the background image for the banner)
- Enable Image Overlay (Check this if you want to enable the image overlay effect in the background)
- Overlay Color (Select the overlay color for the image background)
- Opacity (Adjust the opacity of the overall banner. Choose a value from 1% to 100%)
- Display Countdown Timer (Select if you want to display the countdown timer before store opening/closing)
- Date (Select the dates for which your store will be closed)
- Opening Time on YYYY-MM-DD (Select the time on which your store will open on the selected date)
- Enable Remind Me Option (Select if you want to remind user, when store opens)
- Email Button Text Color (Choose the text color for the email button)
- Email Button Background Color (Select the background color for the email button)
- Facebook URL (Enter the URL for the Facebook Page)
- Instagram URL (Enter the URL for the Instagram Page)
- Twitter URL (Enter the URL for the Twitter Page)
- Heading Color (Select the color for the banner heading)
- Text Color (Choose the text color)
- Icons Color (Select the color for the icons)
- Banner Content Location (Select location for the banner text. You can select right, center, or left)
- Logo Size (%) (Enter the size of tle logo in percentage)
- Show Banner on These Pages (Select pages on which you want to display banner)
FAQs
↑ Back to top- How do I temporarily close the WooCommerce store?
The WooCommerce temporarily close shop plugin allows you to schedule closing your WooCommerce store for a limited time. Go to WooCommerce > Settings > Open/Close tab. In the “Close Store” section, you can temporarily close your entire store and let your customers know by displaying a closure message.
- How to restrict visitors from adding products to the cart when the store is closed?
Go to the Advance Configuration section of the WooCommerce opening hours plugin. Enable the “remove add to cart” option so that the “add to cart” button is disabled for all products when the store is closed. Moreover, you can also include or exclude specific products or categories.
- Can I create an automated schedule for the opening and closing of the store?
You can easily automate the opening and closing of your WooCommerce store with the close WooCommerce store plugin. Go to the Daily Schedule tab and create a routine for the opening and closing of your store. You can add opening, closing, and break time. Similarly, you can also schedule opening and closing for holidays and vacation.