Some of our customers created an online “Pay your bill” system and I think it’s really a nice way to ask your customers to pay bills. In this tutorial you will learn how to create one for your website.
Required plugins
↑ Back to top
Settings configuration
↑ Back to top
Product configuration
↑ Back to top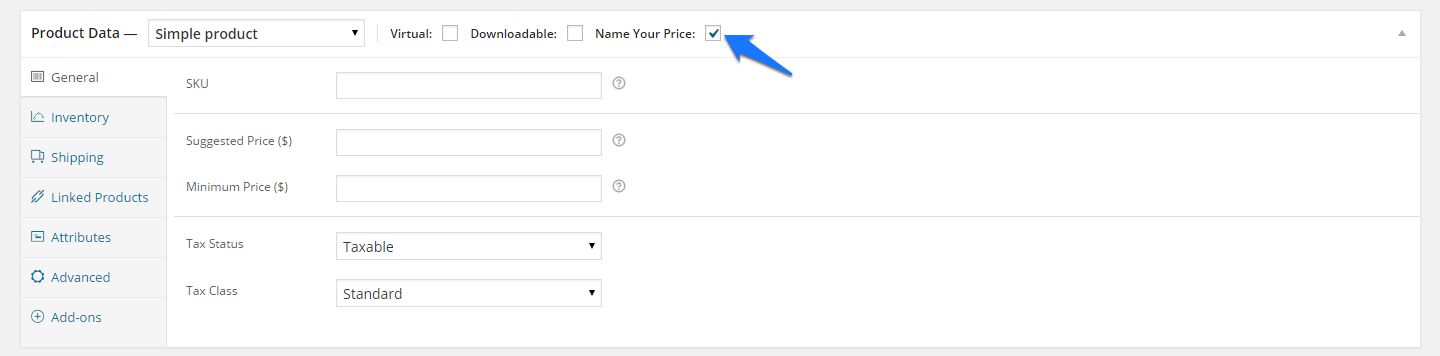 Also leave blank the fields Suggested Price and Minimum Price. You can’t set them because you do not have a suggested price and you do not know the minimum price of the bill which the customer is going to pay for.
For this purpouse, you need to know which bill the customer is going to pay for. This is why you need the plugin Product Add-ons. Select the tab Add-ons in the single product admin page and create a New Add-ons Group:
Also leave blank the fields Suggested Price and Minimum Price. You can’t set them because you do not have a suggested price and you do not know the minimum price of the bill which the customer is going to pay for.
For this purpouse, you need to know which bill the customer is going to pay for. This is why you need the plugin Product Add-ons. Select the tab Add-ons in the single product admin page and create a New Add-ons Group:
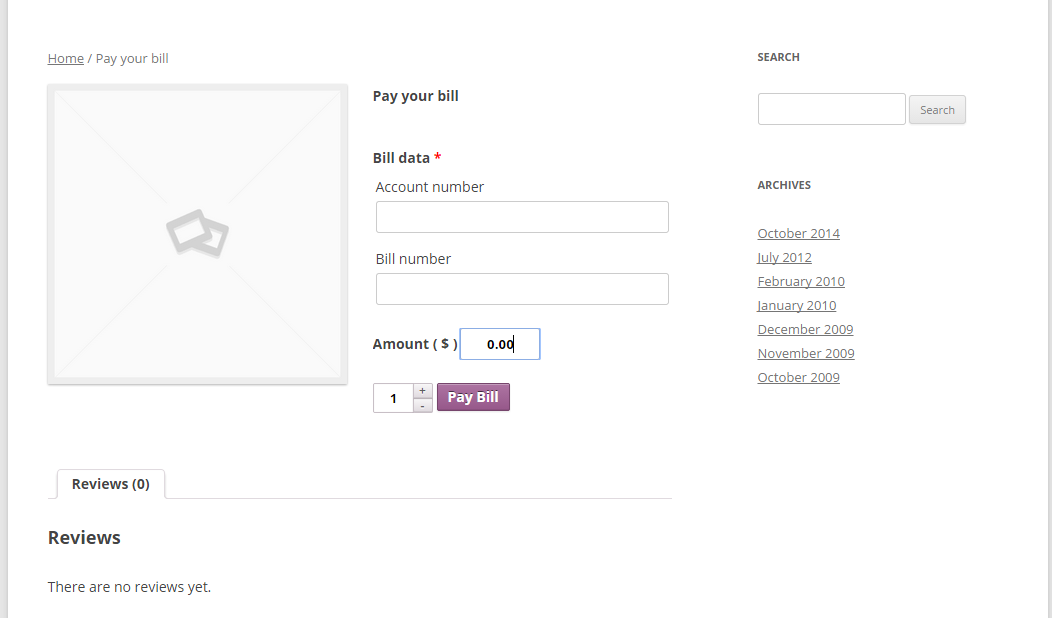
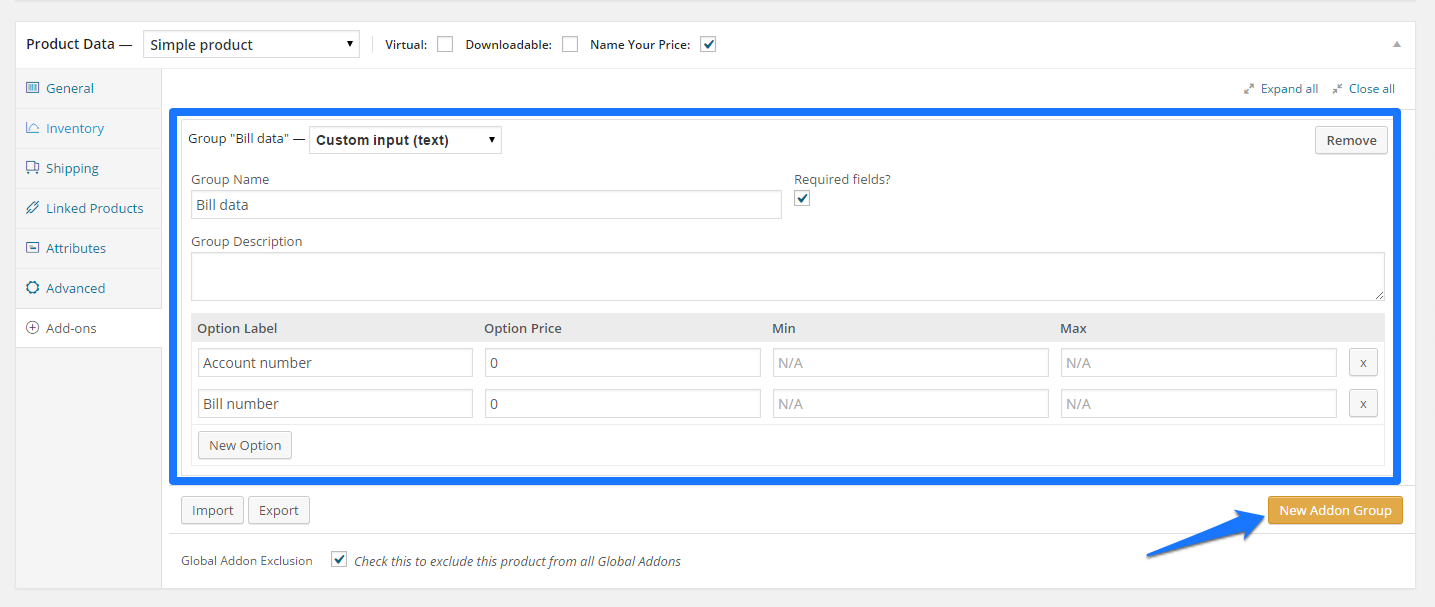 In this example i used only Account number and Bill number fields, but you can add as many as you need, also you can set an additional fee for each option if you want, using the Option price field available in each add-ons. Save the product and publish it. You will see something like this in your single product page (using the theme TwentyTwelve):
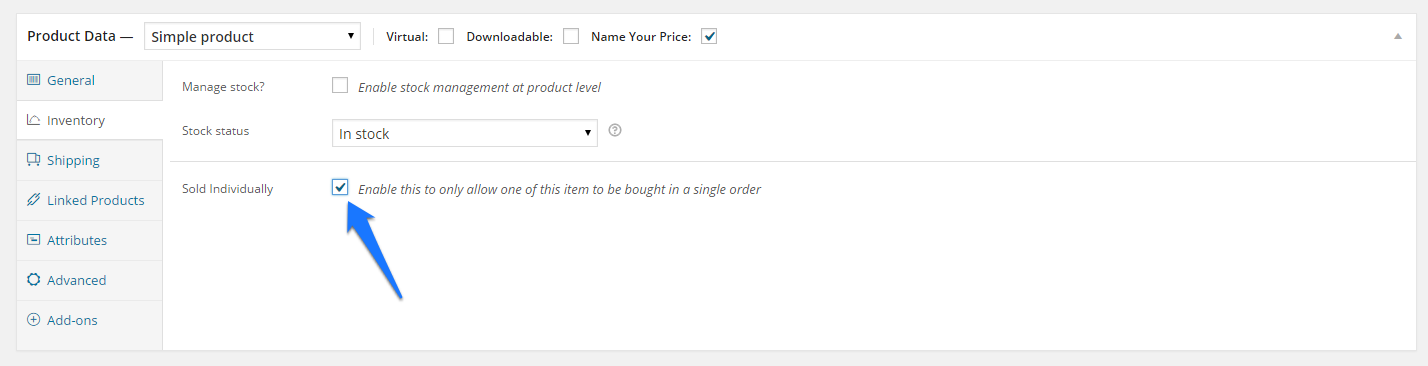
 As you can see, the customer will be able to set the quantity of bills to pay. This probably is not really useful in a lot of system. If you want to disable it and allow the customer to pay only one bill per order, go to your product settings, select the tab Inventory and select the option Sold Individually: