Overview
↑ Back to topAs of WooCommerce 8.3, Cart and Checkout blocks are available as the default experience. WooCommerce Mixpanel has not yet been updated to be compatible with those blocks, so we recommend following this guide to revert to Cart/Checkout shortcodes. Additional plugin updates will soon be released to ensure compatibility with the new block checkout. Please check out this page for the latest updates or reach out to our support team with any questions!
Installation
↑ Back to top- Download the extension from your WooCommerce dashboard
- Go to Plugins > Add New > Upload and select the ZIP file you just downloaded
- Click Install Now, and then Activate
- Go to the WooCommerce > Settings > Integrations > Mixpanel in your WordPress admin and read the next section to learn how to setup and configure the plugin.
Setup and Configuration
↑ Back to topSettings
↑ Back to top- Token – Token from your Mixpanel account page. Leave this blank to disable tracking completely.
- Nametag Preference – How to identify logged in users: email address (default) or WordPress username. This will display in your People reports and in the live stream as the visitor’s name tag.
- Logging – Log nothing (default), just queries, just errors, or everything to the PHP error log. Be careful when enabling this on a busy site, as it can quickly flood the PHP error log.
- Geocode IPs – Allow Mixpanel to geolocate visitors to your website, so you can segment based on the country of visitors.

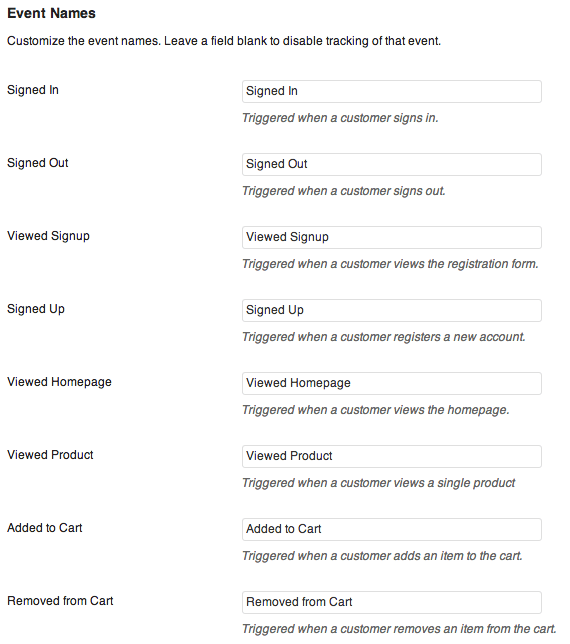
Customize Event Names
↑ Back to top- Signed In – Triggered when a customer / subscriber signs in. The sign in can occur anywhere (wp-login.php, my account page, sign in widget, etc) and it will be tracked. Users are aliased to their email address or wordpress username (depending on the Identity Preference setting) as soon as they login and are tracked as that identity until they logout.
- Signed Out – Triggered when a customer / subscriber signs out. Identities are cleared upon logout, so if multiple people use the same computers but use different logins, this will help to track them all accurately.
- Viewed Signup – Triggered when a visitor views the sign up page. Hooks into the wordpress register form and will track anywhere it is used.
- Signed Up – Triggered when a visitor signs up. Hooks into the wordpress registration system and will track registrations anywhere the wordpress register form is used.
- Viewed Homepage – Triggered when a visitor views the homepage.
- Viewed Product – Triggered when a visitor views a single product. Properties: Product Name
- Added to Cart – Triggered when a visitor adds an item to their cart, either on a single product page or via an AJAX link on category pages. Hooks into the ‘woocommerce_add_to_cart’ action, so custom add to cart links should track as well. Properties: Product Name, Quantity, Category, and Attributes if product is a variation.
- Removed from Cart – Triggered when a visitor removes an item from their cart. Properties: Product Name.
- Changed Cart Quantity – Triggered when a visitor increases or decreases the number of units in their cart. This event can be recorded very frequently if visitors to your site tend to have a large number of unique items in their cart. In this case, you can safely disable this event. Properties: Product Name, Quantity.
- Viewed Cart – Triggered when a visitor views the cart. This will also track when the cart is empty.
- Applied Coupon – Triggered when a visitor applies a coupon on either the cart or checkout. Properties: Coupon Code.
- Started Checkout – Triggered when a visitor starts the checkout process.
- Started Payment – Triggered when a customer starts the payment process. This will only track if you are a using a payment gateway that uses a “Pay” page, such as Braintree TR or Authorize.net AIM (most direct post payment gateways).
- Completed Purchase – Triggered when a customer completes their purchase. Properties: Order ID, Order Total, Shipping Total, Total Quantity, Payment Method. This will also set First Name, Last Name, Email, and Created Date properties on the visitor for later segmentation.
- Wrote Review – Triggered when a visitor writes a review of a product. This is tracked before spam processing, so if you get a lot of spam, you can consider disabling this event. Properties: Product Name.
- Commented – Triggered when a visitor writes a comment on a blog post. This is tracked before spam processing, so if you get a lot of spam, you can consider disabling this event. Properties: Post Title.
- Viewed Account – Triggered when a customer views the ‘My Account’ page.
- Viewed Order – Triggered when a customer views an order.
- Updated Address – Triggered when a customer updates their billing or shipping address.
- Changed Password – Triggered when a customer changes their password.
- Estimated Shipping – Triggered when a visitor estimates shipping from the cart page. Properties: Country.
- Tracked Order – Triggered when a customer submits the ‘Order Tracking’ form.
- Cancelled Order – Triggered when a customer cancels a pending order.
- Reordered – Triggered when a customer reorders a previous order.
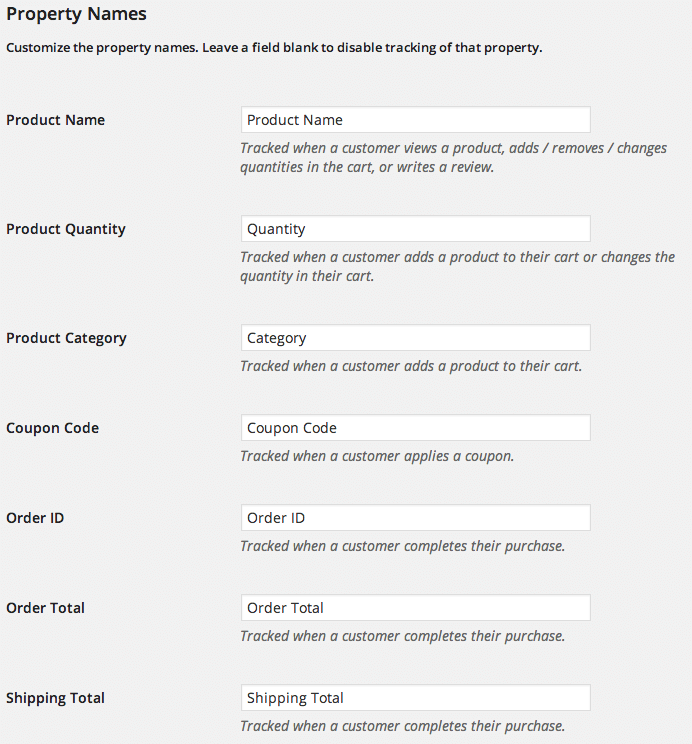
Customize Property Names
↑ Back to top- Product Name – Recorded when a visitor views a product, adds / removes / changes quantities in the cart, or writes a review.
- Product Quantity – Recorded when a visitor adds a product to their cart or changes the quantity in their cart.
- Product Category – Recorded when a visitor adds a product to their cart. Note this is the first category listed for the product. Any additional category names will not be tracked.
- Coupon Code – Recored when a visitor applies a coupon.
- Order ID – Recorded when a customer completes their purchase.
- Order Total – Recorded when a customer completes their purchase. Use this as the ‘revenue’ property within KISS Metrics. This includes shipping,taxes, and any applicable discounts.
- Shipping Total – Recorded when a customer completes their purchase.
- Total Quantity – Recorded when a customer completes their purchase. This is the unit total for the order.
- Payment Method – Recorded when a customer completes their purchase. This is the title of the payment method used for the order.
- Post Title – Recorded when a customer leaves a comment on a blog post.
Tracking Subscriptions
↑ Back to topSubscription Events
↑ Back to top- Activated Subscription – Recorded when a customer’s subscription is activated. Note that subscriptions are typically only activated after successful payment. Includes properties: Subscription Name, Total Initial Payment, Initial Sign up Fee (if applicable), Subscription Period, Subscription Interval, Subscription Length, Subscription Trial Period, Subscription Trial Length
- Subscription Trial Ended – Recorded when the free trial for a subscription ends. Includes properties: Subscription Name
- Subscription Expired – Recorded when a customer’s subscription expires. Includes properties: Subscription Name
- Suspended Subscription – Recorded when a customer’s subscription is suspended. Includes properties: Subscription Name
- Reactivated Subscription – Recorded when a customer’s subscription is reactivated. Includes properties: Subscription Name
- Cancelled Subscription – Recorded when a customer’s subscription is cancelled. Includes properties: Subscription Name
- Renewed Subscription – Recorded when a customer’s subscription is renewed. This can happen for both automatic renewals and manual renewals. Includes properties: Billing Amount and Billing Description.
Subscription Properties
↑ Back to top- Subscription Name – The name of the subscription product
- Total Initial Payment – The total initial payment for the subscription. Includes recurring amount and sign up fee.
- Initial Sign Up Fee – The initial sign up fee for the subscription. If none is set, this will be zero.
- Subscription Period – The period (e.g. Day, Month, Year) for the subscription.
- Subscription Interval – The interval (e.g. every 1st, 2nd, 3rd, etc) for the subscription.
- Subscription Length – The length (e.g. 8 weeks, 6 months, 1 year) of the subscription.
- Subscription Trial Period – The period (e.g. Day, Month, Year) for the subscription trial.
- Subscription Trial Length – The length (e.g. 1-90 periods) for the subscription trial.
- Billing Amount – The amount billed to the customer when their subscription renews.
- Billing Description – The name of the subscription billed for subscription renewals.
Tracking Custom Data
↑ Back to topTracking Custom Events
↑ Back to topwc_mixpanel()->get_integration()->custom_event( $event_name, $properties );Event name can be set as a string, while properties are passed as an array with property name => value. The
custom_event() can also be called without properties by omitting the second parameter.
You can modify this sample snippet according to your needs with the help of a developer.
Tracking Custom User Properties
↑ Back to topwc_mixpanel()->get_integration()->custom_user_properties_api( $properties, $user_id );Here’s some example placeholder code, along with a live example to show the last subscription amount billed: View sample code.
Privacy & cookies
↑ Back to topCookie usage
↑ Back to topGDPR & PECR
↑ Back to topTroubleshooting
↑ Back to top- Check that your Token is correct.
- Double-check that your Token is correct 😉
- View the source of your homepage to make sure the Mixpanel javascript code exists
- Use the “Streams” view within your Mixpanel account to see if tracking data is being logged correctly. Click on “Events” and then open a different browser (or an incognito window within Google Chrome) and browse to your site and perform a few actions. You should see yourself show up in the “Events” view.
- Submit a support ticket detailing the issue and that you’ve already taken the steps above.
Known Issues
↑ Back to top- Admin / Shop Manager users are still tracked as “Visited Site” when visiting the website to login. There is no way to prevent this, since we don’t know they’re admin users until they login.
- If a customer is click happy and double / triple clicks an AJAX add to cart link, the ‘added to cart’ event may be recorded multiple times.