Note: This product is no longer sold on WooCommerce.com. This document was left available to you for help with configuration and troubleshooting, but is no longer updated.
Overview
↑ Back to topEngageBay Integration for WooCommerce plugin connects your WooCommerce store with EngageBay CRM allowing you to sync your WooCommerce Orders and Customers on EngageBay.
By default, only two (Contacts & Deals) syncs are available. For orders and customers, you must add new feeds for syncing.
Installation
↑ Back to top- Download the .zip file from your WooCommerce account.
- Log into your WordPress Dashboard and navigate to Plugins > Add New.
- Click on the Upload Plugin button on top and upload the zip file of the plugin.
- Install the plugin and click Activate to get started.
Dashboard
↑ Back to topThe dashboard displays the number of contacts and orders that are successfully synchronized over EngageBay. It also includes the option to disconnect and check connections.
Feeds
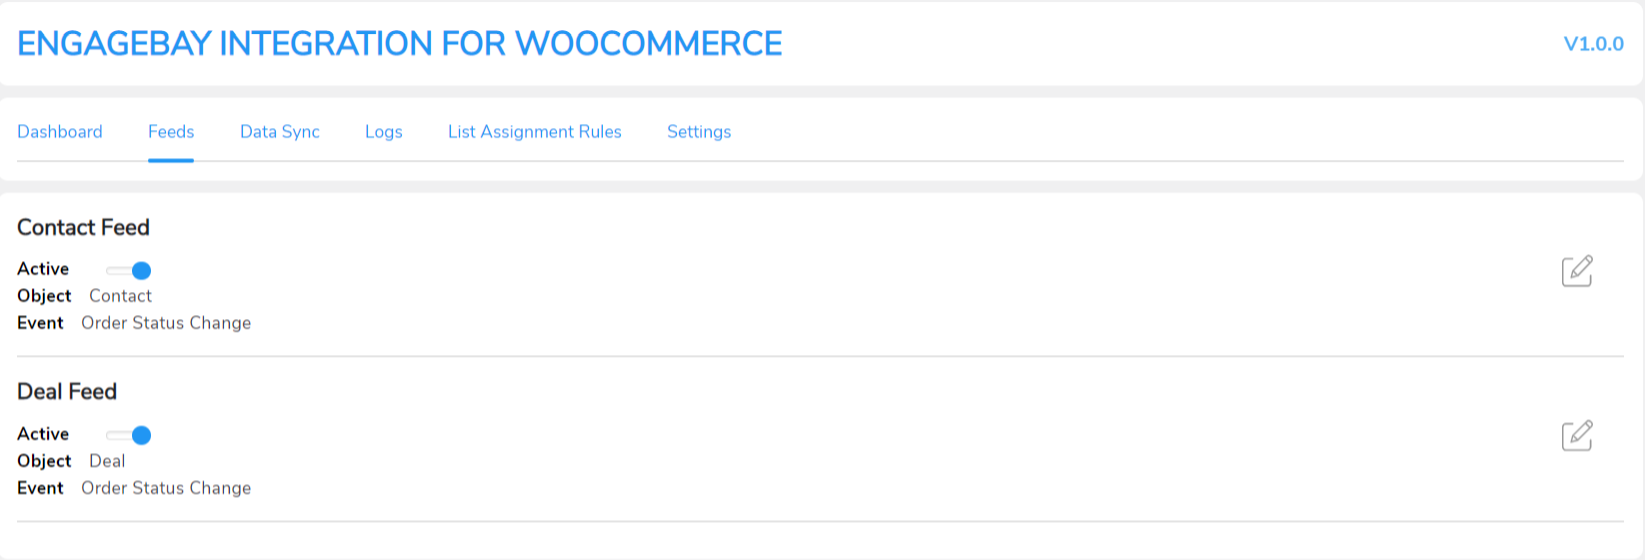
↑ Back to topFeeds are a set of rules that define how the data will sync over EngageBay.
The Feeds section in this plugin displays 2 feeds you can use to sync your data. The plugin creates 2 feeds to sync data of 2 different WooCommerce objects. The feeds are:
- Contacts Feed
- Orders Feed
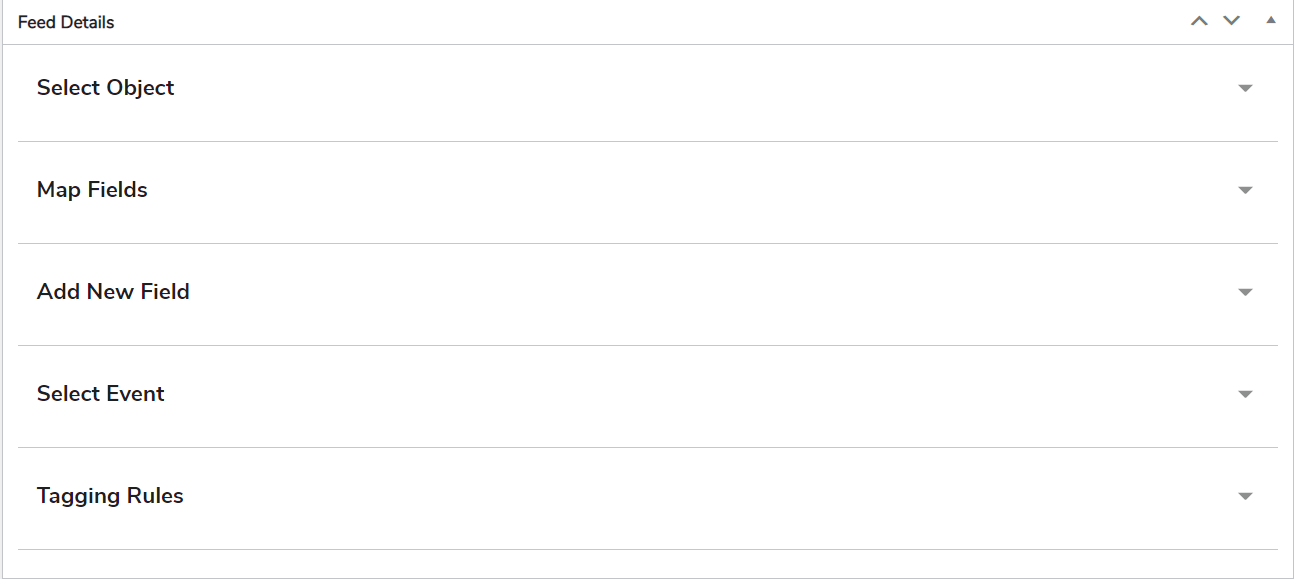
To customize your feeds, click on Edit under Settings. The following settings are available:
- Select Object: This setting lets you select the WooCommerce object you want to sync the data for.
- Map Fields: This setting helps you map a field to the value it will contain. For example, you can map a Billing Address field with the address to make sure it stores the correct value.
- Add New Field: This setting helps you add a new field in the feed. If you want to sync additional data, you can add that field to the respective feed.

- Select Event: This setting lets you select the event that triggers the data synchronization.

Data Sync
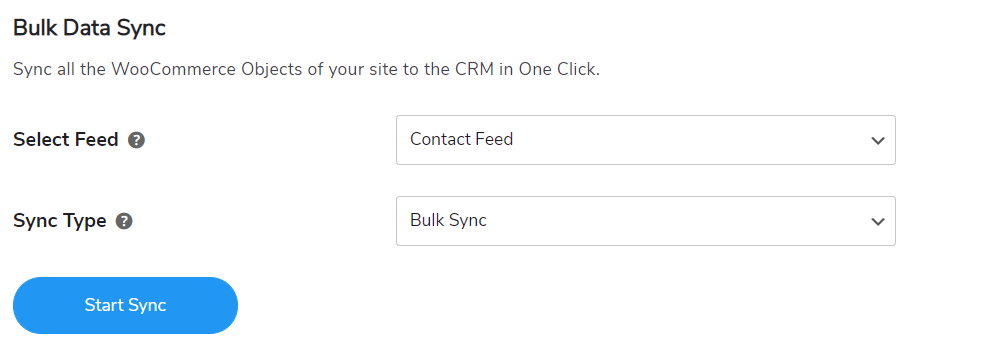
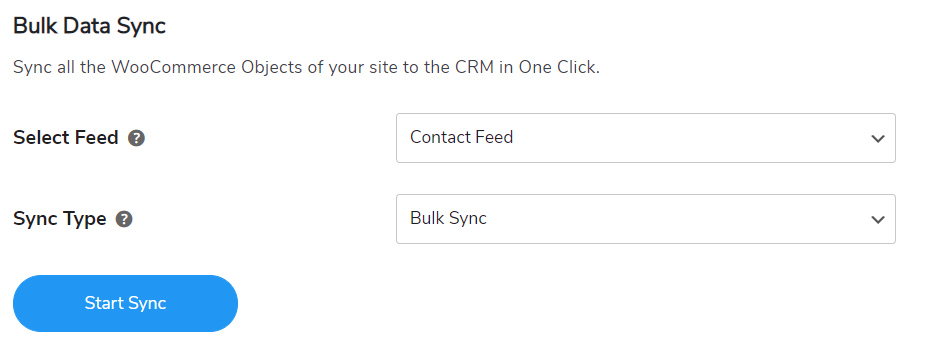
↑ Back to topThe data sync tab helps you with data synchronization. Two different options are available here:
- Bulk Data Sync: Bulk Data sync synchronizes all the data (including historical data) of the selected object.
Logs
↑ Back to top
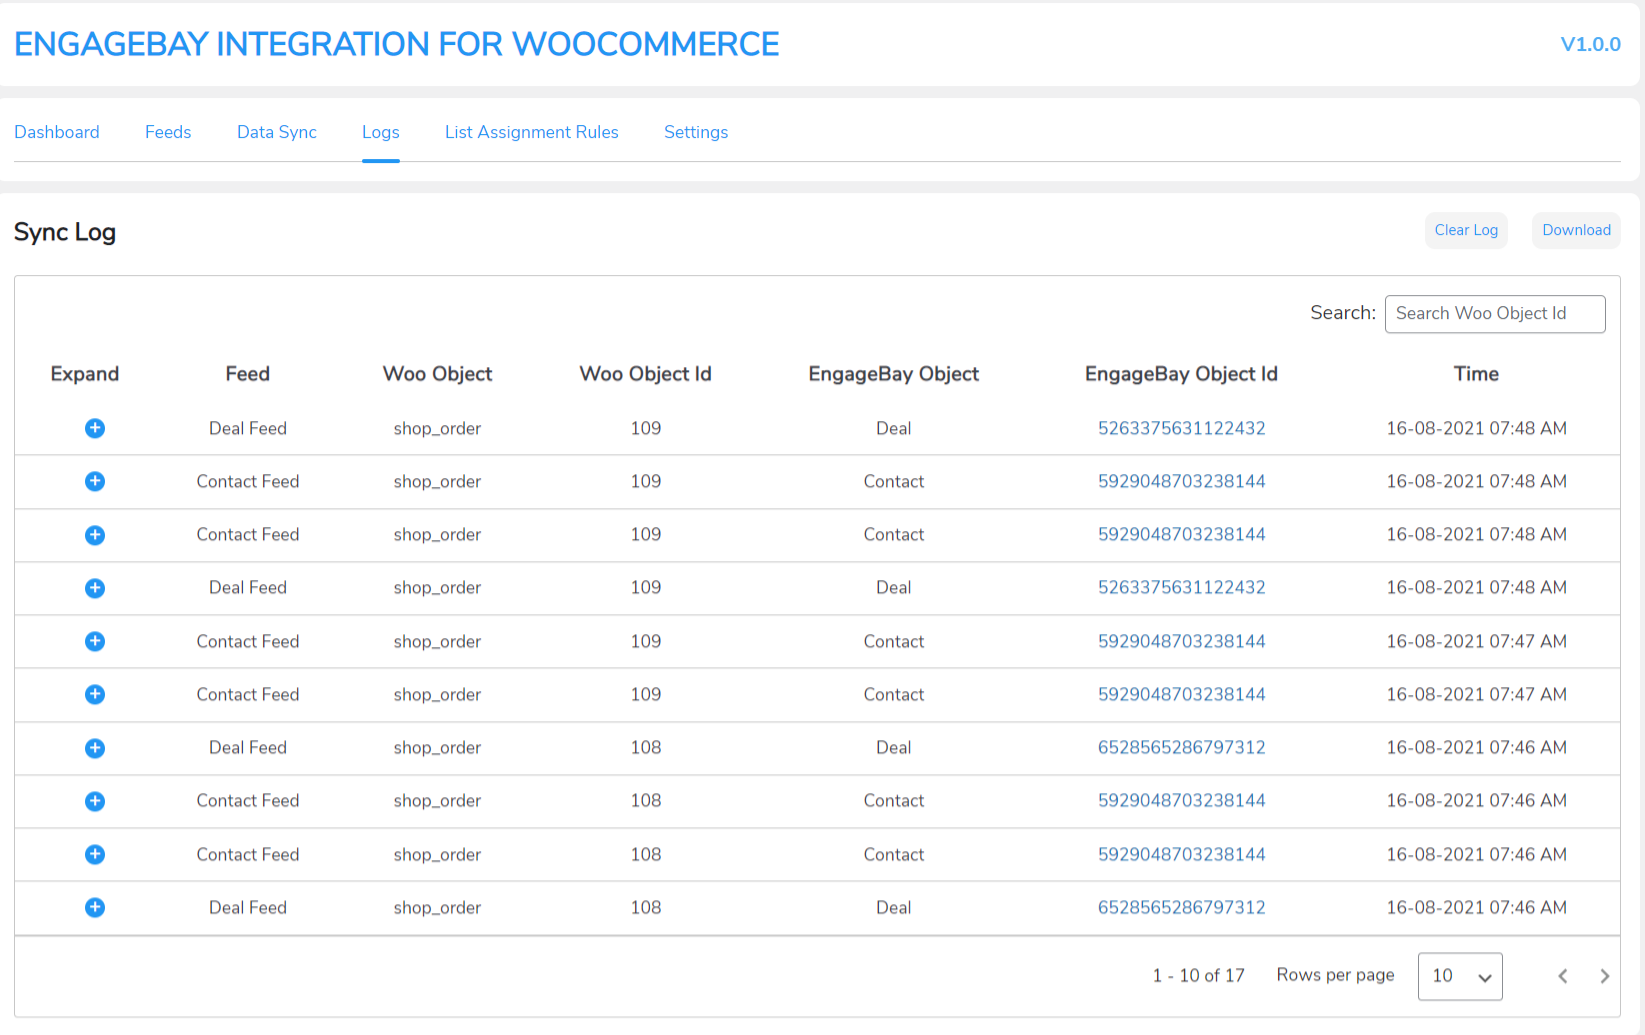
The Logs section shows any errors that occurred during the data sync process. This tab contains multiple details for each log. Also, these logs show whenever a request is sent to EngageBay and its response. Examples are listed here:
- Feed: Displays which feed the error occurred in.
- Woo Object: Displays the WooCommerce object.
- Woo Object Id: Displays the WooCommerce object ID.
- EngageBay Object: Displays the QuickBooks object.
- EngageBay Object Id: Displays the QuickBooks object ID.
- Time: Displays the timestamp the error occurred at.
List Assignment Rules
↑ Back to top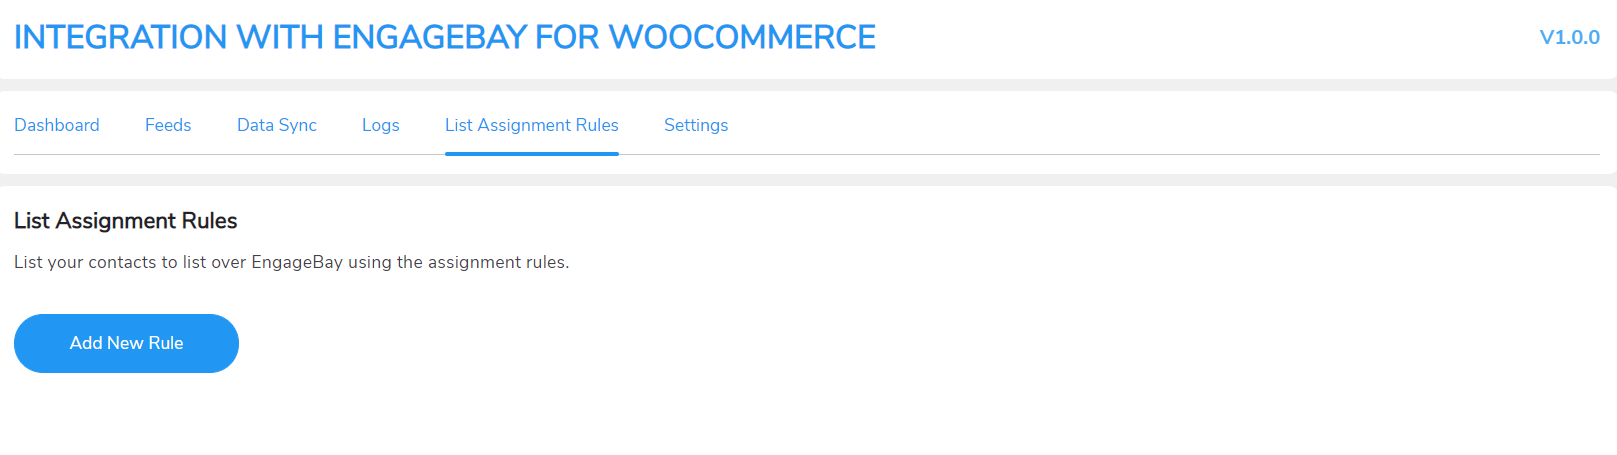
You can list particular contacts in list-by-list assignment rules.
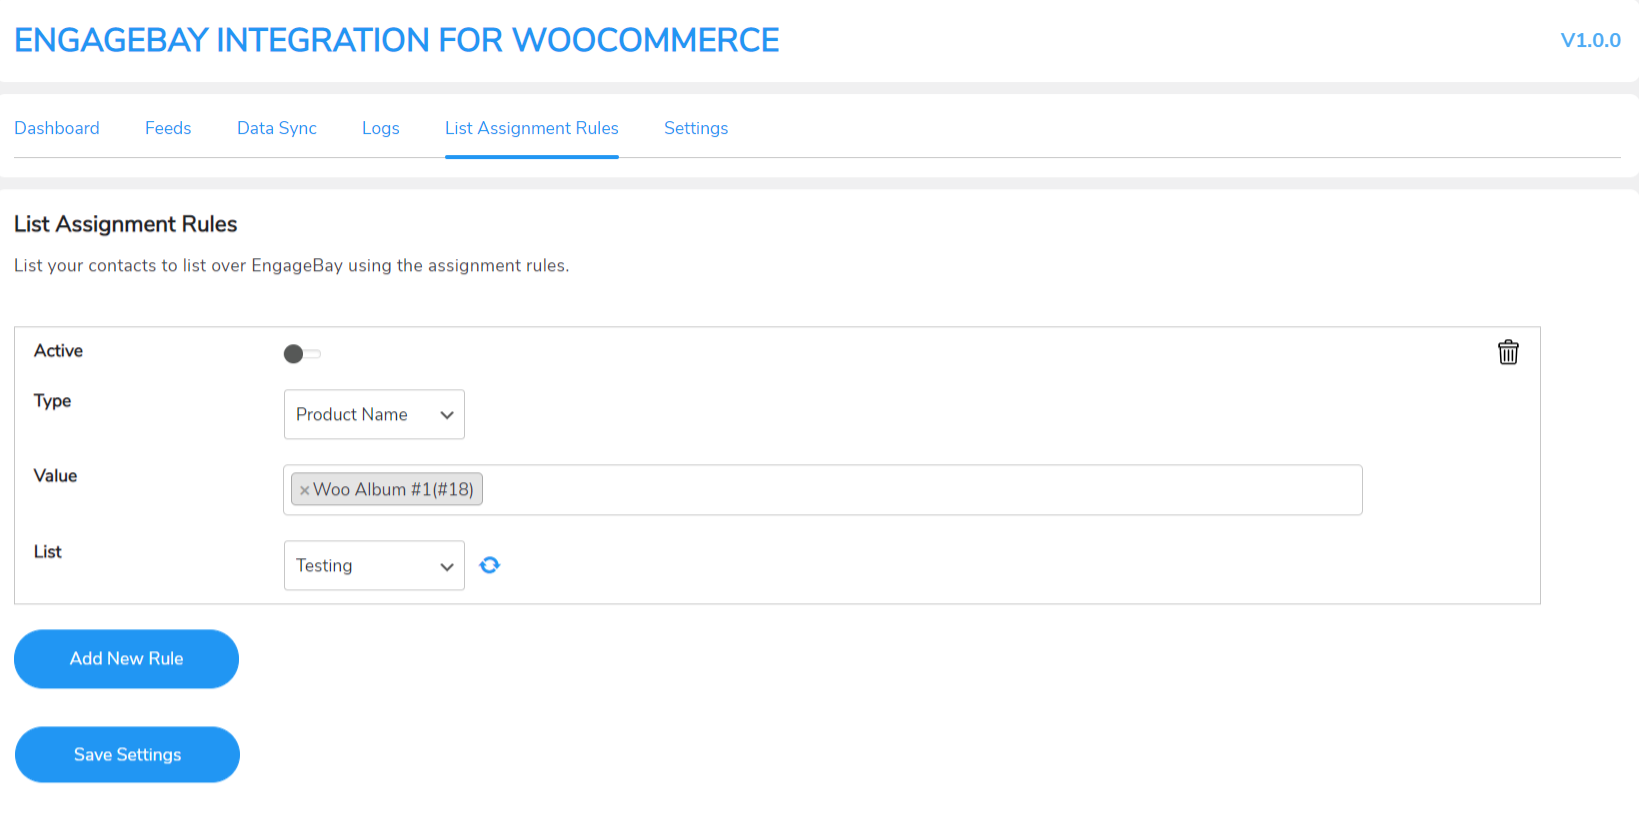
- Type: This option allows you to add a contact in a list according to Product Name/Product SKU/Product Type/Product Category.
- Value: This option will allow you to choose your Product name, etc.
- List: This option will select the list for contact.
Settings
↑ Back to topThree settings are available here:
-
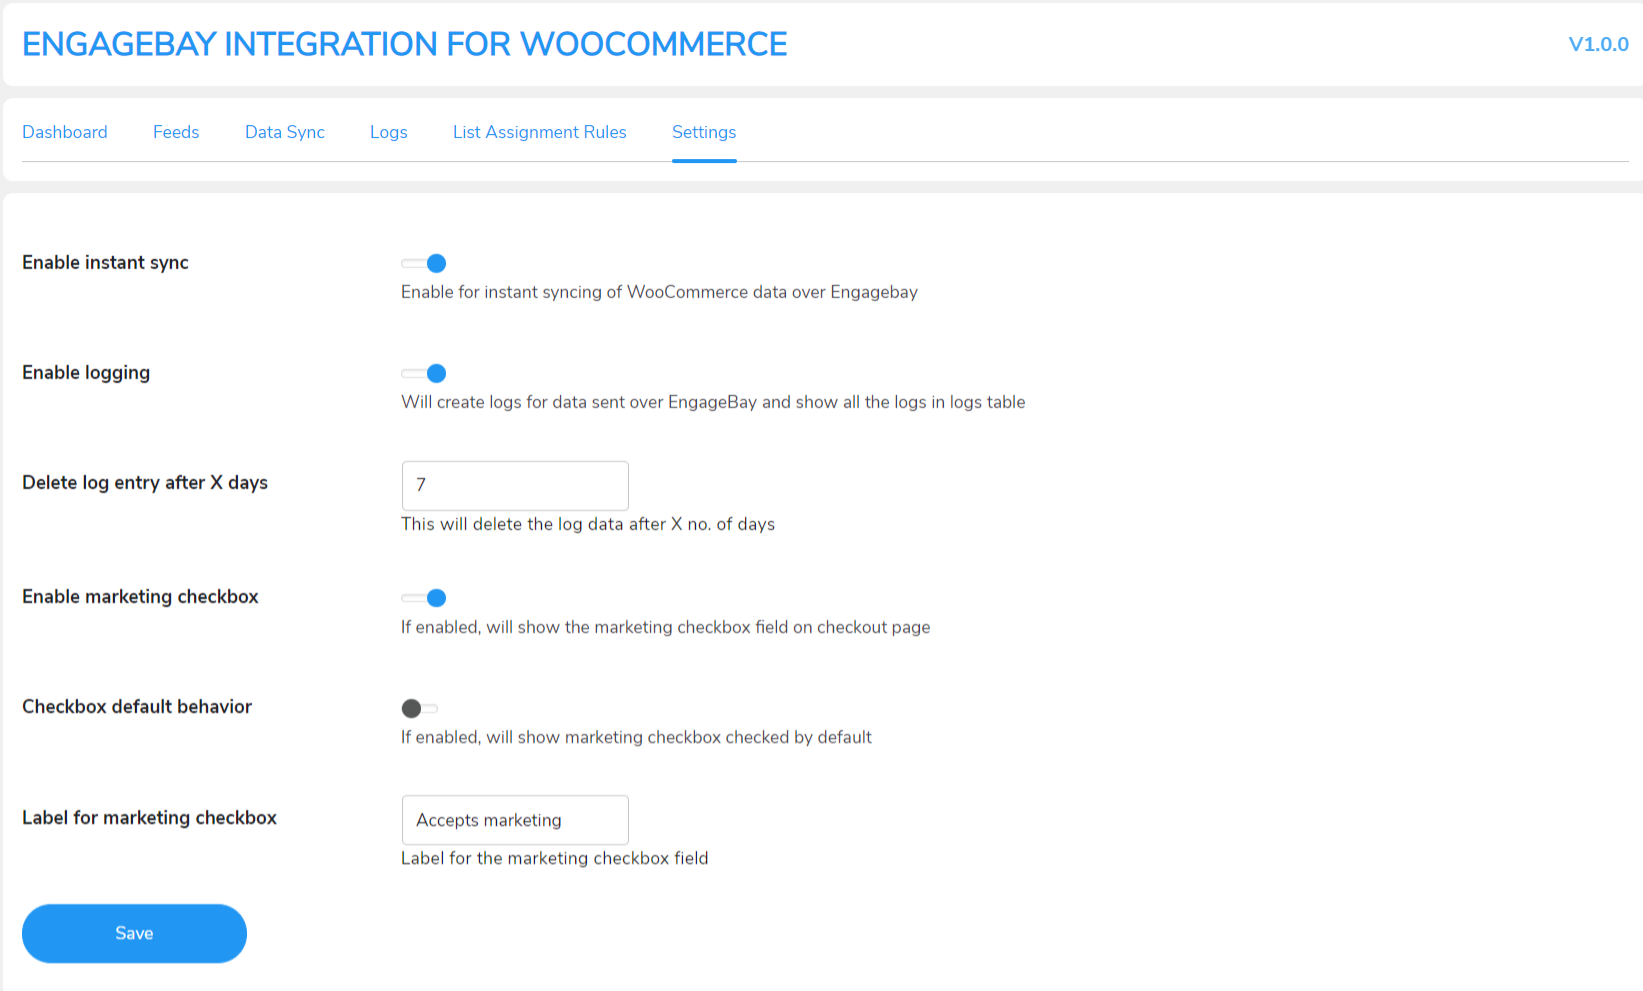
- Enable instant sync: When you enable this toggle, WooCommerce data is instantly synced to EngageBay. If you turn off this option, you’ll have to manually sync the data from the Data Sync tab. You can also sync the data manually by opening the order page.
- Enable logging: Enabling this option allows you to save sync log errors. If you deactivate this option, no logs will be saved.
- Delete log after x days: This option will let you select the number of days you want to store the sync logs for. For example, selecting 30 days will store the logs for 30 days and be deleted after that.
- Enabling marketing checkbox: The enabling of this option will allow you to show the marketing checkbox field on the checkout page so that customers can allow marketing emails etc. and that data will add in the custom fields.
- Checkout default behavior: The enabling of this option will allow you to show the marketing checkbox checked by default.
FAQs
↑ Back to topQ1. How will this plugin EngageBay Integration for WooCommerce help me?
This plugin will help in sending Woocommerce Data as Contact and Deals over Engagebay CRM according to feed mapping
Q2. Is this possible to create contact over the CRM?
Yes you can create Contacts based on Order data over Engagebay CRM
Q3. Is it also possible to create deals with this Engagebay CRM?
Yes it’s possible to create Deals based on Order data over Engagebay CRM
Q4. Can we create tags with this, if yes then for which role?
Yes we can create contact tags for product name, product SKUs, category, user role
Q5. Can we also map the deals with the CRM?
Yes with this CRM you can map the deal stages with WooCommerce Order Statuses
Q6. What is the possibility to sync the data with this CRM?
You can sync the data with this CRM. We have given various options for this to do.
Q7. What are the available options to sync the data?
We have given three options to sync the data i.e. Instant Data sync, Manual Data sync, Bulk Data sync
Q8. Is this also possible to delete the data over the CRM?
Yes we have provided two options to do this, you can manually delete the log and automatic delete the log.