WooCommerce Follow-ups is a premium extension.
Following up automatically with customers that have a completed order is important. There are many reasons to utilize Follow Up Emails versus the core WooCommerce emails. Some of these reasons include:
- The ability to customize email templates by product or category
- The ability to send a series of emails after the order completes
- The ability to customize receipt emails based upon the products ordered
Click either the “Create New Follow-Up” button new the top of the page or the “New Email” link in the Follow-up Emails navigation menu.

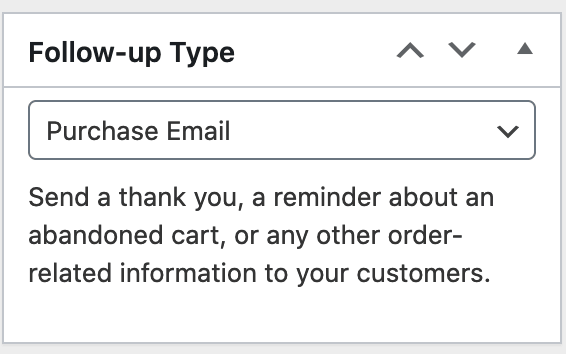
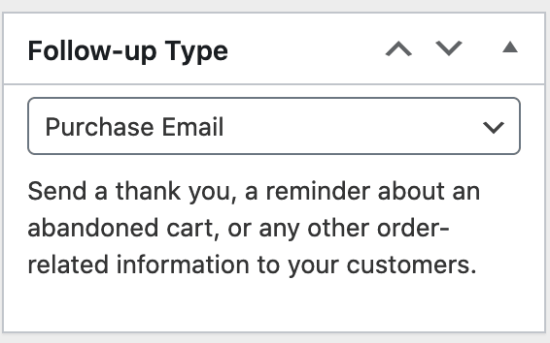
Next, you will want to make sure that you’ve set the correct Follow-up Type. For this tutorial, we will use the “
Purchase Email” type, but you could use Subscriptions as well if you want to notify users of failed subscription payments.
Now enter a name for your email. The
Follow-up name is used by you internal for reporting and tracking the email in the future. The
subject line is the subject line that will be sent when this email is triggered and sent to your customer. Your email must have a subject line to be sent.

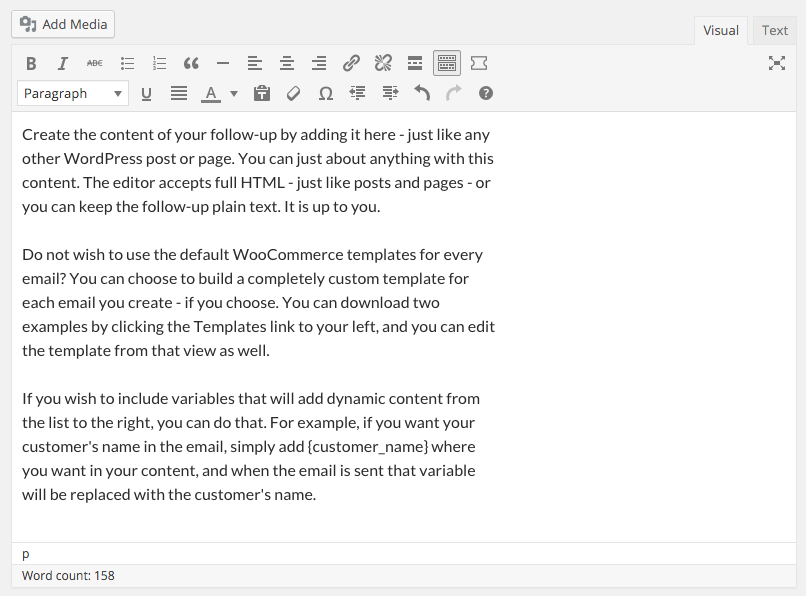
Create the content of your follow-up by adding it here – just like any other WordPress post or page. You can just about anything with this content. The editor accepts full HTML – just like posts and pages – or you can keep the follow-up plain text. It is up to you.
If you wish to include variables that will add dynamic content from the list to the right, you can do that. For example, if you want your customer’s name in the email, simply add {customer_name} where you want in your content, and when the email is sent that variable will be replaced with the customer’s name.
See all the variables here.
For the sake of this tutorial, we will keep the trigger simple, but you can certainly add more complexity if necessary. I am going to define this email to be triggered:
1 minute after the order status is: completed
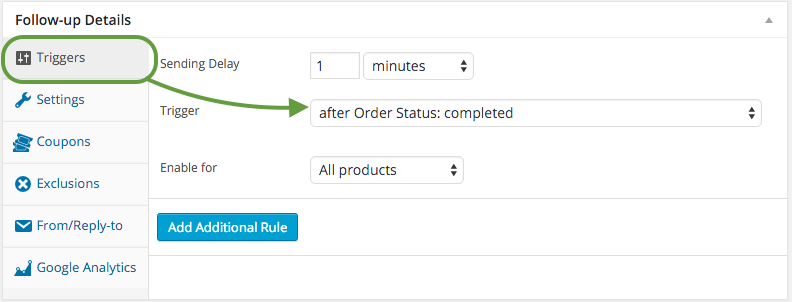
Now, every time an order ends up in the completed status, this email will be trigger to send 1 minute after that occurs.
Follow Ups give you the ability to narrow down emails to the product or category level. Simply click the “
Enable for” dropdown, and change “All products” to:
- A specific category
- A specific product
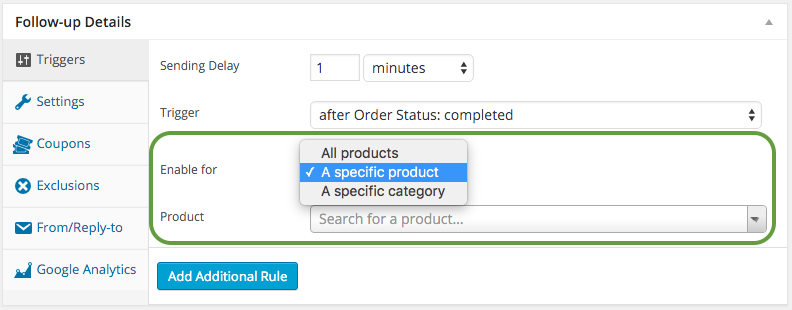
Then you can choose the specific category or product you wish to send the email for.
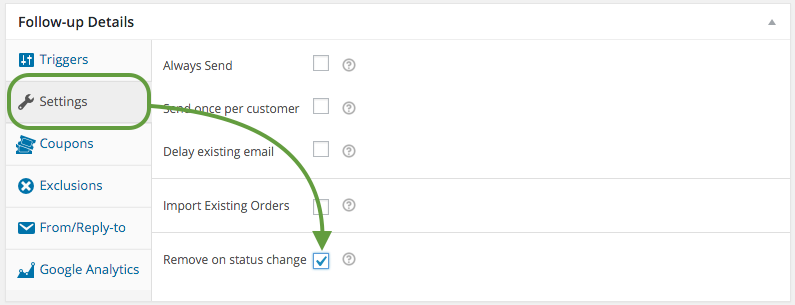
Do not worry, if the order status changes, this email will not be sent. To ensure this is the case, next we will want to click the “
Settings” tab in the “
Follow-up Details” section, and check the box next to “
Remove on status change“.
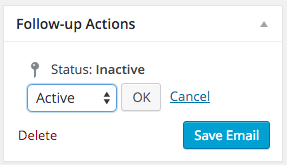
Now you just need to set your email as active and save it, and you’ll be all set for emails to send when your customer’s order status changes to completed.