WooCommerce Follow-ups is a premium extension.
Automatically warning or notifying your subscribers of an impending subscription expiration can be a key function to ensuring your recurring revenues. Letting subscriptions expire without notifying your customers could have these negative effects:
- Decrease in revenue
- Decrease in subscriber counts
- More difficulty in winning back that subscriber
With Follow Ups, you can easily head these issues off at the pass by engaging your customers early, and ensuring that their subscriptions do not lapse.
Click either the “Create New Follow-Up” button new the top of the page or the “New Email” link in the Follow-up Emails navigation menu.

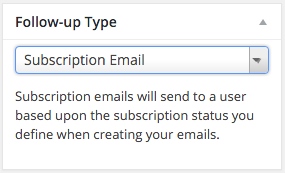
Next, you will want to make sure that you’ve set the correct Follow-up Type. For this tutorial, we will use the “
Subscriptions Email” type.
Now enter a name for your email. The
Follow-up name is used by you internal for reporting and tracking the email in the future. The
subject line is the subject line that will be sent when this email is triggered and sent to your customer. Your email must have a subject line to be sent.

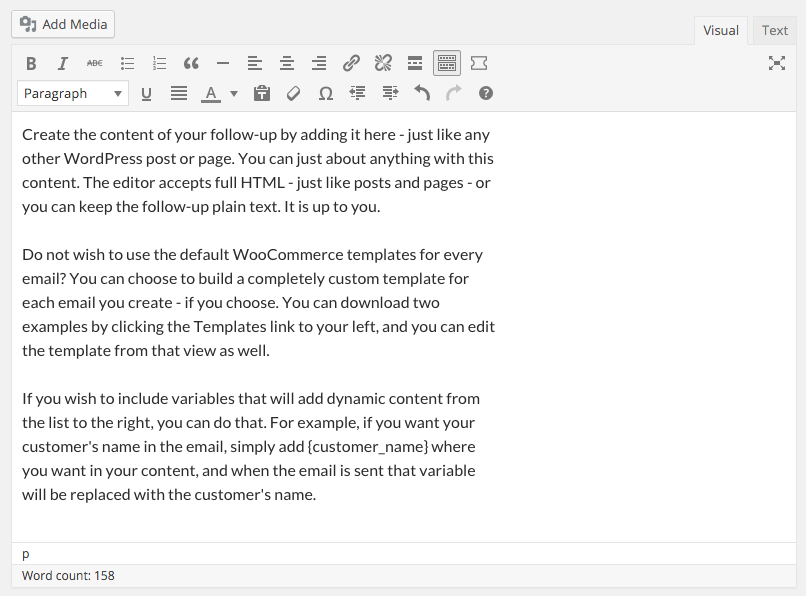
Create the content of your follow-up by adding it here – just like any other WordPress post or page. You can just about anything with this content. The editor accepts full HTML – just like posts and pages – or you can keep the follow-up plain text. It is up to you.
If you wish to include variables that will add dynamic content from the list to the right, you can do that. For example, if you want your customer’s name in the email, simply add {customer_name} where you want in your content, and when the email is sent that variable will be replaced with the customer’s name.
See all the variables here.
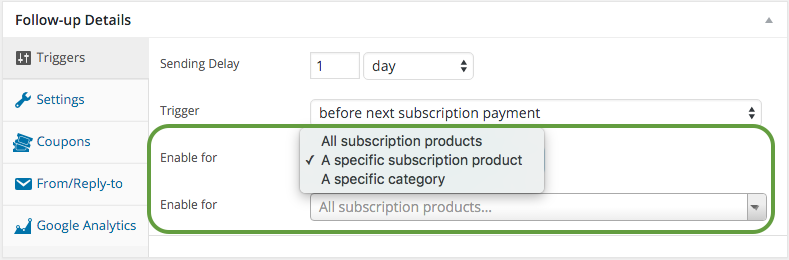
For the sake of this tutorial, we will keep the trigger simple, but you can certainly add more complexity if necessary. I am going to define this email to be triggered:
1 day before active subscription expires
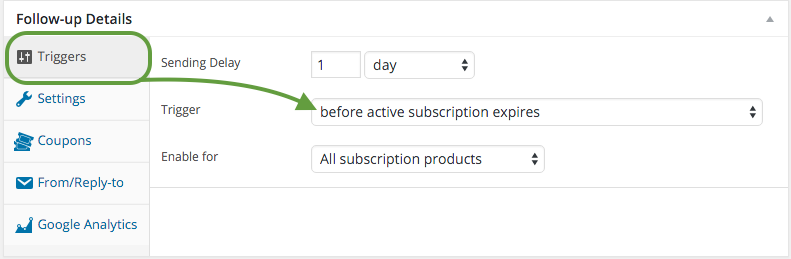
Now, every time a subscription coming up on its expiration date, this email will be triggered to send 1 day prior. Do not worry, if the subscription status changes and the subscriber renews, this email will not be sent. Subscription emails always check the current status of the subscription at send time.
Follow Ups give you the ability to narrow down emails to the product or category level. Simply click the “
Enable for” dropdown, and change “All products” to:
- A specific category
- A specific subscription product
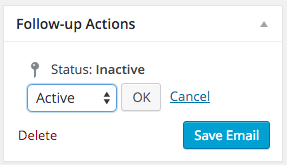
Now you just need to set your email as active and save it, and you’ll be all set for emails to send when your customer’s subscription is suspended.