The WooCommerce Authipay Gateway allows you to take payments via Authipay by AIB merchant services. An Authipay account is required: http://www.authipay.com/
Note: This product is not available on WooCommerce.com. Documentation is no longer being updated.
Installation
↑ Back to top- Download the .zip file from your WooCommerce account.
- Go to: WordPress Admin > Plugins > Add New to upload the file you downloaded with Choose File.
- Activate the extension.
Setup and Configuration
↑ Back to top- Store ID – This is the ID of the store that was given to you by AIB Merchant Services. For example: 13123456789.
- Shared Secret – This is the shared secret provided to you by AIB Merchant Services.
- Enable Test Mode if you would like to test before going live. Real payments can only occur if disabled.
- Confirmation Page (“Thank You”) : Tick -> Automatically display specified URL after the payment process
- Failure Page (“Sorry”) : Tick -> Automatically display specified URL after the payment process
- Overwrite Store URLs : Tick-> Allow URLs to be overwritten by those in the request of Connect transaction
Checkout Flow
↑ Back to top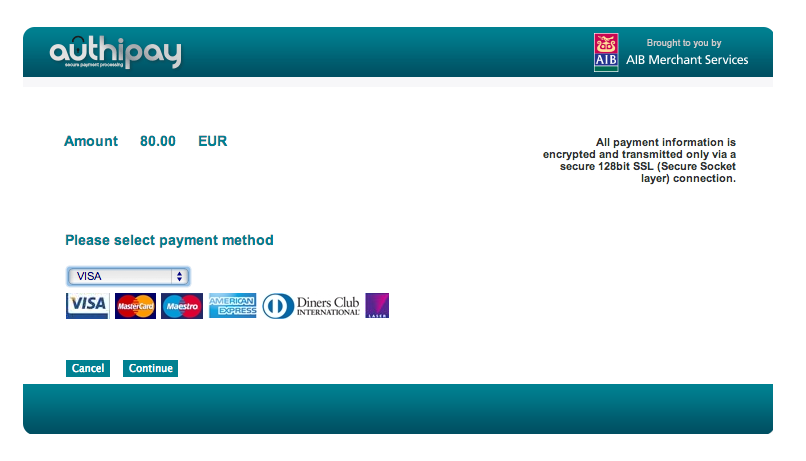 After payment the order is marked Processing and the Thanks page is shown to the customer.