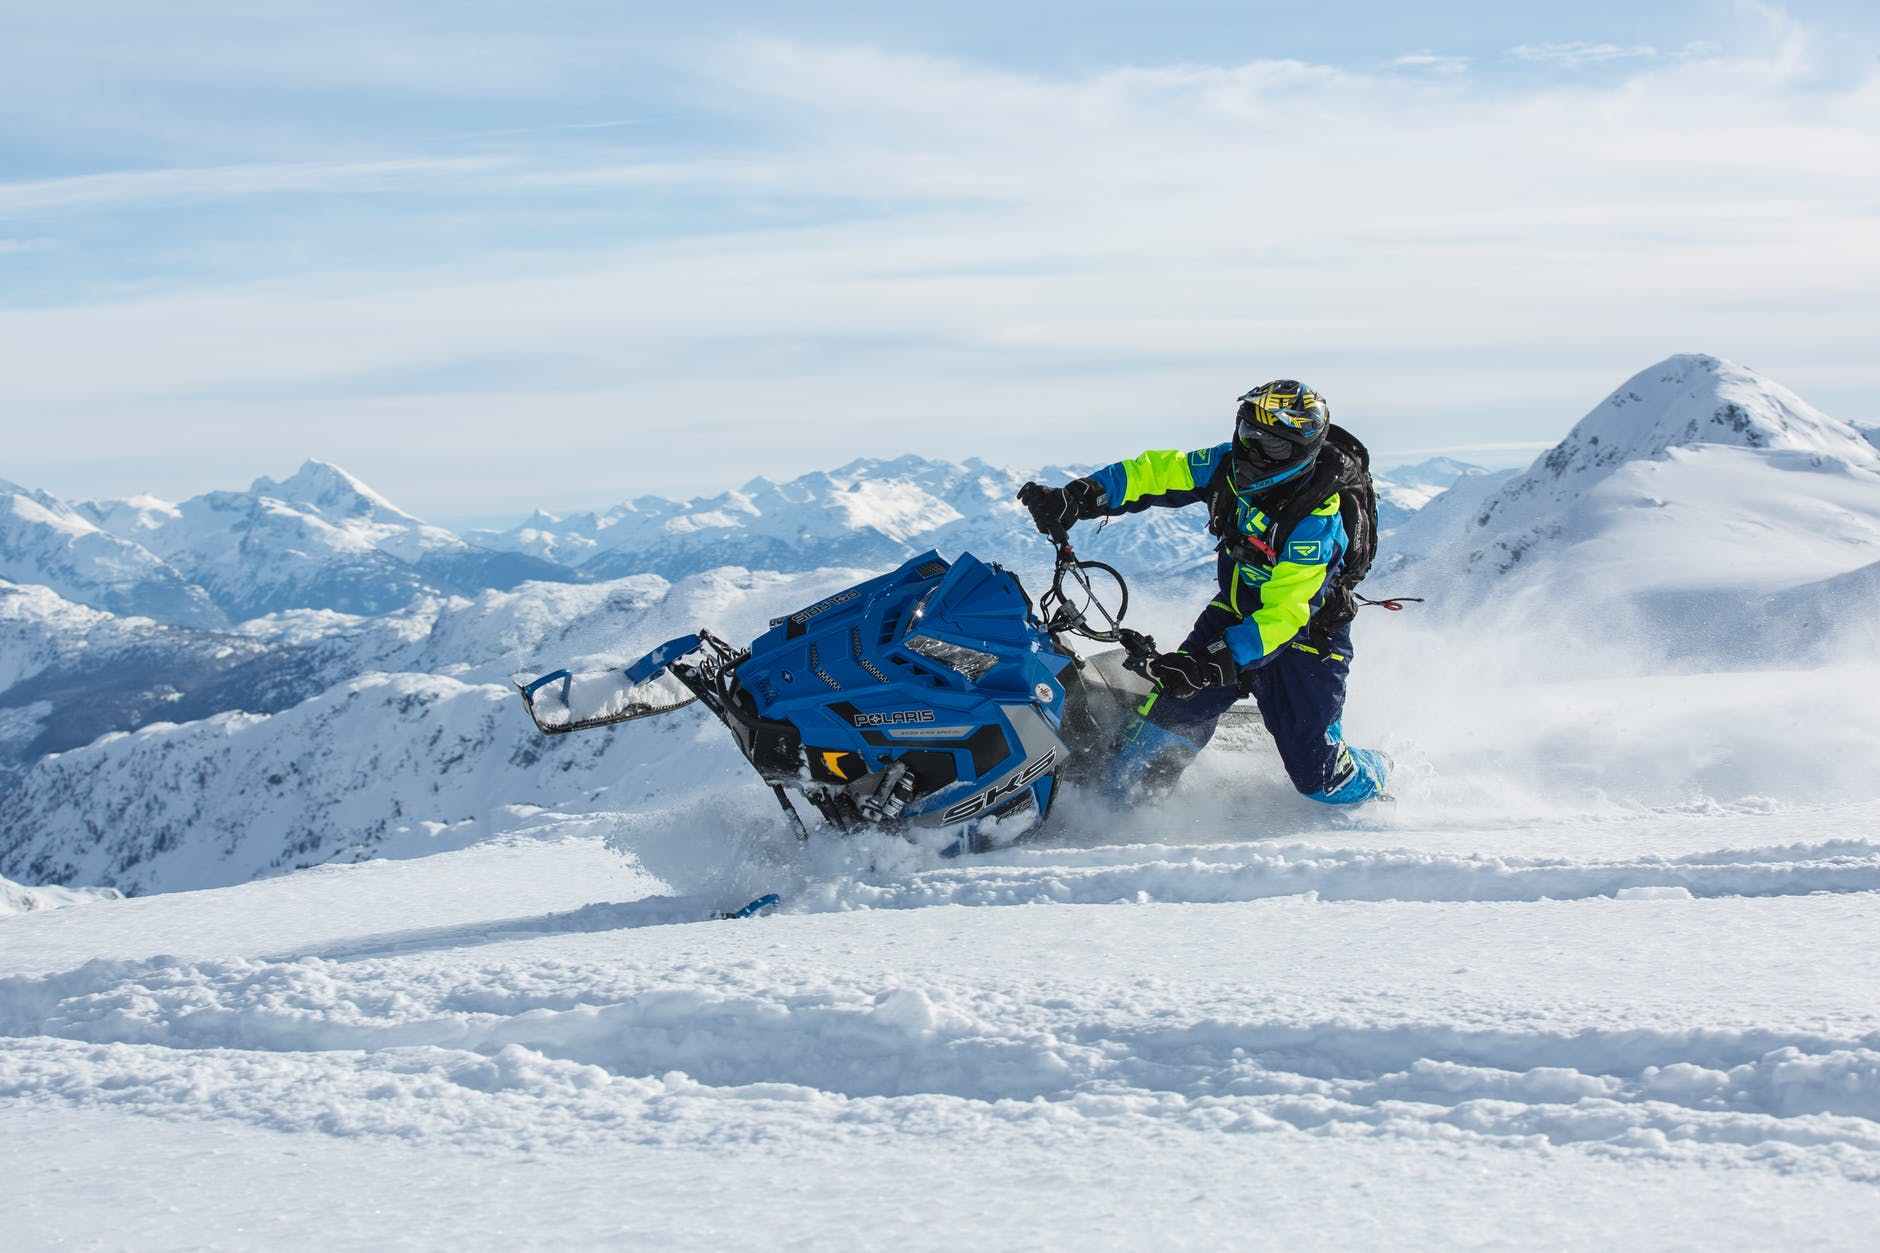
You own an Arctic Adventure business where you offer two packages. A
basic and a
premium. You have 40 snowmobiles that can be rented at any given time. The basic package is for a group of up to 40 people which allows you to select the amount of snowmobiles you will be renting. With the premium package you would like for all 40 snowmobiles to be automatically reserved if a customer reserves a time. This package is often used by companies with employees that will be using the snowmobiles.
This example will show you how to configure both the basic and premium bookable products. There are two important rules.
- If there are snowmobiles already used by the basic package, then the premium package is not available because it requires 40 snowmobiles to be available.
- If a customer reserves time on the premium booking, then all 40 snowmobiles must not be available to the basic package for the reservation, essentially reserving all 40 snowmobiles.
We’ll need to first create two Bookable Products, one for each location. We will call ours Uptown and Downtown.
- In the sidebar of your WordPress Admin, click on Products.
- Click on the Add New button on the top.
- Under Product data select
Bookable product.
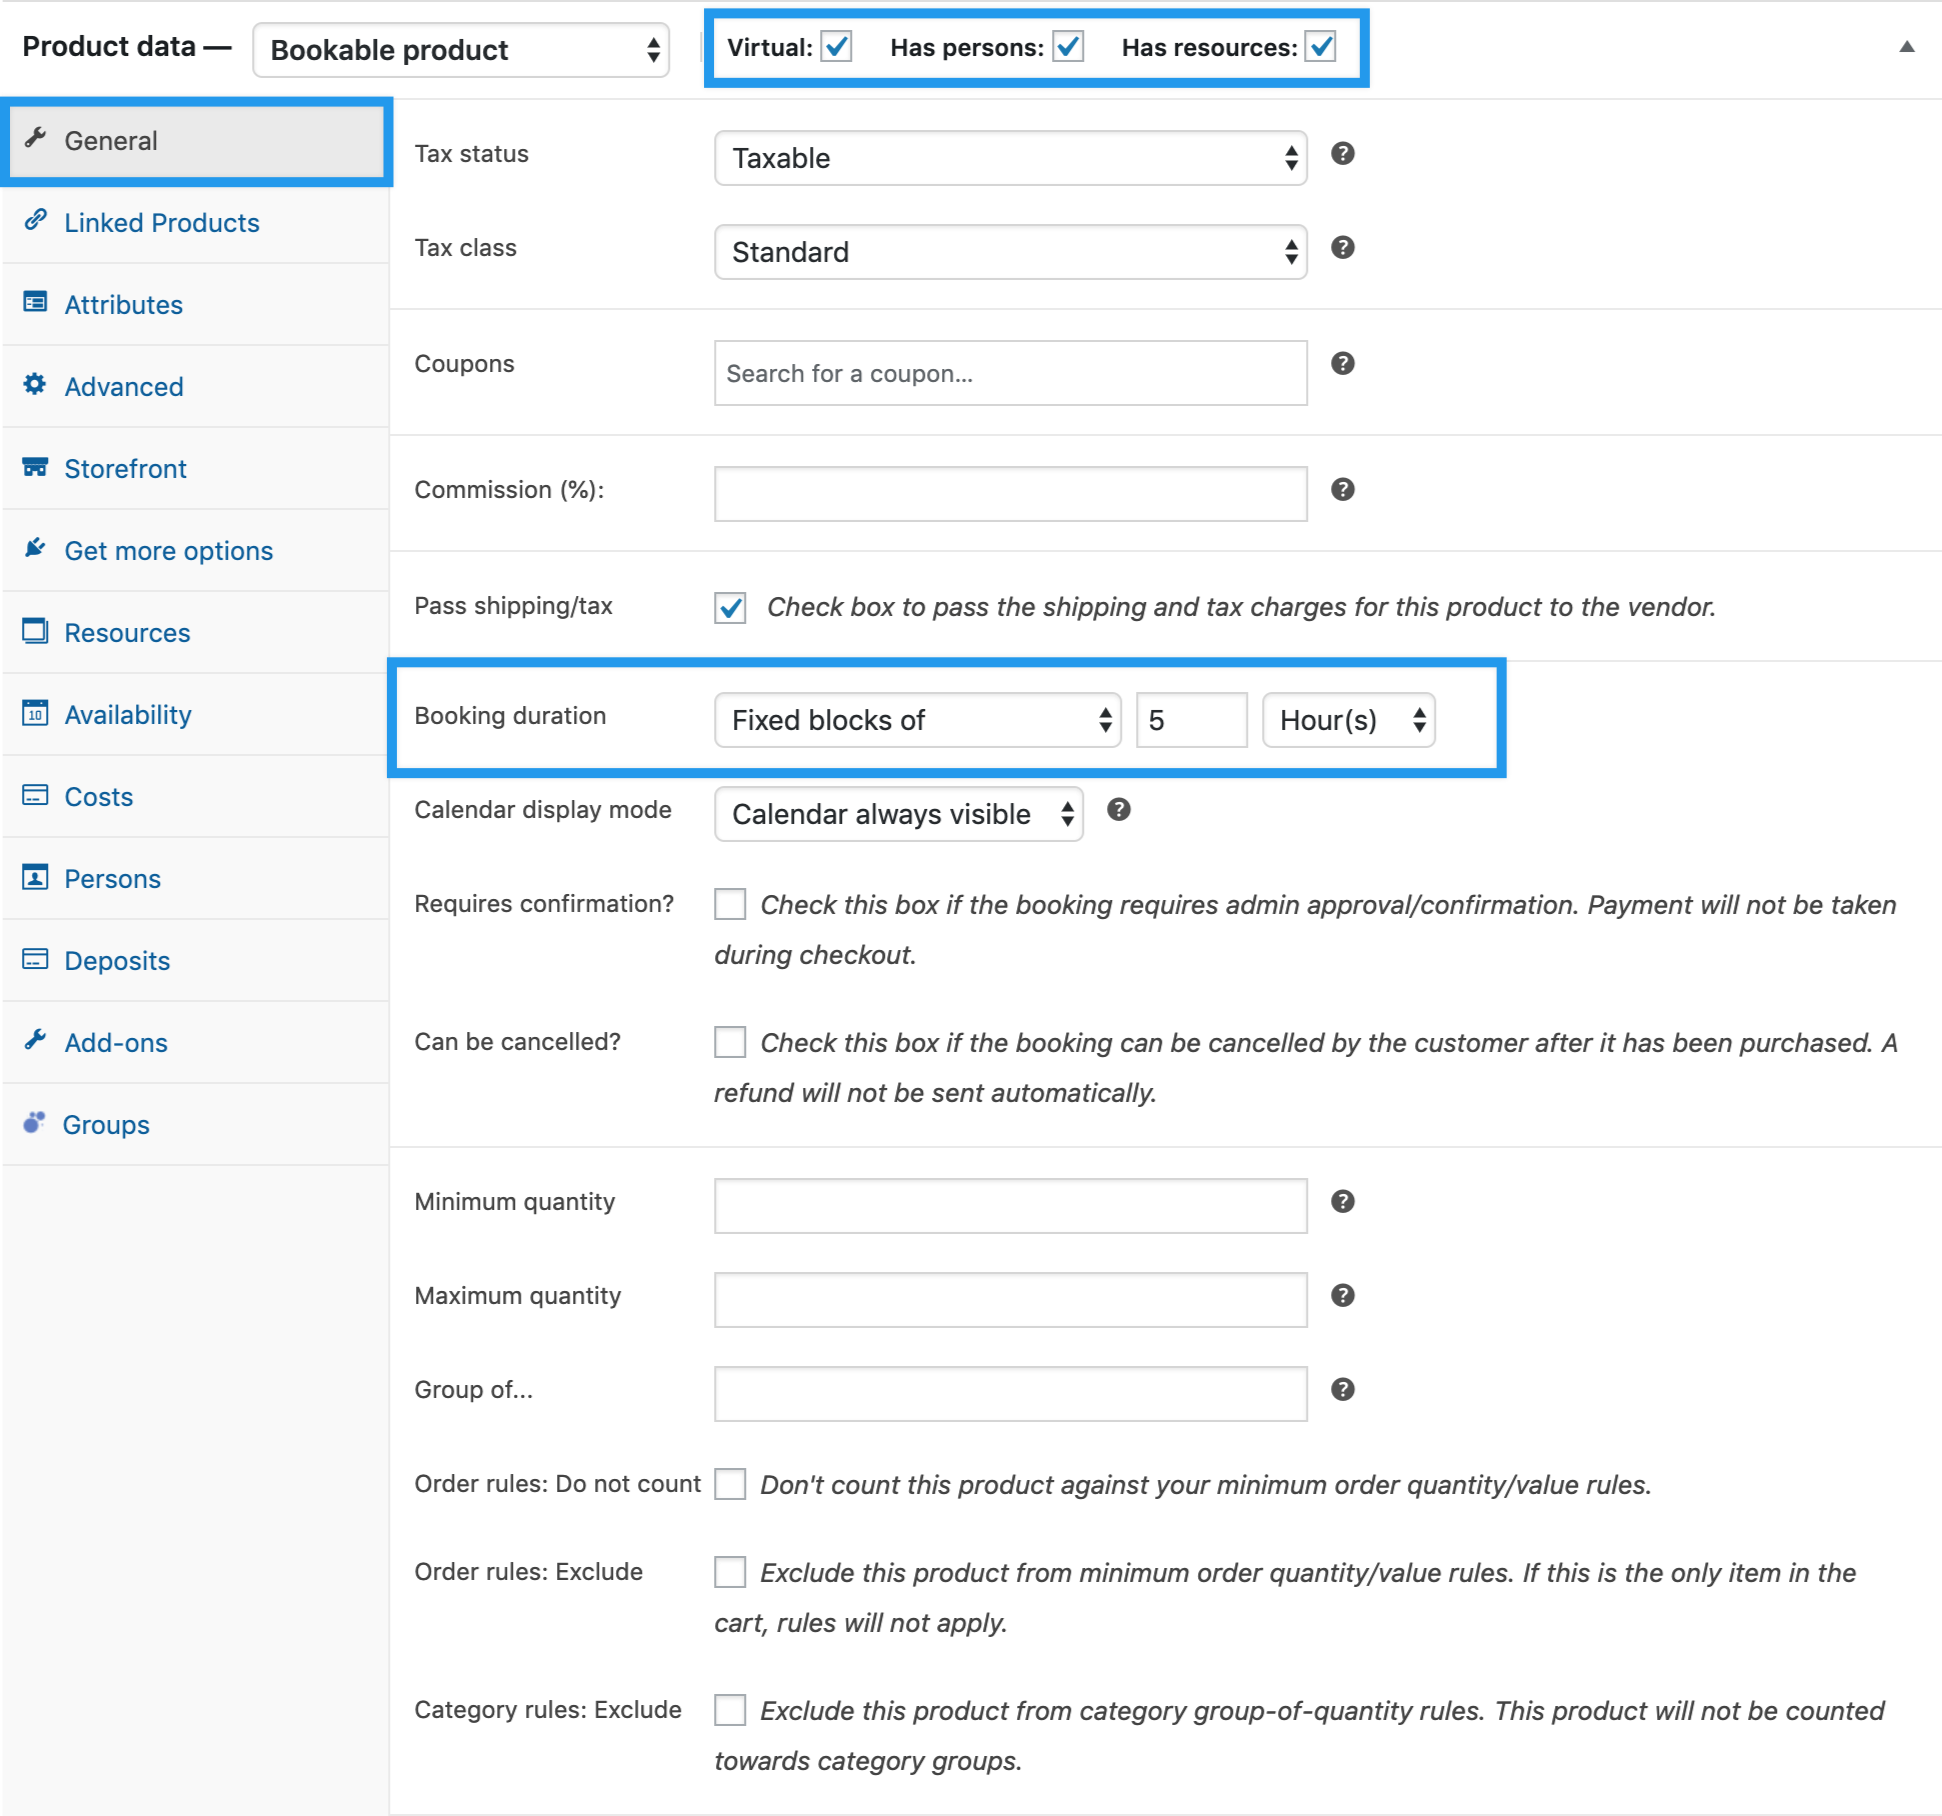
- To the side of the Product data box you will then tick the checkboxes for Virtual, Has Persons, and Has Resources.
You’ve created a basic Bookable Product that we can use for our two packages. Now it’s time to configure the product. There are primarily four tabs that we are concerned with.
- Product is
Virtual (no need to ship anything).
- Product Has Persons.
- Product Has Resources.
- product has Fixed blocks of
5 hours.
This is where you configure how your resources will be used. We talk about how to create a resource further down. We want our resources to be selectable by our customers, instead of being automatically assigned.
- Product has Resources are
Automatically Assigned.
- You can add resources by clicking on the Add/link Resource button.
- Set the price for the resource as desired.
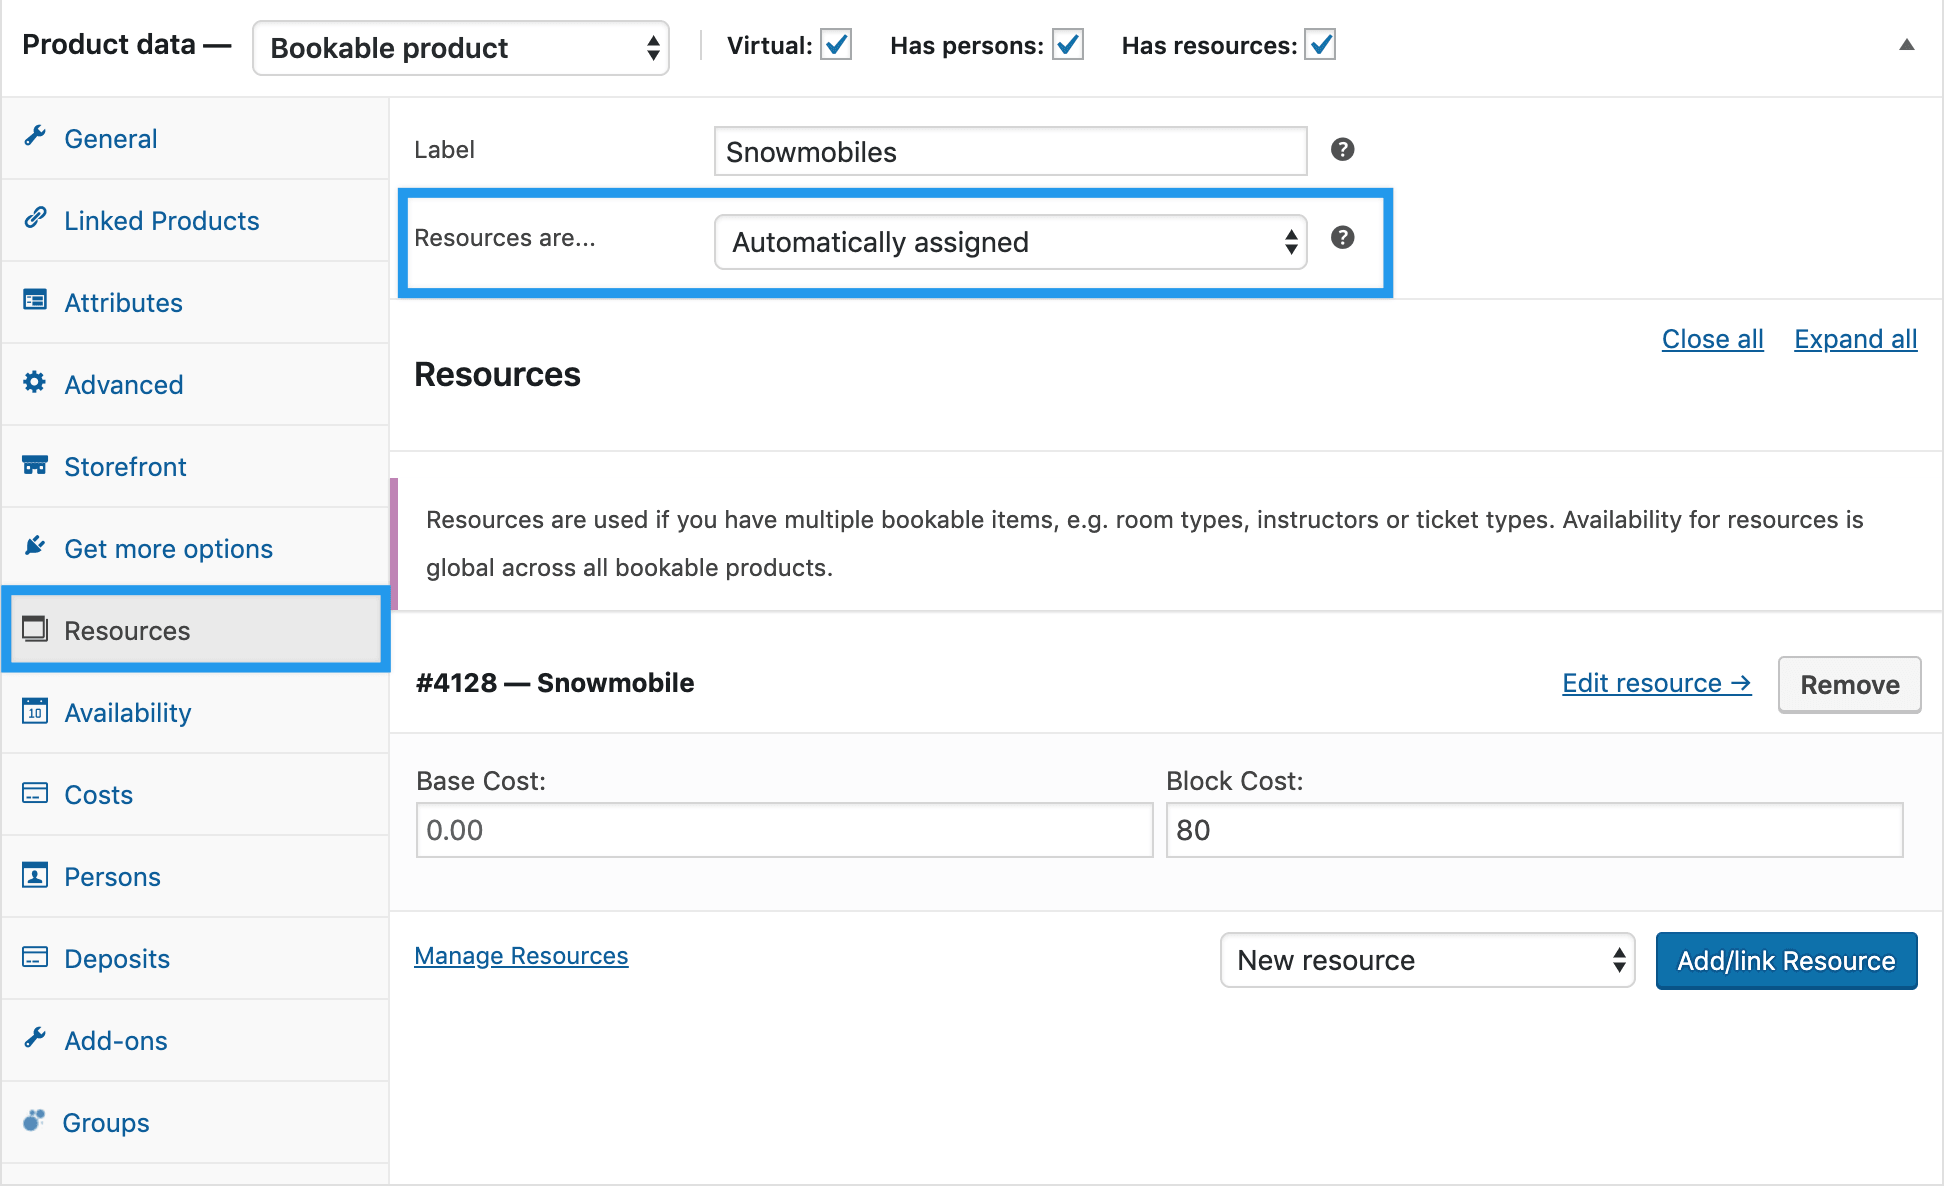
For our example we will name our resource “Snowmobile”.
- Product has Title set
- Product has Available Quantity
40.

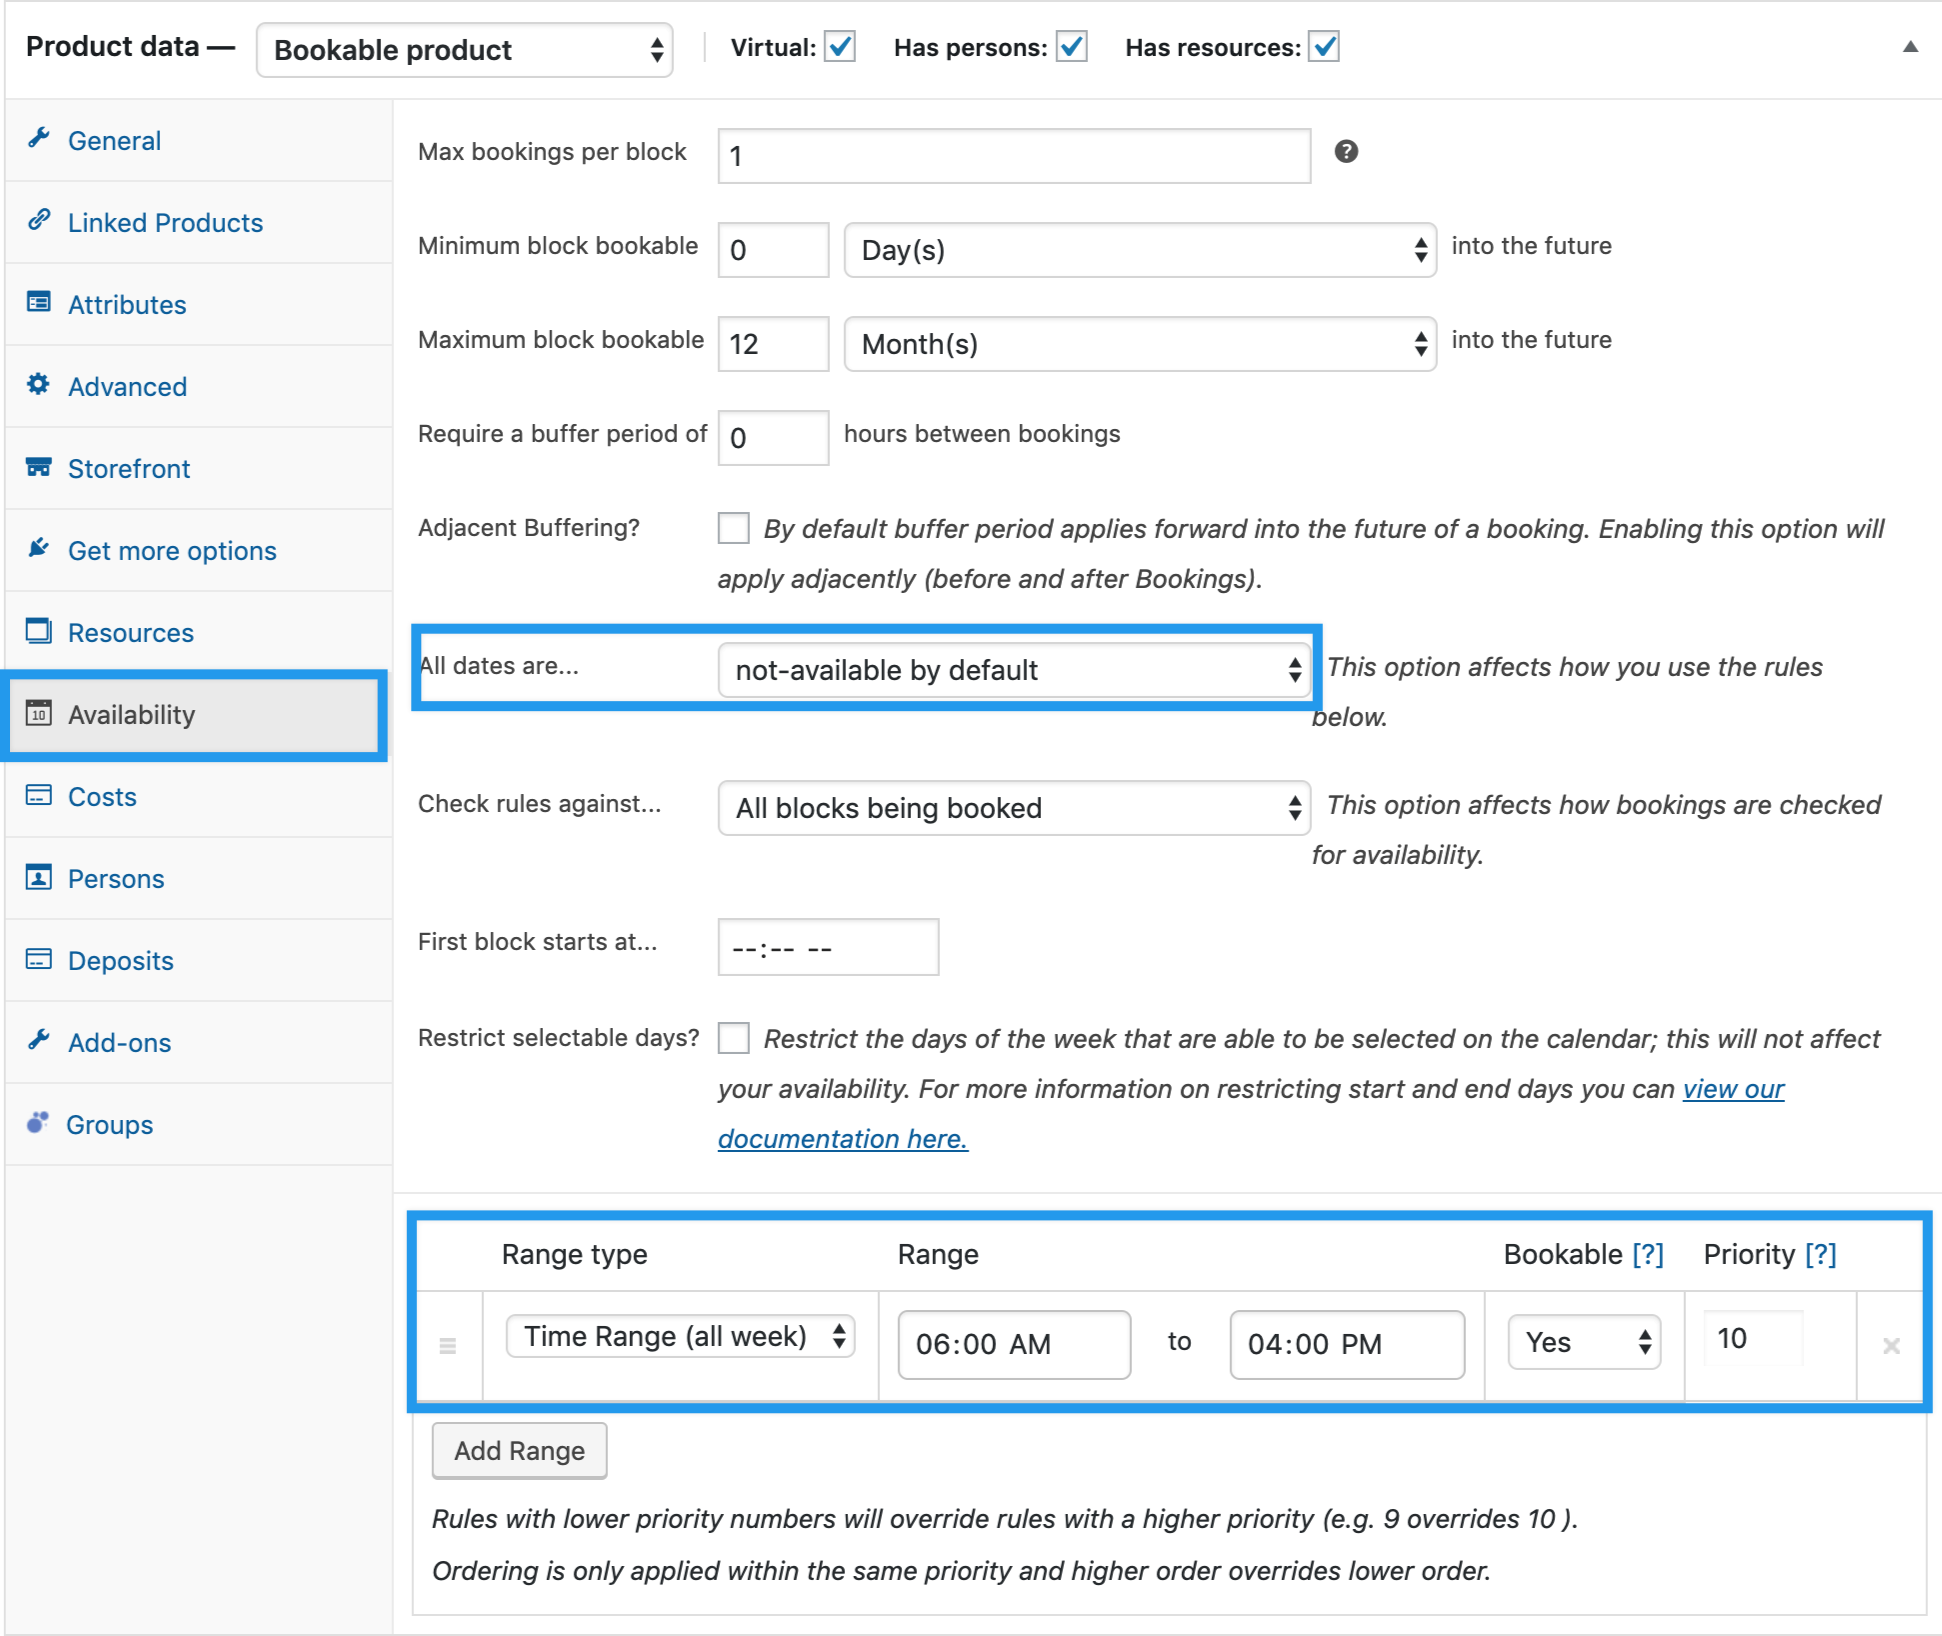
Setting the
All dates are… to
not-available by default is often the best approach when creating complex availability rules. It’s easier to add what is available, then to add what is and what is not. The buffer period we set here allows our trainers time to travel between locations.
- Product has Max bookings per block set to
1.
- Product has All dates are…
not-available by default.
- Product has Range type
Time range (all week).
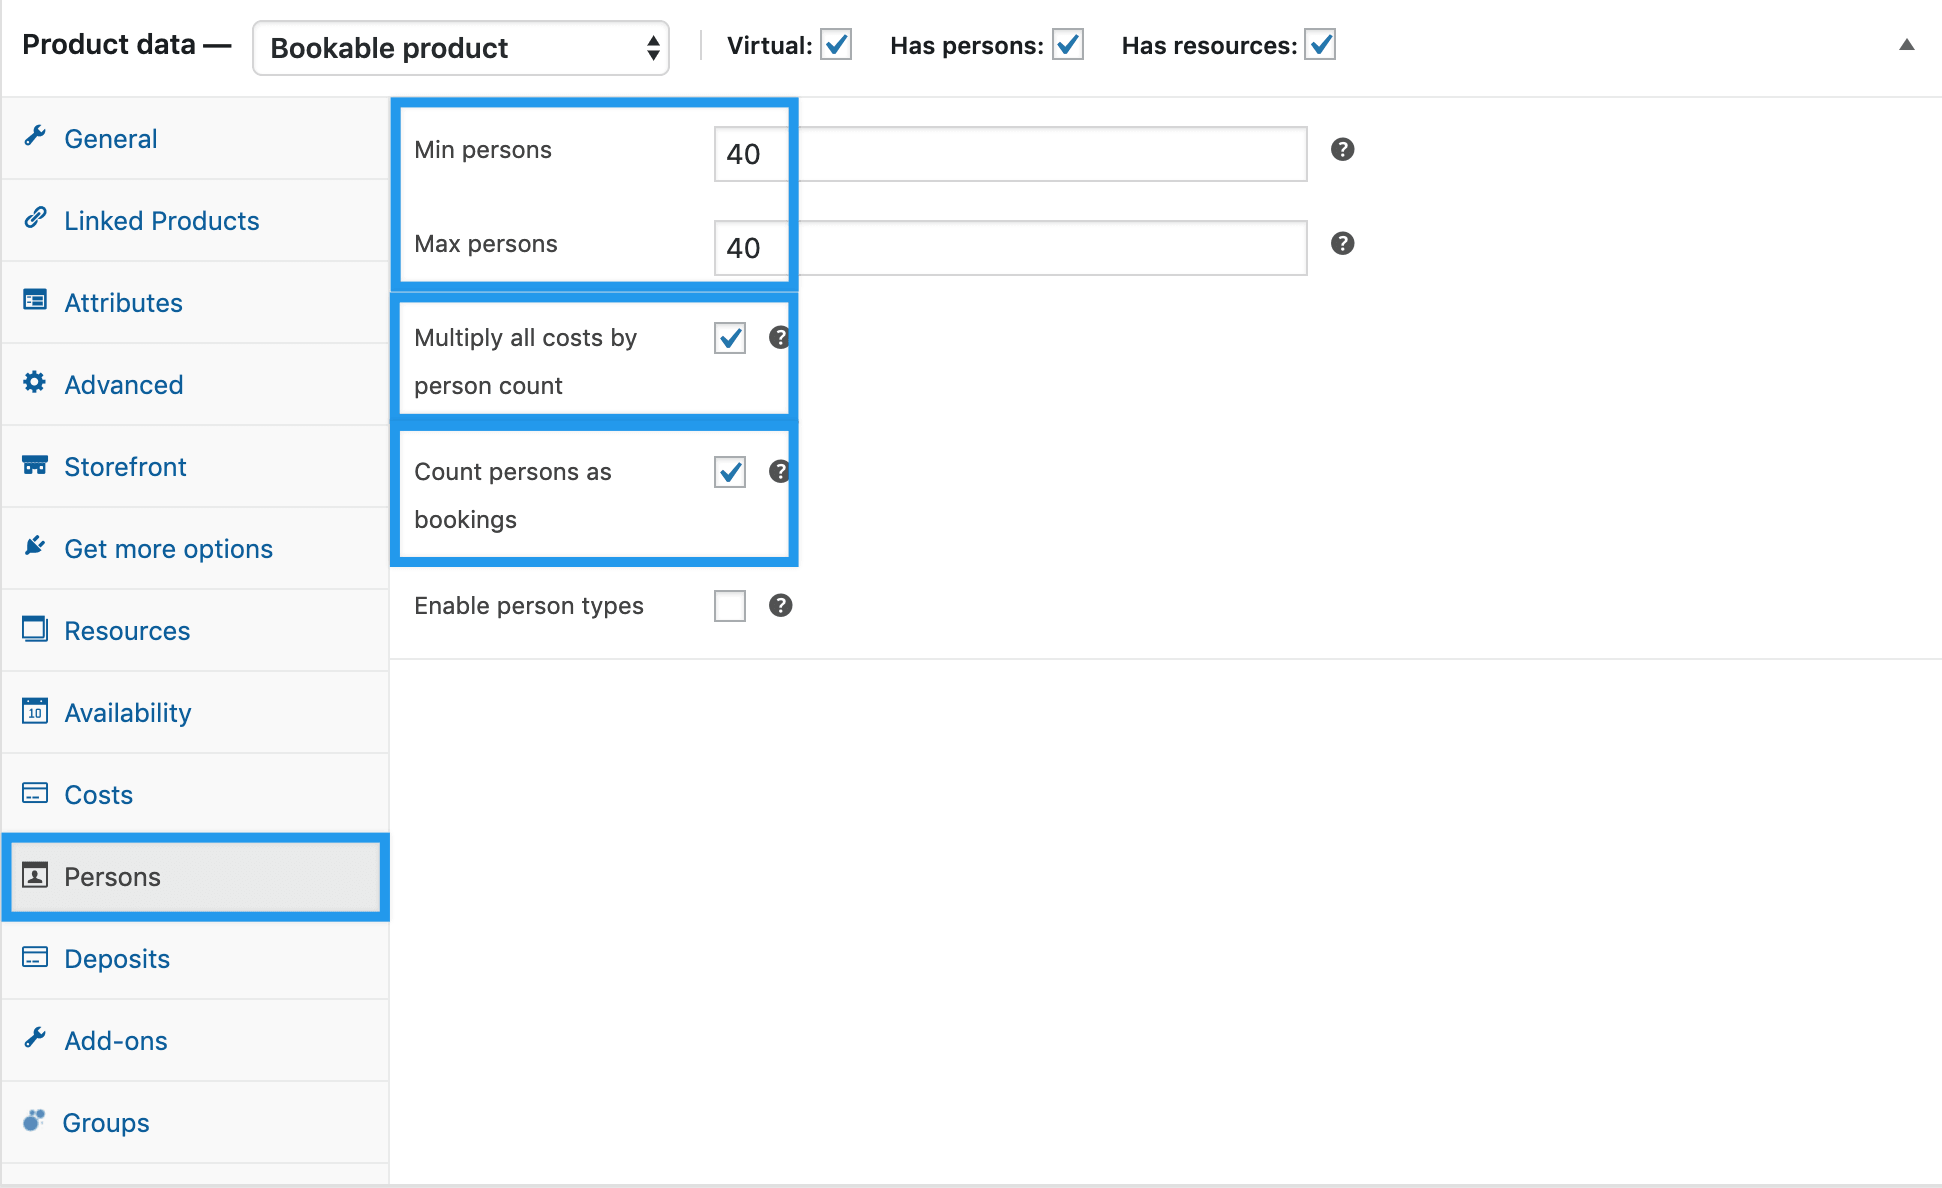
We are going to set the min and max amount of persons to 40, which means that there has to be 40 persons to book this reservation. By enabling
Count persons as bookings we are linking the amount of resources and persons together. 40 snowmobiles and 40 persons. So when the reservation is made, 40 persons will automatically be added and that will use all 40 snowmobiles.
- Product has Min Persons set to
40.
- Product has Max Persons set to
40.
- Product has Multiply all costs by person count
Enabled.
- Product has Count persons as bookings
Enabled.
 Publish
 the booking, then create the second location remembering to attach the resources there as well, and you’re set!
Have a question before you buy?
Please fill out this pre-sales form.
Already purchased and need some assistance?
Get in touch with a Happiness Engineer via the Help Desk.