Scope of the document
↑ Back to topInstallation Guide
↑ Back to top- Log in to your WordPress admin panel.
- Click on the extensions menu item on the left side menu.
- Click Add New.
- At the top of the page, you will see an Upload extension button, click that.
- Next click the Choose file button in the box that appears below.
- Select the address-auto-complete-for-woocommerce.zip file that you have downloaded from WooCommerce.
- When the zip file is finished uploading click the Activate extension button.
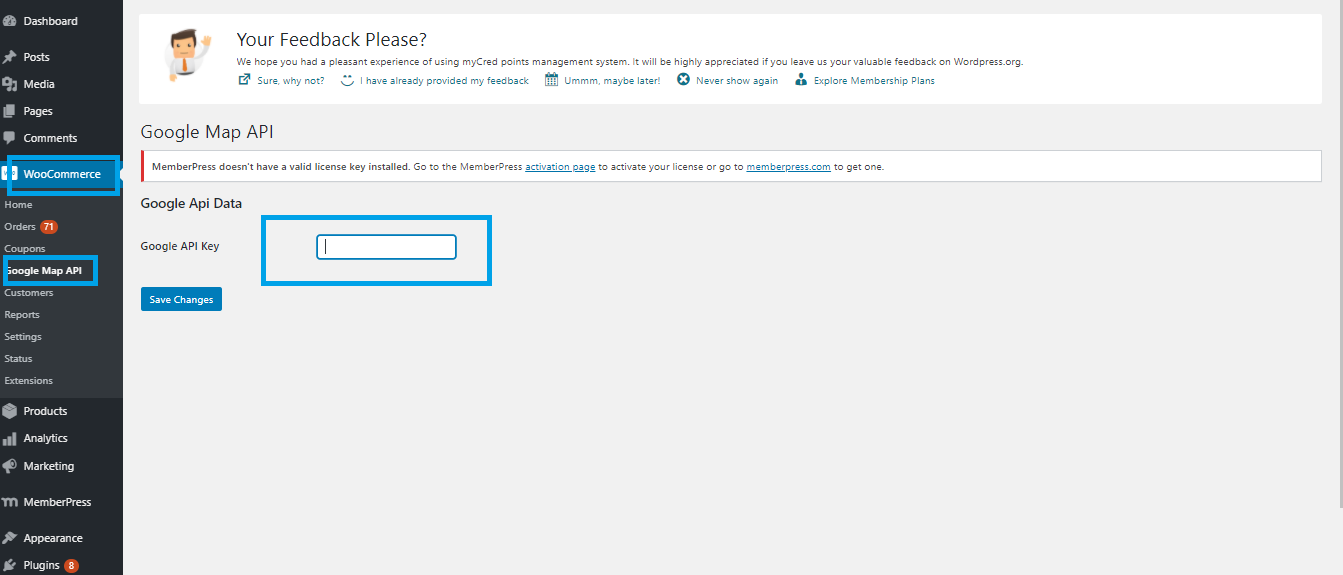
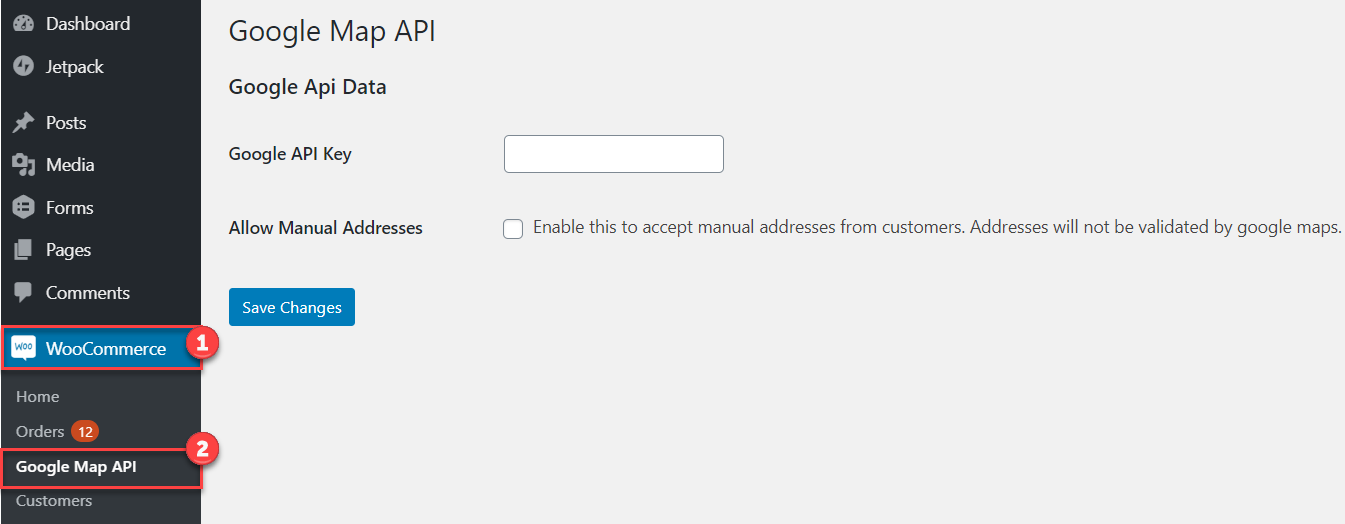
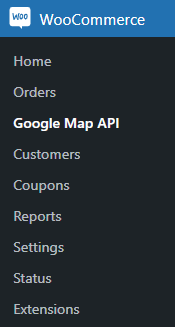
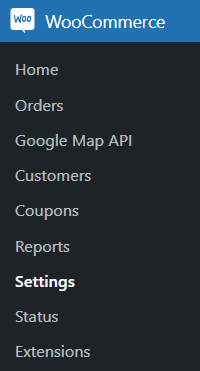
- Go to WooCommerce > Google map API
- Enter API key, That’s all.
Activation of Google Map API
↑ Back to topGoogle API Key
↑ Back to top- Once the installation and activation are complete, we need to set the Google API Key to complete our function.
- Go to Admin Dashboard > WooCommerce > Google map API.
- Enter the API Key here.
 NOTE: If you don’t have the API Key then view the next heading 1.1. How to get Google API Key.
Get Google API Key
- Go to the Google search bar and type Google API Console.
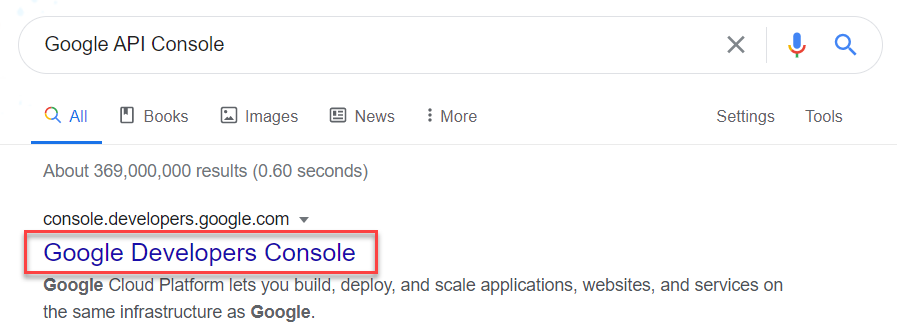
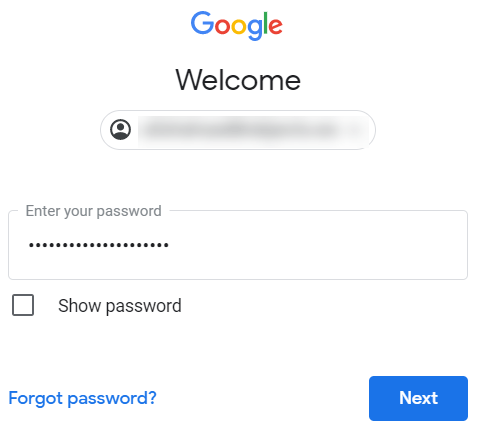
- Click on the first search result and log in with your Google Account.
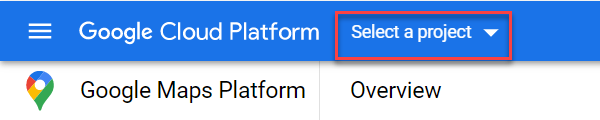
- Once logged in, click on Select a project.
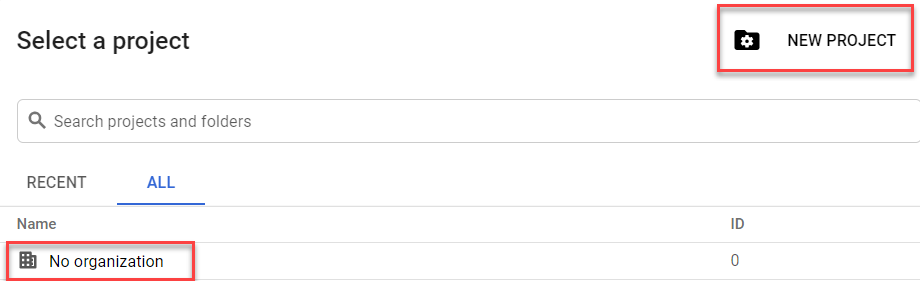
- Click on the NEW PROJECT button and enter Organization if any.
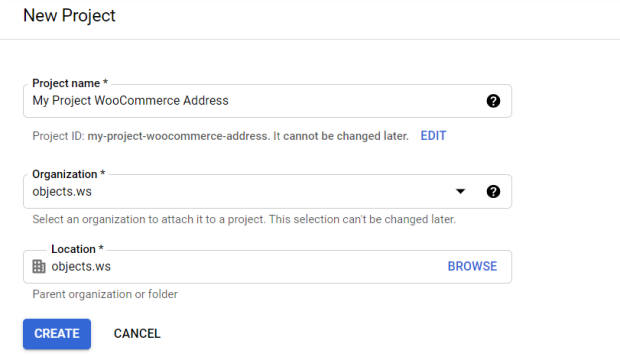
- Now fill in all the required fields for your project and click on the create button.
- Once the project is created, make sure you’ve selected that project and then click on the ENABLE APIS AND SERVICES button or Library in the APIs & Services section.

- Now you’ll be able to view all the APIs. You either search the API in the search bar or scroll and find it in its respective section.
- The APIs mentioned below are required to make the plugin function.
- Places API
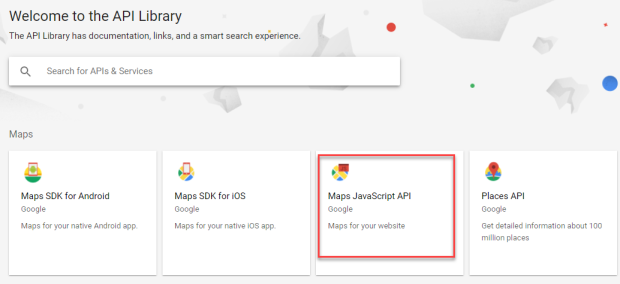
- Maps JavaScript API
- Distance Matrix API
- Directions API
- Geocoding API
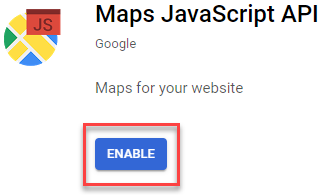
- Search for Maps JavaScript API and click on it.
- Enable the Maps JavaScript API.
- Similarly, search and enable all the required APIs mentioned above.
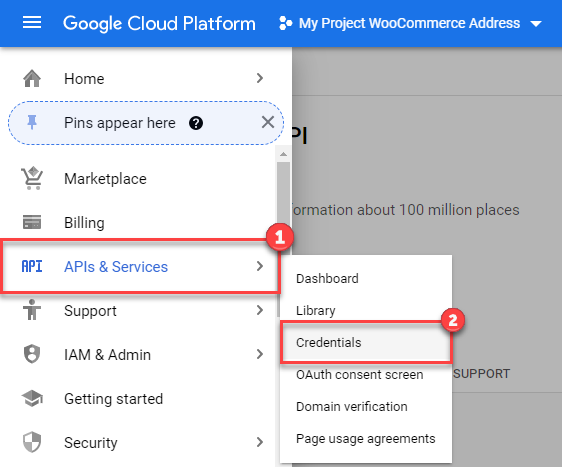
- Now click on the Navigation Menu and go to APIs & Services > Credentials.
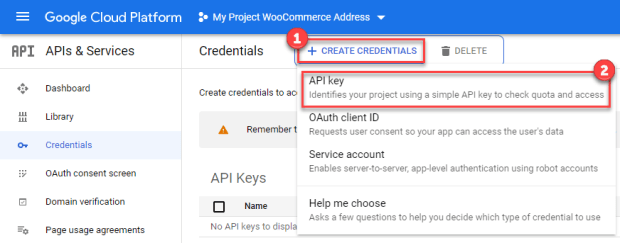
- In the Credentials screen, click on Create Credentials > API key.
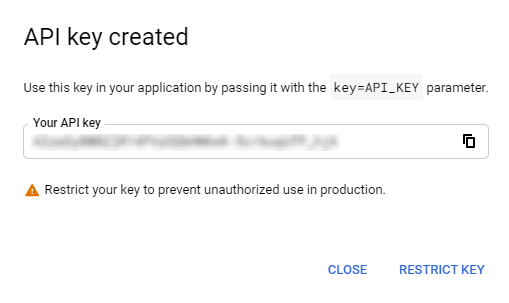
- Your API key will be created.
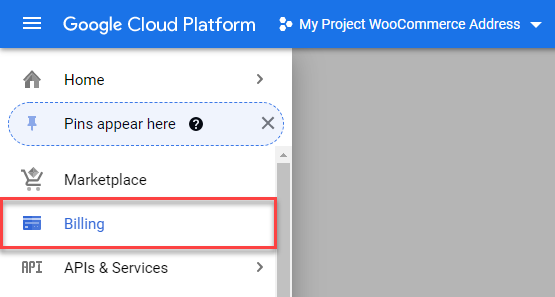
- Now click on the Navigation Menu and go to Billing.
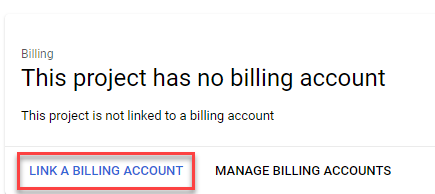
- Click on LINK A BILLING ACCOUNT if you don’t have a billing account, if you already have an account click on MANAGE BILLING ACCOUNT. Since we don’t have a billing account so we’ll click on the LINK A BILLING ACCOUNT button.
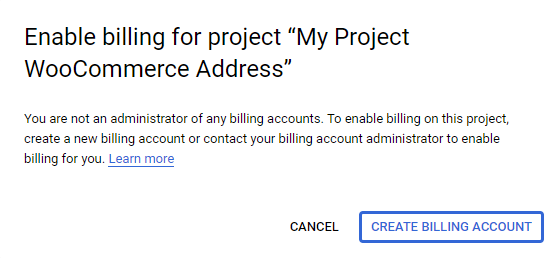
- This will generate a pop, now click on CREATE BILLING ACCOUNT.
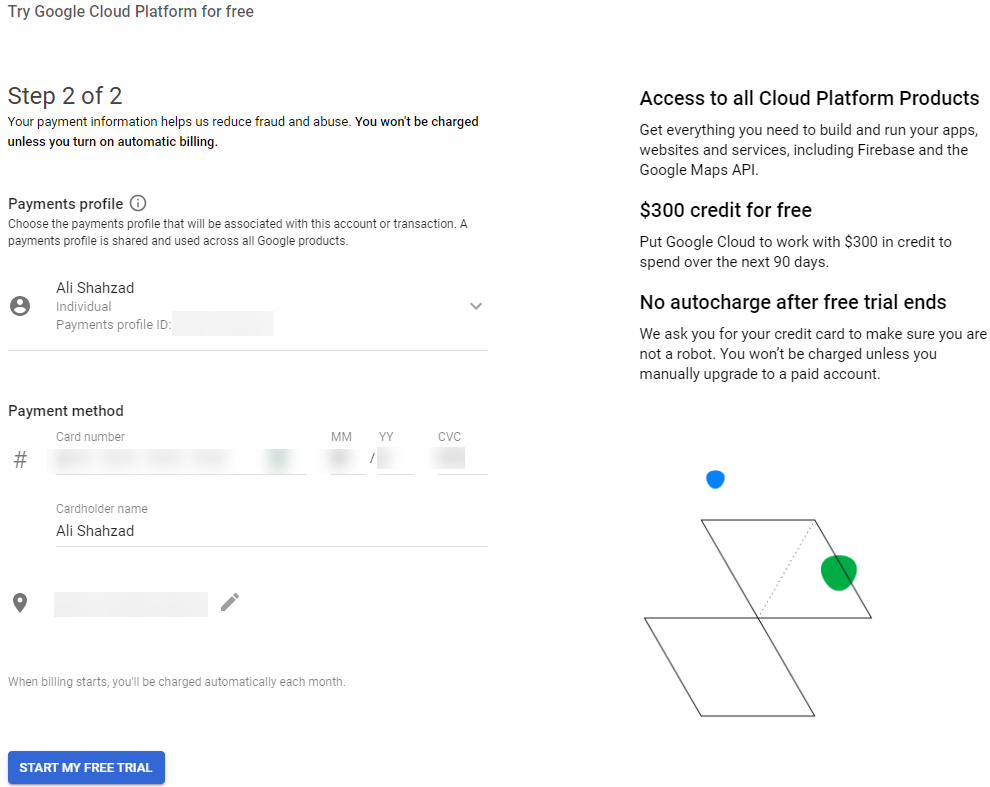
- This option will take you on the payment gateway option where you can pay and get the API key authenticated.

- Checkmark the terms and conditions checkbox and enter your card credentials and other required information.
- Now go and copy and paste your API in the Admin Dashboard > WooCommerce > Google Map API.
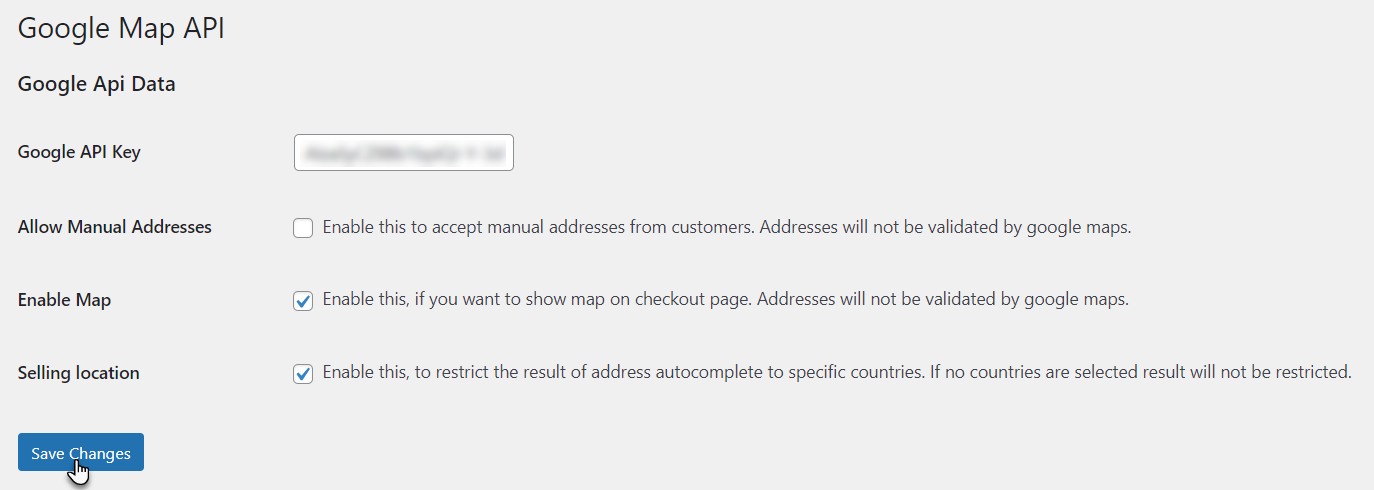
Enable Map on Checkout Page
↑ Back to top- Address Auto-Complete now allows the Admin to Enable or Disable the Map on the Checkout page.
- Navigate to the WordPress Admin Dashboard → WooCommerce → Google Map API to show the map on the checkout page.

- You are now in the Google Map API section.
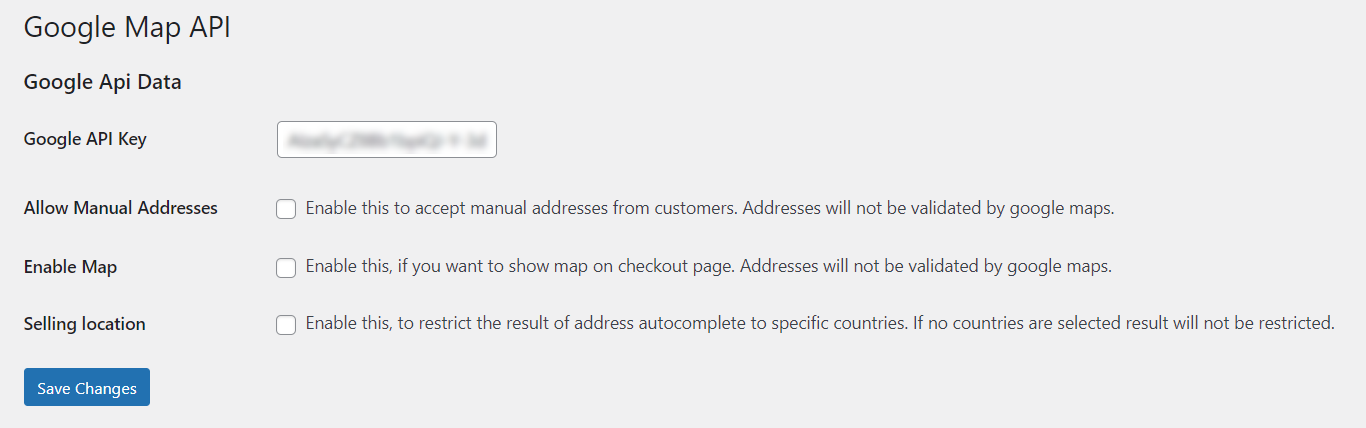
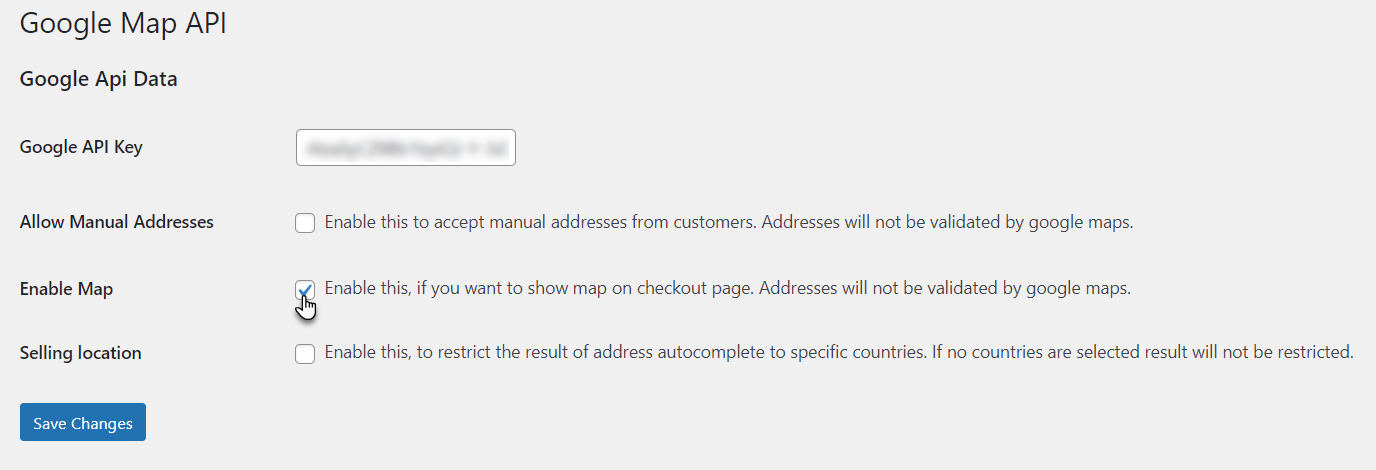
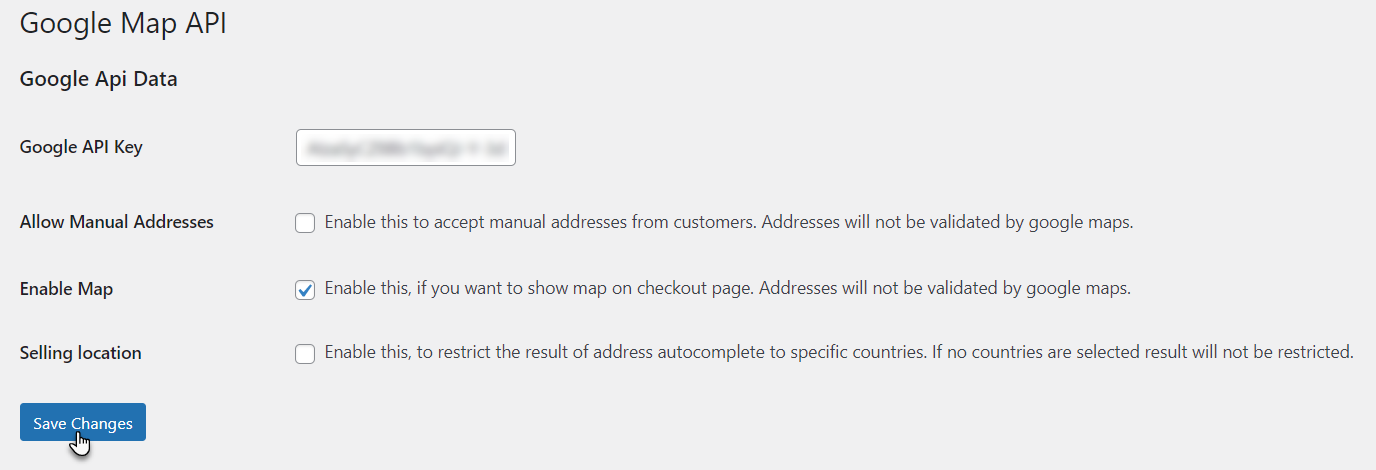
- Click on the Enable Map checkmark button to Enable Map on the Checkout page.
- Click on the Save Changes button to save your settings and proceed.
 Front-End Impact
- Go to your store on the website.
- Add products to the Cart.
- Proceed to the checkout page.
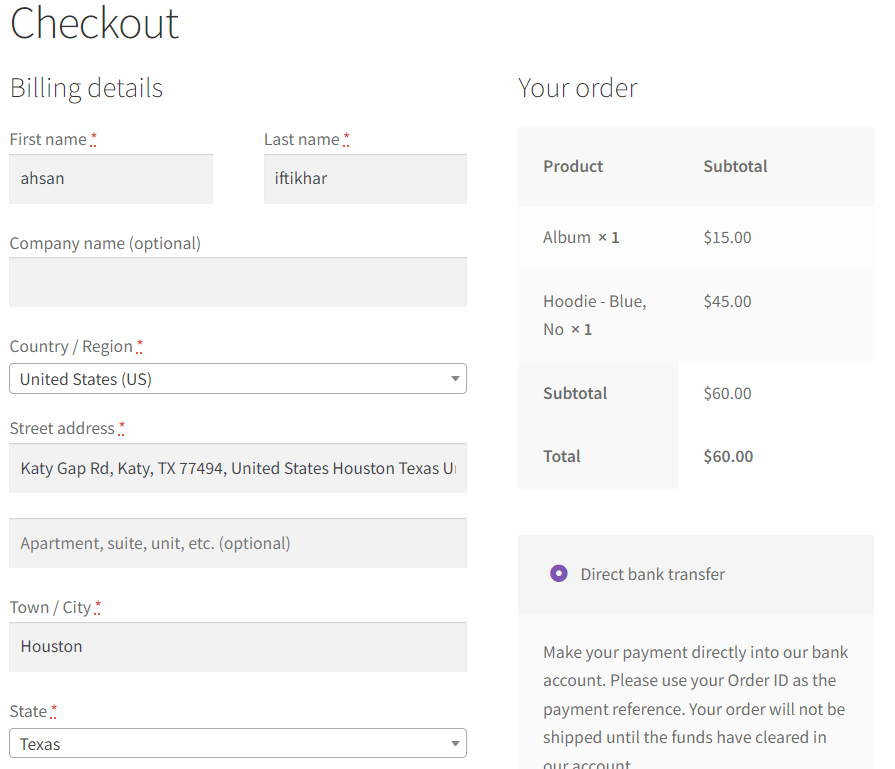
- The checkout page looks like this before enabling the Map.
 After Enabling Map on the Checkout Page
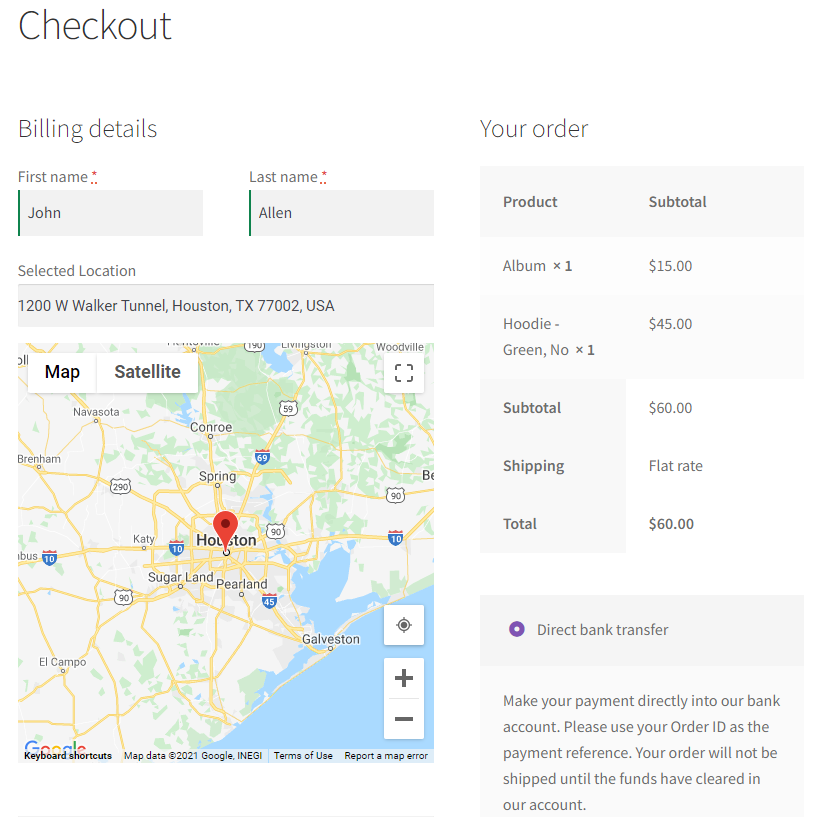
- The checkout page looks like this after enabling the Map.
- The map is shown on the checkout page.
Allow Manual Addresses
↑ Back to topNOTE: By Allowing Manual Addresses, any address can be set in Selected Location regardless of the address validated by Google Maps or not.
Back-End Configuration- Navigate to the WordPress Admin Dashboard → WooCommerce → Google Map API to Enable/Disable Allow Manual Addresses.
- Enable/Disable Allow Manual Addresses by clicking on the checkbox.
- This will accept the manual addresses of customers. These Addresses will not be validated by google maps.
- Click on the Save Changes button to save the changes.
 Front-End Impact
- Go to your store on the website.
- Add products to the Cart.
- Proceed to the checkout page.
- As highlighted an address is selected which is not validated by google maps.
Restrict To Specific Countries
↑ Back to topNote: Restrict countries will be set via Woocommerce Selling Location(s) Settings and Shipping Location(s) Settings.
- In the Address-Auto complete, the admin can now restrict the address to the specific counties. Only the selected counties will be shown on the checkout page using these settings. The admin must first select the specific counties in the Selling Locations and Shipping Locations in the WooCommerce Settings.
- Navigate to the WordPress Admin Dashboard → WooCommerce → Google Map API.

- In this section, click on the Selling Location checkmark button to restrict in the General Options sectionSelectaddresses to specific countries.
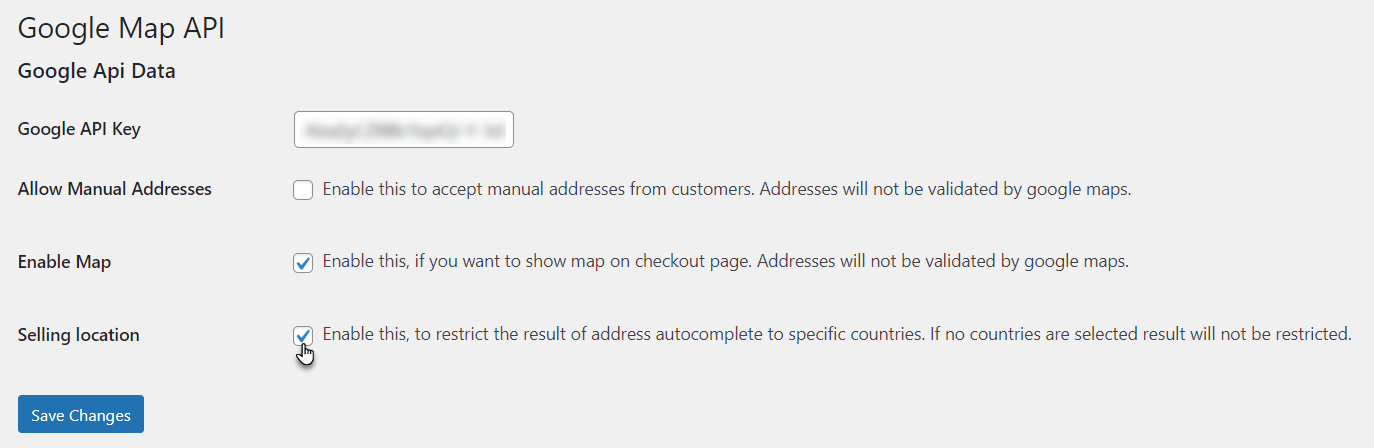
- Click on the Save Changes button to save your settings and proceed.
 Selling Locations and Shipping Locations Setting
- Navigate to the WordPress Admin Dashboard → WooCommerce → Settings.
- Go to the General Settings tab.

- Navigate to the General Options section.
- Select Selling Locations to Sell to specific countries from the dropdown menu in the General Options section.
- Select the countries in the Sell to specific counties field from the drop-down menu.
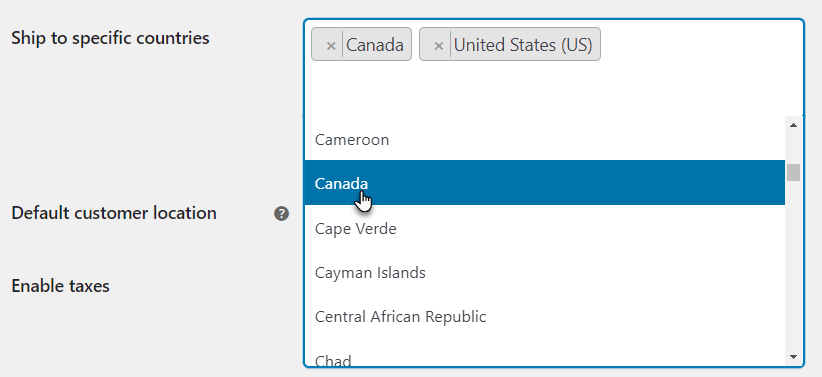
- Next, go to the Shipping Locations field and select Ship to specific countries only from the drop-down menu.

- Select the countries in the Ship to specific counties field drop-down menu.
- Click on the Save Changes button to save the settings and proceed.
- Go to your store on the website.
- Add products to the Cart.
- Proceed to the checkout page.
- The map on the Checkout page before restricting the countries to specific.
- Countries/Region on the Checkout page before restricting the countries.
 After Restricting the Countries
- The map on the Checkout page after restricting the countries to specific.
- The map will show the location of the Specific Countries only.
- The Checkout page will only show the Countries/Regions and States of the specific countries.
- These Specific Countries will be shown for the shipping and payment countries.

Shipping Configuration
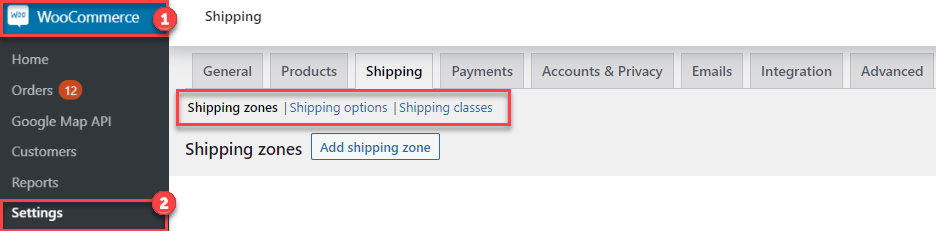
↑ Back to top- Go to Admin Dashboard > WooCommerce > Settings.
- Go to the Shipping tab.
- There are 3 sub-tabs,
- Shipping zone
- Shipping options
- Shipping classes
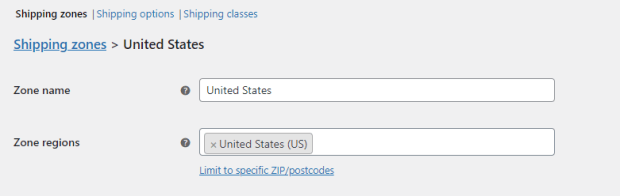
- Go to the Shipping zone (which is selected by default once we open the Shipping tab), Add your desired zone (Shipment will be accepted at the frontend for only those countries that are listed at the backend).
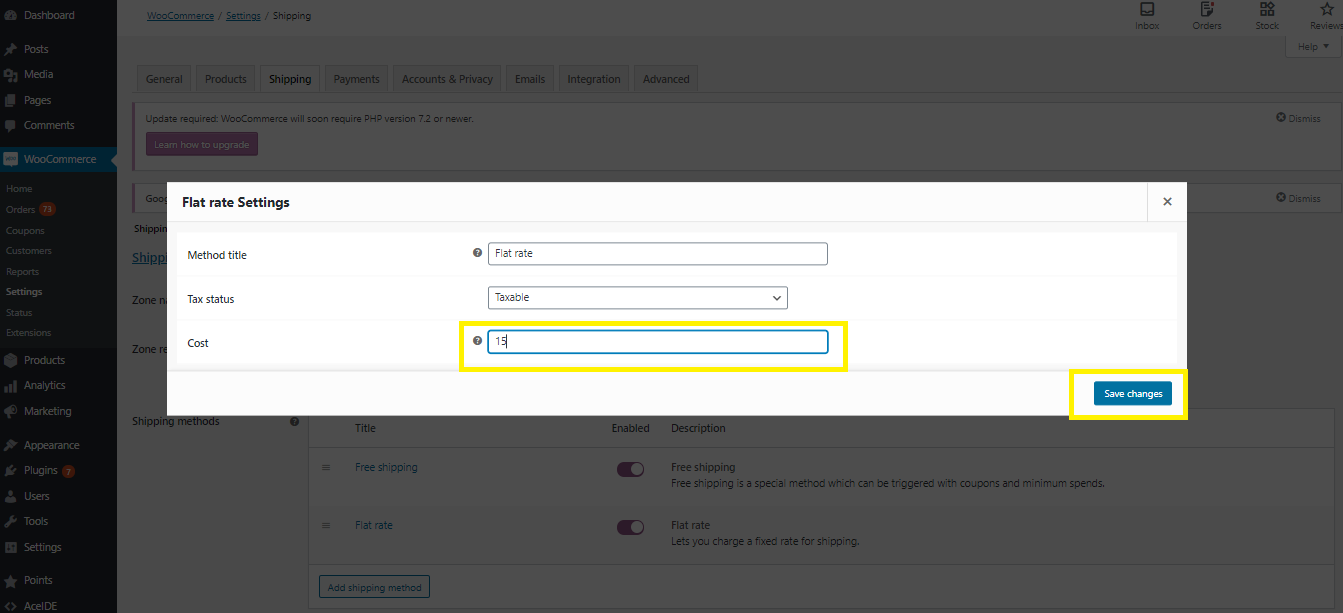
- You manage the shipping methods of that particular region by the Add shipping method button.
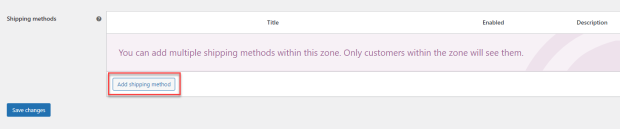
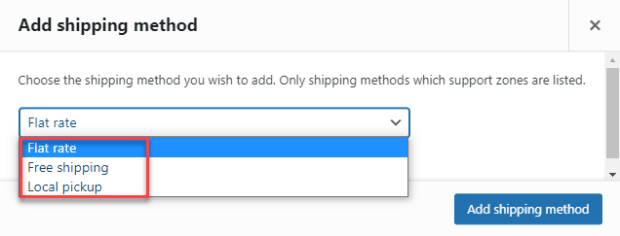
- When you’ll click on the Add shipping method button, the pop up will appear,
- You can also customize each shipping method according to your requirement by clicking on the Edit option.
- Click on Save changes to apply your settings.
Location Suggestion on Checkout Page
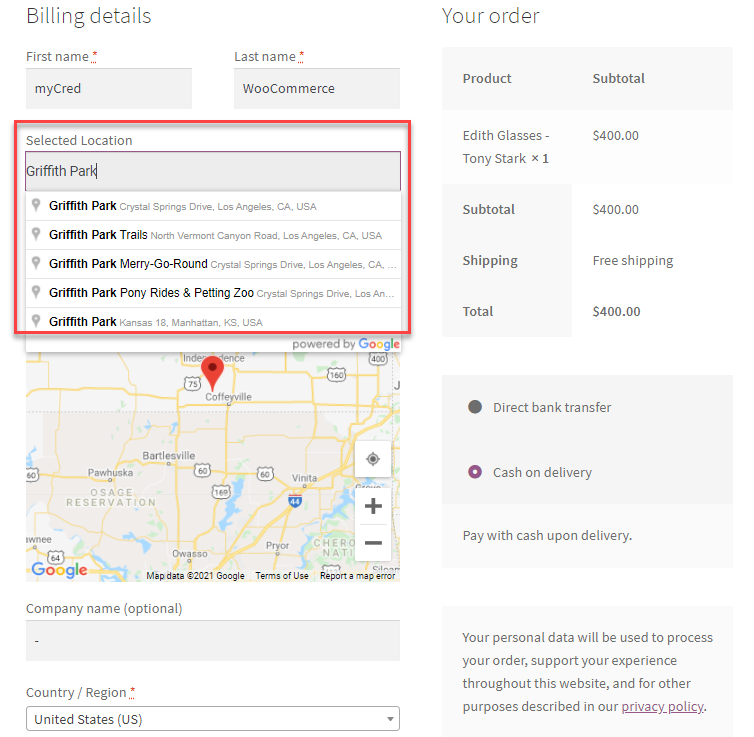
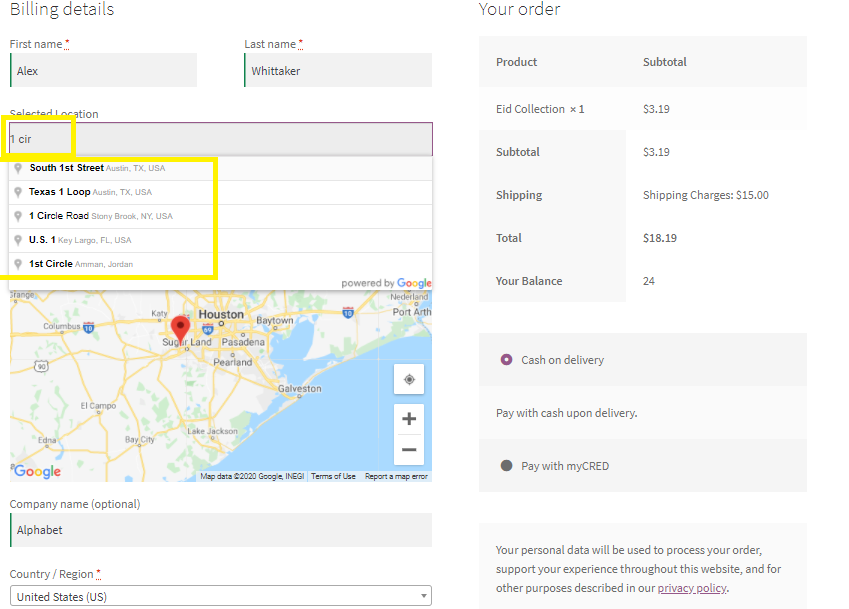
↑ Back to top- Once done with the configuration, the impact would be visible when you’re on the checkout page.
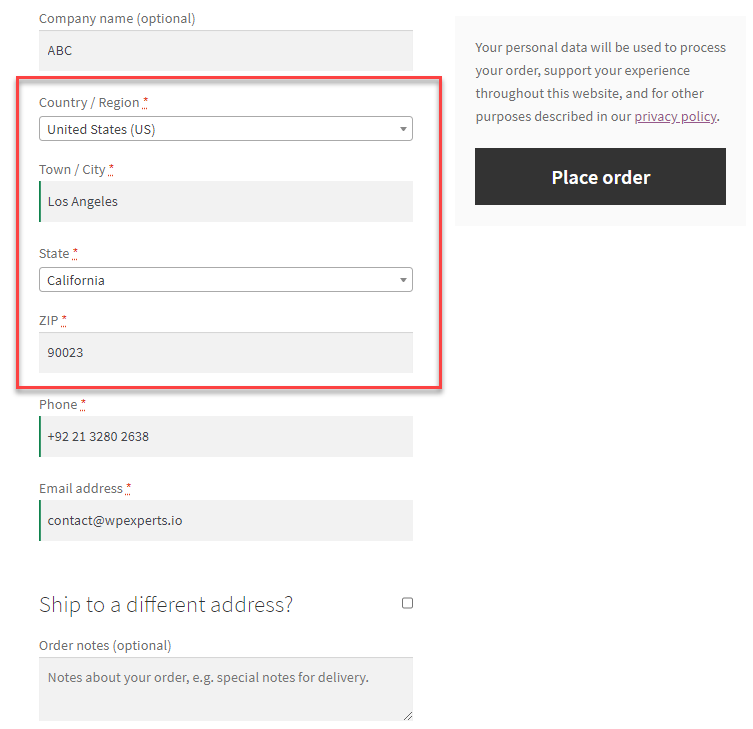
- In the Selected Location bar, give the initial details of your address like your city/state name, the system will then give you a relevant address according to your search.
Location Placed Through Map Pointer
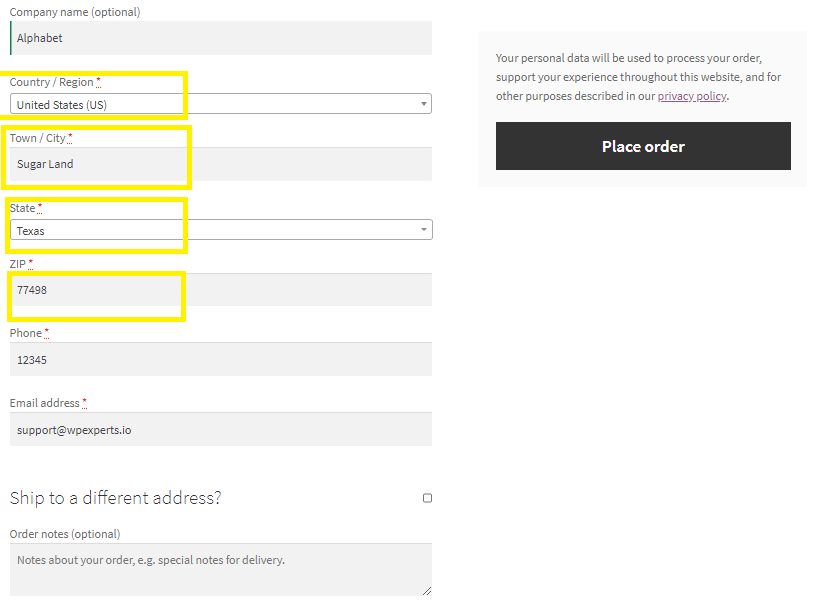
↑ Back to top- You can simply drag the pointer to your desired location.
- Once done, the address bar will show its complete address.
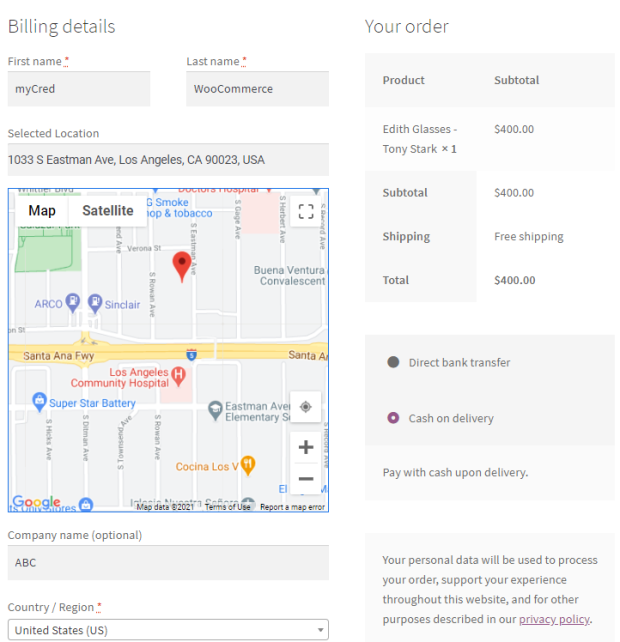
- In the image mentioned above, we can see that the location has been set by dragging the pointer in a specific location due to which the following fields are also auto fetched.
Shipping Address
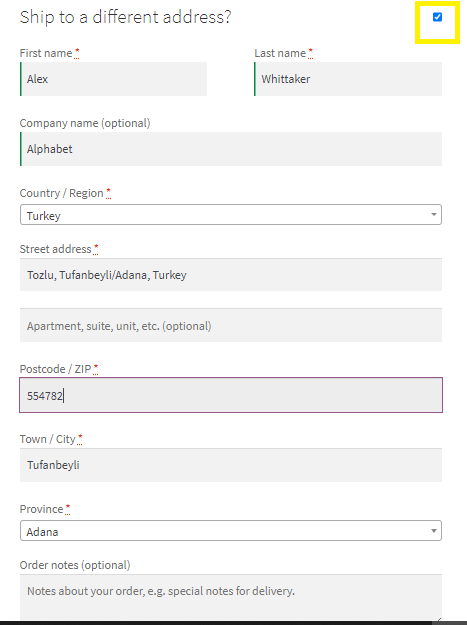
↑ Back to top- If the Shipping Address is the same as the Billing Address, then leave the checkbox unmarked.
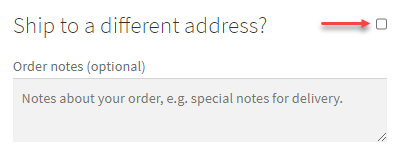
- If the Shipping Address is different from the Billing Address, then mark the checkbox and fill the required fields.

- Once done, select your payment method and place your order.
Activation of Address Autocomplete extension
↑ Back to top- Installation of extension
- Configuration of Shipment
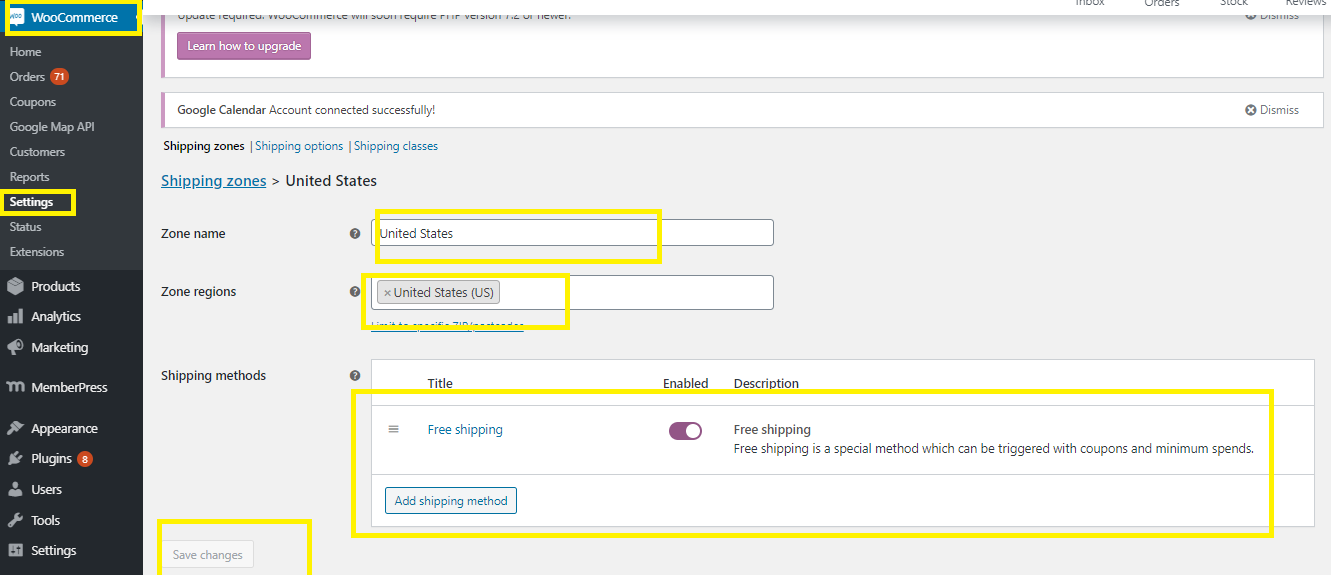 User can add shipping method from below option:
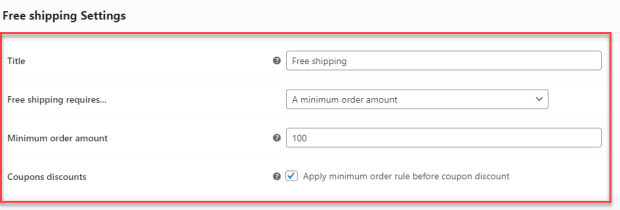
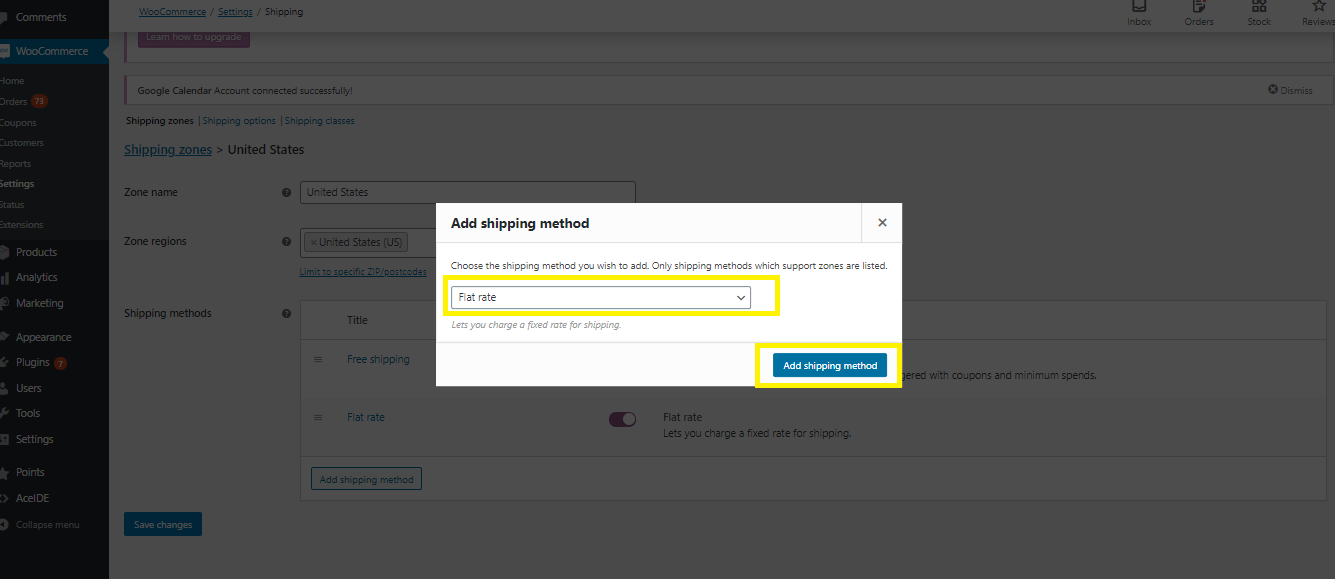 In shipping method we can add amount for shipping:
- Location Suggestion on Checkout Page
- Location Placed Through Map Pointer
 At above images we can see that the location has been set by dragging location pointer against which following fields has auto fetched.

- Shipping Address
 If you want to locate shipping address different from billing address so just checkmark that box and fill the following form for your order shipment.