Storefront Mega Menus allows you to create enhanced full-width dropdowns that seamlessly integrate with your Storefront-powered WooCommerce shop.
Installation
↑ Back to top- Download the .zip file from your WooCommerce account.
- Go to: WordPress Admin > Plugins > Add New to upload the file you downloaded.
- Activate the extension.
- Click Save Changes.
More information at: Managing and Installing Plugins.
Note: If your store is in a WordPress 5.8+ environment, Storefront Mega Menus requires the classic widgets plugin to be installed and active. Storefront Mega Menus currently does not work with the block widget editor.
Usage
↑ Back to topStorefront Mega Menus adds all its settings to WordPress Customizer, making it straightforward to use. Upon opening the Customizer at Appearance > Customize, navigate to Menus.
The Menu Customizer, introduced in WordPress 4.3, allows you to intuitively manage the site’s menus. In this section are several settings.
Adding a new menu
↑ Back to top
-
- Click the Add a Menu button.
- Name your new Menu.
- Click the Create Menu button.
Assigning a menu to a location
↑ Back to top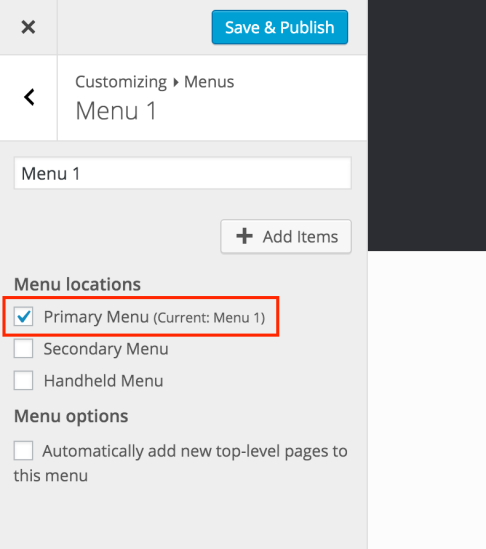
Adding menu items
↑ Back to top
Click the Add Items button and select items you would like to add to your Menu.
Configuring a Mega Menu
↑ Back to top
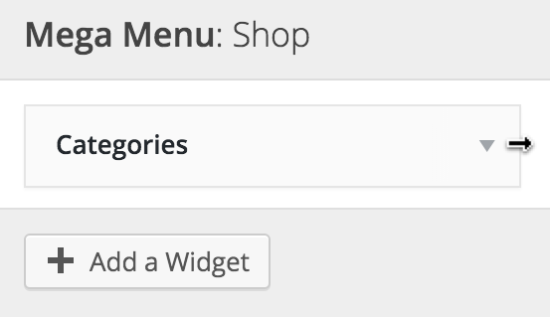
Click the arrow next to the title of one of your Menu Items to display the Mega Menu button.
The Mega Menu button opens a new side panel where you can manage the selected Menu Item.
Adding widgets
↑ Back to top
Click the Add a Widget button to add a new widget. Select a widget from the list.
Note that if a Text Widget is used, then shortcodes included in WooCommerce can be applied.
Resizing and changing the order of widgets
↑ Back to top
Resizing
With your mouse, hover over the corner/borders, then click and drag to resize the widget.
Changing the order

Click and drag the top of a widget to move it to a different position.
Deleting a widget
↑ Back to top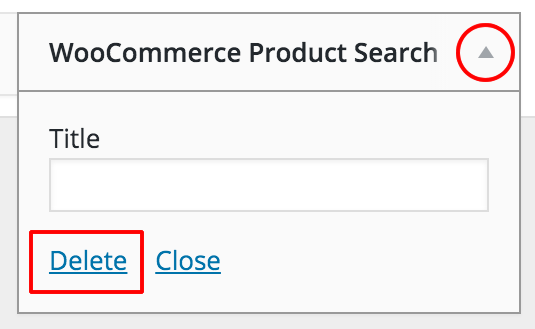
Click the arrow next to the widget title to display options. At the bottom select Delete.
Enable and preview
↑ Back to top
When the Enable checkbox is ticked, the Mega Menus are shown on your site and Preview is available.

TIP: At the bottom left corner of your screen, look for the Hide Controls button. Use this button to hide all Customizer panels and see a full preview of the menu on your site.
Frequently Asked Questions
↑ Back to topHow can I create menu columns with headings like in the Storefront demo?
Here are instructions for how to create a menu similar to the one on the Storefront demo site:

- Under Appearance > Customize > Menus, add new menus for each of your product categories, and add menu items to each of those menus.
- Once completed, select your normal menu, then expand a menu item to reveal the Mega Menu button with which to create a custom menu area;
- Next, click Add a Widget and be sure to add the Navigation Menu widget to the area created in step #2.
- Select the custom menus created in step #1, add them to the area and change the title as desired.
- Resize and arrange them in the same row.
