Storefront is our official WooCommerce theme, and it’s free to use.
There is an installation prompt and a Customizer guided tour that walks you through the setup of key theme elements.
Please refer to Storefront system requirements to confirm your site is running supported versions of WooCommerce and WordPress.
Installation
↑ Back to top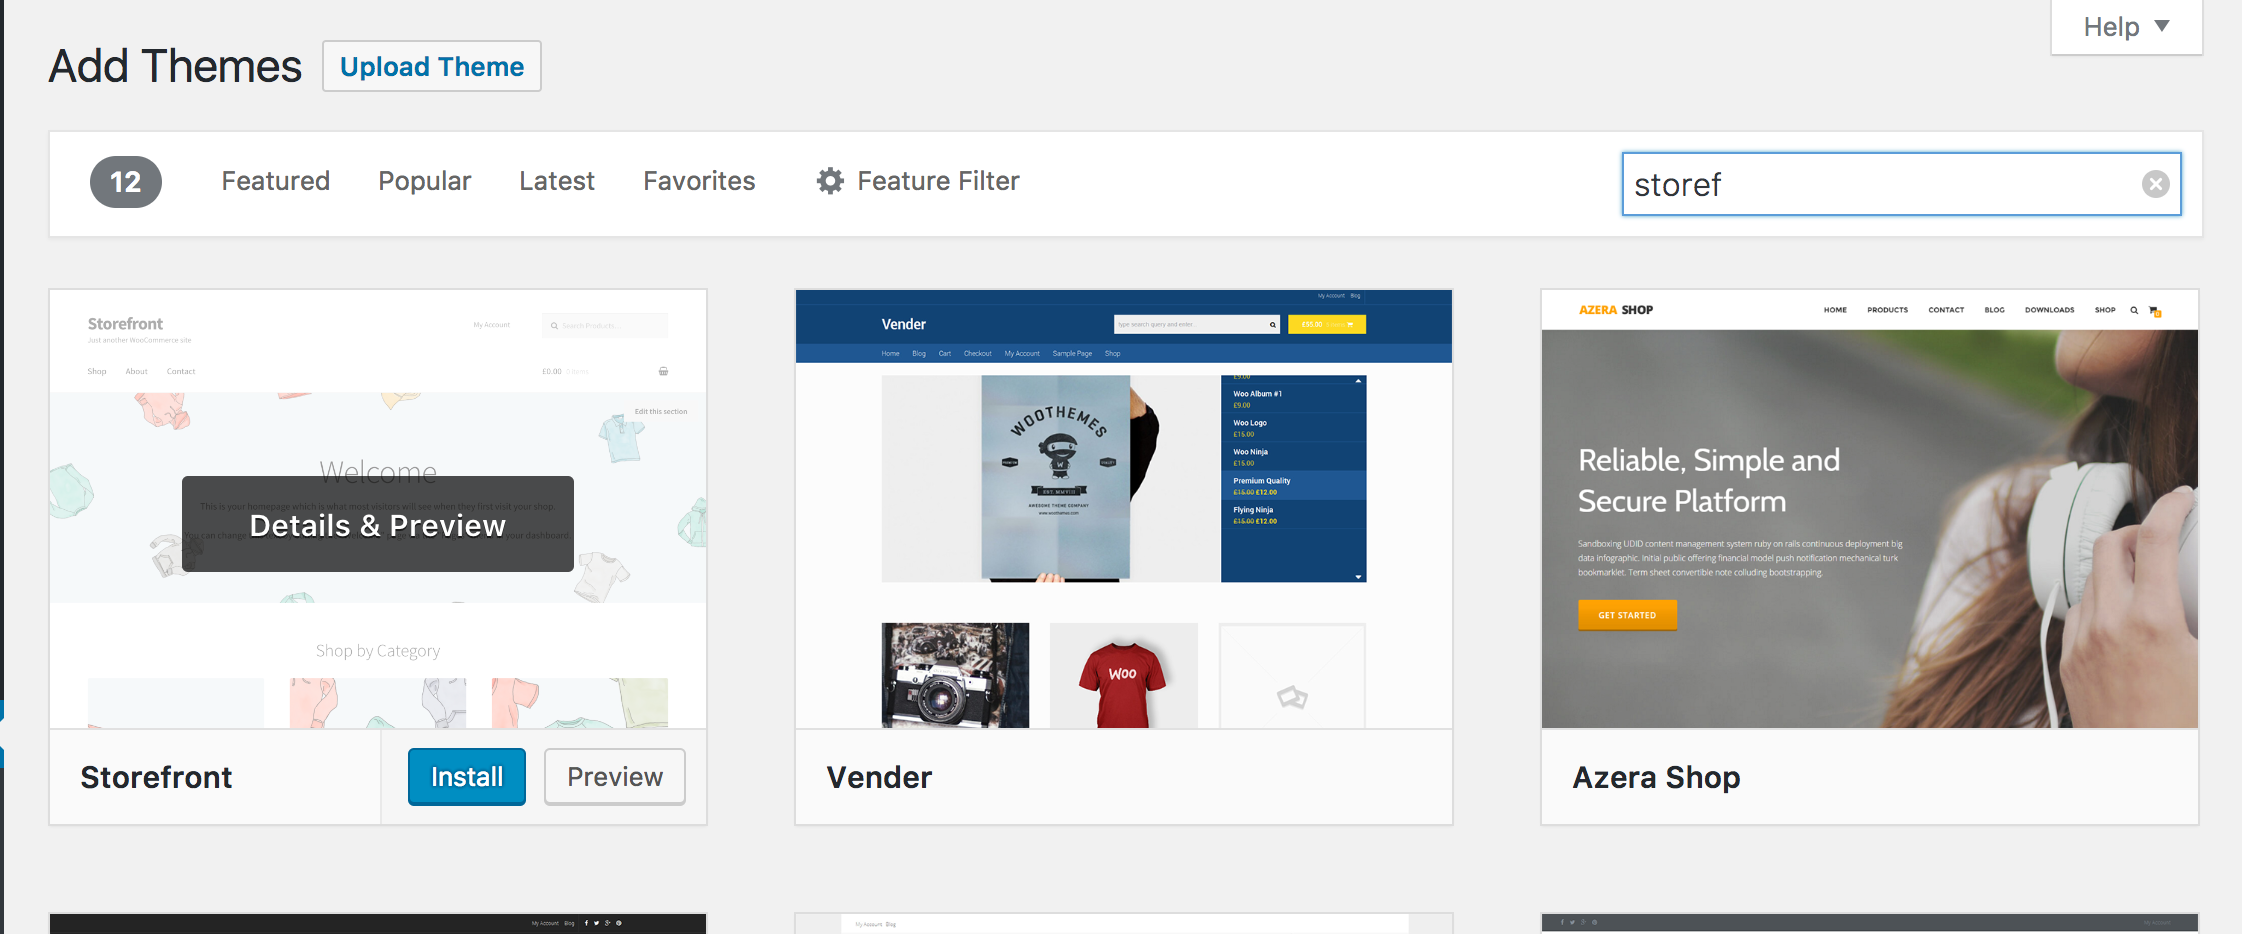
The fastest way to install Storefront is through the WordPress dashboard.
- Go to: Appearance > Themes > Add New.
- Type ‘storefront’ into the search box and hit enter.
- Hover over the Storefront screenshot.
- Select the ‘Install’ button.
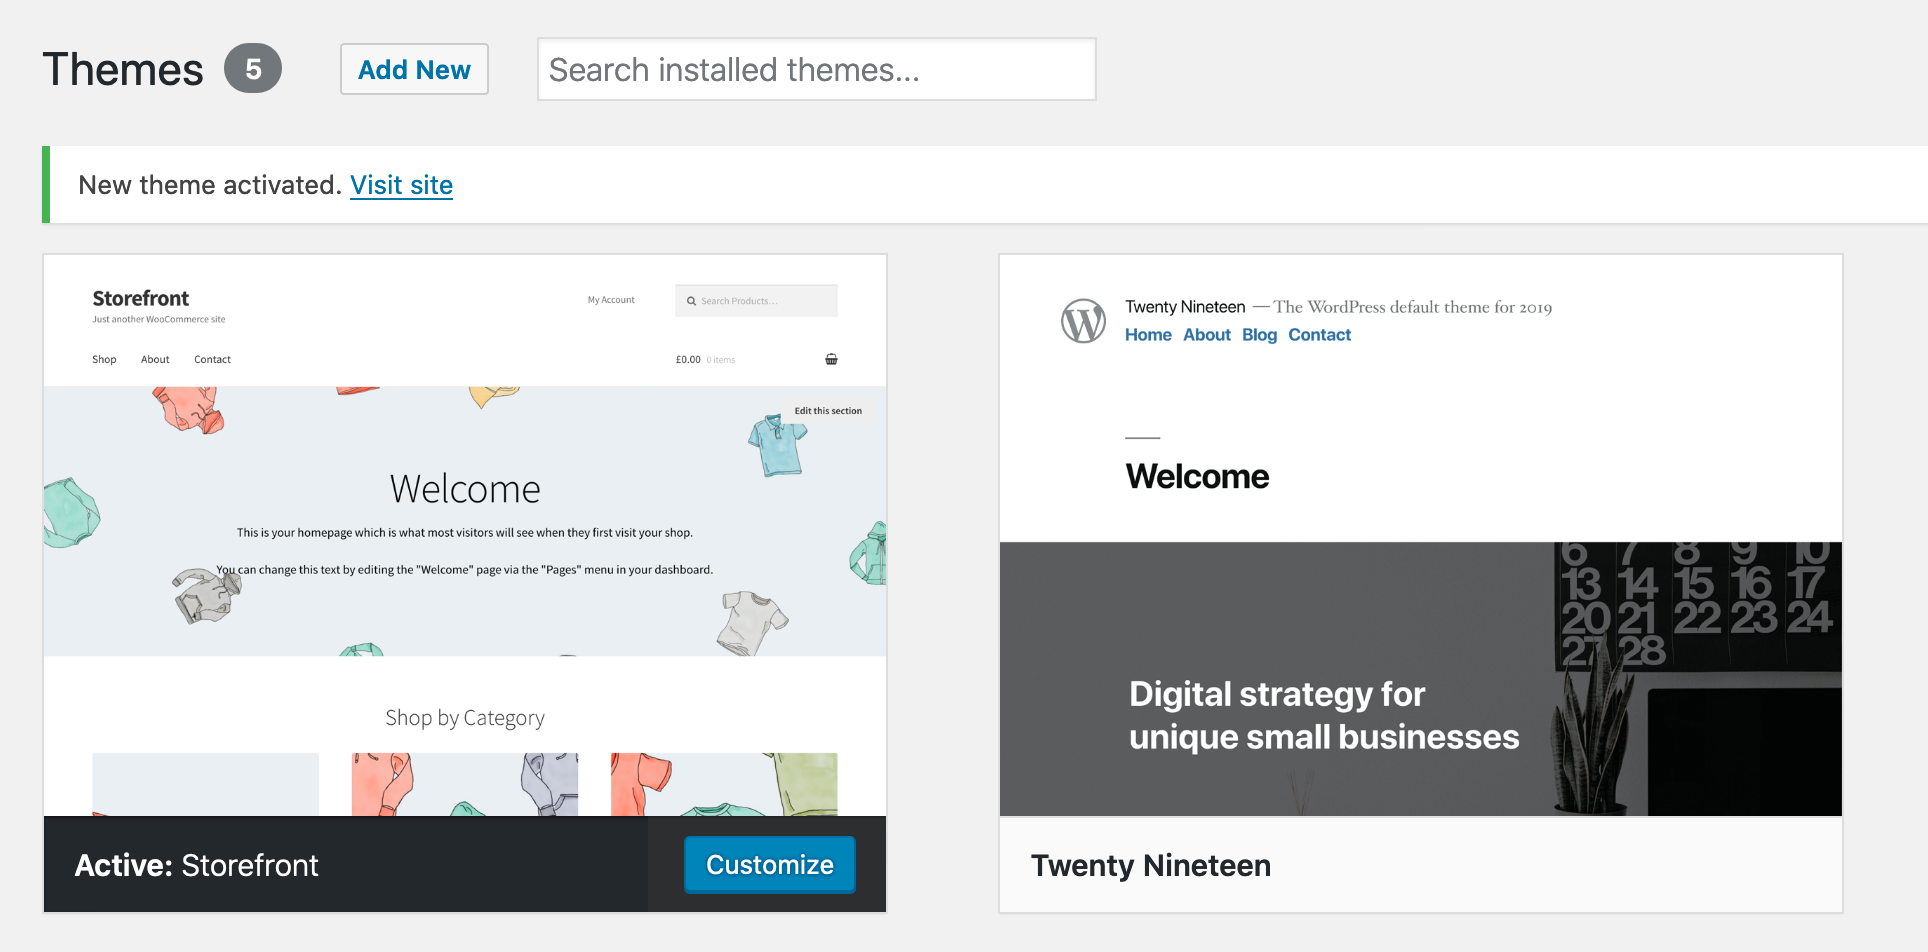
- Activate as you would any other WordPress theme.
To install Storefront manually:
- Download the latest version of Storefront from wordpress.org then
- Upload the extracted folder to the
/wp-content/themes/dir on your server via FTP. - Activate Storefront from the Appearance > Themes screen in your dashboard.
More info at: Using Themes.
Storefront and WooCommerce
↑ Back to topWooCommerce 4.8+ with Storefront 3.0.0+
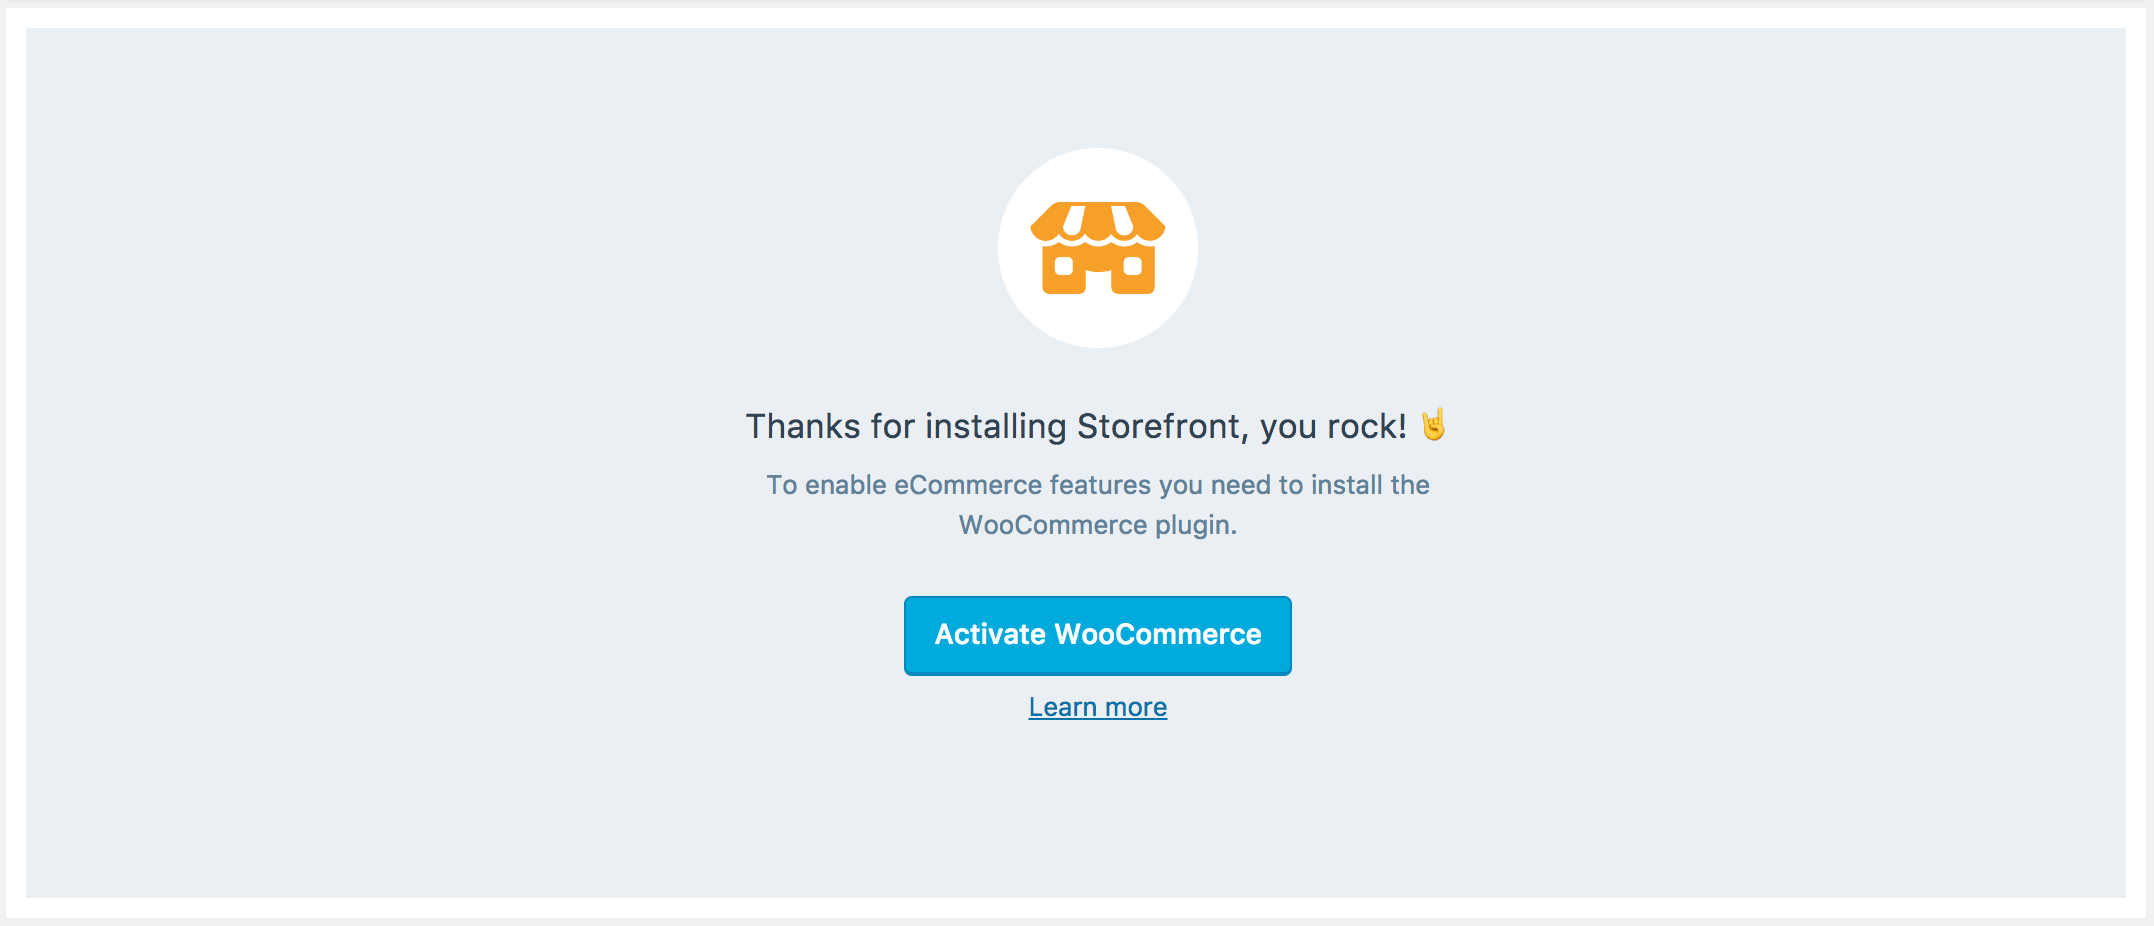
↑ Back to topIf WooCommerce is installed but not activated, or not yet installed, a prompt is presented. You need to Install and Activate WooCommerce:
If WooCommerce is installed and one visits the WooCommerce admin homepage WooCommerce -> Home a new inbox message is present which prompts for the Storefront setup:

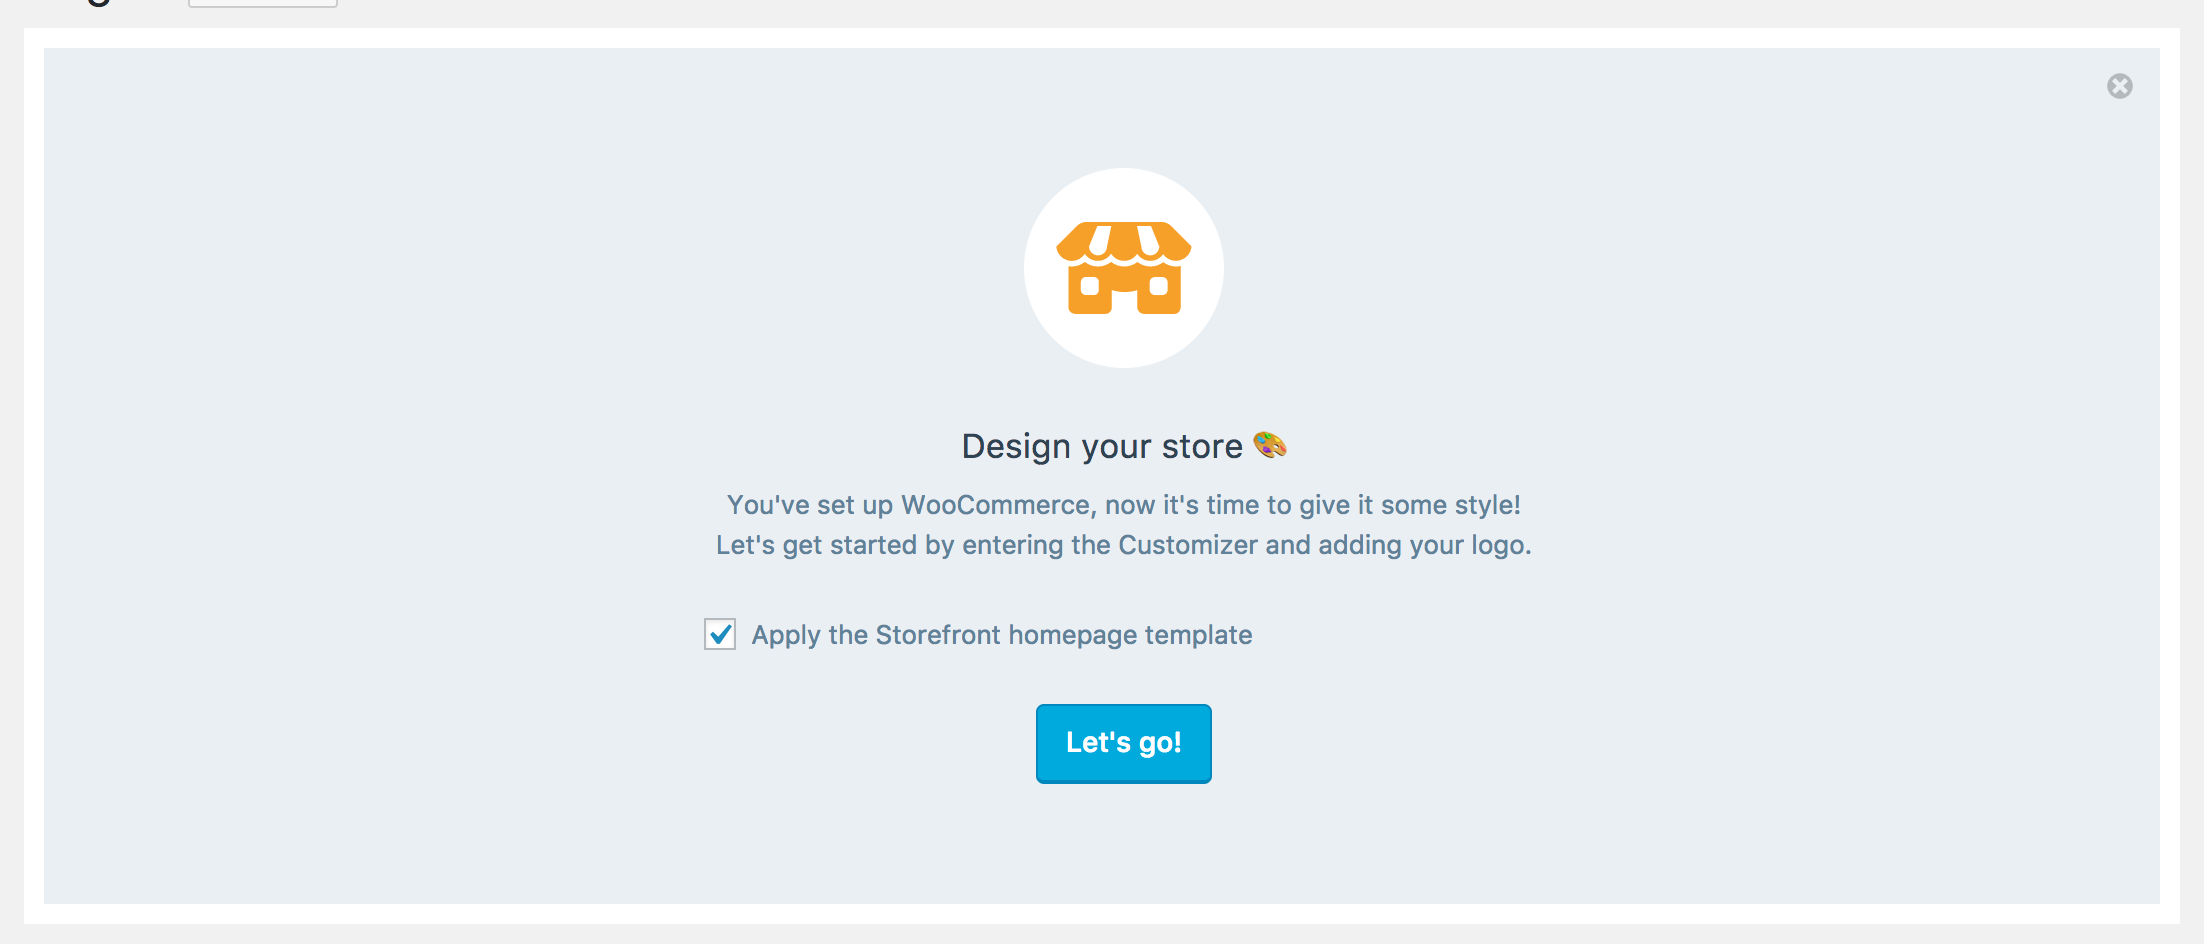
After clicking Let’s go! the site changes to Appearance -> Storefront:

(If the Dismiss button was clicked on the Inbox Message the setup screen will still be available at the Appearance -> Storefront location)
The meaning of the options: Create a homepage using Storefront’s homepage template and Add example products is explained in the Started Content section of this document.
After selecting Let’s Go! the Customizer Guided Tour starts.
Setup for older versions of WooCommerce and Storefront.
↑ Back to topOn installation of Storefront, a prompt ensures that you have WooCommerce installed.
If WooCommerce is installed, it’s time to Design Your Store. Select Let’s Go!
If WooCommerce is installed but not activated, or not yet installed, you need to Install and Activate WooCommerce:
Once WooCommerce is installed and activated, Design Your Store (as above) appears.
Customizer Guided Tour
↑ Back to topThe Customizer Guided Tour starts after the Design Your Store prompt and walks you through steps to help brand your store and make it yours.
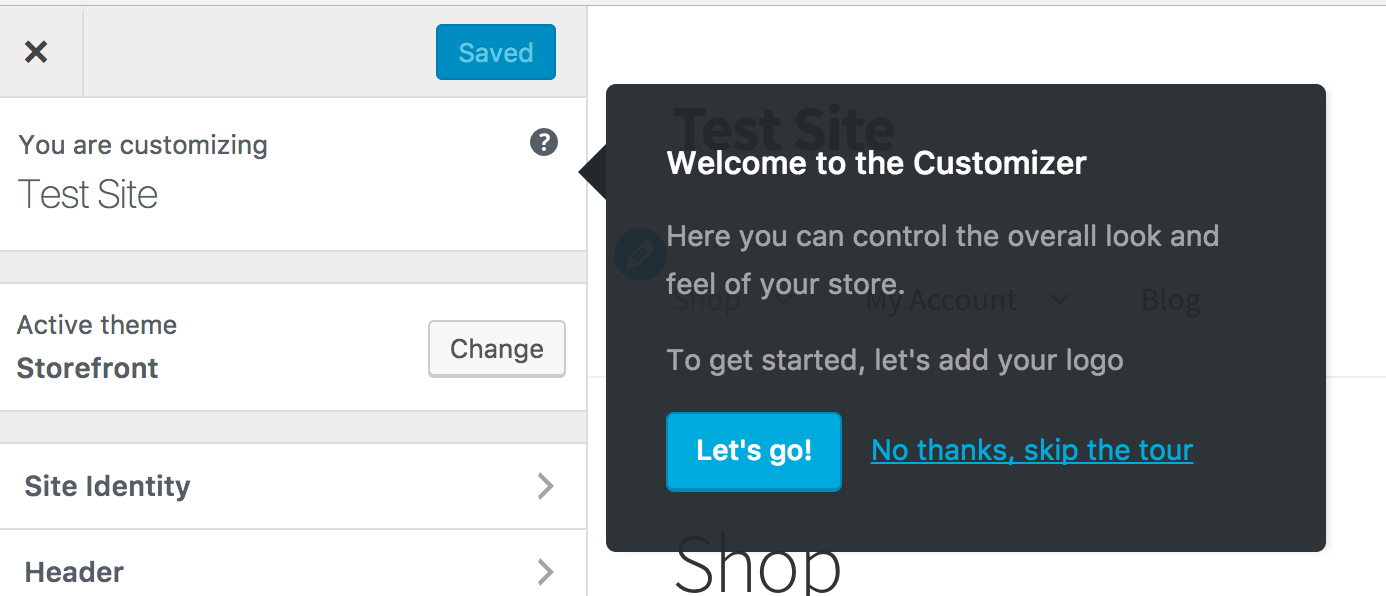
Select Let’s Go! to get started or Skip the Tour. If you skip it, the tour will be unavailable later.
Site Identity
↑ Back to topUpload a Logo.
Enter a Site Title.
Enter an optional Tagline, e.g., A description of your site or motto.
Upload a Site Icon.
Select Next when ready to continue.
Typography
↑ Back to top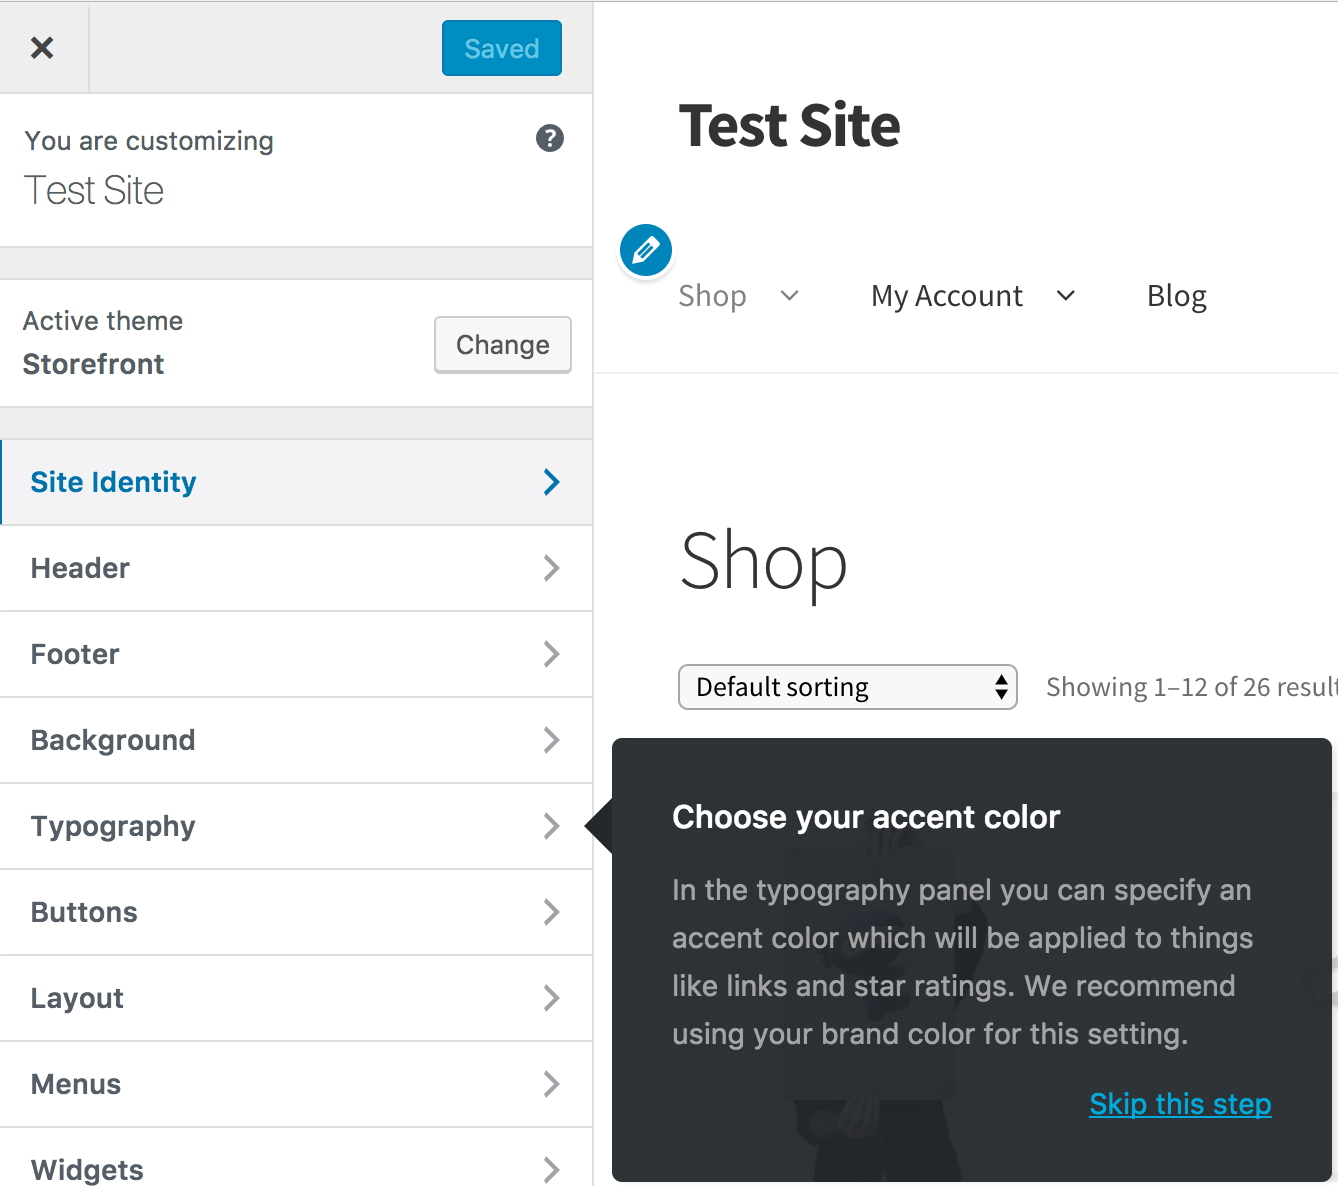
Select Typography in the menu to customize. Or Skip This Step if you’re fine using default options or want to come back to this later.
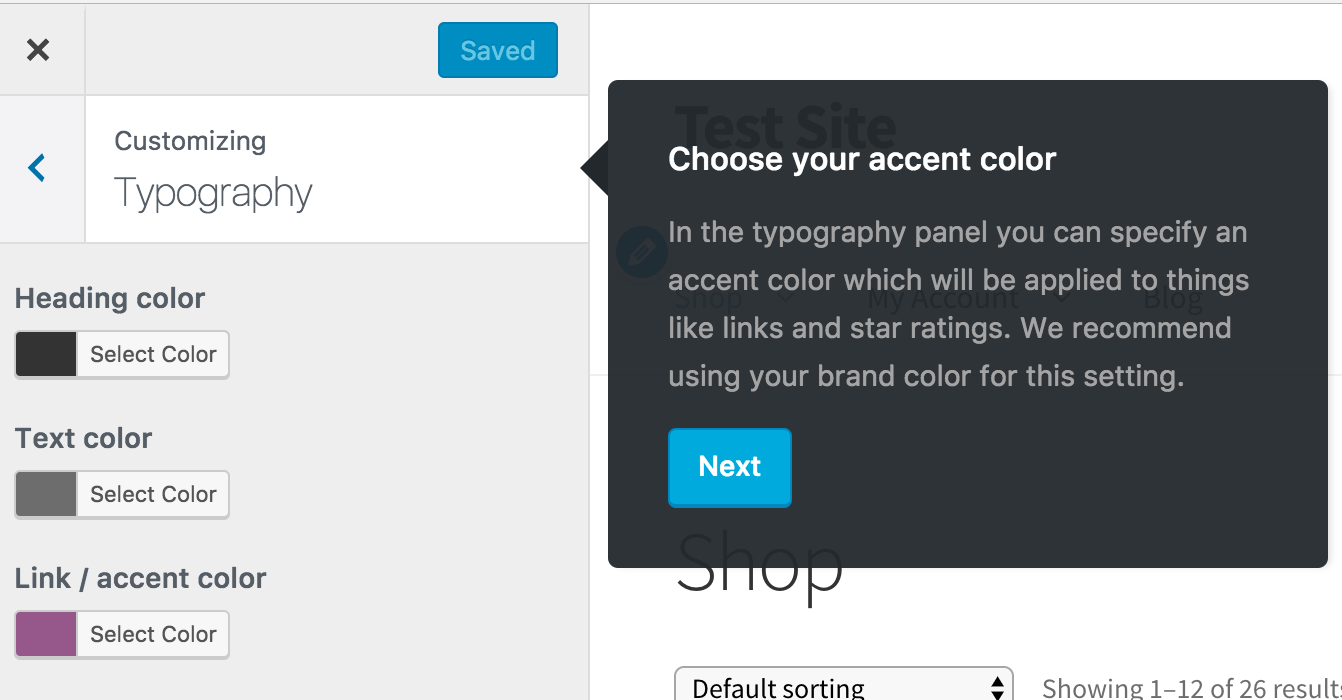
Select colors for:
- Heading
- Text
- Links
Select Next when ready to continue.
Buttons
↑ Back to top
Select Buttons in the menu to customize. Or Skip This Step if you’re fine using default options or want to come back to this later.

Select colors for:
- Background
- Text
- Alternate button background color
- Alternate button text color
Select Next when ready to continue.
Product Page
↑ Back to topSelect whether to enable/disable:
- Sticky Add-to-Cart
- Product Pagination

Save Changes
↑ Back to top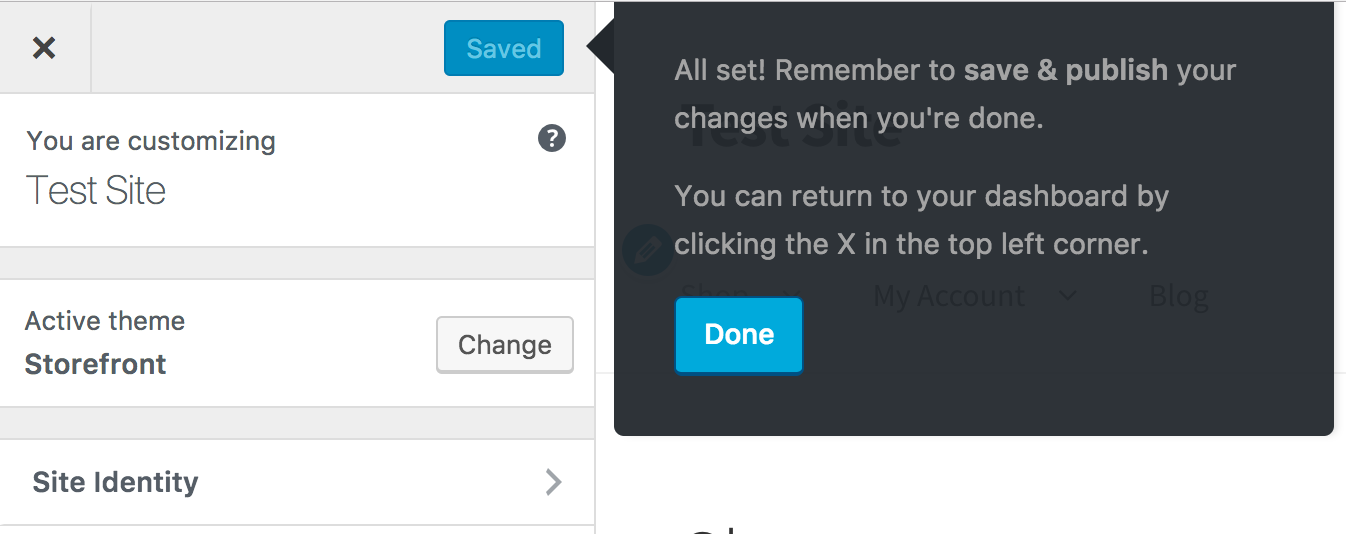
Save & Publish whenever you customize an option for the first time or perform an edit.
Guided Tour Complete
↑ Back to topA Setup Complete page appears when the guided tour is done, and offers further options for Storefront, such as add-ons, our special Storefront bundle and child themes.

Starter Content
↑ Back to topA fresh install of the Storefront theme will automatically perform the following actions for brand new stores with no products:
- Import example products
- Create a homepage with blocks (described in the next section) and set it as the static landing page in WordPress settings
- Apply a full-width template to display the cart and checkout pages
- Remove default widgets so as to showcase the Storefront widgets
Homepage
↑ Back to topUsing blocks
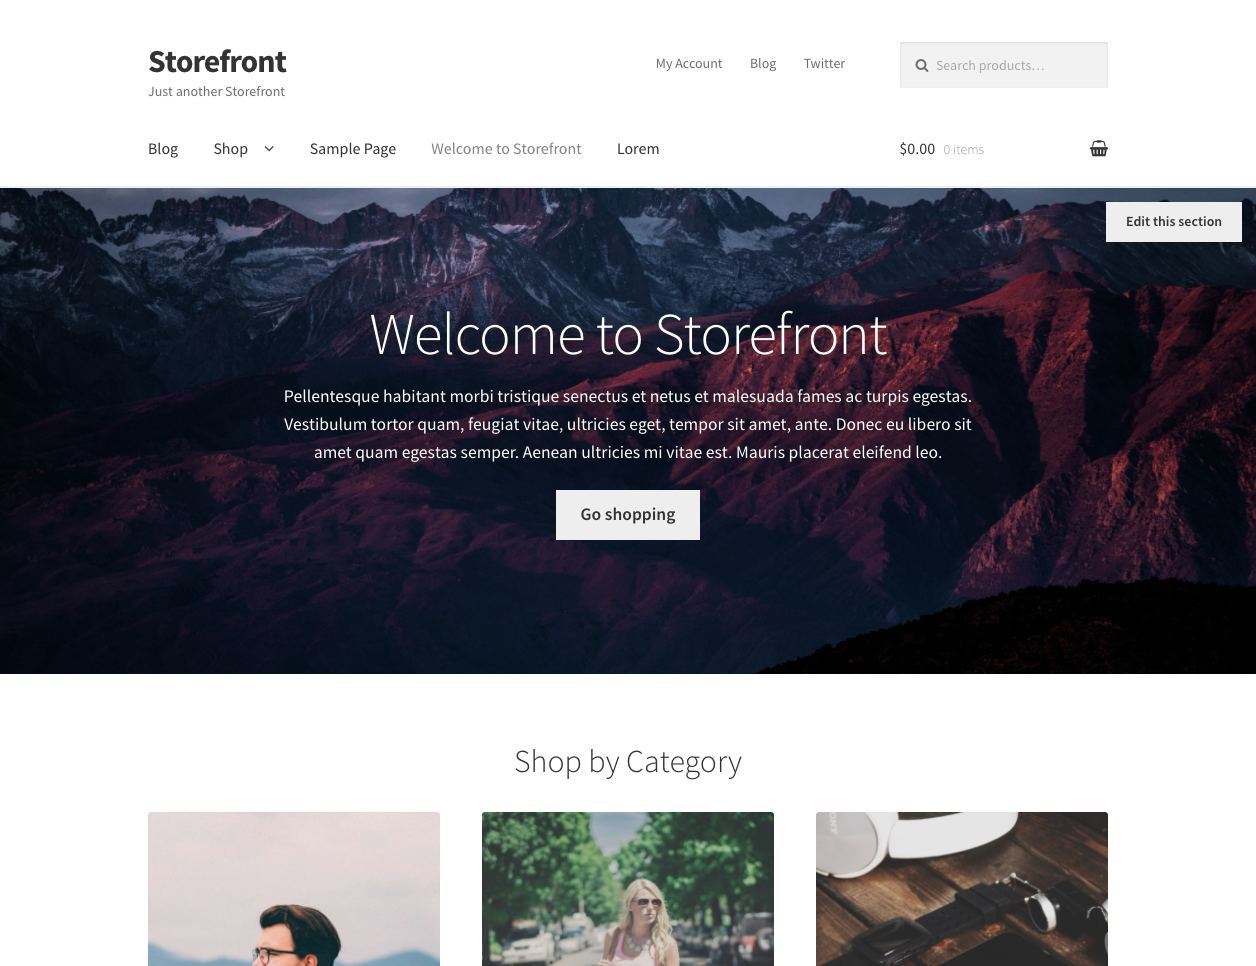
↑ Back to topAs of Storefront 2.5 it is possible to recreate the Homepage template using blocks. This is the preferred option for custom landing pages.
List of blocks used:
- Cover block (Welcome message)
- Heading (Shop by Category)
- Shortcode block (WooCommerce Product Categories shortcode)
- Heading H2 block (New in)
- WooCommerce Newest Products block
- Heading H2 block (We Recommend)
- WooCommerce Hand-picked Products block
- Heading H2 block (Fan Favorites)
- WooCommerce Top Rated Products block
- Heading H2 block (On Sale)
- WooCommerce On Sale Products block
- Heading H2 block (Best Sellers)
- WooCommerce Best Selling Products block
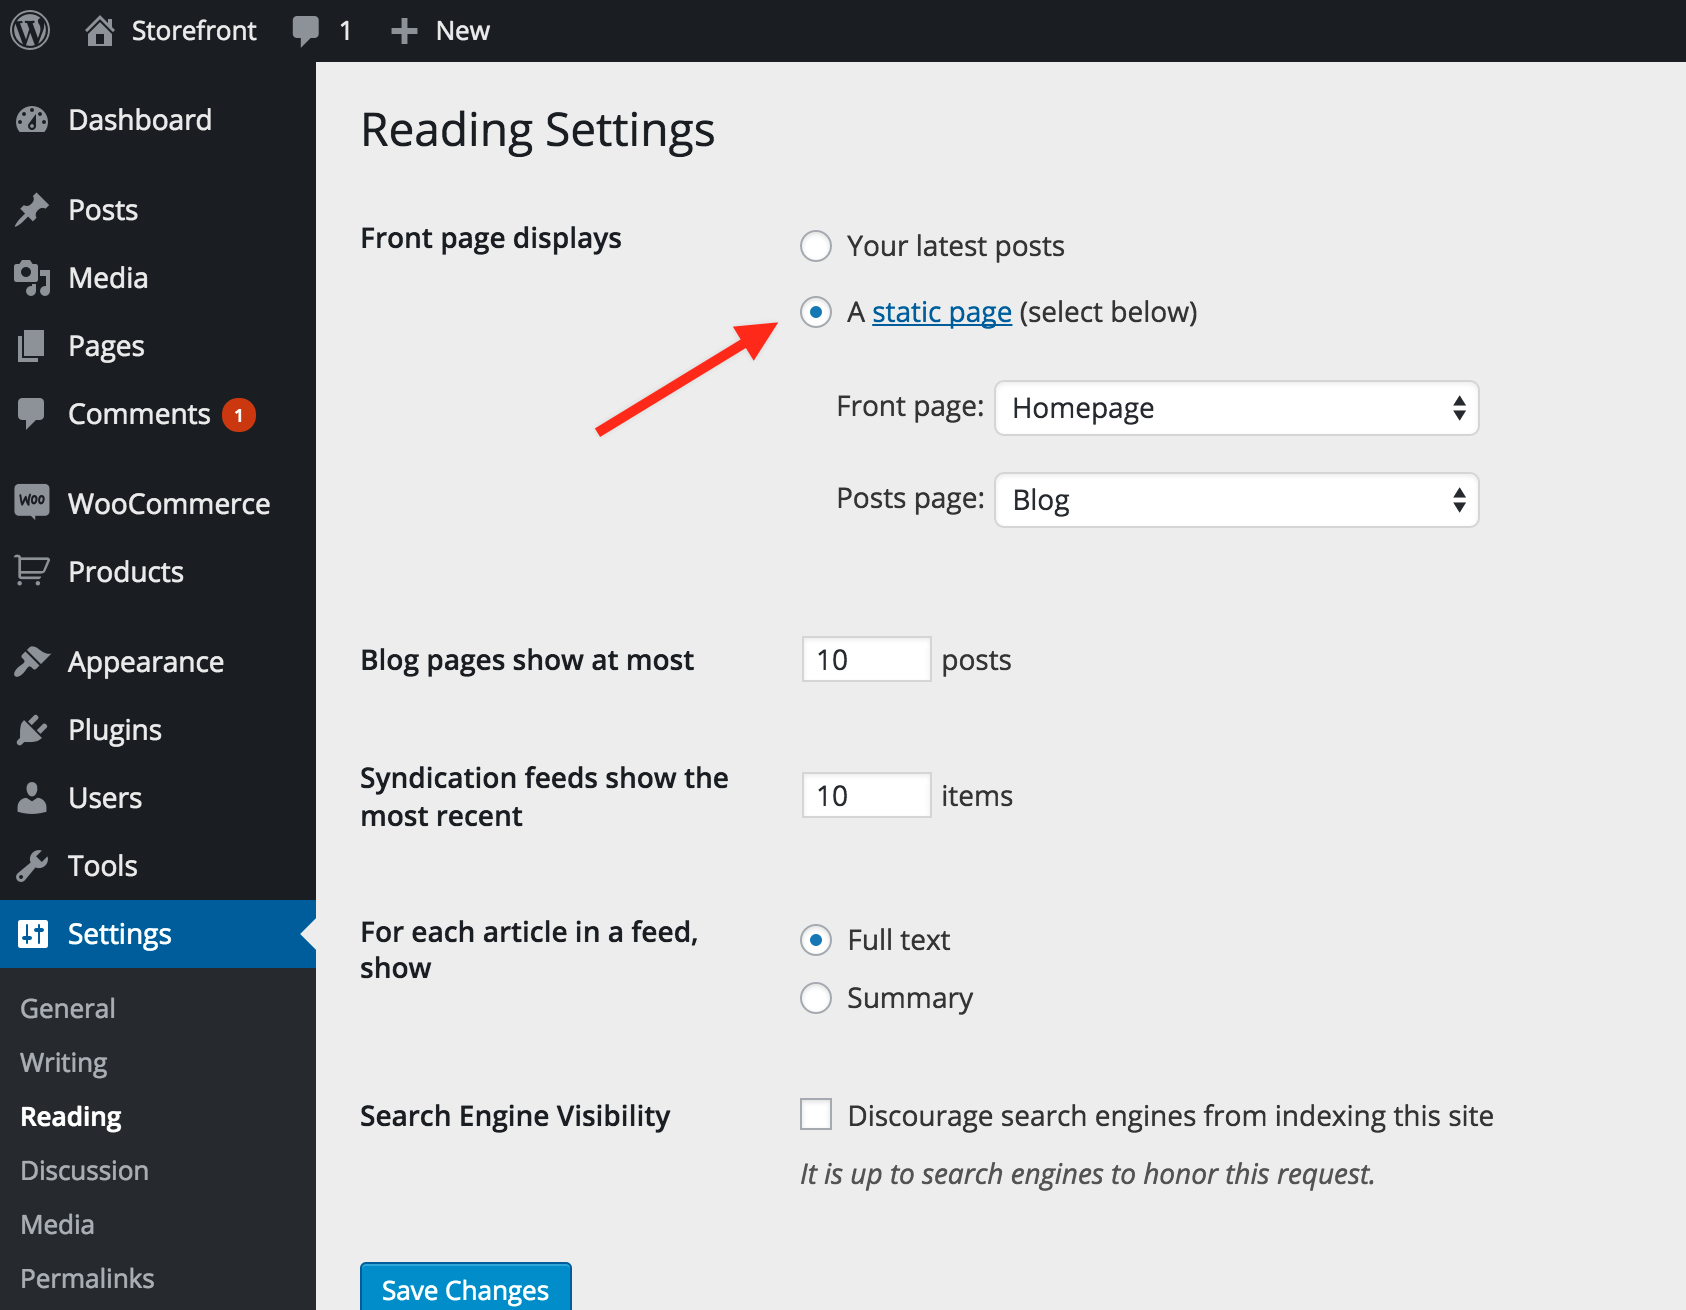
To set this as your homepage, go to Settings > Reading in the dashboard. In the “Front page displays” section, select the “static page” option and select the page you just created from the dropdown. Save the settings.
That page you created is now loaded when anyone visits your website homepage.
Remember, if you want to have a page to display your blog posts too, you need to create another page (leave the content blank) and set that as the Posts Page in the same settings section as above where we created a blank page titled Blog on our site and set that as the Posts Page.
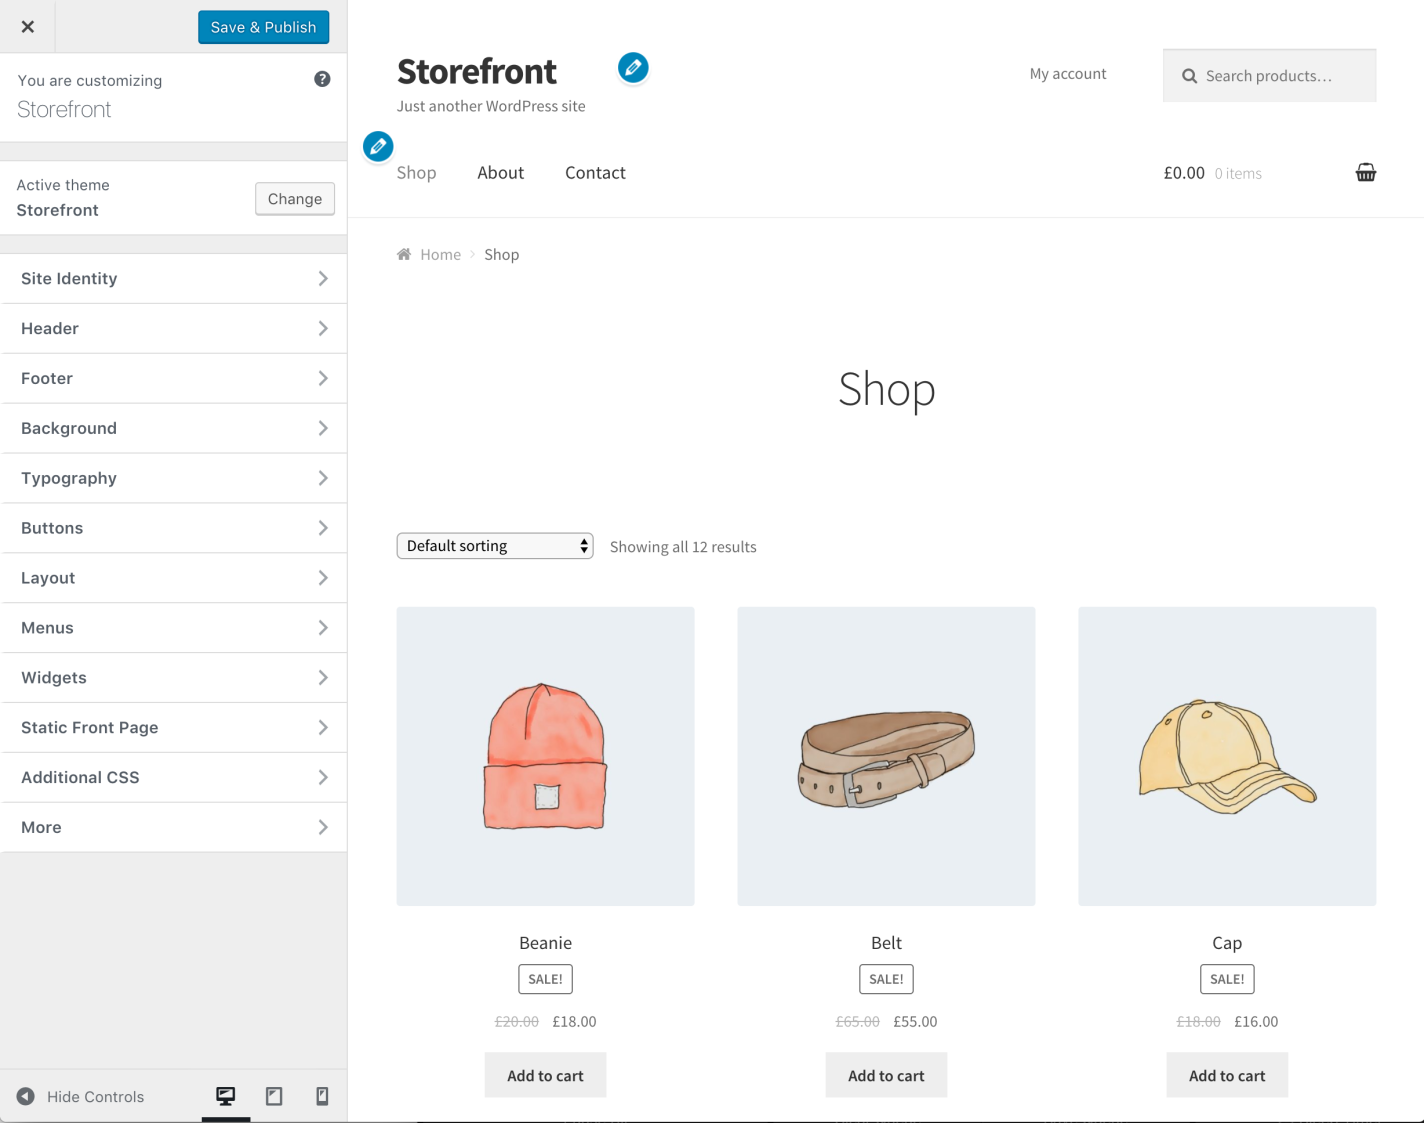
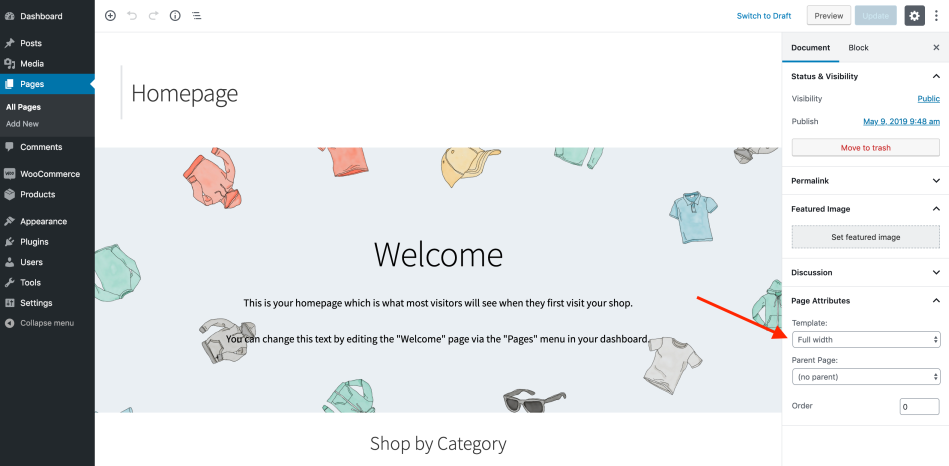
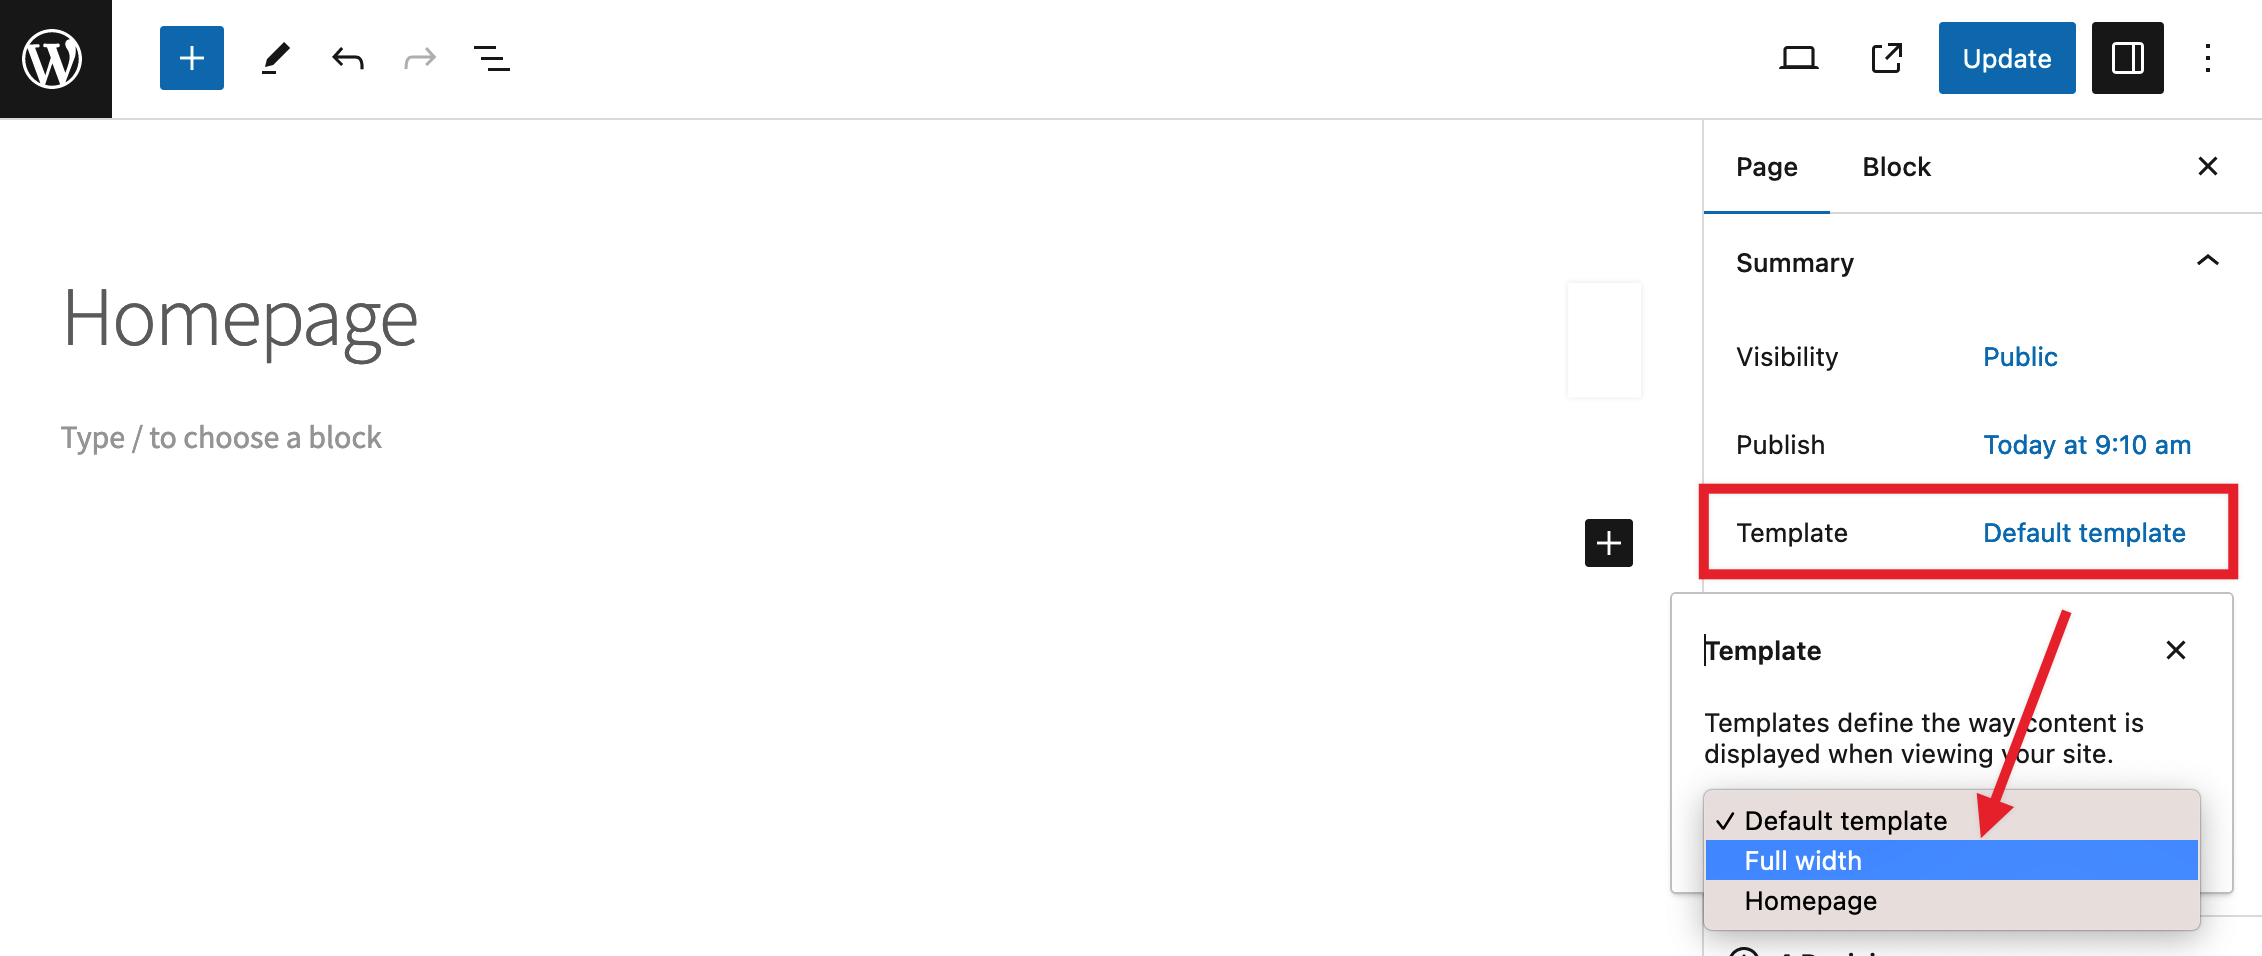
To hide the page title above the content of your page, in addition to setting the page as your homepage, also assign the Full Width template to it. In the Page Attributes meta box, select Full width from the Template dropdown. Publish or Update the page.
Homepage Template
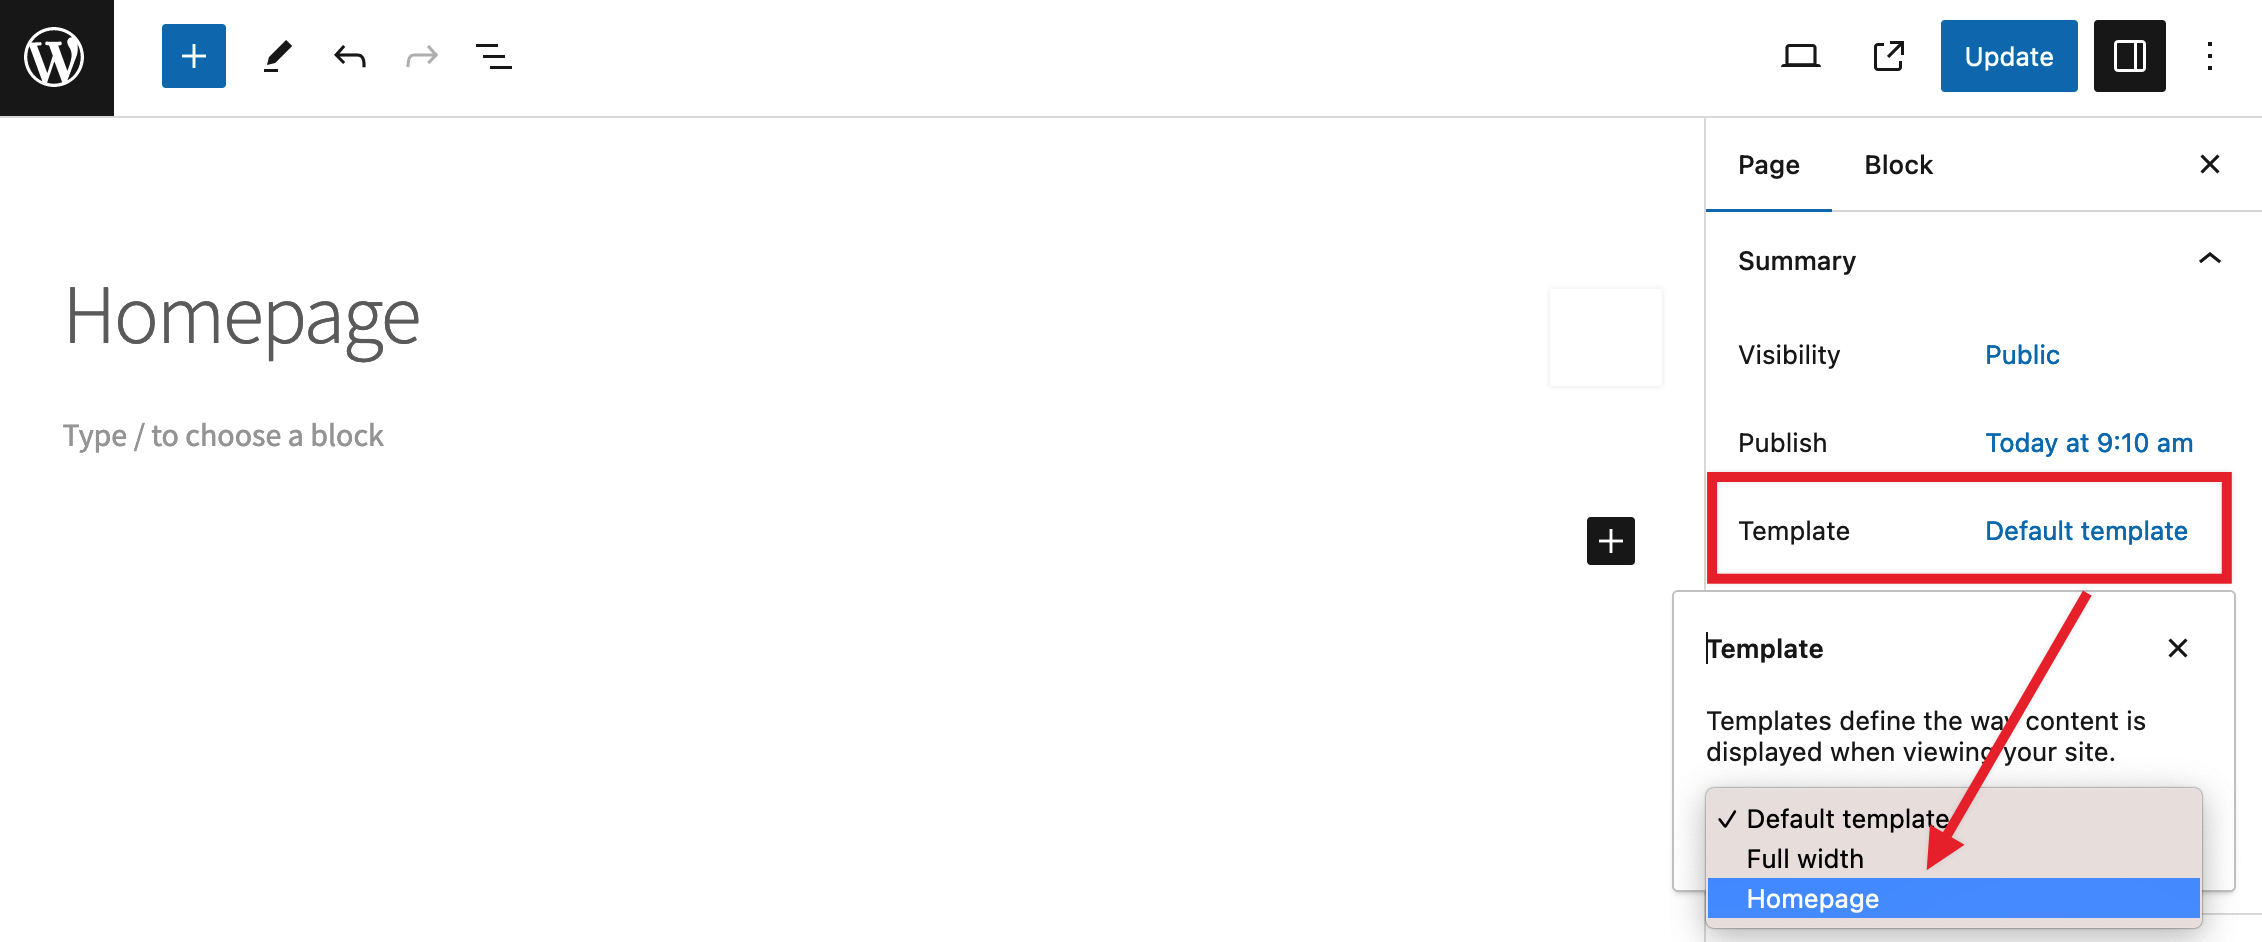
↑ Back to topThe Homepage template is the old way of creating a custom Homepage. It is not very versatile and cannot be customized without plugins or custom code.
Note: the Template setting in the editor will not be visible if the page you’re working on is set as your site’s Shop page. To check which page is set as your site’s Shop page, look under WooCommerce > Settings > Products > General, at the Shop page setting.
To manually set this up on an existing store, create a new page and add any content you wish, which is displayed above products. Then in the Page meta box in the sidebar, select Homepage from the Template dropdown. Publish or Update the page.
Assuming you added some products to your store, you should see links to them and links to the top-level product categories when visiting the page. Rearrange or hide sections using the Storefront Homepage Control plugin.
To set this as your homepage, go to Settings > Reading in the dashboard. In the “Front page displays” section, select the “static page” option and select the page you just created from the dropdown. Save the settings.
That page you created and added the homepage page template is now loaded when anyone visits your website homepage.
Remember, if you want to have a page to display your blog posts too, you need to create another page (leave the content blank) and set that as the Posts Page in the same settings section as above where we created a blank page titled Blog on our site and set that as the Posts Page.
The product categories are displayed in accordance to the order they appear in the dashboard. Change the order at Products > Categories, then drag and drop the categories to suit your preference. If you’re comfortable with code, there are hooks and filters to further customize these homepage components.
Other Templates
↑ Back to topIn addition to the legacy Homepage template, Storefront comes with one extra page template: Full Width.
Full Width
↑ Back to topThe full width template is a standard page template without a sidebar, allowing content to span the full width of your site.
While it’s not necessary to do so, it’s probably a good idea to enable the Full Width template on the Cart and Checkout pages of your WooCommerce website to remove the sidebar from these.
*Storefront is purposely lean and mean which makes set up a breeze. None of the following is mandatory.
Menus
↑ Back to topStorefront has three menu locations, “Primary” and “Secondary”, and “Handheld”. The primary navigation appears beneath the site logo just before the content. The secondary navigation appears to the right of the site logo adjacent to the search box (assuming WooCommerce is active).

The handheld menu appears on mobile devices as a “hamburger menu” in place of the primary and secondary navigation.

You must assign a Menu you created in WordPress to the primary and handheld navigation, or they display each of your pages. The secondary navigation, however, displays nothing if you do not assign a menu. Therefore after activating Storefront for the first time, nothing is shown in the secondary navigation when viewing the front end of your website.
More info on creating and assigning menus to theme locations at: WordPress.org Codex: Menu Guide.
Color scheme
↑ Back to topIn addition to Site Identity, Typography and Buttons from the Guided Tour above, the Customizer allows you to create a unique color scheme for your store. More info at: Storefront Customizer Settings.
Widget Regions
↑ Back to topStorefront includes six widget regions.
Below Header
↑ Back to topWidgets placed in the header region appear directly before the main site content and beneath the header.
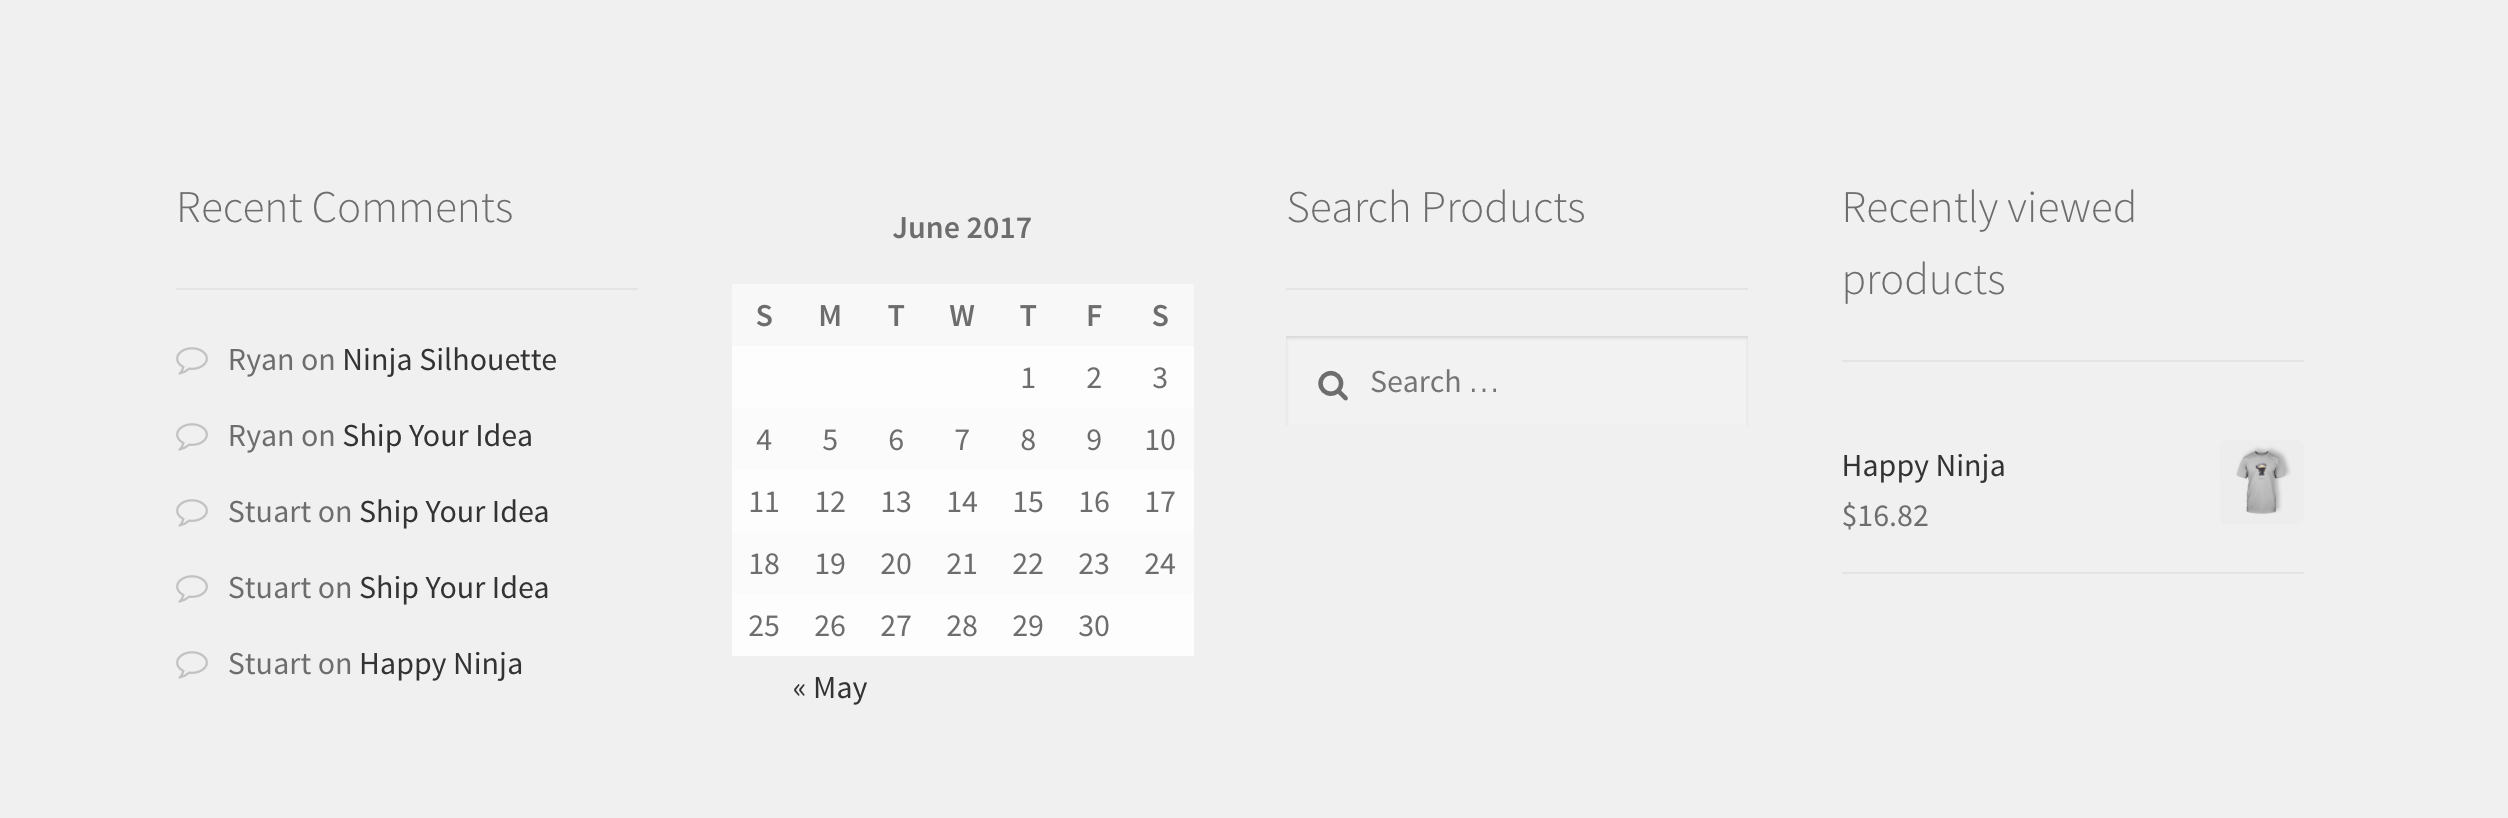
Sidebar
↑ Back to topWidgets placed in the sidebar appear to the left or the right of the main site content, depending on which layout you chose.
Footer x 4
↑ Back to topThe four footer widget regions are arranged into equal width columns dependent on how many regions are active. For example if you have widgets in the Footer 1 region and widgets in the Footer 2 region, they are organized in two equal-width columns while Footer 3 and 4 won’t display.
WooCommerce integration
↑ Back to topStorefront has been built to make it more straightforward in creating a professional appearance for your WooCommerce-powered store. It will degrade gracefully and function perfectly well as a blog theme without WooCommerce.
Assuming you are building a store, Storefront offers deep integration with WooCommerce. You need not do anything in Storefront to set it up beyond installing WooCommerce. More at: WooCommerce.