Note: This product is no longer for sale at WooCommerce.com. Documentation is not being updated.
Requirements
↑ Back to top- An SSL certificate – see SSL and HTTPS for free and low-cost options
- An active gateway Merchant account with BluePay
Installation
↑ Back to top- Download the .zip file from your WooCommerce account.
- Go to: WordPress Admin > Plugins > Add New and Upload Plugin with the file you downloaded with Choose File.
- Install Now and Activate the extension.
Sign up with BluePay
↑ Back to top- Log into your BluePay Manager
- Enter your Account Name, Username and Password then select Login.
- Go to and select: Administration > Users > List. The User ID is listed next to the Username that you want to use
- Copy User ID to your WooCommerce BluePay settings page.
- In the top menu click on Administration > Accounts > List. The Account ID is listed next to the Account Name that you want to use
- Copy Account ID to your WooCommerce BluePay settings page
- Select the “View” icon that looks like a face with glasses under “Options”
- In the “Website Integration” group if the field to the right of “Secret Key” is blank press the “Create New Key” button
- Copy Key to your WooCommerce BluePay settings page
- Save changes.
Setup and Configuration
↑ Back to top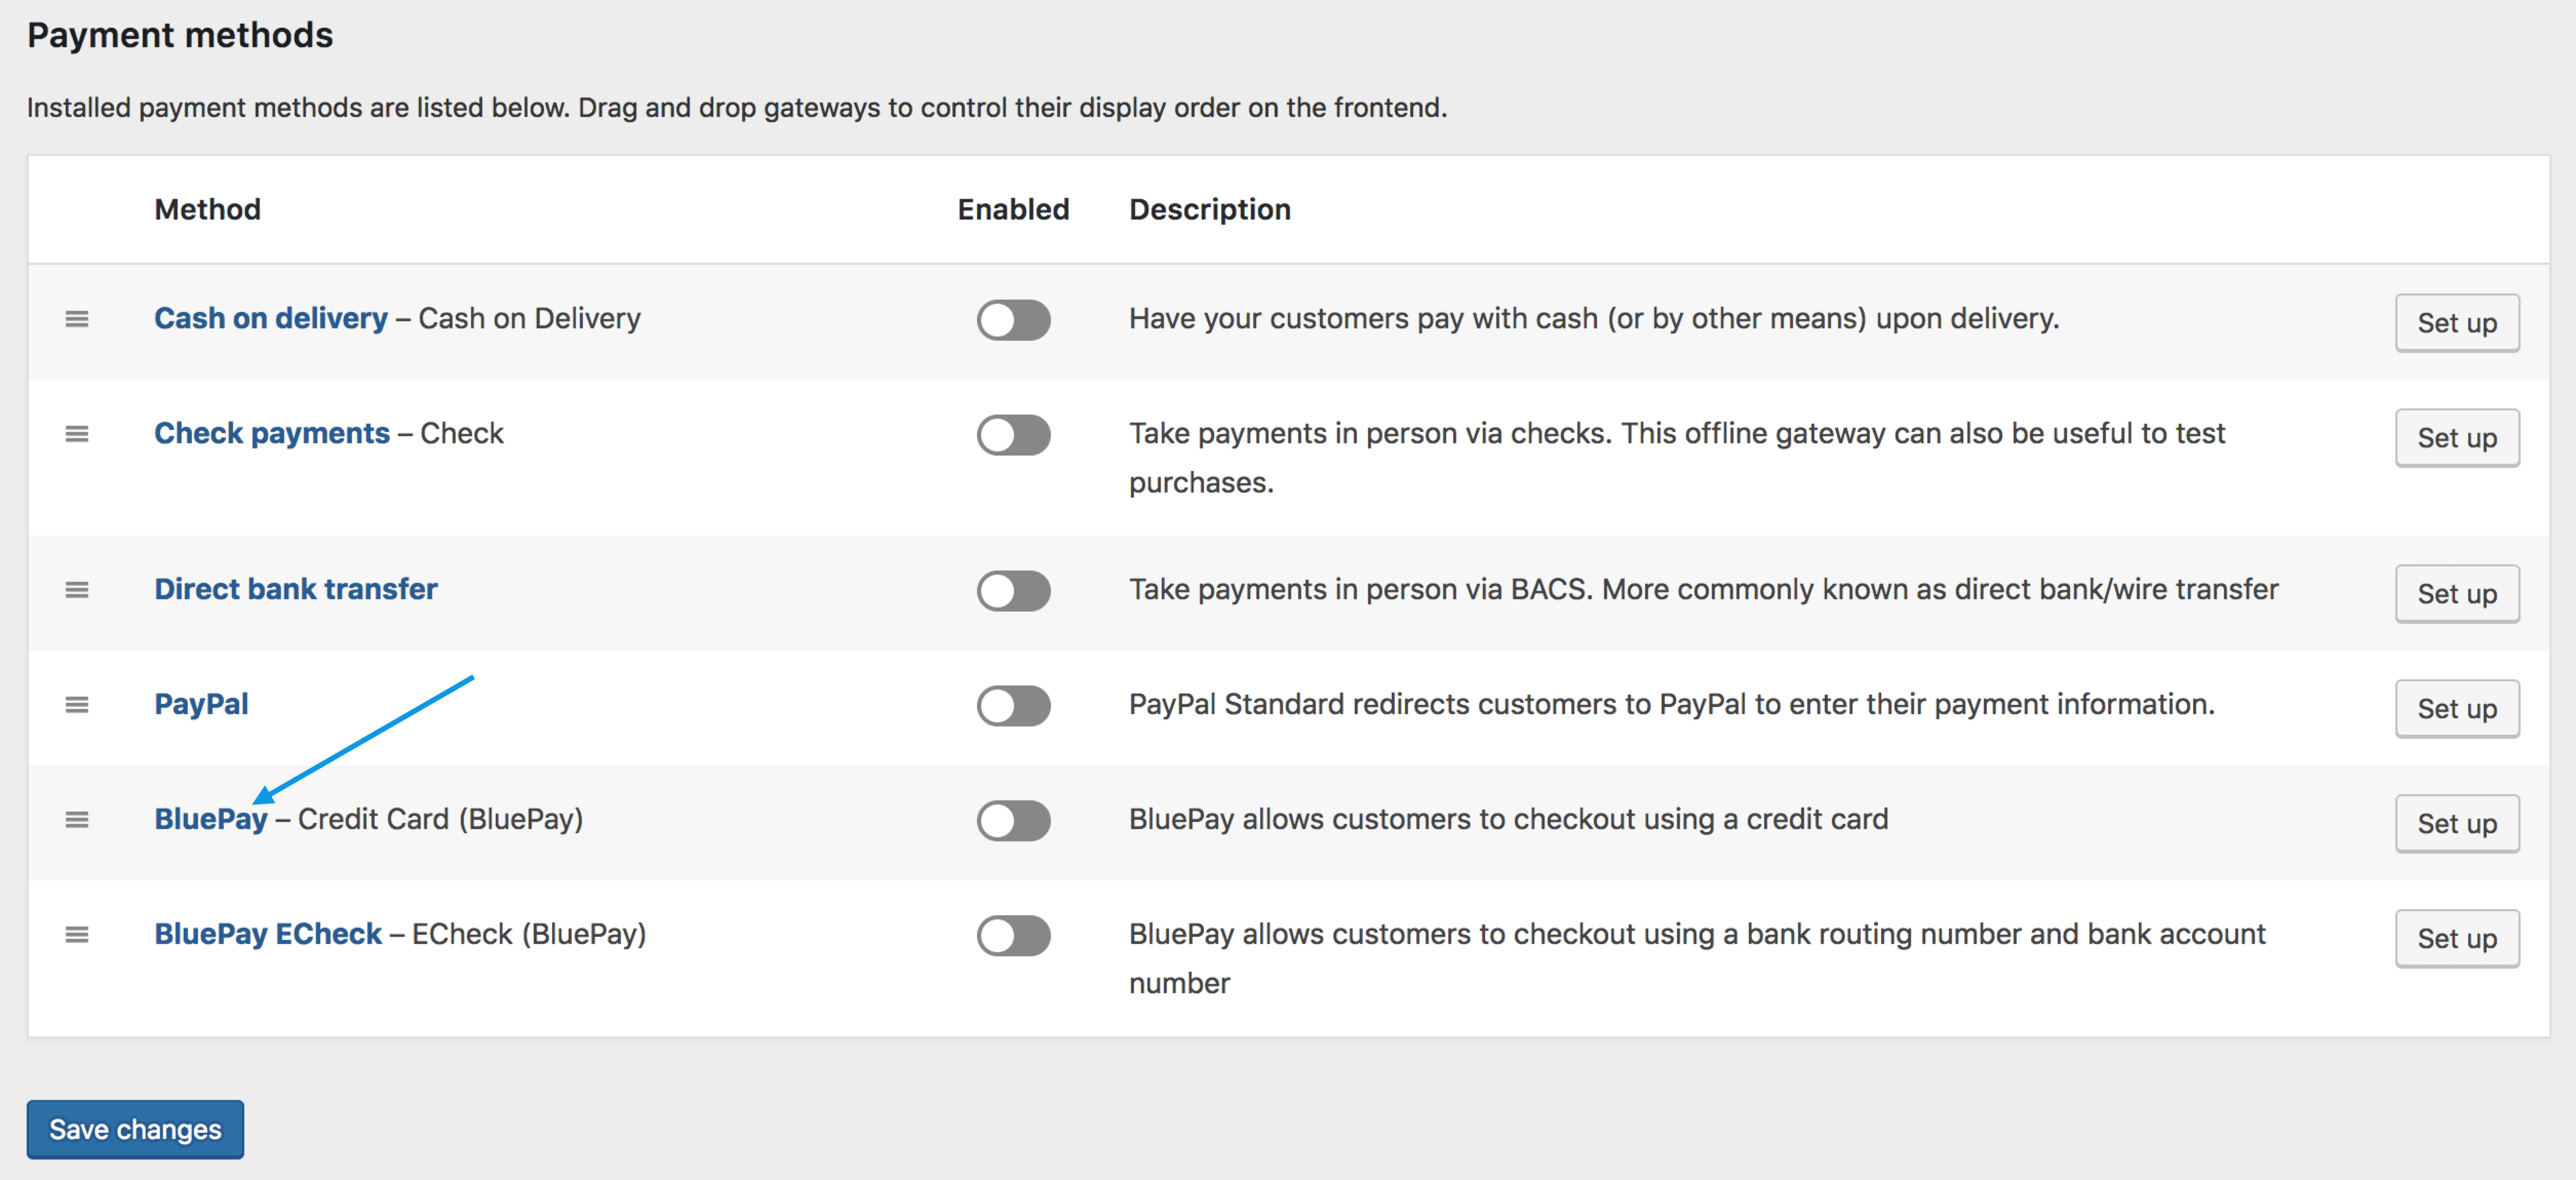
- Go to: WooCommerce > Settings > Payments. Note: ‘Payments’ formerly called ‘Checkout’ prior to WooCommerce 3.4.
- Select BluePay – Credit. This takes you to the Settings screen.
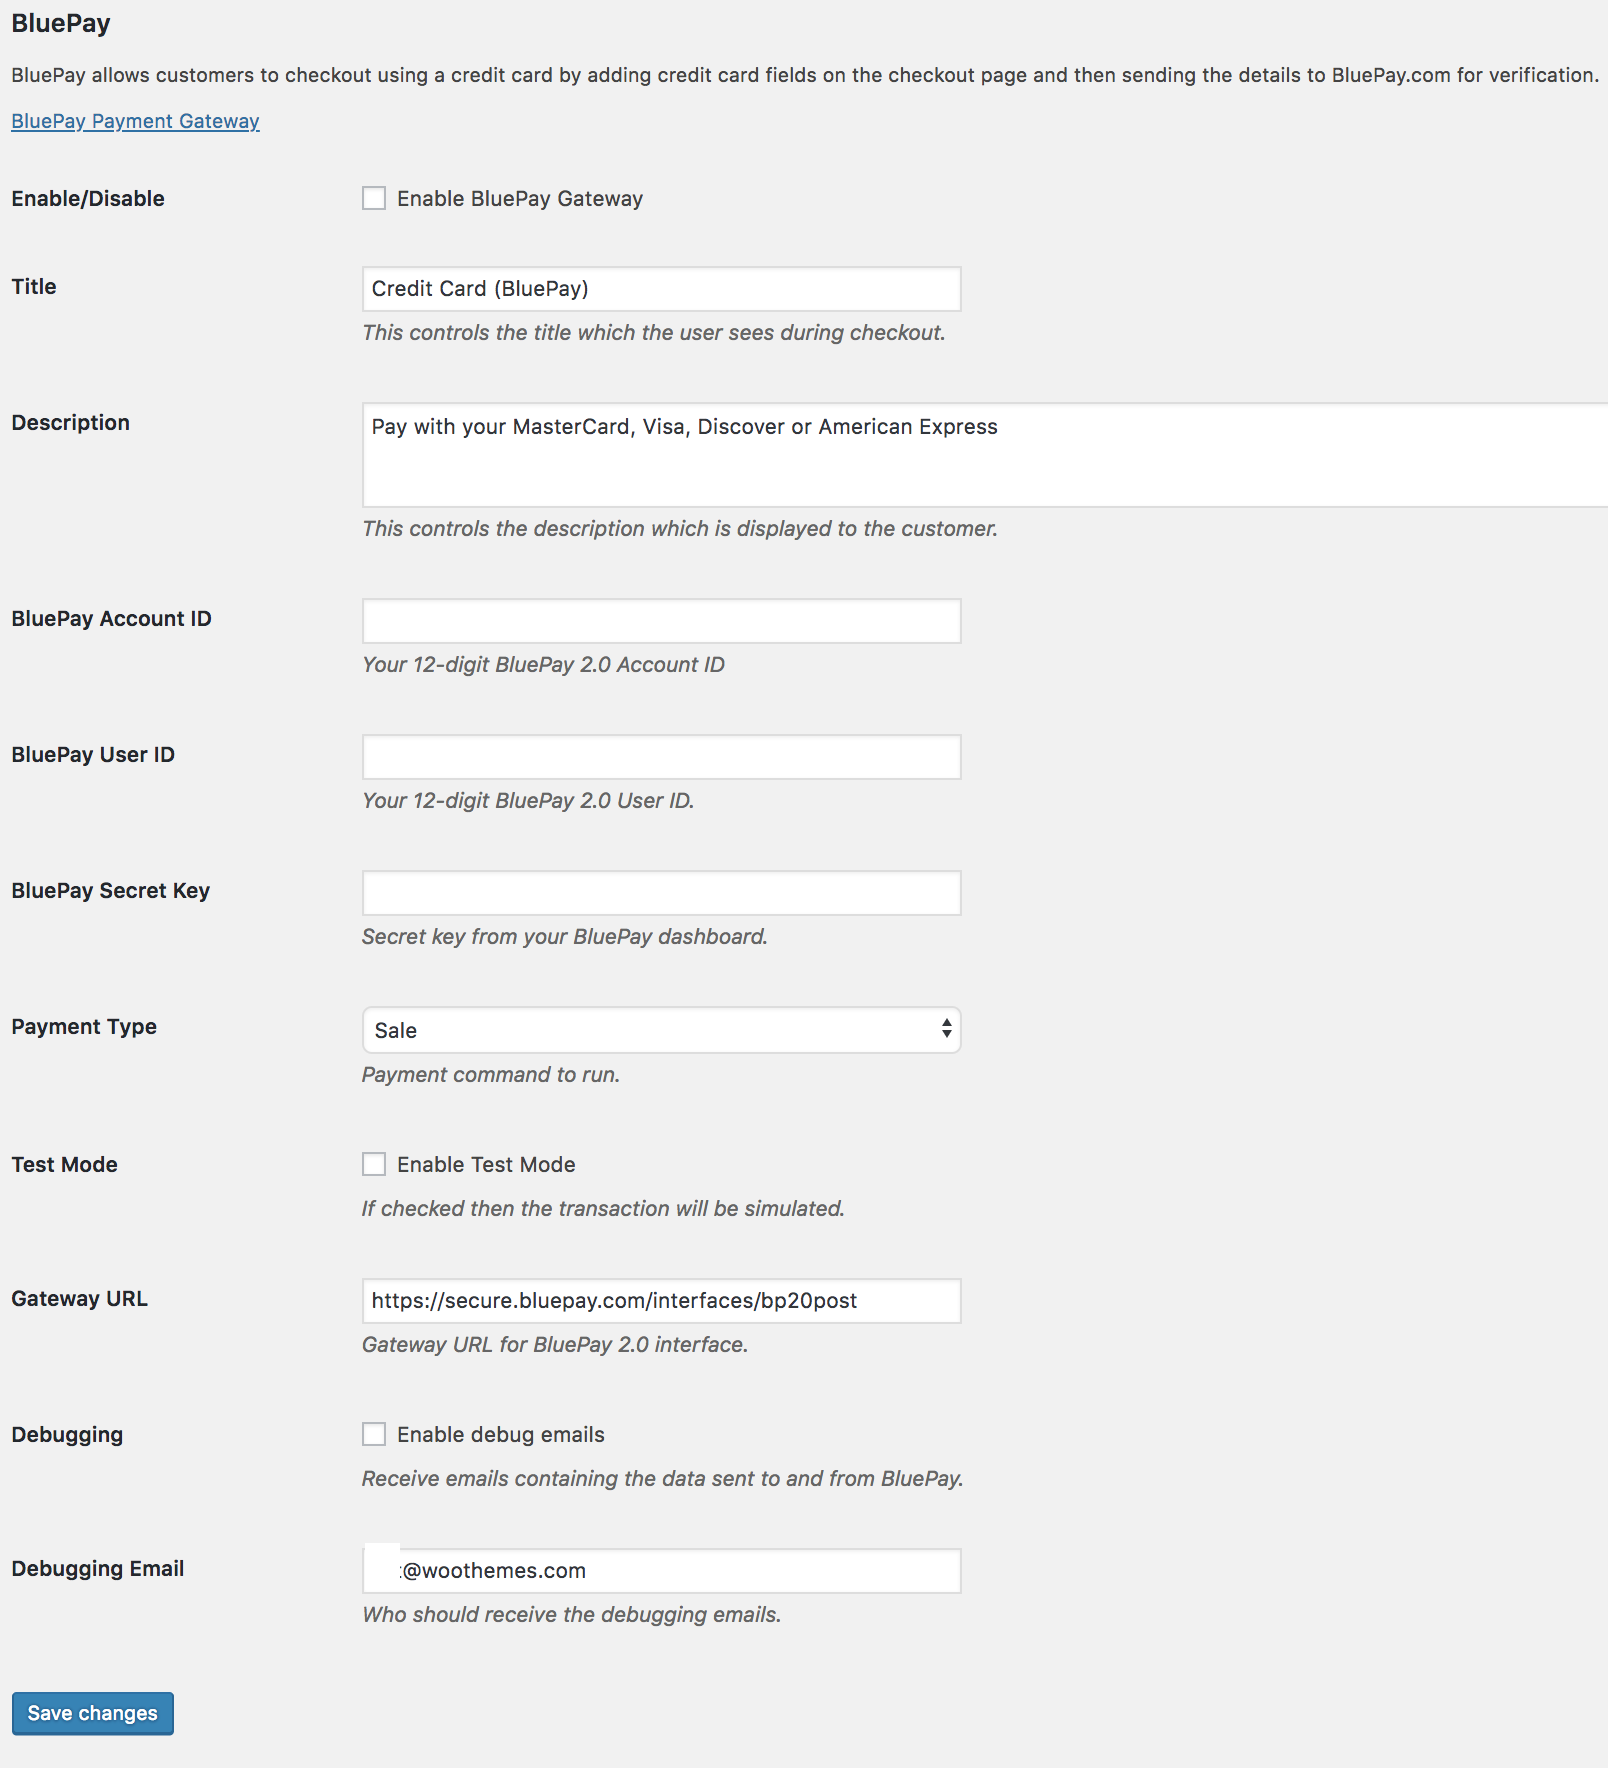
- Configure your settings:
- Enable/Disable – Enable to use. Disable to turn off.
- Title – Choose the title shown to customers during checkout
- Description – Add info shown to customers if they use BluePay, e.g., what credit cards you accept
- Enter the BluePay Account ID, BluePay User ID, and BluePay Secret Key from your BluePay account.
- Choose which Payment Type you would like to use between Sale (will authorize and capture funds at checkout) and Authorize Only (will only authorize payment, funds will need to be captured within your BluePay merchant account).
- Enable Test Mode if testing or developing before going live. Remember to disable.
- Gateway URL Override
- Enable debug emails and enter an email address if troubleshooting or wishing to receive logs. Otherwise, leave disabled.
- Save changes.
- Repeat the same steps for BluePay eCheck starting from WooCommerce > Settings > Payments if you wish to enable that option.